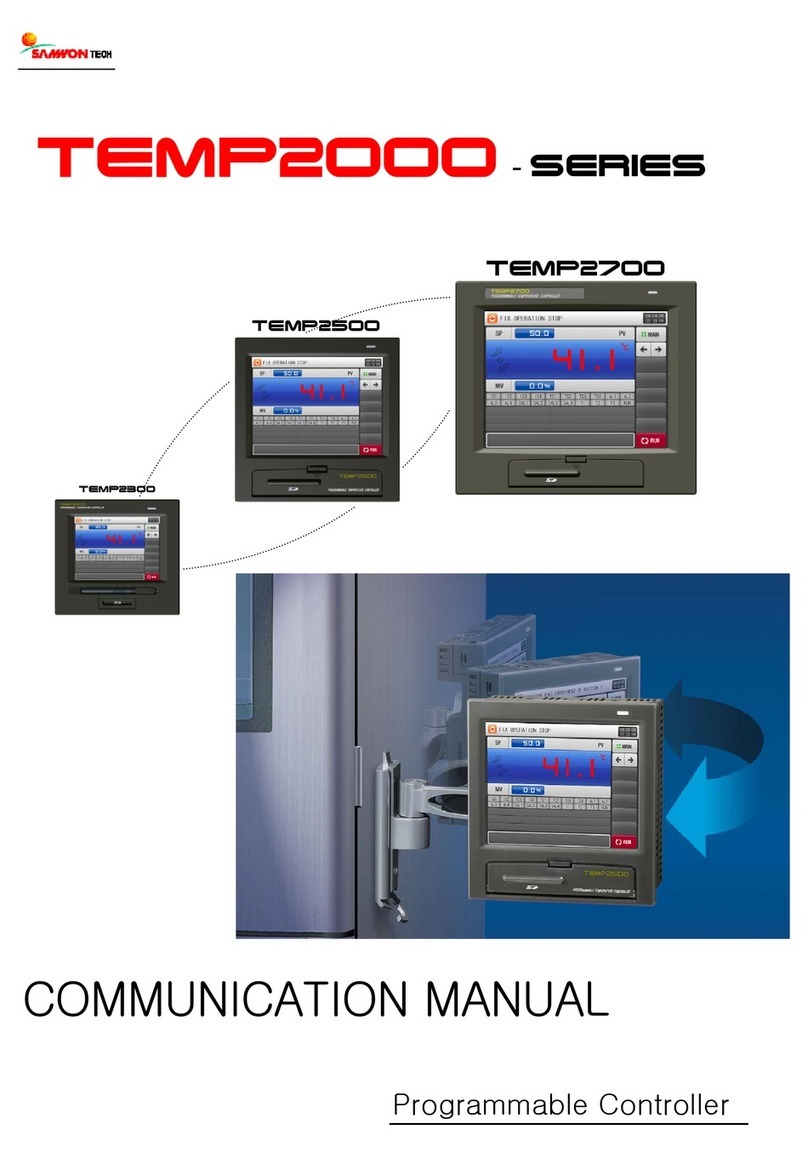
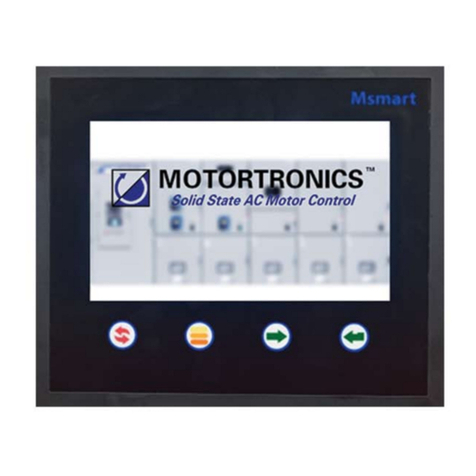
Healthy wave Multi-Wave PEMF Mat Controller User manual

1
Always plug this controller into a 120Volt surge protected power bar with a power
ON/OFF switch. When the controller is not is use, turn the power bar switch OFF.
The controller is for standard 120Volt operation. (220Volt available for orders and
will be shown on the controller label.)
MULTI-WAVE PEMF MAT CONTROLLER
OPERATING INSTRUCTIONS:
• Red Power Button - Power ON/OFF to activate controller
• Heat ON/OFF Button - Turns Infrared Heat ON or OFF. Indicator on the
screen confirms Infrared Heating is ON.
• Indicator on screen “Hours ON” shows how much time is left for Infrared Heating.
After this time the Infrared Heating will turn OFF automatically. Plus “Actual Tem-
perature” of the mat is shown on the screen.
• Heat Mode Button - To change “Setpoint Temperature” and “Hours ON”
• Press Heat Mode Button once to set Temperature. Set point temperature on
screen will flash. Use UP/DOWN △▽ “H” buttons to increase or decrease
the desired temperature set point.
• Press Heat Mode Button again to set Timer for Infrared Heating. On Time
indicator on screen will flash. Use UP/DOWN △▽ “H” buttons to in-
crease or decrease the desired timer set point. (1 to 12 hours available)
• Press Heat Mode Button again to save both settings. Both these new setting
will appear on the screen.
• Photon Button - Press to turn the photon lights ON or OFF. Red Lights will stay ON for 1 hour when
turned ON and automatically turn OFF after 1 hour. Indicator on screen confirms lights are activated.
• “STANDARD CYCLE” PEMF ON/OFF Button - (Standard time ON [10/15/20minute selectable] plus
100 min OFF cycle) Turns the “Standard” PEMF cycle ON or OFF. [Do not press this when using any of the
F1 to F12 preprogrammed PEMF buttons.]
• When controller is first powered ON the default settings (as shown on screen) will be 20 minute ON
cycle, “Sine” Wave Type, 7.83 Hz, M (Medium) pulse duration, 50% Intensity.
• This standard PEMF cycle will automatically operate for 20 [or 10/15] minutes ON time and 100
minutes OFF time. This will repeat for up to 12 hours if controller buttons are not touched after this.
After 12 hours the controller will automatically turn OFF
• During the PEMF 20 minute ON time the screen indicates “Pulse”. During the 100 minute OFF time
the screen indicates “Sleep”
• To stop the standard PEMF cycle at any time press the PEMF ON/OFF button
• PEMF Mode Button - To make changes to “Standard” PEMF cycle.
• Press once to make changes to PEMF ON time, “MIN/HR” will flash on the screen. Use UP/DOWN
△▽“P” buttons to increase or decrease the desired timer set point. (10, 15 or 20 minutes)
• Press PEMF Mode Button again, “Wave Type will flash. Use UP/DOWN △▽“P” buttons to in-
crease or decrease the desired wave type (sine or square wave)
• Press PEMF Mode Button again, “Frequency” will flash. Use UP/DOWN △▽“P” buttons to in-
crease or decrease the desired frequency (1 to 30 pulses per second [Hz]).
For more information see WWW.HEALTHYWAVEMAT.COM
• Sleep Cycle Button (Quarter Moon Symbol) -
• Press to activate infrared sleep mode cycle. The Infrared Heating will be turned ON; Temperature set
point will be 86°F (30°C), Heating ON time set to 12 hours.
(Optional) Change default temperature display from degrees Fahrenheit to Celsius - Press and hold Heat Mode
button for 5 seconds until you hear a beep

2
• Press PEMF Mode Button again, “Pulse Duration” will flash. Use UP/DOWN △▽ “P” buttons to
increase or decrease the desired PEMF Duration ((M) Medium, (F) Fast, (UF) Ultra Fast).
• Press PEMF Mode Button again, “Intensity” will flash. Use UP/DOWN △▽ “P” buttons to in-
crease or decrease the desired PEMF Intensity (10%, 25%, 50%, 75% , 100%).
• Press PEMF Mode Button again to save all your settings.
PEMF 20 MINUTE PROGRAMS:
• Button F1 to F10 turns ON/OFF PEMF Programs.[Only press one of these buttons] Each PEMF Program is
comprised of:
• 4 segments of 5 minute PEMF programmed selections. Total program runs for 20 Minutes PEMF ON
time and 100 minutes OFF time. This will repeat for up to 12 hours if controller buttons are not
touched after this. After 12 hours the controller will automatically turn OFF.
• Each PEMF 5 minute segment is programmed with a unique set of Wave Type/Frequency/Pulse Du-
ration/Intensity
Program Button Program Type Default Frequency Selection
(pulses per second)
F1 Low Frequencies 1, 3, 4, 6
F2 Medium Low Frequencies 7, 8, 10, 12
F3 Medium Frequencies 14, 15, 17, 18
F4 High Frequencies 19, 21, 23, 25
F5 Before Sleep 5, 4, 3, 2
F6 Pain Assist 15, 16, 19, 20
F7 Sport Injury & Strain Assist 24, 24, 25, 25
F8 General Regeneration 7.83, 7.83, 10, 10
F9 Earth Frequencies 7.83, 14, 21, 25
F10 Wake Up/Energy 7.83, 10, 11, 12
• Screen Indicators during F1 to F10 Programs
• The selected program button has back light activated
• Arrow flashes between A-B, B-C, C-D, D-A to indicate which 5 minute PEMF segment is active
• “Pulse” shown during PEMF active time, “Sleep” during 100 Minute OFF time
• Timer counts down for 5 minutes for each 5 minute PEMF segment
• Wave Type/Frequency/Pulse Duration/Intensity is shown for each 5 minute PEMF segment
For more information see WWW.HEALTHYWAVEMAT.COM
PEMF 1 HOUR PROGRAMS:
• Button F11 & F12 turns ON/OFF PEMF 1 Hour Programs. [Only press one of these buttons] Each PEMF Pro-
gram is comprised of:
• F11 “Energize” 1 hour program: The following 3 - 20 minute programs will run in sequence, F10-F8-
F6. The PEMF program ends after 1 hour and automatically turns OFF
• F12 “Relaxation” 1 hour program: The following 3 - 20 minute programs will run in sequence, F9-F8
-F5. The PEMF program ends after 1 hour and automatically turns OFF
Program Button Program Type Pre-Programmed Sequence
F11 Energize (1 Hour) F10 - F8 - F6
F12 Relaxation (1 Hour) F9 - F8 - F5

3
• User Optional Actions
• User can switch between PEMF programs any time. Just press the next PEMF program that is desired
• Each of the PEMF programs can be User re-programmed as described in the advanced user program-
ming section
ADVANCED USER PROGRAMMING GUIDE:
• Users can re-program any of the F1 to F10 PEMF 20 minute programs to any available settings.
• First press and hold PEMF PROGRAM button for 5 seconds [button light will flash and a beep sound occurs]
• Then press once any of the 20 Minute PEMF Programs you want to change (F1 to F10).
• Then use the PEMF Mode button to scroll through Segment A, Segment B, Segment C, Segment D. You will
see each Parameter Type flashing as you scroll through the parameters. When the parameter is flashing then
you can change the settings for this parameter.
• PEMF Mode Button - To make changes to PEMF parameter settings.
• After first initiating the PEMF PROGRAMMING you can start making the settings first for Segment
A. “Wave Type will flash. Use UP/DOWN △▽“P” buttons to increase or decrease the desired wave
type (sine or square wave)
• Press PEMF Mode Button again, “Frequency” will flash. Use UP/DOWN △▽“P” buttons to in-
crease or decrease the desired frequency (1 to 30 pulses per second [Hz]).
• Press PEMF Mode Button again, “Pulse Duration” will flash. Use UP/DOWN △▽ “P” buttons to
increase or decrease the desired PEMF Pulse Duration ((M) Medium, (F) Fast, (UF) Ultra Fast).
• Press PEMF Mode Button again, “Intensity” will flash. Use UP/DOWN △▽ “P” buttons to in-
crease or decrease the desired PEMF Intensity (10%, 25%, 50%, 75% , 100%).
• After you completed al changes for Segment A the Press PEMF Mode Button again to step to Seg-
ment B parameters and repeat the steps above. Then repeat this for Segment C and D programs.
• After you have scrolled through all the parameters for all Program segments A, B, C and D then press
the PEMF PROGRAM button again for 5 seconds until you hear a beep. This will save all your set-
ting that you just made.
RESTORE FACTORY DEFAULTS:
• All changeable parameters on the controller can be restored to the factory default as follows:
• Press the sleep mode button, ,P△ and H▽ for 5 seconds at the same time, a beep
sound will be heard, and the controller will automatically shut down. When you press
the POWER button again the controller will have the restored factory settings.
Automatic Controller Functions:
• If there is no operation within 2 minutes after starting up, the background light will be turned OFF.
To turn the background light on again just press any button once. NOTE: The mat controller and mat
functions are still fully working even if the background light is turned OFF
• If the user doesn’t do any operation or touch any buttons for 12 Hours, the controller will automati-
cally POWER OFF.
For more information see WWW.HEALTHYWAVEMAT.COM
