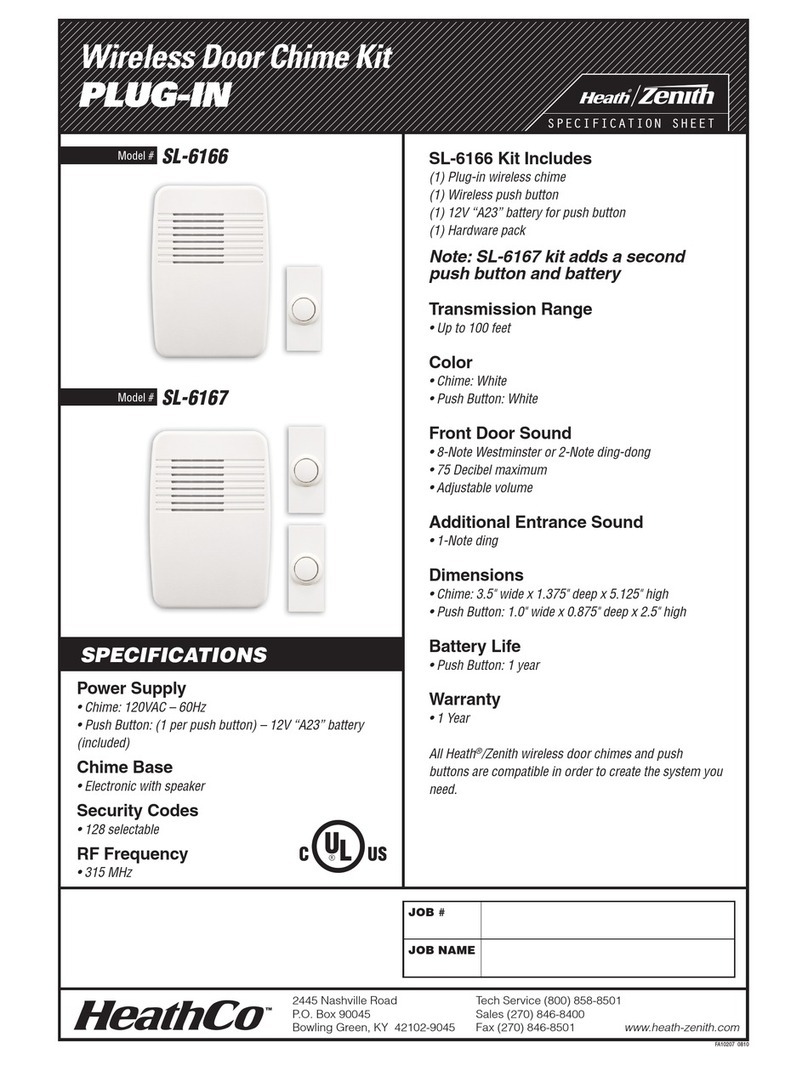
HeathCo Heath Zenith 7745 User manual

Wireless Chime
© 2016 HeathCo LLC
1. Remove orange battery tab from push button.
Remove back of case by pushing in tab on bottom
with a small screwdriver (see Figure 1). Remove
orange battery tab.
2. Open chime case. Remove screw on rear of chime.
Press in catch on bottom of chime and lift the case
open (see Figure 2).
3. Install 2 alkaline “C” batteries. Make sure batter-
ies are oriented properly (see Figure 3).
4.
Snap cover onto chime base. Align top edge of
case with top of back plate. Rotate bottom of case
toward back plate and snap into position.Insert screw
removed in step 2 into the rear of the chime and tighten
securely.
5. Test range. Temporarily position chime and push
button where you want them mounted. Press push
button to verify chime and push button work prop-
erly. If chime does not sound, see Troubleshooting.
Figure 1
Figure 2
Figure 3
WARNING:To prevent possible SERIOUS
INJURY or DEATH:
• NEVER allow small children near batteries.
• If battery is swallowed, immediately notify
doctor.
Type “C”
Type “C”
1 2 3 4 5 6 7 8
This chime requires 2“C”alkaline batteries (not included). In typical use, alkaline
batteries will last up to one year.
This package includes (Style of door sensor and chime may vary from illustration):
Model
Wireless
chime Wireless push
button Hardware
pack
7745 ✔ ✔ ✔

2
UP
UP
6. Mount push button. Use either screws or double
sided tape to mount push button.
•
Screw Mounting: To mount with screws, remove
back of case by pushing in tab on bottom with a
small screwdriver (see Figure 1). Note: Remove
material in screw holes (if needed) before mounting
with screws. Attach back of case to door jamb or
wall (see Figure 4). Snap front of push button on.
• Tape Mounting: When attaching push button
using double sided tape, make sure the surface
of the door jamb or wall is clean.
7. Mount chime. Determine mounting location. The
base may be mounted horizontally or vertically
depending upon the specific model purchased.
• Use template on back cover of manual for screw
placement. Mark two hole locations 2-3/4" (7 cm)
apart. Note: Make sure holes are level before
drilling.
• Drill two 7/32" diameter pilot holes for wall an-
chors and insert anchors.
• Mount keyhole screws to wall leaving about 1/8"
(3 mm) of the screw threads exposed.
•
Using keyholes on back of chime base, hang base
on screws (see Figure 5).
Figure 5
Figure 4
Keyhole Slots
(Horizontal Mounting)
Keyhole Slots
(Vertical Mounting)
Keyhole
Screw (x2)
Keyhole
Screw (x2)

3
Inside Push Button
Tune Settings
Push Button Tune
Jumper - ON Ding
Jumper - OFF Ding-Dong
Tune Setting Table
The chime has different selectable tunes: Ding (one
note tune) or Ding-Dong (two note tune). The factory
setting is for the Ding-Dong tune. This tune can be
changed by following the instructions in the Tune
Setting Table.
Note: All chime models are designed to work with up
to 5 push buttons (sold separately). All chimes are
designed to play only two different tunes no matter
how many push buttons are used.

4
Troubleshooting
1. PROBLEM: Chime does not sound.
A. POSSIBLE CAUSE: Batteries not installed correctly.
A. CORRECTIVE ACTION: Make sure batteries are installed according to the
diagram inside the push button and chime.
B. POSSIBLE CAUSE: Batteries are dead.
B. CORRECTIVE ACTION: Check charge of push button and chime batteries
and replace if necessary.
C. POSSIBLE CAUSE: Push button and chime are not synced.
C. CORRECTIVE ACTION: Sync the push button and chime.
• Press and hold the button on the chime until the chime sounds a “Beep-
Beep”.
• Press the push button within 30 seconds. The chime will sound a “Beep-
Beep” tone to indicate the push button is synced.
• Press the push button to ensure operation.
2. PROBLEM: Batteries seem okay, but the chime does not work after installation.
A. POSSIBLE CAUSE: Chime or push button is mounted on metal or near metal
studs. Note: Metal reduces transmission range.
A. CORRECTIVE ACTION: Use 1/4 in. to 1/2 in. (6 to 13 mm) wood shims to
move chime or push button away from metal surface.
B. POSSIBLE CAUSE: Chime is mounted near concrete floor or wall. Note:
Concrete may reduce range.
B. CORRECTIVE ACTION: Move chime away from concrete surface.
C. POSSIBLE CAUSE: Chime and push button are installed too far apart.
C. CORRECTIVE ACTION: Locate chime closer to push button.

5
3. PROBLEM: Chime sounds when not intended (false triggers).
POSSIBLE CAUSE: Chime is receiving interference from another wireless
device.
CORRECTIVE ACTION: Reset chime and push button.
• Remove push button batteries. Wait 30 seconds.
• Press and hold the push button for 10 to 15 seconds within 60 seconds
after installing battery into the push button.
• Press and hold the button on the chime until the chime sounds a “Beep-
Beep-Beep-Beep”.
• To re-sync the push button and chime, press and hold the button on the
chime until the chime sounds a “Beep-Beep”.
• Press the push button within 30 seconds. The chime will sound a “Beep-
Beep” tone to indicate the push button is synced.
• Press the push button to ensure operation.
Note: The push button and chime come synced from the factory. The range of the
wireless chime can vary with location, temperature, and battery condition.
Type “C”
Type “C”
SYNC:
HOLD 3 SEC
RESET:
HOLD 10 SEC
Type “C”
Type “C”
SYNC:
HOLD 3 SEC
RESET:
HOLD 10 SEC

6
Regulatory Information
This device complies with Part 15 of the FCC Rules and RSS-210 of Industry Canada.
Operation is subject to the following two conditions: (1) this device may not cause
harmful interference, and (2) this device must accept any interference received,
including interference that may cause undesired operation.
The user is cautioned that changes or modifications not expressly approved by
the party responsible for regulatory compliance could void the user’s authority to
operate the equipment.
Please contact us for assistance
before returning product to the store
or to HeathCo LLC.
If you experience a problem, follow this
guide.
When contacting Technical Service,
please include the following informa-
tion: Name, Street Address, Daytime
Phone Number, Email Address, Model
Number, Date of Purchase, Place of
Purchase, Product Issue, and DATED
SALES RECEIPT FOR WARRANTY
REQUESTS.
Technical Service
Learn more about home shop we have.
Table of contents
Other HeathCo Intercom System manuals
Popular Intercom System manuals by other brands

Comelit
Comelit 8461M Technical manual

SSS Siedle
SSS Siedle BFS 850-0 operating instructions

Fermax
Fermax DUOX Installer manual

Orcomm
Orcomm ORC–E1 installation manual

Advanced Visual Solutions
Advanced Visual Solutions AV102SS Installation and operating instructions

SSS Siedle
SSS Siedle CVU 850-1-0 E Product information