Hedensted Gruppen HG FEEDER 600 User manual
3. december 2012
USERS MANUAL
HG FEEDER 600

Telephone 0045 75891244
Hedensted Gruppen –for professional farmers
2

Telephone 0045 75891244
Hedensted Gruppen –for professional farmers
3
1. Table of contents.
1. Table of contents. ..................................................................................3
2. Guarantee provisions.............................................................................5
3. Precautions............................................................................................ 7
3.1 Training ....................................................................................... 10
3.2 Preparations................................................................................ 10
3.3 Daily control................................................................................. 11
4. Operation............................................................................................. 12
4.1 Operating instruments................................................................. 13
4.2 Engine operation......................................................................... 14
4.3 Tumbler switches. ....................................................................... 16
4.4 Feeding computer (extra equipment) .......................................... 17
4.5 Throttle hand lever. ..................................................................... 17
4.6 Regulation of feed amount and water.......................................... 18
4.7 Main switch..................................................................................18
4.8 Driving pedal. .............................................................................. 18
4.9 Feeding pedal.............................................................................. 19
5. Water tank and water filling up............................................................. 20
5.1 Water emptying, cleaning –dosing pump.................................... 20
6. Adjustment of driving comfort............................................................... 21
7. Check before start................................................................................ 22
7.1 Oil level engine............................................................................ 22
7.2 Oil level hydraulic. ....................................................................... 22
7.3 Fuel, refueling.............................................................................. 23
7.4 Cooling water. .............................................................................24
7.5 Air intake to water cooler............................................................. 24
7.6 Air intake to oil cooler.................................................................. 25
8. Driving and feeding.............................................................................. 26
9. Maintenance ........................................................................................ 28
9.1 Engine oil and oil filter change..................................................... 29
9.2 Changing diesel filters and bleeding............................................ 30
9.3 Cleaning/change of air filter......................................................... 30

Telephone 0045 75891244
Hedensted Gruppen –for professional farmers
4
9.4 Change of hydraulic oil and hydraulic filter.................................. 31
9.5 Lubrication................................................................................... 32
9.6 Maintenance cleaning.................................................................. 33
9.7 Fuse box...................................................................................... 33
9.8 Tyre pressure .............................................................................. 34
10. Towing the machine...........................................................................35
11. FAQ. .................................................................................................. 36
12. Hydraulic diagram.............................................................................. 37
13. Electric diagram................................................................................. 38
14. Spare parts. ....................................................................................... 41
15. Technical data.................................................................................... 48
16. EC Declaration of Conformity............................................................. 49

Telephone 0045 75891244
Hedensted Gruppen –for professional farmers
5
2. Guarantee provisions.
The manufacturer of this machine gives a 12 months guarantee (max.
1000 working hours). The guarantee period starts at the delivery date.
The guarantee includes:
Components which have to be changed or repaired because of
material or fabrication defects.
The guarantee does not include wearing and consumer parts such
as:
Feeding pump, Tyres, Bulbs, Filters, Oil and so on.
The manufacturer`s guarantee stops if:
The machine is used in a wrong way.
The machine is used without following the users manual and the
precautions.
The service schedule is exceeded, or non original spare parts are
used such as filters.
The machine is used after a defect is discovered, if this causes a
more expensive repair than the original defect.
The owners own insurance should cover:
Fire, burglary and malicious damage.
Water and frost damages.
Corrosion damages caused by battery acid.
Damages caused by wind and weather.
The manufacturer`s guarantee does not cover these cases.
Approval of claim for compensation:
Provides that the defect part is shown to the manufacturer or a
representative of the firm within 2 weeks after the damages is emerged.

Telephone 0045 75891244
Hedensted Gruppen –for professional farmers
6
The property in the damaged parts is transferred to the supplier of the new
parts.
The guarantee only replaces components not:
Freight charges.
Costs for waiting, working hours for the machine owner and travel
costs.
Operation loss and other following costs.
Further
Prior to the guarantee repair the manufacturer has to be contacted in order
to agree on the procedure.
These guarantee provisions can only be changed through separate
agreement.
Telephone 0045 75891244
Hedensted Gruppen –for professional farmers
7
3. Precautions
Guidance in safe use of the HG Feeder 600:
IMPORTANT!
WARNING!
WARNING!
READ THE USERS MANUAL
If you are not informed about certain details
concerning this machine, there can be some risky
situations.
Read the users manual thoroughly before using the
machine.
CARBON MONOXIDE
Dangerous carbon monoxide from the exhaust of the
machine can cause sickness, faint and death.
Do not use the machine in closed and small rooms.
HOT PARTS
Hot parts can cause serious burnings. Do not touch
the engine or the exhaust during running or when the
engine just is switched off.

Telephone 0045 75891244
Hedensted Gruppen –for professional farmers
8
WARNING!
WARNING!
WARNING!
FIRE HAZARD
Explosive fuel can cause fire and serious burnings.
Stop the engine and let it cool off before filling in fuel.
The engine always has to be switch off during filling.
HIGH VOLTAGE
The engine generates high voltage which can cause
bodily damage or death.
Do not touch the wires while the engine is running.
ROTATING PARTS
Rotating parts can cause serious damage. Keep
hands, feet, hair and clothes away from all moveable
parts. Do not use the machine without the enclosed
shields and so on.

Telephone 0045 75891244
Hedensted Gruppen –for professional farmers
9
WARNING!
WARNING!
WARNING!
EXPLOSIVE GAS
Explosive gas from the battery can cause fire and
serious corrosion damages.
Only charge the battery in a well ventilated place.
Keep all flammable sources away.
DANGER
Sudden start can cause serious damage and
death. At parking and service the engine has to be
stopped and the ignition key removed.
NOISE
Long stay in noise can damage the hearing. Use of
ear defenders is recommended.

Telephone 0045 75891244
Hedensted Gruppen –for professional farmers
10
3.1 Training
Read the Users Manual thoroughly. You ought to have knowledge to the
operating handles/switches and correct use of the equipment.
Do not let children or persons, who have no knowledge to the instructions,
use the machine. The law may have stated an age limit for persons who
may use the feeding machine.
Remember the driver is responsible for accidents or dangerous situations
that could cause damages towards other human beings or their property.
The driver should be carefully instructed in using the machine. The
instructions should especially pay attention to the following:
The need of being carefully and concentrated when you work with
automotive machines.
Form a general view of what happens in front/behind the machine
especially during feeding, where other people are present.
The most important causes for accidents:
Driving too fast, especially with a filled up container.
Turning with high speed, especially with feed in the container.
Lack of a general view.
The driver`s knowledge to the machine is insufficient.
The terrain conditions are too steep.
3.2 Preparations
When you drive do not wear loose clothes, which can grasp nesting
boxes, doorways and so on. Always wear nonslip shoes in order to
operate the pedals in a safe way.
-Keep the fuel in cans that are approved to the purpose, and out of reach
for children and unauthorized persons.
-Only fill in fuel outdoors. Smoking is forbidden at filling up.
-Fill in fuel before starting the engine. Never remove the cover on the fuel
tank or fill in fuel, while the engine is running or hot.

Telephone 0045 75891244
Hedensted Gruppen –for professional farmers
11
-If you spill fuel do not try to start the engine, but remove the machine from
the spot, where the fuel was spilled, in order to avoid setting fire to the
fuel. If you spill fuel on the exhaust or out on the engine, then wait until the
fuel is evaporated, or else a fire could arise.
-If you get diesel or engine oil on your skin, wash your skin carefully with
soap.
-Inhalation of fuel mists or oil mists are insanitary.
-Consuming fuel or oil is dangerous.
3.3 Daily control
At visual control the following has to be checked after every filling up fuel:
- That there is no leak in the hydraulic system at tubes, tank and so on.
- That there is no leak in the fuel system at tubes, filters, tank .
- That all bolts, nuts and so on are securely tightened.
- That the silencer is tight.
- That the admission of air behind the seat and the rotating blower are free
of wool.
- That there is no spilt engine oil around the oil filler neck.
- That the air pressure in the tires is checked once a week.
- That the running pedal easily goes to the middle position in idling. (That
the machine stands still, when you let go of the running pedal).

Telephone 0045 75891244
Hedensted Gruppen –for professional farmers
12
4. Operation
Do not let the engine run in small closed rooms, where a dangerous
carbon monoxide can be accumulated.
Warning: Inhalation of carbon monoxide can cause poisoning and
possible death.
Do not use the machine in places with flammable dust or explosive gases
or where the exhaust gets in contact with ignitable material.
Use as far as possible only the machine in daylight or in good artificial
lighting.
When you start the engine, you
must not rest the feet on the
pedals, they have to be placed on
the running board.
Notice that the driving ability of
the machine is changed a lot from
an empty to a filled feeding
container, because the centre of
gravity is moved highly up at a
filled container.
When you drive with a filled
container pay attention to the fact that the machine can overturn, if you
drive with high speed in a curve or on slopes with more than 15 degrees
tilt
You obtain pleasant driving if you operate the running pedal with smooth
movement of the foot. Remember that the operating speed increases
proportional to the press on the running pedal. It goes both forward and
backward.
When you leave the machine you have to remove the ignition key from the
dash board.
15°

Telephone 0045 75891244
Hedensted Gruppen –for professional farmers
13
4.1 Operating instruments
The below shows the position of the different operating instruments on the
HG Feeder 600. See the following pages for a deepening description.
1. Arbejdslampe med on/off kontakt
1Working lamp
2. Engine operation.
3. Tumbler switches for feeding method, reverse pump and water.
4. Feeding computer (extra equipment).
5. Throttle hand lever.
6. Regulation of amount of feed and water supply.
7. Main switch.
8. Running pedal.
9. Feeding pedal.
10.Water refill and water gauge.
10
0
1
2
3
6
5
4
7
8
9

Telephone 0045 75891244
Hedensted Gruppen –for professional farmers
14
4.2 Engine operation
The engine operation and the ignition key are mounted on the dash board
in the right side. The operation contains light indicator, preheater and hour
meter. When the engine runs the operation supervises the condition of the
engine. If the engine is overheated or there is a lack of oil pressure the
engine stops automatically.
Afterwards it informs you about the fault through the light indicators.
Start of the engine (Preheater):
If you start a cold diesel engine it has to be preheated. Turn the key
against right to position 1. The lamp ”preheater” lights 15 seconds, at the
same time the engine is preheated. When the lamp switches off you turn
the key to position 2 and the engine starts. When the engine runs you let
go of the key.
If you start a warm engine the lamp “preheater” does not light, and the
engine can start at once.
Hour meter:
The hour meter tells you how many hours the machine has operated. The
hour meter is activated when you start the engine.
Hour meter.
Ignition.
Start.
Status
Charging lamp
Oil lamp
Temperature
Preheater

Telephone 0045 75891244
Hedensted Gruppen –for professional farmers
15
Status:
The status lamp shows the condition of the engine. If it lights green the oil
pressure, the temperature and the generator are ok. No light indicates that
the engine properly has been stopped by the control unit in order to
protect the engine. So the missing green light means error, and one of the
other lamps will light red in order to indicate the cause.
Charging lamp:
The charging lamp indicates the function of the generator. The lamp lights
red, if the generator does not load correctly on the battery.
In this case check the generator of the machine.
Oil lamp:
The lamp indicates the lubricating oil pressure of the engine. If the lamp
lights red the oil pressure is not high enough, this can damage the engine.
In this case the control unit will stop the engine in order to protect it. The
status lamp switches off and the oil lamp lights in order to indicate the
cause.
Temperature:
The lamp indicates the temperature of the engine. If the lamp lights red the
cooling water temperature is too high, this can damage the engine. In this
case the control unit will stop the engine in order to protect it. The status
lamp switches off and the temperature lamp lights in order to indicate the
cause.
Zero position of protection stop:
If the engine has been stopped by the control unit, the cause is shown via
the control lamps. When the cause of the error is traced and repaired, you
turn the key left to position 0. Wait 10 seconds and turn the key to position
1. The control unit tests the system and lights shortly with all the lamps.
The engine is ready for a start.

Telephone 0045 75891244
Hedensted Gruppen –for professional farmers
16
4.3 Tumbler switches.
On the tumbler switches placed on the dash board you can change
between the different functions of the feeding pump.
Reverse:
On the reverse button there is a possibility
of running backwards with the feeding
pump. Activate the reverse function by
pressing the white spot, and then press the
feeding pedal in order to make the pump
running.
Water:
Activation of the water pump. When you
press the white spot of the tumbler switch you turn on the water dosing,
so that the feed is supplied with an adjustable amount of water.
MAN/AUTO.
On the button you can change between manual and automatic feeding. At
automatic operation you activate the feeding pump when you press the
feeding pedal, and the feeding pump steers the amount of feed and the
interval between the lumps.
(Feeding computer is extra equipment).
At manual running the operator steers the feeding amount manual by
activating the feeding pedal.

Telephone 0045 75891244
Hedensted Gruppen –for professional farmers
17
4.4 Feeding computer (extra equipment)
The feeding computer secures a homogeneous
draining of feed. The computer steers the lump
amount and the interval they have to come in.
The operator can adjust the interval time so that
it fits exactly to the operator`s working speed.
For further information see the Users manual for
Twinca Easy.
4.5 Throttle hand lever.
The throttle hand lever is mounted on
the left side on the dash board. The
turns on the diesel engine increases
when you pull the throttle hand lever
against yourself. If the hand lever
cannot stay in the chosen position,
you tighten the center nut a little, so
that the friction in the turning function
is increased.

Telephone 0045 75891244
Hedensted Gruppen –for professional farmers
18
4.6 Regulation of feed amount and water.
With the water regulation you can decide the amount of water that is
mixed into the feed, when the feeding pump is
activated.
The feeding pump regulator adjusts the orbital
velocity for the feeding pump, so that there can
come more or less feed in a certain period.
Indication for adjustment you find over the
regulators.
4.7 Main switch.
The main switch is placed on the left side of the
feeding machine. It switches off all power from the
battery and the rest of the electric supply mains.
4.8 Driving pedal.
The driving pedal is placed to the left on the
machine. Notice that the pedal has to be activated
softly, because the speed of the machine is
proportional to the deflection on the pedal. And the
driving will be more pleasant, when you operate the
pedal with smooth movements. For adjustment
of the pedal see the section “adjustment of driving
comfort”.
Important: At very low temperatures the braking distance can be
longer until the oil is getting warm.

Telephone 0045 75891244
Hedensted Gruppen –for professional farmers
19
4.9 Feeding pedal.
The feeding pedal is placed to the right on
the machine.
The pedal has to be activated with the foot
every time, there has to be pumped out feed.
Telephone 0045 75891244
Hedensted Gruppen –for professional farmers
20
5. Water tank and water filling up
In front of the machine you find the water tank. The tank makes it possible
to bring along water, and mix it currently in the feed, so that the correct
consistence is obtained.
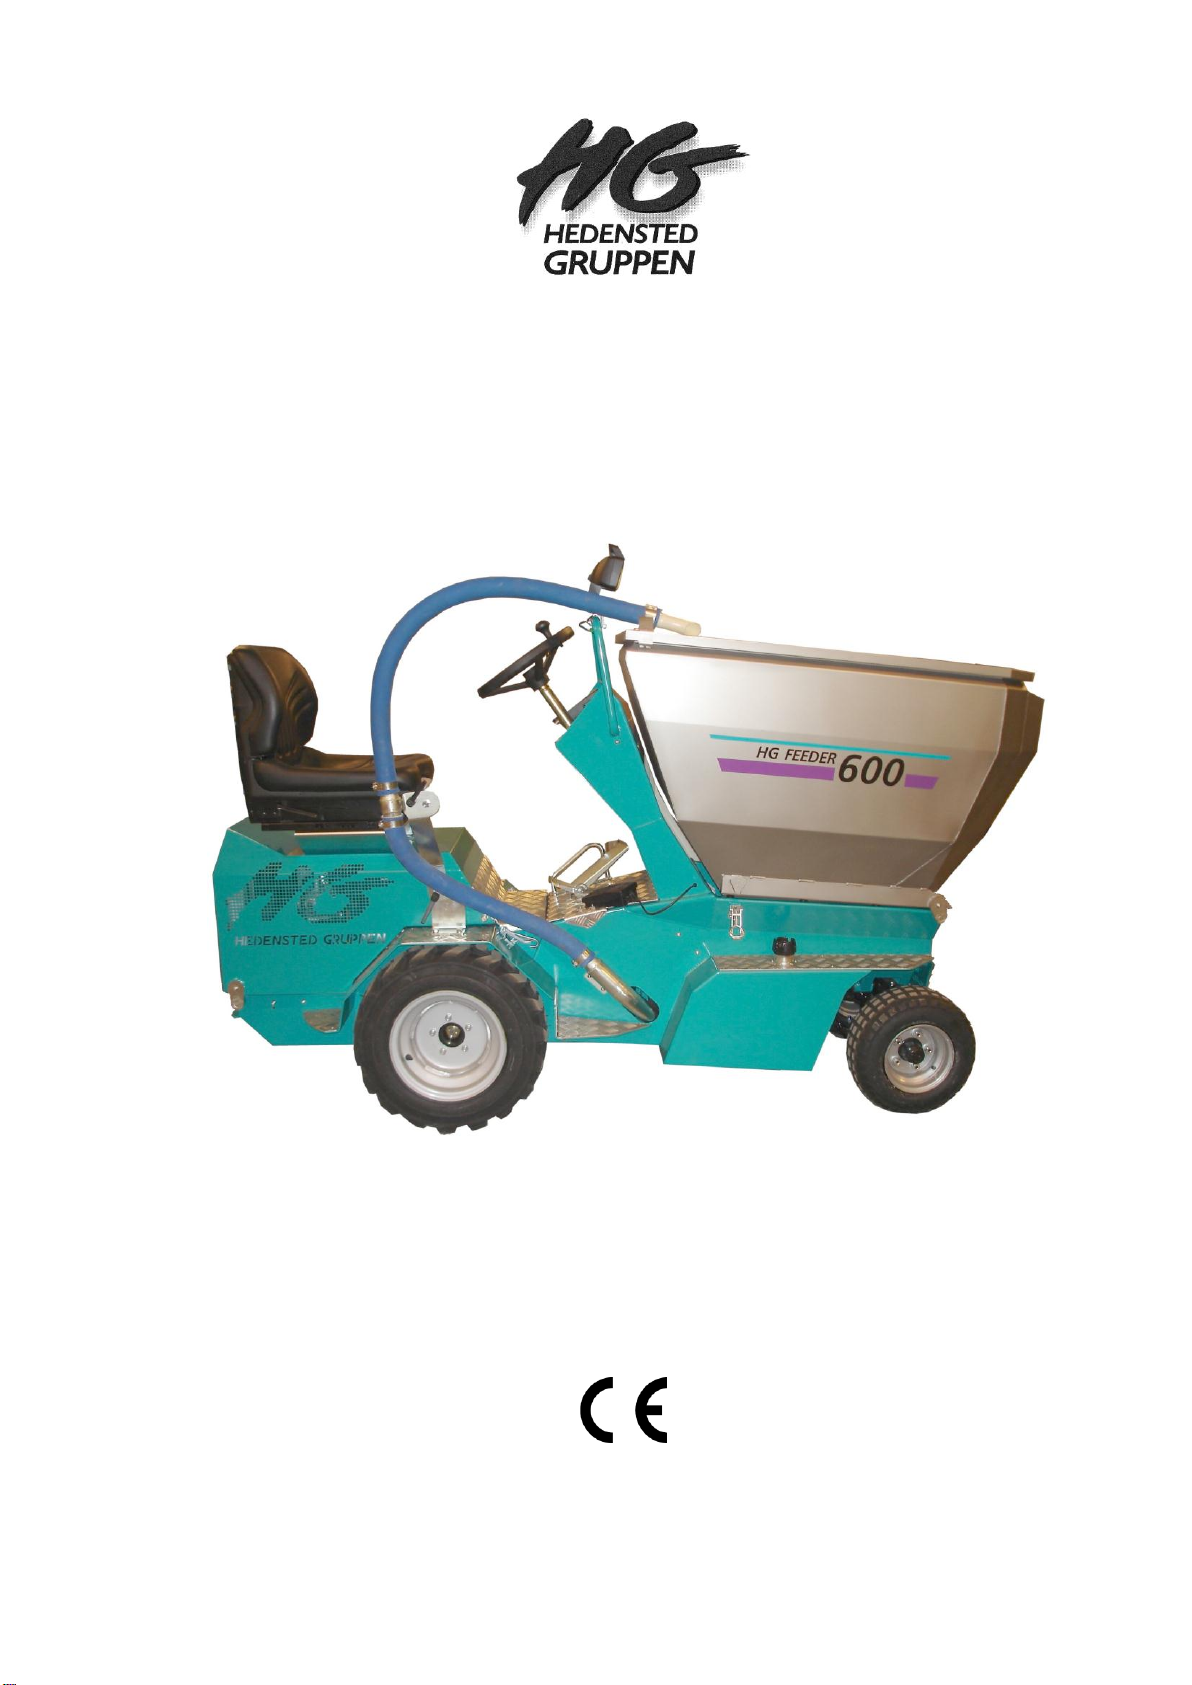
The filler neck to the water tank is placed on the top
edge of the water tank in front of the feed tank.
Dismount the tank cap by turning anticlockwise.
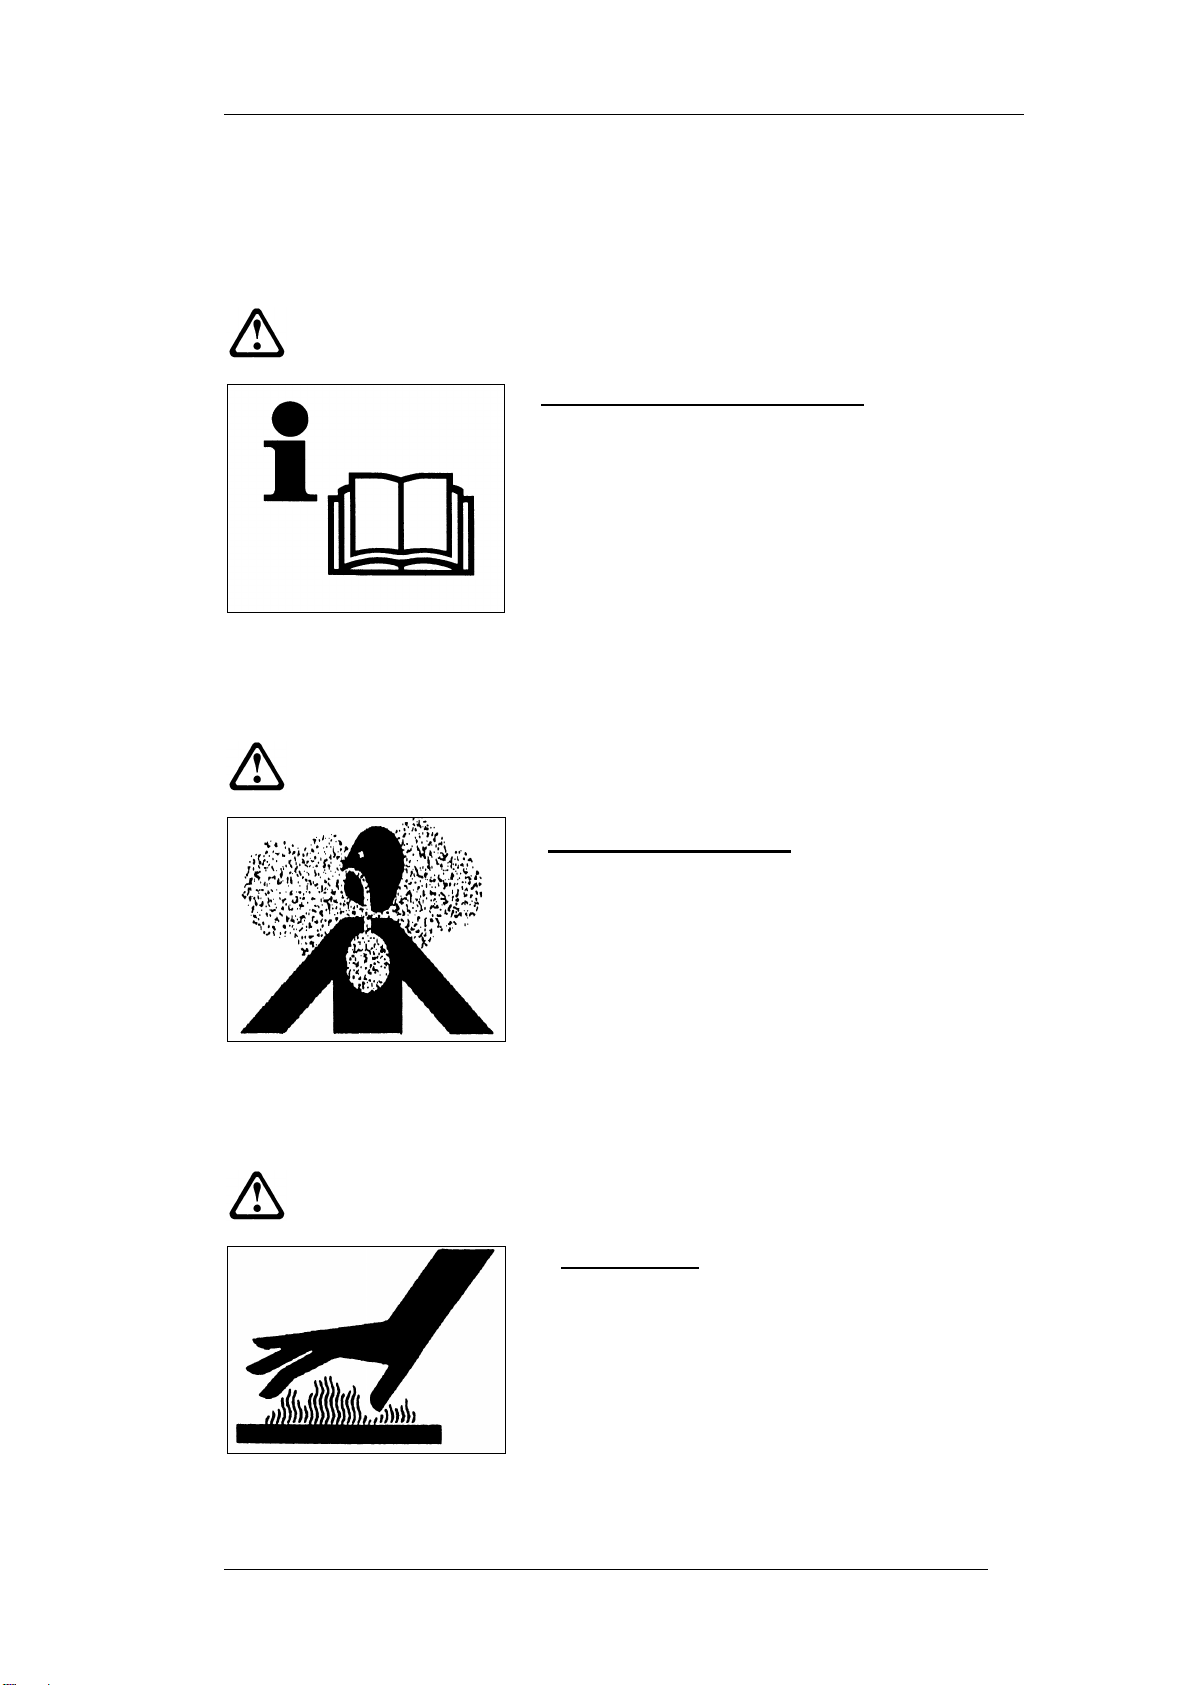
At the front of the feed tank you
find the water gauge for the
water tank. The indicator is made so that it is easy to
change if there is dirt inside.
You read the water level of the tank in liters at the
belonging scale.
5.1 Water emptying, cleaning –dosing pump
In order to lighten the cleaning and emptying
of the tank you can tip the feed tank, so that
the water runs out of the filler neck. Is the
tank tipped you can dismount the cover in
the bottom of the tank, it makes cleaning
easier.
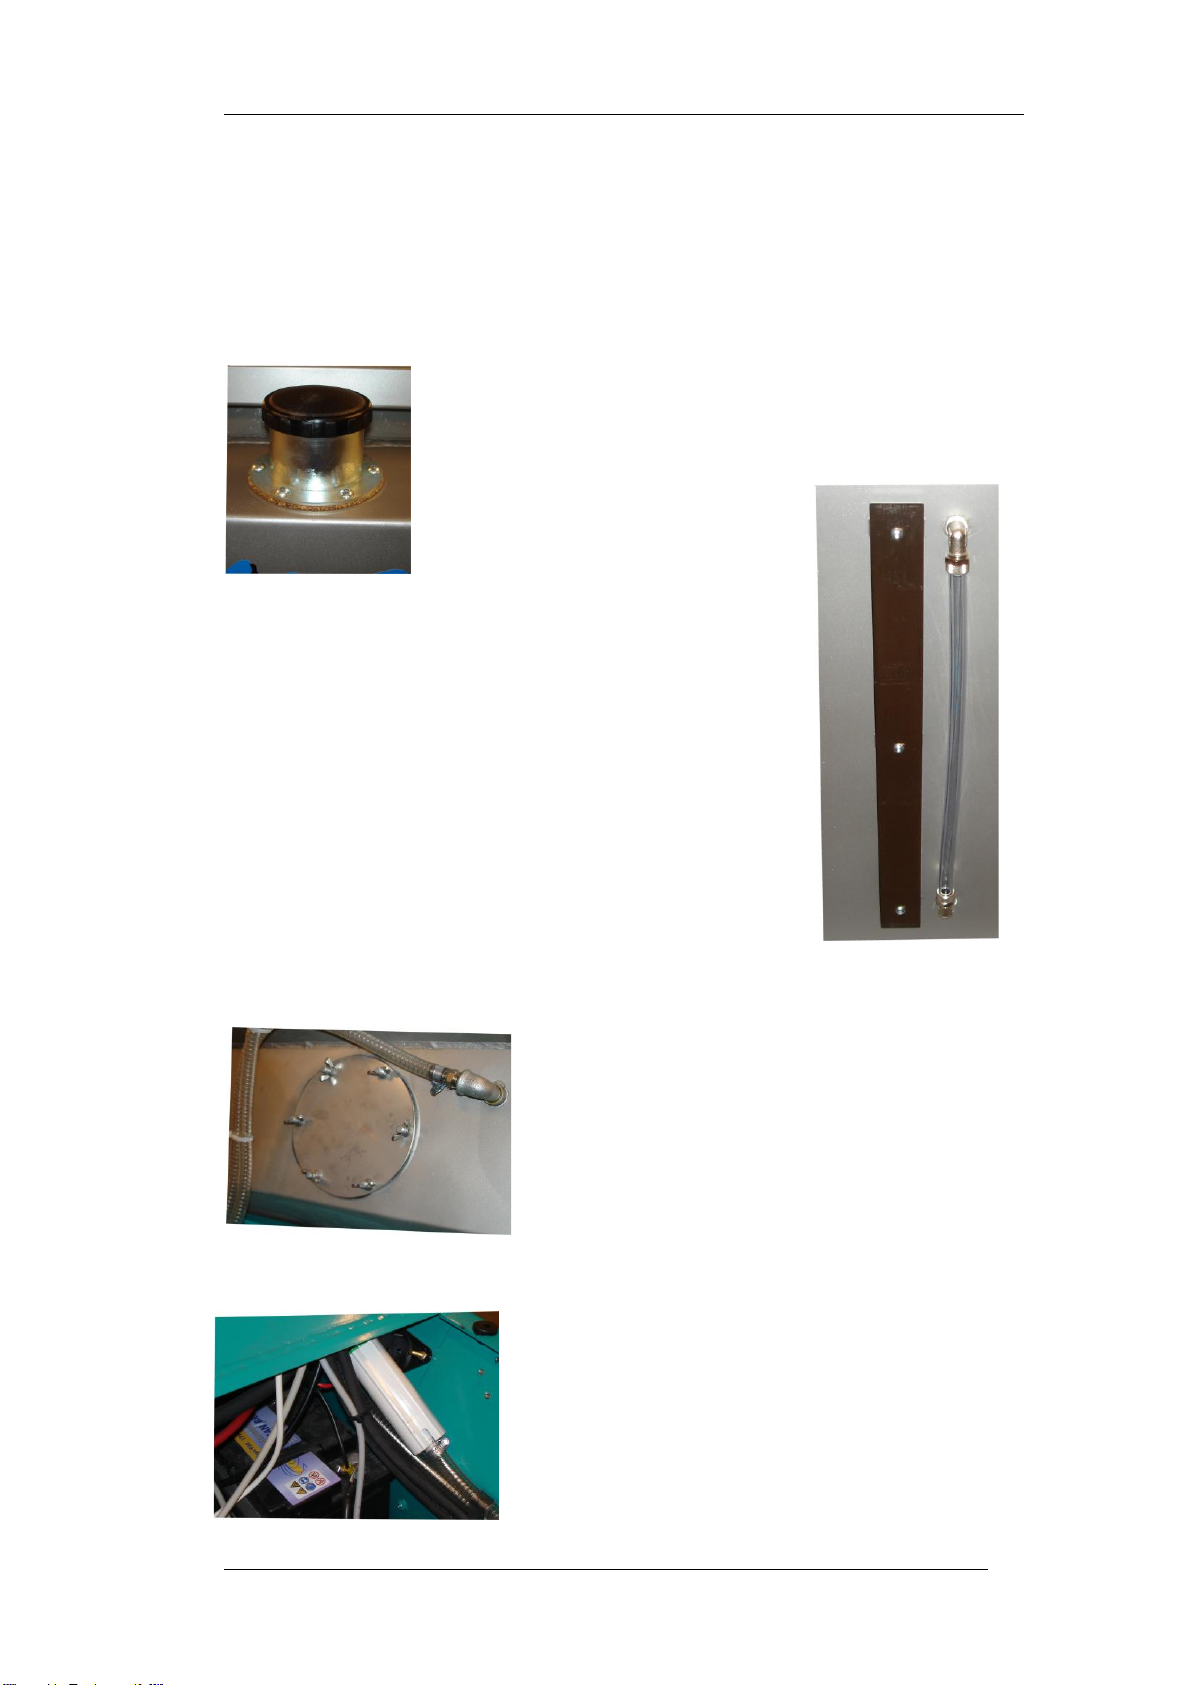
6. Adjustment of driving
comfort
The dosing pump, which presses the water
out into the feeding pump, is placed under
the dash board in the left side of the
machine. The pump only runs when you
activate the water on the tumbler switch and
the feeding pedal.
Table of contents
Popular Farm Equipment manuals by other brands


GREAT PLAINS
GREAT PLAINS 3P1006NT Original instructions

Agria
Agria 8100 Series operating instructions

Unverferth
Unverferth Killbros SeedVeyor 102 manual

Walinga
Walinga Grain-Vac 7614F Operator's manual

BE
BE AGRI EASE BE-EFGC F Series Operations & parts manual

Cosmo
Cosmo CX 1500 User and maintenance manual

brielmaier
brielmaier Multi-Twister MT220B Translation of the original instructions

Spearhead
Spearhead TRIDENT 400 Operator's instruction manual

GREAT PLAINS
GREAT PLAINS 2 Series Operator's manual

Gaspardo
Gaspardo M Use and maintenance / spare parts

Rotomec
Rotomec HURRICANE H40-048 Operator's manual

Raven
Raven FLOWMAX 220 quick start guide