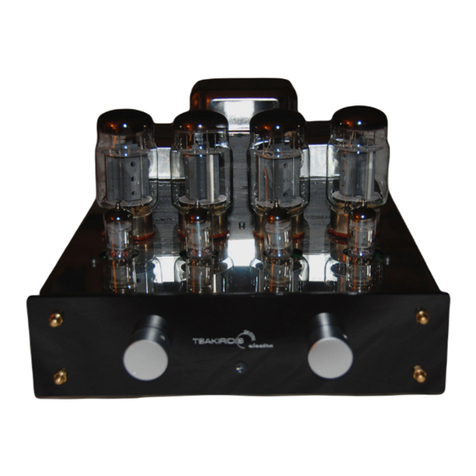
HEED CanAmp User manual

owners manual
HEED CanAmp
headphone amplifier
Dear Music Lover,
Thank you for choosing our product!
In designing the Heed CanAmp, our objective was to produce a
headphone amplifier that conveys all the emotional content and
immediacy of your recordings faithfully, allowing the atmosphere,
tension, and excitement of the original performance to shine
through in an organic, true-to-life fashion.
We sincerely hope that you will agree, and that your CanAmp
will provide you with many years of impeccable, trouble-free
operation.
Happy listening!
The Heed Team
TECHNICAL SPECIFICATIONS
Input sensitivity/impedance:
Power output:
Signal-to-noise ratio (unweighted):
Distortion (THD, 1 kHz, 100mW):
Frequency range:
Power consumption:
Dimensions:
Weight:
200 mV/10 kOhm
300 mW (100 Ohm)
85 dB
<0.05%
10 Hz-50 kHz (±0.5 dB)
<15 W
9x6x22 cm (W/H/D)
1.5 kg
Your Heed CanAmp headphone amplifier is designed to offer the finest
performance available by avoiding compromise, wherever possible. This
guide contains advice specifically related to using this amplifier, as well
as more general warnings about the use of domestic audio components.
Please read them carefully.
u
u
WARRANTY
If within three years of the purchase date your Heed CanAmp proves
to be defective for any reason other than accident, misuse, neglect,
unauthorised modification or fair wear and tear, Heed Audio Ltd. will,
at its discretion, replace the faulty parts without charge for labour.
This factory warranty is valid only for units sold into countries with no
appointed Heed distributor. Service enquiries in countries with
appointed distributor should be addressed first to the supplying
dealer and or Heed distributor/importer. Warranties granted in
these
countries are entirely at the discretion of distributor.
FACTORYCONTACT
DISTRIBUTOR CONTACT
HEED Audio Kft. (Ltd.)
Tel/Fax: +36 1 2947401
H-1181 Budapest
Hungary Web: www.heedaudio.com
canamp_guide.qxd 2009.06.16. 11:57 Page 1

precautions
Instructions — All safety and operating instructions should be read and adhered to exactly as written here
or as depicted on the unit. Please retain for future reference.
Water and Moisture — The unit should not be used near water - that is, near a bathtub, washbowl, kitchen
sink, laundry tub, in a wet basement, or swimming pool, etc.
Heat — The unit should be situated away from heat sources such as radiators, stoves, or other appliances
that produce heat.
Power Sources — The unit should be connected to a power supply only of the type described in the
operating instructions or as marked on the unit.
Power-Cord Protection — Power-supply cords should be routed so that they are not likely to be walked
on or pinched by items placed upon or against them, paying particular attention to cords at plugs, convenience
receptacles, and the point where they exit from the unit.
Lightning — For added protection during a lightning storm, or when left unattended and unused for long
periods of time, unplug the unit from the wall outlet. This will prevent damage to the product due to lightning and
power-line surges.
Object and Liquid Entry — Care should be taken so that objects do not fall into and liquids are not spilled
into the inside of the unit. For this reason,no objects filled with liquid, such as vases or drinking glasses should
be placed on the equipment
Damage Requiring Service — The unit should be serviced by qualified service personnel when:
— The power-supply cord or the plug has been damaged;
— Objects have fallen, or liquid has been spilled into the unit; or the unit has been exposed to rain respectively;
— The unit does not appear to operate normally or exhibits a change in performance;
— The unit has been dropped, or the cabinet damaged.
This amplifier does not have any user serviceable parts. It is essential that repairs and updates are only carried
out by our authorised trade partners – distributors and dealers – , or at the factory by Heed Audio itself. Many
components are custom made, tested or matched and appropriate replacements are often unobtainable from
other sources.
Therefore, users should not attempt to service the unit beyond those means described
in the operating instructions, or under any circumstances allow anyone to modify it.
Unauthorised repairs or modifications will invalidate the guarantee of the unit.
Grounding or Polarization — Precautions should be taken so that the grounding or polarization is not
defeated.
Radio interference — All Heed components are designed to provide reasonable protection against harmful
interference in a domestic installation. However, there is no guarantee that interference will not occur in a
particular installation. If your CanAmp does cause harmful interference to radio or television reception, which can
be determined by turning off and on, you are encouraged to try to correct the interference by one or more of the
following measures:
— Reorient or relocate the receiving antenna;
— Increase the separation between amplifier and receiver (radio tuner, television set, etc.);
— Connect the equipment into a power outlet on a circuit different from that to which the receiver is connected;
— Consult your Heed dealer or an experienced radio/TV technician for help.
Maintenance / Cleaning — It is recommended to dust the equipment from time to time with a soft dry cloth.
Do not use cleaning solvents or abrasives for cleaning!
Always switch off and unplug the unit from the power supply when cleaning!
installation
CONNECTION TO MAINS SUPPLY
Before performing any connections or disconnections ensure that the power on/off
switch (5) of the unit is in "off" position.
Always check that the voltage and frequency of the mains supply corresponds to the
specifications as labled on the unit!
qConnect the power cord's IEC type plug into the power inlet connector (6) of the CanAmp.
qConnect the power cord's mains plug to your power outlet.
CONNECTION TOSOURCE
You find 2 pairs of high quality phono sockets (RCA jacks) on the rear panel.
The sockets ((1, 2) marked IN are to take the signal either directly from a source component (CD/DVD-player,
music server or an analogue turntable via phono stage), or indirectly via the TAPE OUT of an amplifier. When
connecting the CanAmp ensure that the pair of interconnect cables you use are phased correctly i.e. "+" (red) to
"+" and "–" (black) to "–" to the input sockets.
The second pair of sockets (3, 4) marked OUT are to chain link the signal on to the next component in the system,
therefore can also be used to link the headphone amplifier signal to the input of a Tape or Digital Recorder.
CONNECTION TOHEADPHONES
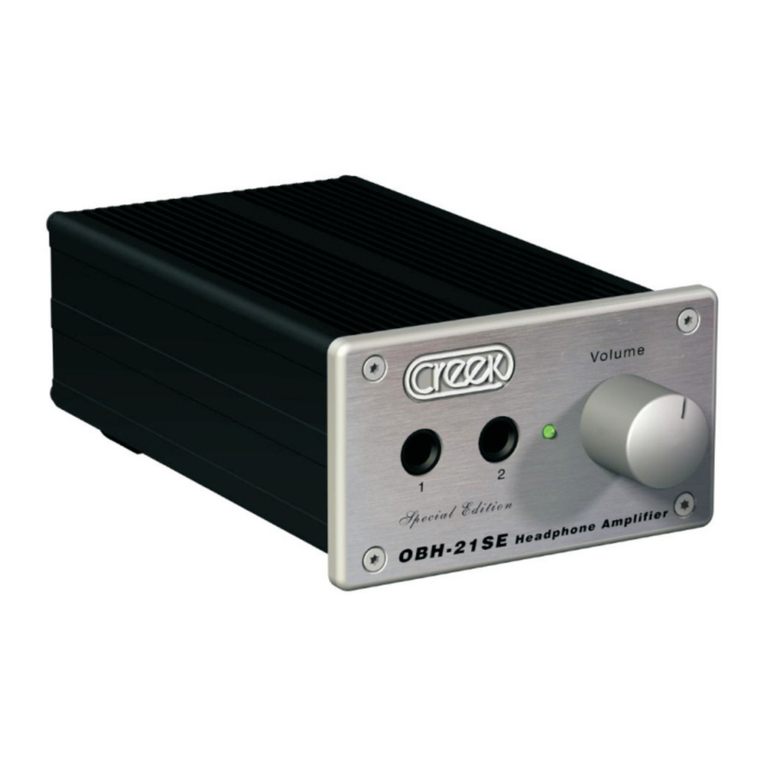
Plug your headphones into the socket on the front panel (8). You can use any quality headphones with the CanAmp,
optimum results can be achieved, however, with types having an impedance from 32 ohms up to 600 ohms.
operation
When all connections are correctly completed, your CanAmp is ready for action!
Turn the Volume Knob down (7) counter-clockwise to the minimum setting.
Switch on your CanAmp with power on/off switch (5) on the rear. The small blue LED on the front
panel will light up. Though it is ready for use now, allow some time (min. 5-10 minutes) for warming up.
Switch on your source component (CD- or DVD-player, music server or turntable).
Begin playing the source component.
Adjust the volume level with the Volume Knob (7) to your preferred setting.
Sit back and enjoy!
It is necessary for the CanAmp to be 'burned in' for at least 72 hours before its full sound quality potential can
be realised. As the CanAmp draws very little power, unless it is out of use for a long period, it is recommended
to leave it switched on permanently.
Should any problems be experienced with installing or operating the unit, contact your local
dealer. If you are unable to do so, or problems persist, however, do not hesitate to contact our
distributor in your country, or us directly at Heed Audio …we're here for you!
Please note: If your unit was transported or stored in cold environment allow it to warm up to room
temperature before switching on!
Once the unit is connected to mains supply, as well as to a source component or amplifier, remove the
protective film from the front panel. You can detach it by peeling off and grabbing the film at any of the corners.
I
I
I
I
q
q
q
q
q
J
see contactsu
canamp_guide.qxd 2009.06.16. 11:57 Page 2
Table of contents
Other HEED Amplifier manuals
