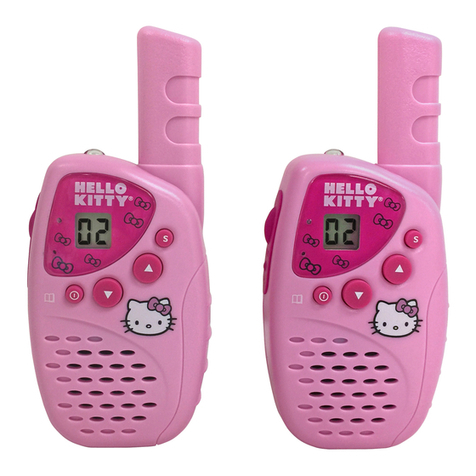
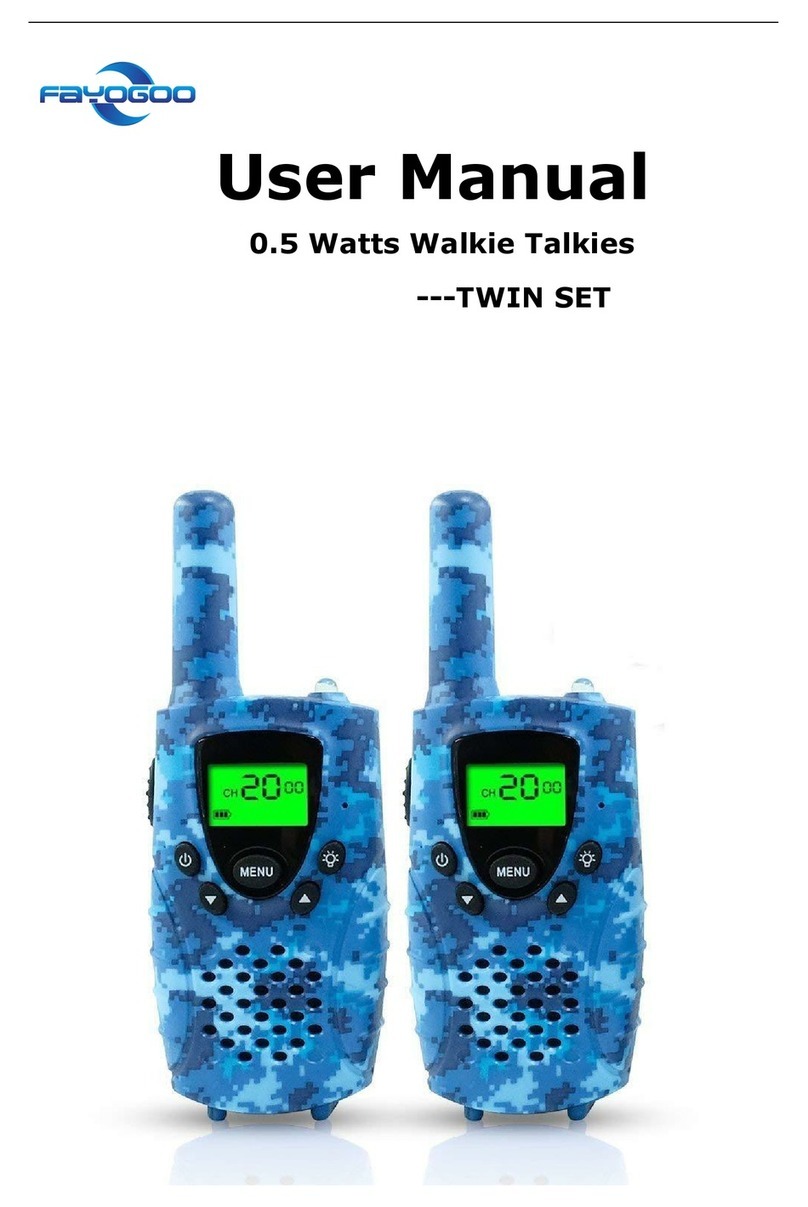
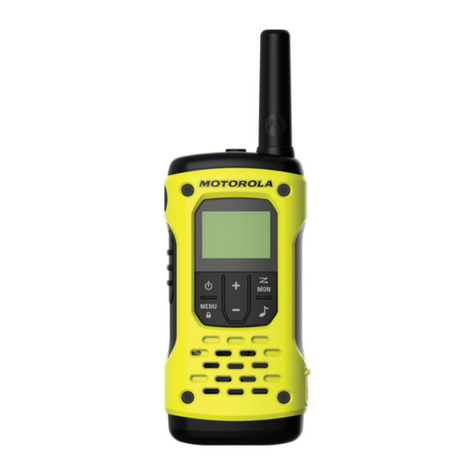
Hello Kitty KT2022 User manual

22 CHANNEL
MINI FRS/GMRS RADIOS
USER MANUAL
KT2022

9
90 DAY LIMITED WARRANTY AND SERVICE
VALID IN THE U.S.A ONLY
SPECTRA MERCHANDISING INTERNATIONAL, INC. warrants this unit to be free from defective
materials or factory workmanship for a period of 90 days from the date of original customer purchase
and provided the product is utilized within the U.S.A. This warranty is not assignable or transferable.
Our obligation under this warranty is the repair or replacement of the defective unit or any part thereof,
except batteries, when it is returned to the SPECTRA Service Department, accompanied by proof of
the date of original consumer purchase, such as a duplicate copy of a sales receipt.
You must pay all shipping charges required to ship the product to SPECTRA for warranty service. If
the product is repaired or replaced under warranty, the return charges will be at SPECTRAs expense.
There are no other express warranties other than those stated herein.
This warranty is valid only in accordance with the conditions set forth below:
1. The warranty applies to the SPECTRA product only while:
a. It remains in the possession of the original purchaser and proof of purchase is demonstrated.
b. It has not been subjected to accident, misuse, abuse, improper service, usage outside the
descriptions and warnings covered within the user manual or non-SPECTRA approved
modifications.
c. Claims are made within the warranty period.
2. This warranty does not cover damage or equipment failure caused by electrical wiring not in
compliance with electrical codes or SPECTRA user manual specifications, or failure to provide
reasonable care and necessary maintenance as outlined in the user manual.
3. Warranty of all SPECTRA products applies to residential use only and is void when products are
used in a nonresidential environment or installed outside the United States.
This warranty gives you specific legal rights, and you may also have other rights which vary from state
to state. TO OBTAIN SERVICE please remove all batteries (if any) and pack the unit carefully and
send it freight prepaid to SPECTRA at the address shown below. IF THE UNIT IS RETURNED
WITHIN THE WARRANTY PERIOD shown above, please include a proof of purchase (dated cash
register receipt) so that we may establish your eligibility for warranty service and repair of the unit
without cost. Also include a note with a description explaining how the unit is defective. A customer
service representative may need to contact you regarding the status of your repair, so please include
your name, address, phone number and email address to expedite the process.
IF THE UNIT IS OUTSIDE THE WARRANTY PERIOD, please include a check for $15.00 to cover the
cost of repair, handling and return postage. All out of warranty returns must be sent prepaid.
It is recommended that you contact SPECTRA first at 1-800-777-5331 or by email at
model you have may be discontinued, and SPECTRA reserves the right to offer alternative options for
repair or replacement.
SPECTRA MERCHANDISING INTERNATIONAL, INC.
4230 North Normandy Avenue,
Chicago, IL60634, USA.
1-800-777-5331
To register your product, visit the link below to enter your information.
http://www.spectraintl.com/wform.htm
Printed in China

1
This device complies with part 95 of the FCC Rules. Operation is subject to the
following two conditions: (1) This device does not cause harmful interference, and
(2) This device must accept any interference received, including interference that
may cause undesired operation.
WARNING: Adjustment to this unit or replacement of any transmitter component
(crystal, semiconductor, etc.) to this unit could result in a violation of the rules.
NOTE:
This equipment has been tested and found to comply with the limits for a Class B
digital device, pursuant to Part 95 of the FCC Rules. These limits are designed to
provide reasonable protection against harmful interference in a residential
installation. This equipment generates, uses and can radiate radio frequency
energy and, if not installed and used in accordance with the instructions, may
cause harmful interference to radio communications.
However, there is no guarantee that interference will not occur in a particular
installation. If this equipment does cause harmful interference to radio or television
reception, which can be determined by turning the equipment off and on, the user
is encouraged to try to correct the interference by one or more of the following
measures:
●Reorient or relocate the receiving antenna.
●Increase the separation between the equipment and receiver.
●Connect the equipment into an outlet on a circuit different from that to which the
receiver is connected.
●Consult the dealer or an experienced radio/TV technician for help.
This radio operates on CH 1~14 and CH 15~22. If you intend to operate the radio
on CH 15 to CH 22, you should obtain a license before operating.
For information, please click in
http://wireless.fcc.gov/services/index.htm?job=service_home&id=general_mobile
IMPORTANT FCC LICENSING INFORMATION
8
SPECIFICATIONS
Description Specifications
Operating Channels 22
Operating Frequency Range 462.5625 to 462.7125 MHz
467.5625 to 467.7125 MHz
462.5500 to 462.7250 MHz
Talk Range Up to 2 miles (3 km)
Output Power 0.5 W (FCC allowed maximum limit)
Power Sourcea
Battrery Life
TROUBLESHOOTING GUIDE
Problem Solution
No power - Ensure that the batteries are installed properly.
- The batteries may be weak.
Reposition or replace batteries
Message not transmitted - Make sure the PTT is completely pressed as you transmit.
Message not received - Make sure that radios have the same channel setting.
- Make sure PTT is not inadvertently being pressed.
- Obstructions operating indoors or in vehicles may interfere
with communication.
- Change your location.
- Check to make sure volume is loud enough to be heard.
Hearing other
conversation or noise on
a channel
- Shared channel may be in use, try another.
Limited talk range - Steel/concrete structures and heavy foliage will decrease
communication range, check for clear line of sight to improve
transmission.
- Wearing radio close to body such as in a pocket or on a belt
will decrease range, change location of radio.
Heavy static or
interference
- Radios are too close to each other. Radio must be at least 5
feet apart. Increase your distance.
- Radios are too far apart. Obstacles interfere with transmission.
Talk range is up to 2 miles in clear and unobstructed
conditions.
'AAA' alkaline batteries x 3, 4.5V DC
About 24 hours (based on 5/5/90 duty cycle)

2
WARNING
• Never apply any DC power to the battery terminals.
• Do not attempt to charge any non-rechargeable batteries.
• Do not attempt to open the unit case. No user serviceable parts inside.
• Refer servicing to qualified service personnel.
• Do not modify or attempt to adjust the transceiver for any reason.
• Do not expose the transceiver to long periods of direct sunlight, nor place the
transceiver close to heating appliances.
• Do not place the transceiver in excessively dusty areas, humid areas, wet
areas, nor on unstable surfaces.
• If smoke is detected coming from the transceiver, immediately switch OFF the
power and remove the batteries from the transceiver. Contact your dealer.
CAUTION
• Use batteries only for the power of the unit, Alkaline or Rechargeable batteries.
• To maintain compliance with the FCC's RF exposure guidelines, hold the
transmitter and antenna at least 2 inches (5 centimeters) from your face and
speak in a normal voice, with the antenna pointed up and away from the face.
If you wear the handset on your body while using the headset accessory, use
only the manufacturers supplied belt clip for this product and ensure that the
antenna is at least 1/2 inch from your body when transmitting.
• Use only the supplied antenna. Unauthorized antennas, modifications, or
attachments, could damage the transmitter and may violate FCC regulations.
FEATURES
• Range: Up to 2 Miles
• 22 Channels
• Multifunction LCD Display
• Auto Squelch Control
• Auto Power Saver Mode
• Call Function
• Monitor Function
• Low Battery Alert
• Removable Belt Clip
• LED Torch
PRECAUTIONS DURING OPERATION
7
SCANNING CHANNELS
You can use the scanning feature to monitor channels or to find someone in
your group who has accidentally changed channels. Channel SCAN performs
searches for active signals in an endless loop from 1 to 22.
1. Press and hold the SCAN S Button until a beep is heard and channel scan
starts. The Channel Number changes rapidly until an active signal is detected.
2. When the radio detects channel activity, it stops scanning and you can hear
the transmission. Press PTT/C to respond to the active signal channel and
CHANNEL SCAN is deactivated.
3. If the scanning stops on a channel that you dontwant to listen to, briefly
press the
or
Button to resume scanning to the next active channel.
4. To turn scanning off, briefly press the Button once.
5. Turn off the FRS Radio by pressing and holding the Button until a beep is
heard and the display turns off.
USING THE TORCH
Press and hold the TORCH Button to shine the torch.
Note: The torch works even if the Radio is switched off.
NOTES FOR GOOD COMMUNICATIONS
1. Your FRS Radio uses 22 channels that are shared on a take turns basis.
This means other groups may be talking on any of the channels. A common
code of ethics/courtesy is to switch to another vacant channel and not to
attempt to talk over someone who is already using the channel you first
selected.
2. Your FRS Radios have been designe d to maximize performance and improve
transmission range in the field. To av oid interference, it is recommended that
you do not use the units closer than 5 feet apart.
3. For best transmission results, always keep your mouth about 2-3 inches from
the Microphone and speak slowly and clearly in a normal voice.
CARE AND MAINTENANCE
1. Clean your unit with a damp (never wet) cloth. Solvent or detergent should
never be used.
2. Avoid leaving your unit in direct sunlight or in hot, humid or dusty places.
3. Keep your unit away from heating appliances and sources of electrical noise
such as fluorescent lamps or motors.

3
CONTROLS AND INDICATORS
1. Antenna: Receives and transmits signals
2. LCD Display: Displays current channel selection and other radio status symbols
3. SCAN S Button: Press and hold for one second for channel scanning.
4. UP Button (VOLUME/CHANNEL): Press to adjust volume level and change
channels.
5. DOWN Button (VOLUME/CHANNEL): Press to adjust volume level and change
channels.
6. Battery Compartment (ON THE REAR): Houses 3 x AAA alkaline or Ni-MH
rechargeable batteries (Not included).
7. Speaker
8. Battery Compartment Cover Screw (ON THE REAR): Secures the Battery
Compartment Cover.
9. MENU/POWER (ON/OFF) Button: Press and hold to turn your unit ON/OFF.
Allows you to change channels, select high/low power. Press to tune in and hold onto
weak signals.
10. Torch Button: Press and hold to turn on the torch.
11. Built-in Microphone
12. PUSH TO TALK/CALL Button: Press and hold to talk. Briefly press twice for
call tone transmission.
13. TX (transmission) LED Indicator: Illuminates red when transmitting. Lights up every
15 seconds to show low battery.
14. LED Torch.
15. Belt Clip (ON THE REAR)
6
BASIC OPERATION
1. Turn on the FRS Radio by pressing until a channel number appears and
a confirmation tone is heard.
2. To adjust the desired volume level (01-08), first press the or Buttons, a
symbol, “U”, will briefly appear in the Display and then changes to flashing
Volume Level digits. Adjust your desired Volume by pressing the or
Buttons while the Volume Level Digits are flashing. The level of the beeps will
increase or decrease as the volume is adjusted.
Note: The LCD Display will revert back to the channel mode if no button is
pressed within 5 seconds and a confirmation beep will be heard.
3. Briefly press the Button to activate the channel select mode. The channel
display will begin flashing. Use the or Buttons to change the channels.
4. Press the PTT/C button to confirm your selection.
Note: Both units must be set to the same channel number in order to be able to
communicate with each other.
5. To send a CALL tone to another party on the same channel to alert the other
when you are attempting to contact them, briefly press the PTT/C Button twice.
The red TX LED Indicator will light up and the CALL tone will be heard on both
units and will sound for about 3 seconds.
6. Press and hold the PTT/C Button to communicate with another party on the
same channel. Hold the radio 2-3 inches from you mouth and speak clearly into
the microphone (#11).
7. When transmission is complete, release the PTT/C Button and listen for a reply.
8. The FRS Radio is equipped with auto squelch, which will automatically block
out any unwanted noise or static due to terrain conditions or if you have
reached your range limit. You can disable automatic squelch by pressing the
Button 3 times. Static will be heard along with any distant transmission
you may be receiving. Press the Button again to go back to the
automatic squelch mode.
9. Turn off the FRS Radio by pressing and holding the Button until a beep is
heard and the display turns off.
CHANGING HI/LO TRANSMISSION POWER
By default your radios are in the “High Power” transmission mode. In order to
save the battery life in general use, the KT2022 has been
equipped with a Hi/Lo
transmission power selection function. The "Low Power" transmission mode
is good for short range communication.
To change from the
“HI”
power
transmission mode to LO”“ power transmission mode:
1. After turning on the radio, press the Button twice. Flashing H“I”will
appear in the Display.
2. While “HI” is flashing, press the or Buttons once. Flashing o will“L”
appear and a small icon“L” will show steadily in the top right corner of the
Display. Then press PTT/C Button to confirm.
3. Repeat above steps to change from to power transmission mode.
LO”“
“HI”

5
GETTING STARTED
Carefully remove your FRS Radios from its packing. If there is visible damage, do
not attempt to operate the Radios. Return it to the place of purchase.
REMOVING THE BELT CLIP
1. Pull the BELT CLIP LATCH away from the unit.
2. While pulling the BELT CLIP LATCH, push up on the BELT
CLIP to remove it from the unit. See figure 1.
INSTALLING THE BELT CLIP
Slide the BELT CLIP SLOT until a “click” is heard. See Figure 2.
A “Click” indicates the BELT CLIP is locked into position.
BATTERY INSTALLATION
Each FRS Radio operates on three AA' size batteries.’A
1. Remove the BELT CLIP as described above.
2. Remove the Battery Door by loosening the screw and unclipping the door.
3. Following the polarity diagram shown inside the battery compartment, insert
three AAA' size alkaline batteries' or Ni-MH rechargeable batteries (not
included).
4. Replace the Battery Door, tighten the screw and replace the Belt Clip.
IMPORTANT:Be sure that the batteries are installed correctly.
Wrong polarity may damage the unit.
To reduce the risk of fire or injury to persons while using battery(ies), read and
follow these instructions:
- Use only the type and size battery(ies) specified in the operation instructions.
- Do not dispose of the battery(ies) in fire.
- Do not open or mutilate the battery(ies).
- Exercise care in handling battery(ies) in order not to short out the battery(ies)
with conducting materials such as rings, bracelets, and keys.
- All batteries should be replaced at the same time.
- Take out battery(ies) if the unit is not to be used for an extended period of time.
- Discard "dead"battery(ies).
LOW BATTERY ALERT
When the batteries in the unit are low, an alert tone will be heard and red LED will
light up once every 15 seconds. Replace new batteries immediately.
4
LCD DISPLAY
TX Lights on in Transmission mode
RX Lights on in Receive mode
22 Selected Volume Level (1-8)/Channel Number (1-22) by user
L Lights on when Low Transmission Power mode is selected
CHANNEL SPECIFICATION
Low Transmission Power
Icon
Channel Frequencies (MHz) Channel Frequencies ( MHz)
1 462.5625 12 467.6625
2 462.5875 13 467.6875
3 462.6125 14 467.7125
4 462.6375 15 462.5500
5 462.6625 16 462.5750
6 462.6875 17 462.6000
7 462.7125 18 462.6250
8 467.5625 19 462.6500
9 467.5875 20 462.6750
10 467.6125 21 462.7000
11 467.6375 22 462.7250
Other manuals for KT2022
1
Table of contents
Other Hello Kitty Two-way Radio manuals
