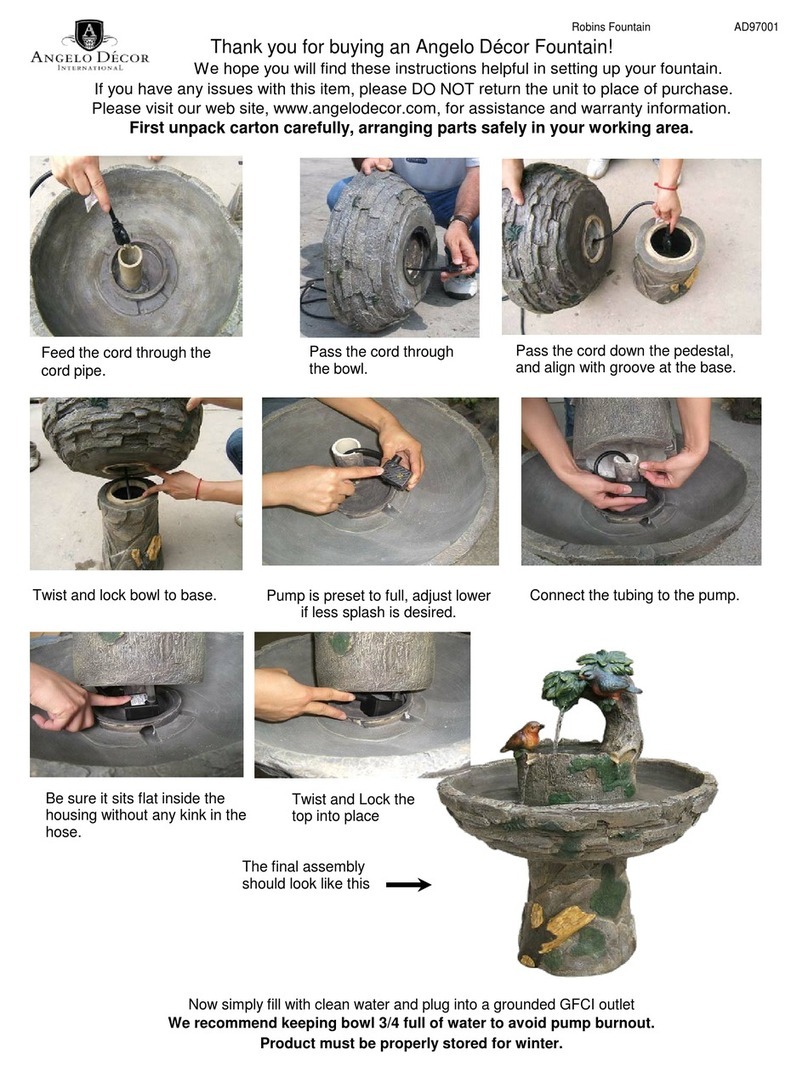
IMPORTANT- WINTER CARE:
Do not allow water to collect and freeze in fountain bowl(s) or shell. Do not allow fountain pieces to sit in a pool of ice. Disassemble entire fountain and pump and store
indoors during the winter season.
If you cannot store your fountain indoors during the winter season, you must at least protect it from ice collection or exposure.“How To”protect your fountain during the
winter season: first remove the statue(s) and pump, storing them inside if possible. Next, locate the drain plug on the underside of bowl(s) or shell.Remove drain plug to
drain any water “trapped” between the walls of the bowl(s) or shell.Then fill the bowl(s) or shell with an absorbent material such as burlap, blankets, etc. Finally, cover the
entire fountain with a Henri Fountain Cover. Should condensation droplets form on the inside of the cover, they will be absorbed by the material.
By following these simple and sensible precautions during the winter season,you will protect your fountain for years of beauty and enjoyment!
©2007 Henri Studio, L.L.C. Peoria, IL 61615 IS/5231F21 2-07
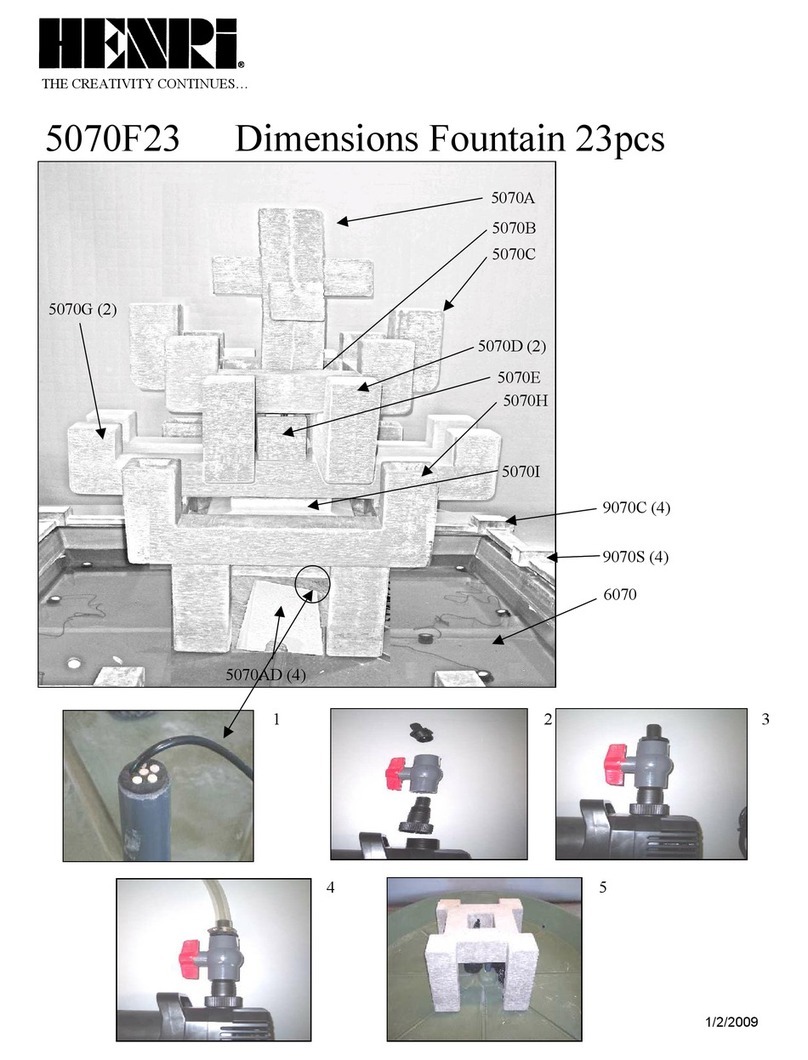
10. Insert _" barbed adapters in the top and underneath the 6231 bowl/base unit. Attach the 12" tube to the top adapter and the
18" tube to the lower adapter. Tighten the lower tube connection with a plastic snap clamp. As you lower the bowl/base unit
into place, push the other end of the 18" tube onto the barbed adapter in the 6232 bowl and tighten with a snap clamp.
Rotate bowl/base unit to match or contrast the lower bowl according to your taste.
11. Place the 5231 finial within the top of the 6231 bowl/base unit. As you lower the finial into place, slip the top of the
12" tube up inside of the finial.
12. Now, install the 6233A and 6233B ledge rim sections in alternating order on the top edge of the large 6234 bowl.
A steel strapping system is provided to hold these securely in place and caulk is provided for you to make a water tight seal
(so the water will spill over the rim sections rather than through them). Remove the bolts provided under the rim edges and
above the bowl edge. Hold a slotted strap against the top edge of the 6234 bowl and bolt in, using the washers between the
head of the bolt and the strap. Apply caulk generously to the top edge of the 6234 bowl. Set one of the rim edges in place
and insert a bolt (with washer) from the bottom up into the bolt hole under the middle of the rim edge and tighten. Apply
caulk to the left and right ends of the ledge rim section (all the way up to the highest level of the end. Repeat until all the rim
edges are on.
13. While allowing the caulk some time to cure (see caulk instructions) place the 9029a and b Toscano Pool Surrounds around
the pool in alternating sequence.
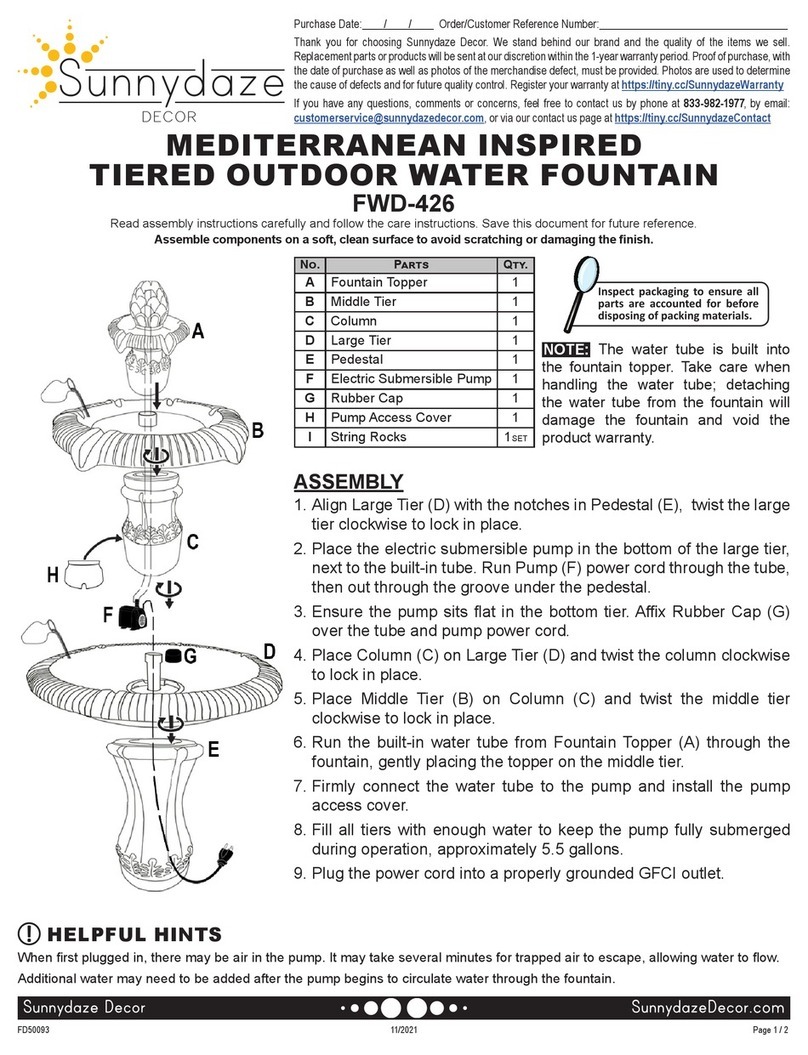
14. After filling the fountain with water, read your pump instruction and connect the pump to a GFCI outlet. Turn on the
pump and check for balance. If necessary, use shims to adjust bowls (starting from bottom up).
PARTS LIST:
1 - Pump
1 – Standpipe 2" x 12"
1 – Standpipe 1"x 7"
9 – Screw Clamp
2 – Snap Clamp
2 – Tee _"
3 – Tube 6" x _"
2 – Tube 36"x _"
1 – Tube 18"x _"
1 – Tube 12" x _"
3 – Flow Restrictor
4 – Adapter 1"male x _"barb
2 – Adapter _"male x _"barb
6 – Slotted Steel Straps
12 – Washers
12 – Bolts (These will be pre-threaded into the concrete pieces)
3 – Tubes of caulk


