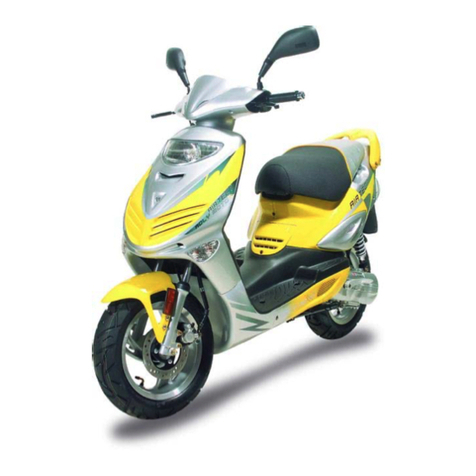
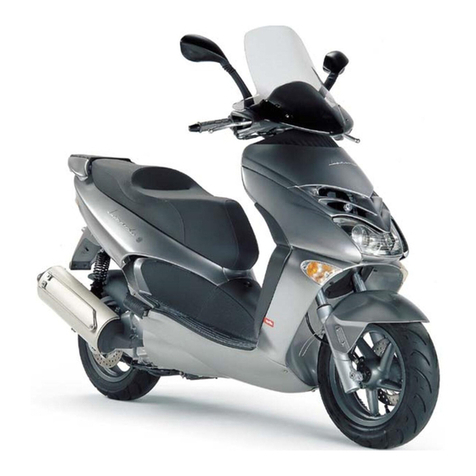
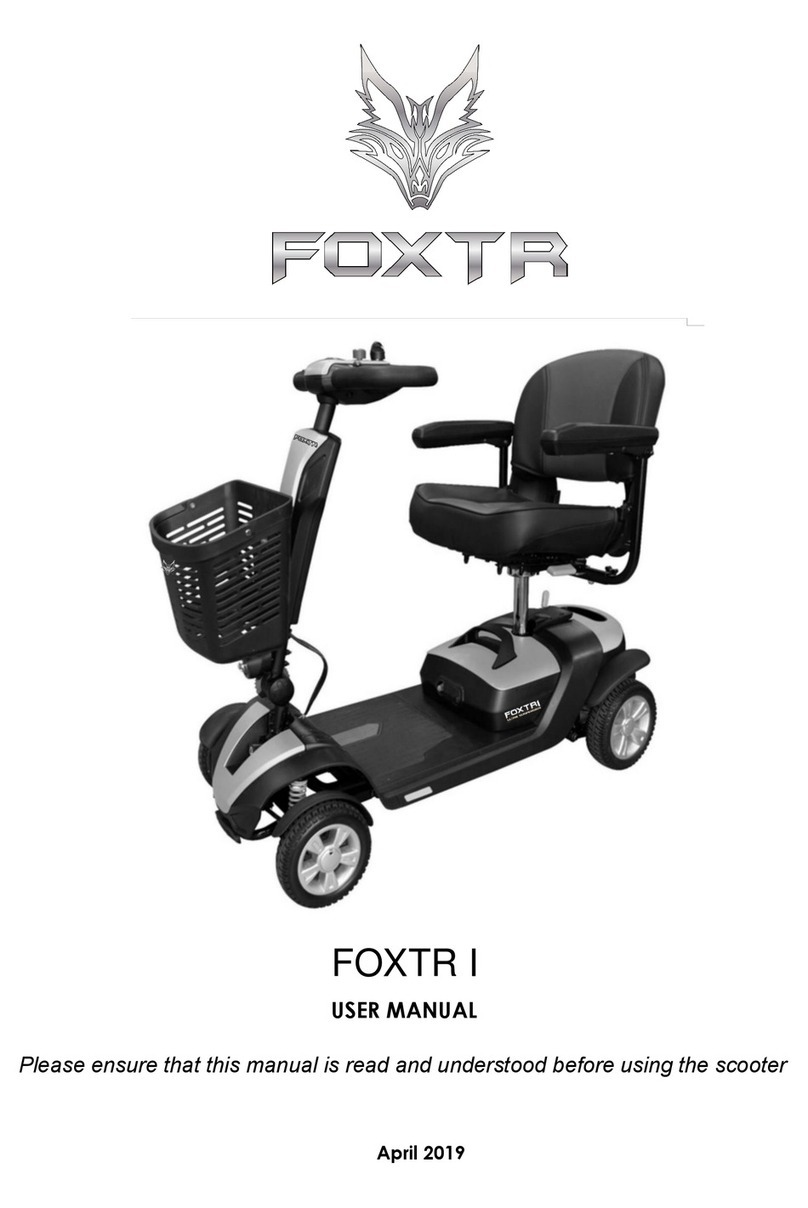
HER CHEE GTC-50 User manual

SERVICE MANUAL
GTC-50
January, 2011
High power Engine
HER CHEE INDUSTRLAL CO., LTD.

INTRODUCTION
This Service Manual is provided as the technical information for the
check & preparation of ADLY GTC-50 scooter, and the direction edited
is given in diagrams with "Operation Sequence", "Key Points", and
"Adjustment of Check" for reference of the service staffs.
This Service Manual is finished in accordance with the model of
GTC-50 Taking new model as standard if there are differences between
the model described in this manual and the actual scooter.
HER CHEE INDUSTRIAL CO., LTD.

CONTENTS
Chapter
Information for Preparation...........................................................1
Diagnose of Brake Down.........................................................…. 1
Check & Adjustment.................................................................... 2
Engine -
Installation of Lubrication ............................................................ 3
Fuel system ................................................................................. 4
Engine assembling/disassembling ................................................ 5
Cylinder head, Cylinder, and Piston .............................................6
Starter / Driving Wheel ................................................................ 7
Clutch / Driven Wheel Assembly .................................................7
Final Transmission Mechanism ....................................................8
Crank Shaft Case, Transmission Box ........................................... 9
Chassis -
Front Wheel, Front Suspension, Front Brake ...............................10
Rear Wheel, Rear Suspension, Rear Brake ................................. 11
Electrical Device ...........................................................................12
Wiring Diagram ........................................................................... 13

ADLYMOTO
1-1
1. INFORMATION FOR PREPARATION
*** Attention of Operation ***
All the washers, oil rings, clamping rings, cotter pins, etc., shall be replaced by new one when
they have been disassembled.
After slightly locking the screws, bolts and nuts, etc., first, tighten them according to the
tightening tension stipulated with the opposite angle's way from big diameter's screw to small
diameter's screw, and from inside to outside.
Must use the pure and original oil, grease, and parts.
Must use the professional tools and the general tools to repair.
Must clean the parts checked after disassembling the parts, and put the grease to lubricate the
operation face when assemble the parts.

ADLYMOTO
1-2
*** Attention of Operation ***
Must lubricate to the appointed part with grease oil, and the canned lubrication.
To confirm the locking parts and check the operation of each part after assembling.
Must coordinate with each other and pay attention to the safety when working over 2 people.
Meaning of Pattern and Notes
The patterns and notes below are the direction and attentions of this service manual.
Lubrication
Use the appointed lubricant in the appointed part.
Use the lubricant to lubricate
The part of using special tools.
Use the general tools.
Use new one after disassembling.
Attention!
Danger and important operation!

ADLYMOTO
1-3
SPECIFICATIONS
TYPE 50 CC
LENGTH 1750 mm
WIDTH 685 mm
HEIGHT 1140 mm
WHEEL BASE 1220 mm
NET WEIGHT 75Kg
DISPLACEMENT 49.3 c.c.
BORE X STROKE 40 x 39.2mm
ENGINE TYPE 2 Stroke ,Single cylinder, AIR COOLED
COMPRESSION RATIO 7 : 1
IGNITION C.D.I. IGNITION
STARTER ELECTRIC & KICK
SUSPENSION Oil Damped shock absorber FRONT / REAR
TRANSMISSION AUTOMATIC, CVT type
TIRE 120/70-12
FRONT BRAKE DISC
REAR BRAKE DRUM

ADLYMOTO
1-4
Locking Torque
Adopt the standard torque locking for the item unlisted.
Engine
Place of Locking Q'ty Screw Diameter
(mm)
Locking Torque
(Kg-m)
Screw of Cylinder Cap 4 6 1.0
Flywheel Nut 1 10 3.8
Clutch Jacket Nut 1 1 3.8
Driving Disc Nut 1 28 5.5
Special Screw of Sliding Driving Disc 3 5 0.45
Nut of Transmission Disc 1 10 3.8
Oil-check Screw 1 8 1.3
Joint Screw of Exhaust manifold 2 6 1.2
Exhaust Pipe Support Screw of Muffler 2 6 1.2
Spark Plug 1 14 1.4
Bolt of Crank Shaft Case 6 6 10
Bolt of Engine Installation 1 8 5.0
Chassis
Place of Locking Q'ty Screw Diameter
(mm)
Locking Torque
(Kg-m)
Spanner Nut of Handle Steering Steam 1 25 7.0
Front Wheel Axle Nut 1 10 4.5
Rear Axle Nut 1 14 11
Rear Brake Arm Screw 1 5 0.6
Upper Screw of Rear Shock Absorber 1 10 4.0
Lower Screw of Rear Shock Absorber 1 8 2.7
Engine Mounting Bracket 1 8 6.0
Standard Locking Torque
Type Locking Torsion(Kg-m)
5mm Screw 0.4
6 mm Screw 1.0
6 mm Hex Washer Face Bolt / Nut 1.2
8 mm Hex Washer Face Bolt / Nut 2.7
10 mm Hex Washer Face Bolt / Nut 4.0

ADLYMOTO
1-5
The following drawing that shows the disassembling situation of the cover parts for Fox Plus scooters.

ADLYMOTO
1-6

ADLYMOTO
1-7

ADLYMOTO
1-8

ADLYMOTO
1-9
DIAGNOSIS OF BREAKDOWN
Start-up difficult or can not start
This content is the explanation of diagnosis of the engine‘s breakdown, please see each content for
reference of the breakdown diagnosis not mentioned here.
Loose carburetor cup screw and check if
the fuel arrive carburetor
no fuel
Fuel tank has no fuel
Blocking of fuel tube
Fuel
Blocking of float valve
Blocking air of fuel tank cap
Blocking of fuel filter
Remove spark plug, put into the cap, and
connect the spark plug to ground (negative),
check the spark condition.
Spark weak or
no spark
Spark plug defect or dirty
CDI defect
ACG defect
spark strong
Short circuit of H.T. coil
Ignition wire broken or short
Main switch defect
Check compression pressure
Weak or no
Piston ring too weak
Reed valve defect
pressure is good
Cylinder and piston ring wear out
Leaking of cylinder gasket
L/R crankcase leaking
Start-up engine base on the instruction
Igniting but no
start
Bad adjustment of idle screw
Air leaking from intake manifold
Bad ignition timing
without exploration
Remove spark plug and check again
Wet
Over flow in carburetor
Throttle valve opened too much
spark plug is dry
Wait for 30 min. and remove carburetor,
connect tube to fuel-adding path and blow
can not pass
Starter plunge defect

ADLYMOTO
1-10
Engine operation is not smooth after starting
Loose carburetor cup bottom screw and
check if the fuel arrive carburetor
no fuel
Fuel tank has no fuel
Blocking of fuel tube
fuel
Blocking of float valve
Blocking air of fuel tank cap
Remove spark plug and check
Dirty or
discolor
Spark plug is dirty
Wrong type of spark plug
clean
Check the spark condition by put the spark
plug into cap and connect to ground
Weak or no
Spark plug is defect or dirty
CDI defect
spark fair
ACG defect
Short circuit of H.T. coil
Ignition wire broken or short
Main switch defect
Check compression pressure Cylinder and piston ring wear out
compressing
no compression Leaking of cylinder gasket
Reed valve leaking
L/R crankcase leaking
Check carburetor is blocked or not Vent tube blocked
not blocked
Blocked
Check ignition timing Check CDI
correct
Incorrect ACG defect
Adjust Air screw of carburetor A/F mixture too thick (loose screw)
adjust well
Bad adjustment A/F mixture too thin (tighten screw)
Carburetor clip leaking air or not Intake clip loose
no Yes Air intake loose air
Remove starter plunger wire and check Plunger defect
no resistance

ADLYMOTO
1-11
Lost power on high speed
Speeding up slightly on flat road Air filter blocked
RPM rising
RPM not rise Fuel blocked, Fuel tank cap blocked
Muffler is blocked
Remove spark plug and check Spark plug is dirty
clean
Dirty or
discolor
Wrong type of spark plug
Check ignition timming (with timming
light)
CDI defect
correct
Timing
incorrect
ACG defect
Check compression pressure Cylinder and piston ring wear out
compressing
no compression Leaking of cylinder gasket
Reed valve leaking
Check carburetor is blocked or not ? Air or Fuel path blocked
not blocked
Blocked
Check engine is over heat or not ? A/F mixture too thin
not Over heating Fuel quality is bad
Carbon deposit in combustion
chamber
Ignition timing too early
Continuously running with high speed or
acceleration without over heating
Knocking
Carbon deposit in combustion
chamber
no knocking

ADLYMOTO
1-12
Bad idle, not smooth at low speed
Check ignition timming (with timming
light)
CDI defect
Correct
Incorrect ACG defect
Adjust carburetor air screw A/F mixture too rich (loose screw)
Adjusted well
bad adjustment A/F mixture too lean (tighten
screw)
Check carburetor clip leaking or not ? Bad carburetor locking
not leaking
Leaking Intake manifold leaking
Remove spark plug, put into the cap, and
connect the spark plug to ground (negative),
check the spark condition.
Spark weak or
no spark
Spark plug dirty or defect
CDI defect
ACG defect
spark strong
Short circuit of H.T. coil
Ignition wire broken or short
Main switch defect
Remove starter plunger wire and check Connection wire is bad
with resistance No resistance Plunger defect
Connect starter plunger with 12V battery
for 5 Min. tubing pipe with fuel-adding
return, yhen blow it
Blowing
Plunger defect
not blown

ADLYMOTO
1-13
Engine running not smooth with middle ~ high RPM
Check ignition timming (with timming
light)
CDI defect
correct
Incorrect ACG defect
Check fuel flow Low fuel level
well
Poor Tube and fuel filter blocked
Fuel tank cap is blocked
Check carburetor nozzle blocked or not ? Cleaning
not blocked
Blocked
Remove starter plunger wire and check Connection wire is bad
with resistance No resistance Plunger defect
Connect starter plunger with 12V battery
for 5 Min. tubing pipe with fuel-adding
return, yhen blow it
Blowing
Plunger defect
not blown

ADLYMOTO
1-14
Spark plug has no spark
Change new spark plug and check again Original spark plug defect
Spark weak or no spark
Spark strong
Check loosing between spark plug cap and
high tension coil
Loosing
Spark plug cap defect
High tension coil defect
No loose
Remove CDI unit over the plug cap,
connect ground and check spark
Abnormal
Check concerned parts
Bad Main switch
Normal
Normal
Bad high tension coil
Bad pulse coil
Wire broken
Bad connection
Check Cdi with CDI tester or replace new
CDI unit to test
Abnormal
CDI unit defect
Normal
Check ignition timing
Abnormal
Ignition coil defect

ADLYMOTO
1-15
Charging poor
Start engine to check voltage among
terminals of battery
High voltage
Voltage in normal
Rectifier
Battery aging
Voltage not boost
Bad battery
Check ACG charging coil resistance Bad starter
Normal range
Out of range Yellow wiring broken
Connection poor
Check voltage of red and green wiring on
rectifier connector
No voltage
Wire broken
Battery with voltage
Remove rectifier connector and check each
device
Normal
Bad rectifier
Abnormal Plunger defect
Check ACG coil resistance value
Normal
Wire broken
Abnormal
AC Generator defect

ADLY MOTO
2-1
2. CHECK AND ADJUST
Way of Check and Service……………………2-1
Disassembly of External Parts………………..2-3
Layout of Maintenance Items…………………2-6
Way of Check & Adjustment
1. Mark “○” is checking time.
2. Mark “☆” is the regular exchange of service items.
This exchange time is just for general riding of the majority not for the special use, please arrange with
this principle according to the difference of the riding condition.
Service Time (month)
Service Items Before
riding 1st each 6 each 12 Judgement Standard Remarks
Operating Device
Handle- Play, loose/tight
Operation
○
○
Wheels- Right/left turn round angle ○
Front Fork-Damage
Installationofshaft
ShaftGap
○
○
○
○
○
Direction Post
Direction Post
Brake Device
Brake- Play
Trytorun
Correct brake
○
○
○
○
○
○
○
○
○
Play of
b
rake lever
10-20 mm
Wires- Loose / tight and damage ○ ○ ○
Gap of casing & brake ○○
Wore of brake & operating parts ○Direction
Wore & Damage of casing
○
Standard diameter 110 mm
Limitation 110.5mm
Riding Device front rear
Air pressure 1.50 kg/cm21.75 kg/cm2
Tires-Air pressure of tires ○○○
tire 120/90-10 130/90-10

ADLY MOTO
2-2
Service Time (month)
Service Items Before
riding 1st each 6 each 12 Judgement Standard Remarks
Riding Device
Tires
Check & damage of tires
○
○
○
Ditch-front and rear wheel
till 0.8 mm
Abnormal & ditch in tires ○○○
Bolt & nut of tires locking ○○Flocking torsion
Front wheel – 4.0~5.0 kg-m
Rear wheel –10~12 kg-m
Damage of wheels ,disc ○ ○ ○Vibration of wheel
Front wheel – horizontal under
3 mm, vertical under 3 mm,
Rear wheel – horizontal under
3 mm, vertical under 3 mm
Tightness of front bearing ○
Tightness of rear bearing ○
Suspension device
Spring -damage ○Spring of
shock
absorber
Suspension arm – damage of joint gap
&arm
○
Tightness of installation ○
Power transmission device
Clutch -action ○ ○ ○
Crankcase oil leakage or damage ○
Transmission gear oil ○○
Electric device
Ignition device -condition of ignition
spark plug
○○Gap of spark plug 0.6~0.7
mm
Battery -connection of terminal ○
Wiring of electrical appliance – damage
or loose in connection place
○
Table of contents
Other HER CHEE Scooter manuals
