Hi TV Twinview HD User manual

Welcome
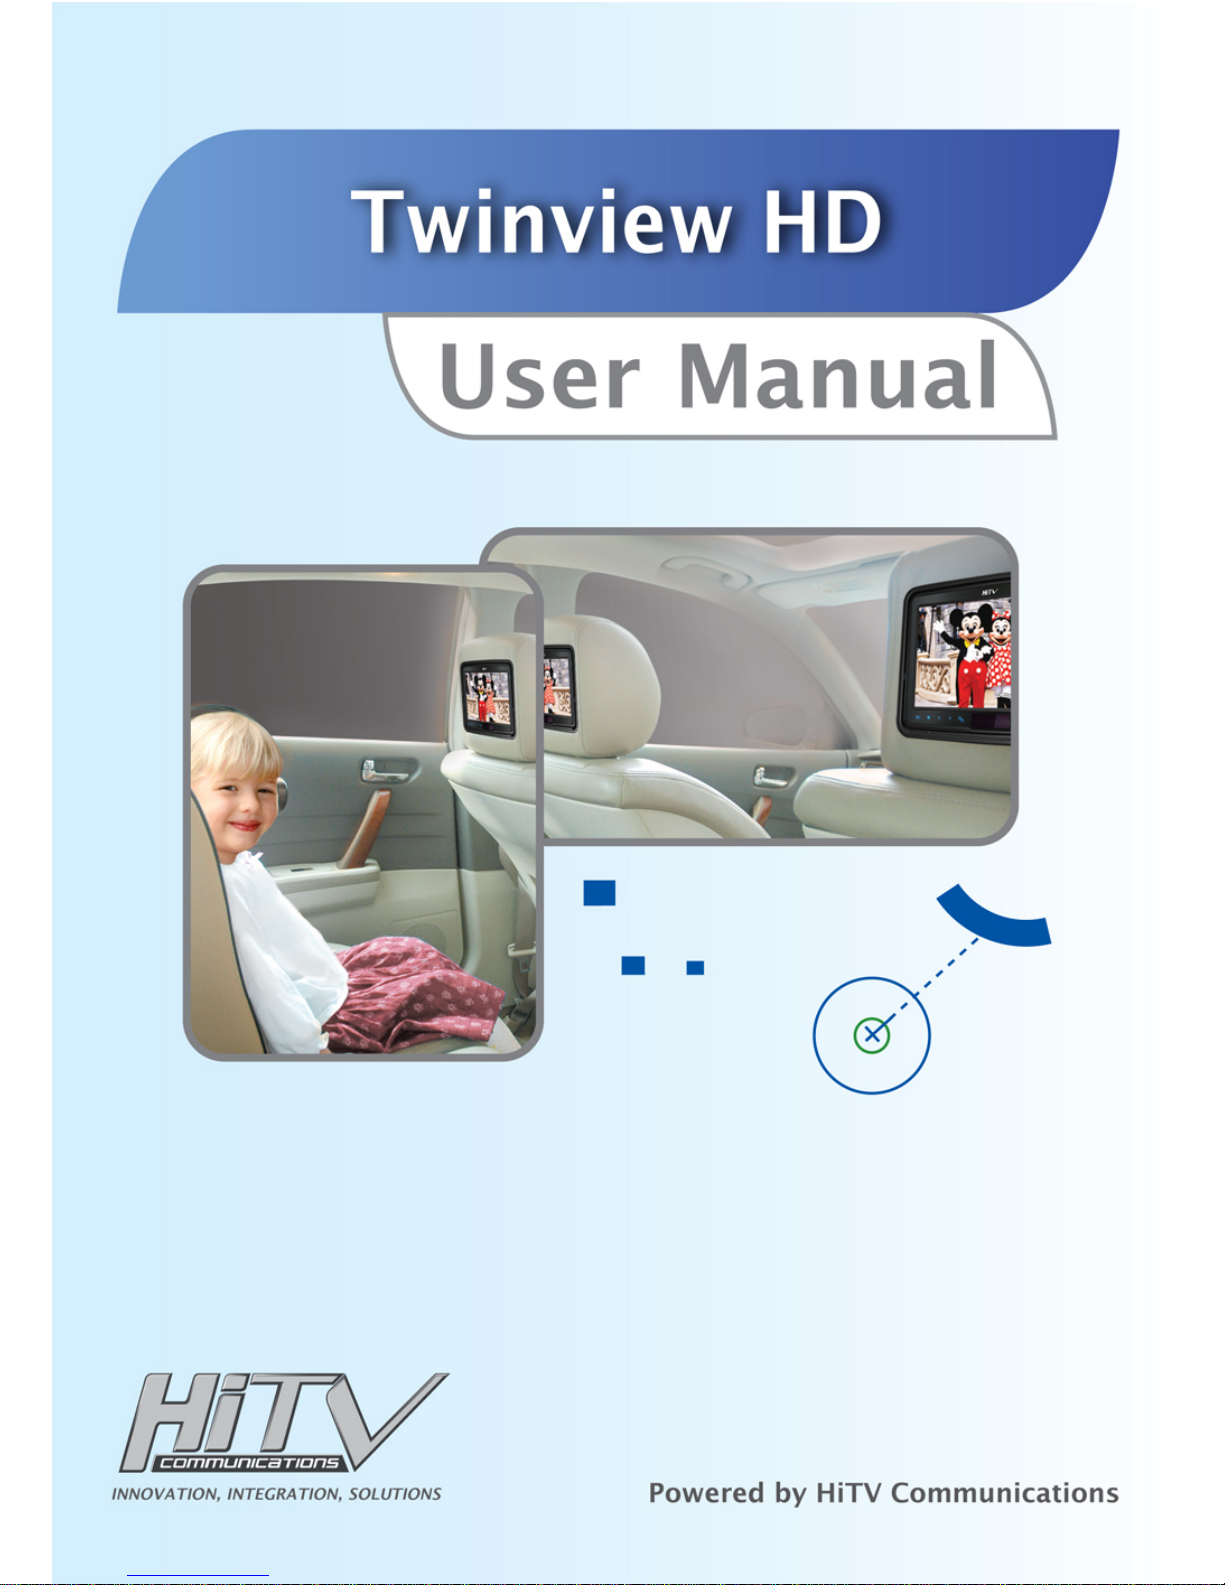
Congratulations on your purchase of HiTV Twinview HD Digital Panel with Built-In DVD rear
seat System that will provide your family with many years of enjoyment. This sophisticated
product provides video entertainment to rear seat passengers without altering the appearance
of your vehicle’s original interior.
Reviewing this owner’s manual thoroughly prior to operation will provide you with the best
performance and help explain the simple requirements for proper care.
Important Safety Information:
This video product is designed and intended for positioning in back seating areas of a vehicle
where it cannot be viewed directly or indirectly by the driver and possibly cause him/her to
be distracted from the task of operating the vehicle. Driver distraction is a major cause of ac-
cidents and for this reason; many states specically prohibit the viewing of motion video within
view of the driver while the vehicle is in motion.
For safety reasons, when changing discs it is recommended that the vehicle is stationary, and
that you do not allow children to unfasten seat belts to change discs or make any adjustments
to the system. System adjustments can be safely accomplished using the remote control unit.
Enjoy your HiTV Twinview HD Digital Panel DVD rear seat System but remember the safety of
all passengers is the number one priority.
Care and Maintenance
HiTV Twinview HD Digital panel with Built-In rear seat System is a product of superior design
and craftsmanship and should be treated with care. The suggestions below will help to fulll
any warranty obligations and provide many years of enjoyment.
• Cleaning the Monitor Screen and Housing:
The components may be cleaned by occasionally wiping with a soft, lint-free, cotton cloth that
has been slightly dampened with water.
CAUTION: Do not use liquids, abrasives, aerosol cleaners, or paper cleaning products
because they will result in permanent damage to the nish of your components! The LCD
screen is made of a specially coated glass and can be scratched or damaged by abrasive or
ammonia-based window cleaners.
• Use and Storage:
These units contain precision electronics that must be protected from dust, dirt, and moisture.
-Never spill liquids on any of the components. Liquids, humidity, and precipitation contain
minerals that will corrode electronic circuits.
• Take care to avoid the following:
-Rough handling can break internal circuit boards. Do not drop, knock, or shake the compo-
nents.
-Do not attempt to paint or renish the components. Paint can clog moving parts and prevent
proper operation.
-The components can be damaged by non-expert handling. Attempting to open any of the
components may void the limited warranty.
1

Product Features
- 7-inch colour TFT-LCD high resolution digital panel with 16:9 aspect
- Built-in Top-loading Slot-in DVD loader (except for monitor version)
- 3 Operating Modes
(1) DVD
(2) Crosslink
(3) AUX AV Input
- Dual-channel IR Transmitter for wireless Headphone
(1) Channel A
- Audio-R: 2.3 MHz
- Audio-L: 2.8 MHz
(2) Channel B
- Audio-R: 3.2 MHz
- Audio-L: 3.8 MHz
- IR Sensor on the Front Panel
- 5 Touch Buttons on the Front Panel - OSD (on screen display) Control
(1) Power/Source
(2) Forward
(3) Rewind
(4) Stop
(5) Play/Pause
- Audio FM modulator (optional)
88.1/88.3/88.5/88.7/88.9/ MHz
- Dual-mode (DVD/Monitor) Remote Controller
- Power Input: +12VDC
2
Crosslink Function
With this function, it is easy to let the 2 units play the same video & audio to let users to have
more fun and convenience.
If one unit switches to DVD and plays DVD disc, switch another unit to Crosslink to play the
same video & audio.
Please note it is not possible to have both units switch to Crosslink at the same time. If both
units switch to Crosslink, the message “No Signal” will be displayed.
WARNING:

Table of Contents
HiTV Twinview HD.................................................................................................................... 4
Remote Control Operations...................................................................................................... 6
On Screen Display Function Control........................................................................................ 9
Accessories............................................................................................................................. 10
Warnings / Troubleshooting.................................................................................................... 11
Specications.......................................................................................................................... 12
Set Up Region Code .............................................................................................................. 13
3
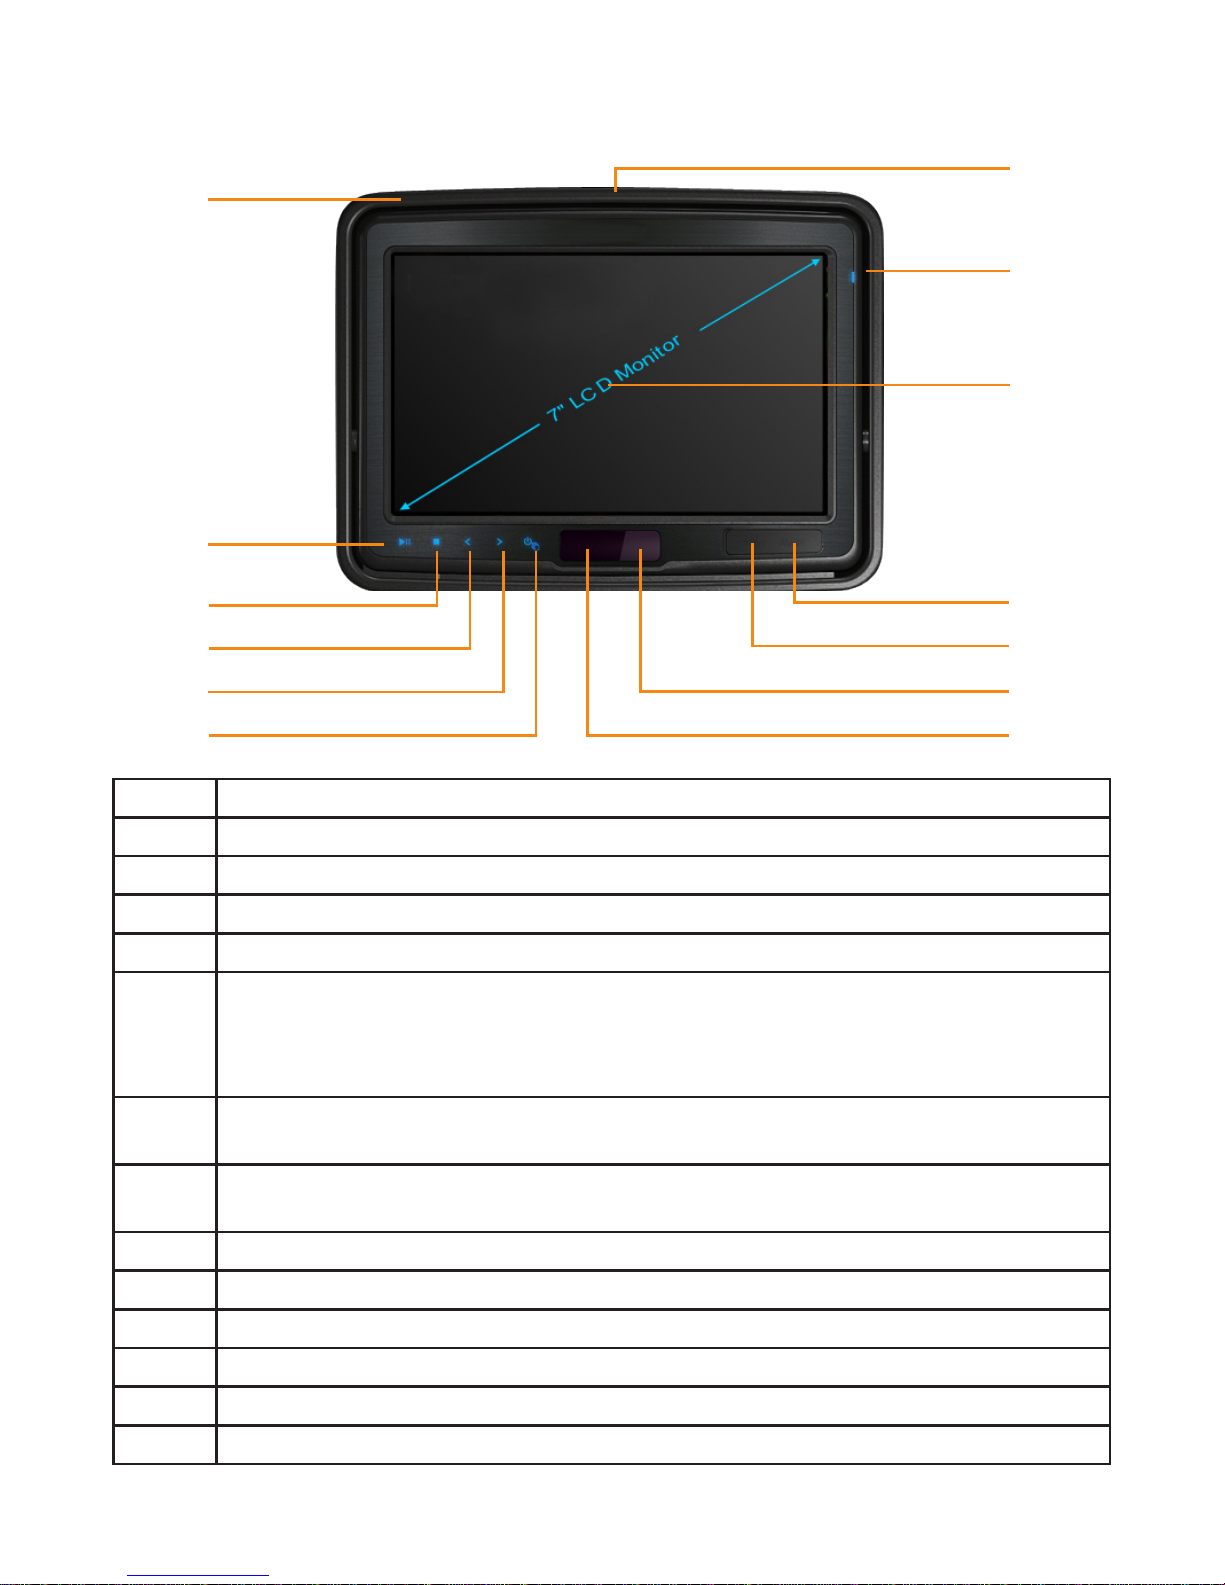
Item Function Description
1 PLAY / PAUSE
2 STOP
3 FR (Fast Rewind/Previous)
4 FF (Fast Forward/Next)
5 POWER / SOURCE
First press this button to turn the monitor ON. The current video source will be
displayed on the screen. Press the button again to switch the video source. If you
wish to turn off the unit, press the button for 3~4 seconds.
6 IR Receiver
For use with remote controller
7 Infrared Lens
To transmit audio to the wireless headphone.
8 USB Port
93.5Φ RCA Input
10 Digital LCD Panel (800x480)
11 Power On LED
12 Disc slot (only on Master/DVD Built-in unit)
13 Eject button
13
1
2
3
4
5
9
8
7
6
10
11
12
HiTV Twinview HD
4
Table of contents
Other Hi TV DVD Player manuals


