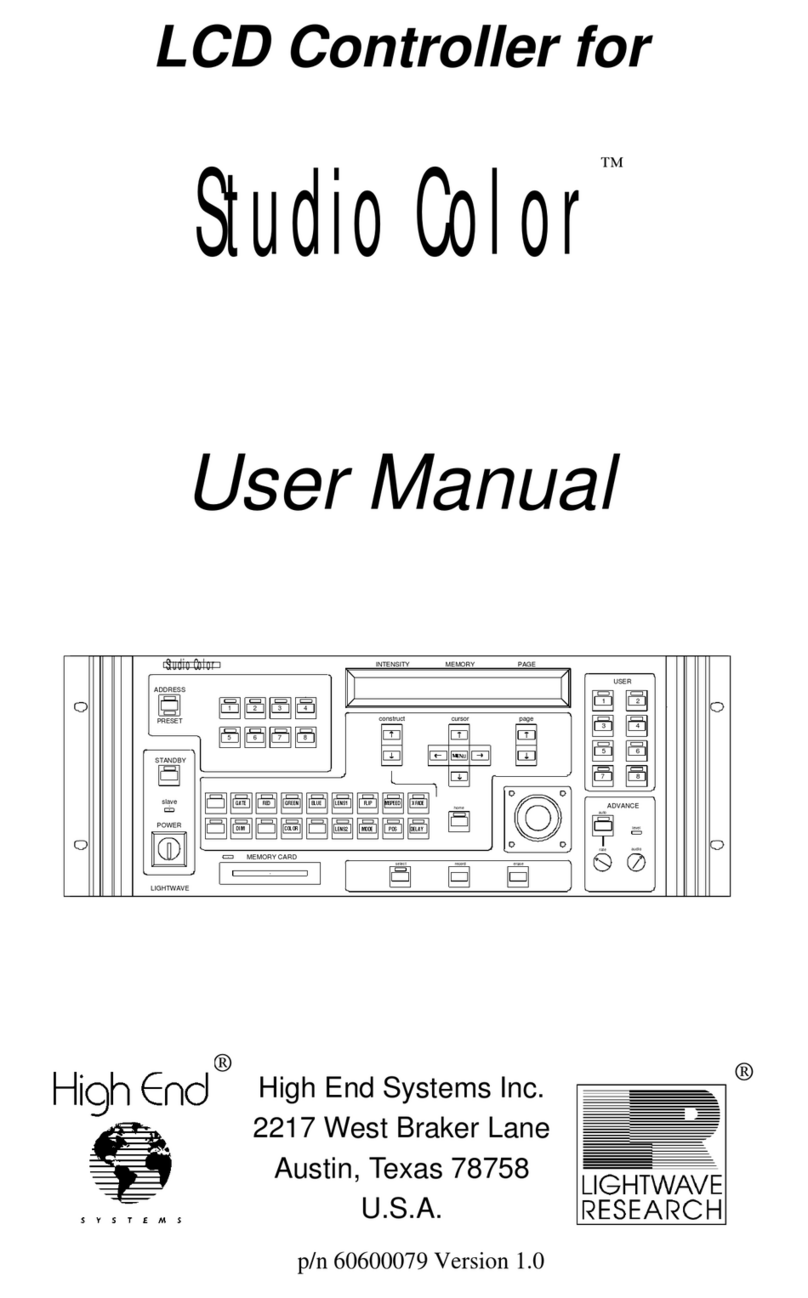
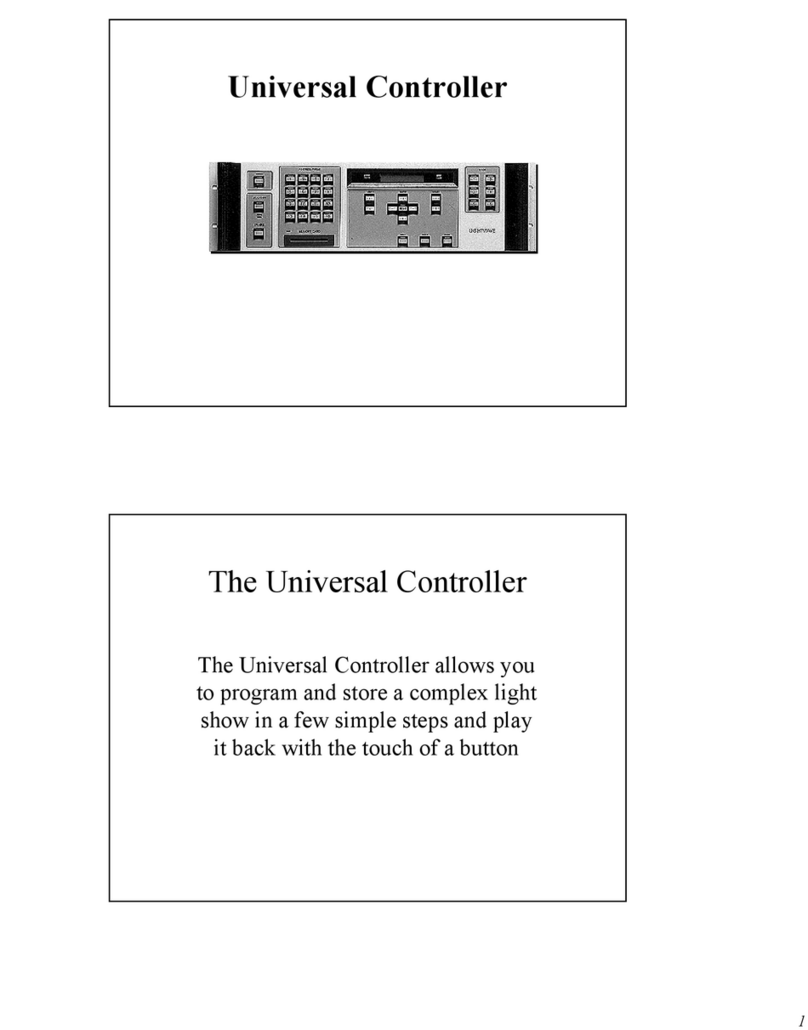
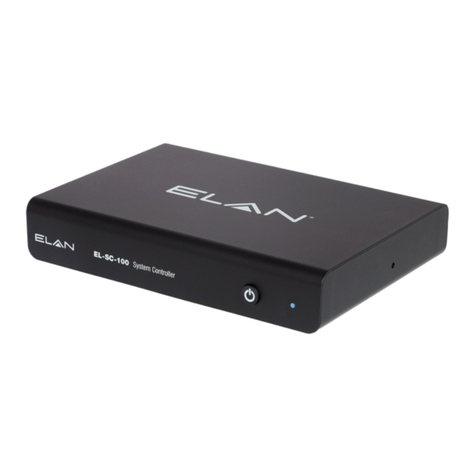
High End Systems Universal Controller Installation and operating instructions

Version 1.0 p/n 60600067
ADDRESS/PRESET
STANDBY
preset
ad dr es s
ENABLE
menu
adjust 1 position adjust 2
eraserecordselect
USER
LIGHTWAVE
S Y S T E M S
®
High End Systems, Inc.
2217 West Baker Lane
Austin, Texas U.S.A.
®
universal
Controller
User Manual Addendum


Addendum UN-1 Page 1
Addendum to: Universal Controller Manual
Version 2.0
Insert this addendum into the Universal Controller User Manual v2.0
(November 1994). The information in this addendum replaces the section
titled “MIDI” on pages 4-9 and 4-10 of the Universal Controller manual.
Firmware version 2.04 for the Universal Controller introduces expanded MIDI control as a top-
level menu option. A summary of changes is listed below:
• All MIDI setup has been moved to a separate MIDI menu item at the top level of the menu
system.
• You can now select MIDI Show Control (MSC) commands or channel voice commands. Only
one form of control can be used at one time.
• Channel voice messages, program change and control change have been added to preset
playback and master dim control, respectively.
• (The use of MSC GO commands for preset playback remains the same.)
Before continuing, you should have properly configured the Universal controller, all fixtures and all
data cables as described in the manual. This addendum applies to MIDI setup only.
Contents
Initial Power-Up Menu ...............................................................................................................2
MIDI Menu Overview ................................................................................................................2
Navigating in the MIDI Menu System ............................................................................... 3
Setting the MIDI Device ID (MSC Control) ..............................................................................4
Setting Master Dim and Playing a Preset (Channel Voice Control)...........................................5
Setting the Channel Number............................................................................................... 5
Setting the Control Number................................................................................................ 6
Master/Slave Modes....................................................................................................................7
Master/Slave Modes and Preset Programming................................................................... 7
Master/Slave/Neither Modes and MIDI Commands.......................................................... 7
Selecting Master, Slave or Neither Mode........................................................................... 8
Data Format.................................................................................................................................9
Channel Voice Message Control ........................................................................................ 9
MIDI Show Control GO command .................................................................................... 9

Page 2 Addendum UN-1
Initial Power-Up Menu
After power-up the Universal controller goes through internal self-test routines then displays the
Main menu shown below:
Pressing the <Menu> button on the controller’s front panel displays the controller’s top-level menu
options. There are 12 top-level menu options, listed below:
HOME BACKUP HELP SETUP ERASE COPY
EFFECTS ALLMEM REMOTE PAGELOCK POSMEM MIDI
MIDI Menu Overview
The chart below shows the overall structure of the MIDI menu system. More information about
each option will be found in separate sections in this addendum.
DIM READY PAGE
99 ←M→001
MIDI Commands
MIDI Control Show Control
Channel Control
Dev ID
M/S
M/S
Channum
Contnum
(other options
depend on your
for Control)
Set MIDI device ID
Set master, slave
or neither mode
Set MIDI channel number
Set MIDI control number
Set master, slave
or neither mode
choice

Addendum UN-1 Page 3
Navigating in the MIDI Menu System
Table 1 below describes the functions of the navigational keys located on the controller’s front
panel. Figure 3.1 on page 2-1 of the Universal Controller User Manual shows the location of these
keys.
Table 2 below describes the function keys <Select>, <Record> and <Erase>:
Table 1: Universal Controller Navigational Keys
Key Function
Menu Moves up through the menu system
Arrow keys around the Menu
key Selects first- or second-level menu items
Adjust 1 arrow keys Moves down through the menu system; increments
and decrements numerical values (such as MIDI
device ID)
Adjust 2 arrow keys Moves down through the menu system
Table 2. Universal Controller Function Keys
Key Function
Select Returns you to the Main menu without saving any selections
Record Saves your selections and returns you to the Main menu
Erase Page programming; no MIDI menu functionality

Page 4 Addendum UN-1
Setting the MIDI Device ID (MSC Control)
You set the controller’s MIDI device ID using the Show Control menu as described below:
1. Power ON the controller or press the <Select> button to return to the Main menu, shown
below:
2. Press the <Menu> button, then use the arrow keys around the <Menu> button to select the MIDI
menu option (it will blink).
3. Press the Adjust 1 <Down> arrow key. This displays a list of menu options which will be
different depending on whether Show Control or Channel Control has been previously saved.
Do one of the following:
• If Dev ID is one of the displayed options, use the arrow keys around the <Menu> button to
select Dev ID (it will blink). Then see Step 5.
• If Dev ID is not displayed, use the arrow keys around the <Menu> button to select the
Control menu option if it is not already blinking. Then see Step 4.
4. Press the Adjust 1 <Down> arrow key. This displays two options: Show Control and Channel
Control. Press the Adjust 1 <Up> arrow key to select Show Control (it will blink). Then press
<Record>. This will save your selection and return you to the Main menu. Start with Step 2.
5. Press the Adjust 1 <Down> arrow key. This displays the following menu:
6. Use the Adjust 1 arrow keys to select the ID you wish to use, then press <Record>. This will
save your selection and return you to the Main menu. Note the following about the device ID:
• You can select any ID from 0 to 126. ID 127 is reserved for the “all call” command.
• Set all controllers for the same ID if you wish them respond to MSC commands in exactly
the same way.
• Choose different IDs for controllers you wish to respond differently; for example,
controllers connected to different types of devices. For example, suppose you have 10
controllers, eight of which are connected to various types of multi-effect fixtures (such as
Trackspot®automated luminaires) and two of which are connected to more specialized
fixtures (such as Emulator®laser simulators). You could set all eight “Trackspot”
controllers to ID 0 and the two “Emulator” controllers to ID 1.
DIM READY PAGE
99 ←M→001
MIDI DEVICE ID
xxx

Addendum UN-1 Page 5
Setting Master Dim and Playing a Preset (Channel Voice
Control)
Your selections for the controller’s channel number or control number are used for master dim and
preset playing as summarized below:
•Master dim: This is set using the MIDI control change function; it requires both a channel
number and a control number. The master dim level is an absolute value, not a delta (change)
value. The value of 99 corresponds to full brightness; the value of 0 corresponds to off or full
dark. More about master dim as it relates to master/slave modes of the controller is found in
the section titled “Master/Slave Modes” on page 7.
•Playing a preset: A preset can be played back using the MIDI program change function.
Program change requires you to set only a channel number (along with a preset number).
Presets are described in Chapter 4 of the Universal controller manual.
Setting the Channel Number
A channel number is required for both master dim and preset playback.
1. Power ON the controller or press the <Select> button to return to the Main menu, shown
below:
2. Press the <Menu> button, then use the arrow keys around the <Menu> button to select the MIDI
menu option (it will blink).
3. Press the Adjust 1 <Down> arrow key. This displays a list of menu options which will be
different depending on whether Show Control or Channel Control has been previously saved.
Do one of the following:
• If Channum is one of the displayed options, use the arrow keys around the <Menu> button
to select Channum (it will blink). Then see Step 5.
• If Channum is not displayed, use the arrow keys around the <Menu> button to select the
Control menu option if it is not already blinking. Then see Step 4.
4. Press the Adjust 1 <Down> arrow key. This displays two options: Show Control and Channel
Control. Press the Adjust 1 <Down> arrow key to select Channel Control (it will blink). Then
press <Record>. This will save your selection and return you to the Main menu. Start with
Step 2.
5. Press the Adjust 1 <Down> arrow key. This displays the following menu:
6. Use the Adjust 1 arrow keys to select the channel number (from 0 to 15) you wish to use, then
press <Record>. The channel number does not need to be unique for this controller.
DIM READY PAGE
99 ←M→001
MIDI CHANNEL NUM
xxx

Page 6 Addendum UN-1
Setting the Control Number
A control number is required only for master dim.
1. Power ON the controller or press the <Select> button to return to the Main menu, shown
below:
2. Press the <Menu> button, then use the arrow keys around the <Menu> button to select the MIDI
menu option (it will blink).
3. Press the Adjust 1 <Down> arrow key. This displays a list of menu options which will be
different depending on whether Show Control or Channel Control has been previously saved.
Do one of the following:
• If Contnum is one of the displayed options, use the arrow keys around the <Menu> button
to select Contnum (it will blink). Then see Step 5.
• If Contnum is not displayed, use the arrow keys around the <Menu> button to select the
Control menu option if it is not already blinking. Then see Step 4.
4. Press the Adjust 1 <Down> arrow key. This displays two options: Show Control and Channel
Control. Press the Adjust 1 <Down> arrow key to select Channel Control (it will blink). Then
press <Record>. This will save your selection and return you to the Main menu. Start with
Step 2.
5. Press the Adjust 1 <Down> arrow key. This displays the following menu:
6. Use the Adjust 1 arrow keys to select the control number you wish to use (from 0 to 63), then
press <Record>. The control number does not need to be unique for this controller.
DIM READY PAGE
99 ←M→001
MIDI CONTROL NUM
xxx

Addendum UN-1 Page 7
Master/Slave Modes
This section of the addendum elaborates on the section in the manual titled “Master/Slave
Configuration” beginning on page 3-3.
Master/Slave Modes and Preset Programming
Recall from the section titled “Preset Mode Programming” on page 4-45 of the manual that a preset
consists of the master dim level along with the master delay/audio value and any modulation effects
(color, gobo, dim or size). Because master and slave controllers are each programmed separately, it
is possible for the master controller to have a different master dim level than any of the slave
controllers.
When the preset is fired, the slave’s dim level will be recalled and used by the slave. The master
controller does not store the dim level of any of its slaved controllers. However, when the master
dim level is changed on the master controller, that dim level is sent to all slaved controllers as the
new dim level. For example, if the slave’s preset master dim level is lower than the master dim
level of the master controller, the light level of the slave will rise to that of the master controller.
If the same master dim levels are stored in the presets, dimming will be consistent between a master
and any slaves.
Master/Slave/Neither Modes and MIDI Commands
This section explains how selecting master, slave or neither for the controller affects the way the
controller passes MIDI commands.
Configuring the controller as a master is useful for controlling other Universal controllers, and for
outputting data to some sort of MIDI data capture system for later playback and control of the
Universal controller.
When configured as a master, the controller will Out all MIDI data.
When the controller is configured as a slave or as neither a master or a slave, it will Thru all MIDI
data. The Universal controller does not Merge data.
(Remember to take the controller out of the “master” mode when you want to control it from a
playback system.)

Page 8 Addendum UN-1
Selecting Master, Slave or Neither Mode
1. Power ON the controller or press the <Select> button to return to the Main menu, shown
below:
2. Press the <Menu> button, then use the arrow keys around the <Menu> button to select the MIDI
menu option (it will blink).
3. Press the Adjust 1 <Down> arrow key. This displays a list of menu options.
4. Use the arrow keys around the <Menu> button to select the M/S option (it will blink).
5. Press the Adjust 1 <Down> arrow key. This displays a menu similar to the one shown below:
6. The menu above configures the controller as neither a master nor a slave. Do one of the
following:
• If you wish to configure the controller as neither a master nor a slave, press the <Record>
button to save this selection and return you to the Main menu.
•Pressthe<Right> and <Left> arrow keys beside the Menu button to select either Master or
Slave (your selection will blink).
• Press the Adjust 1 <Down> arrow key to select “no” or press the Adjust 1 <Up> arrow key
to select “yes”.
7. When you have configured your controller as master, slave or neither, press the <Record>
button to save this selection and return you to the Main menu.
DIM READY PAGE
99 ←M→001
MASTER SLAVE
no no

Addendum UN-1 Page 9
Data Format
This section describes the data format used by the commands described in this addendum.
Channel Voice Message Control
Control Change—used to set the Master Dim level:
1011nnnn 0ccccccc 0ddddddd
where nnnn is the channel number 0 to 15,
ccccccc is the control number 0 to 63,
and ddddddd is the desired Master Dim level 0 to 99.
Program Change—used to play back a Preset:
1100nnnn 0ddddddd
where nnnn is the channel number 0 to 15
and ddddddd is the preset number 1 to 64.
MIDI Show Control GO command
byte number bit pattern description
1 11110000 (F0h) Start of System Exclusive
2 01111111 (7Fh) Universal Real-time SysEx ID
3 0ddddddd Device ID
4 00000010 (02h) MIDI Show Control Sub ID
5 00000001 (01h) General Lighting Command
Format
6 00000001 (01h) MSC Go Command
7 0ccccccc Cue number ASCII digit 1
8 0ccccccc Cue number ASCII digit 2
9 11111110 (F7h) End of System Exclusive
The preset number is one or two digits from 1 to 64. Digits are sent as ASCII characters; i.e., 30h
to 39h for the digits 0 to 9. Leading zeros are ignored; for example, preset 2 could be sent as 30h
32h, or simply 32h. Preset 15 would be sent as 31h 35h.

Page 10 Addendum UN-1
Other manuals for Universal Controller
1
Table of contents
Other High End Systems Controllers manuals
