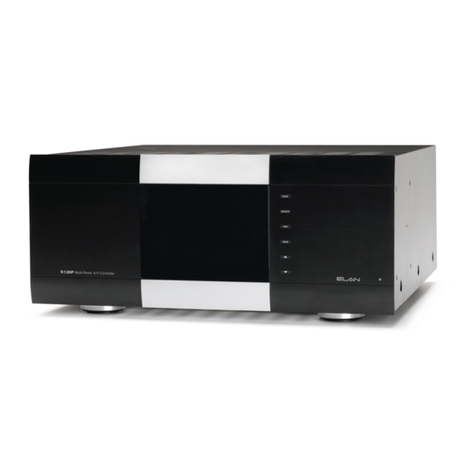
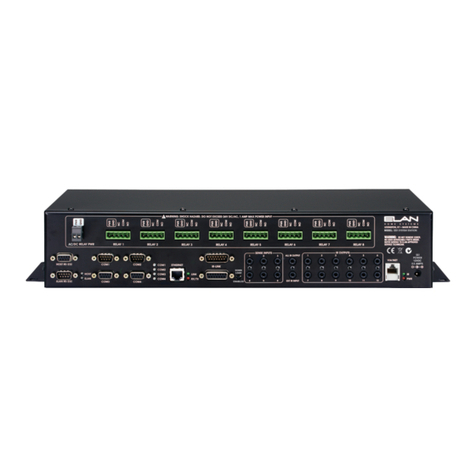
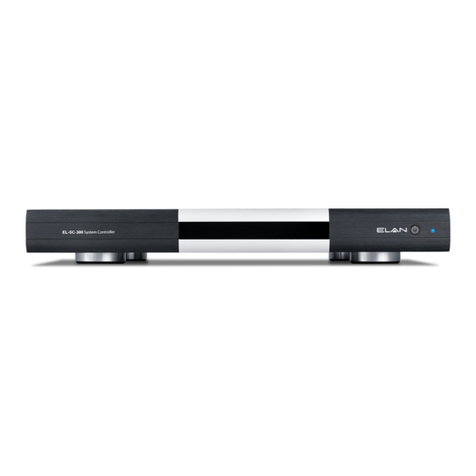
Elan EL-SC-100 User manual

Quick Install Guide
EL-SC-100

QUICK INSTALL GUIDE
2
The EL-SC-100 Controller may be used as a standalone system controller
or as an Extender to any gSC OR SC controller or running g!6.6 or greater.
Please check the ELAN Training Guide for EL-SC-100 control capabilities.
The ELAN Training Guide contains valuable hardware and software
reference documentation and is considered an important supplement to
this document. Make sure you have the latest version by visiting the ELAN
Dealer website at www.elanhomesystems.com and follow the Dealer
Resources link.
Included in the box:
• EL-SC-100 Controller
• 12vDC Power Supply
Important Safety Instructions:
1. Read, understand and follow ALL safety and installation instructions
included in this manual. Failure to follow the included documentation may
damage the product and will void manufacturer’s warranty.
2. Follow ALL installation guidelines included with the product. Installation
of the product in high humidity environments, in close proximity to heat
sources and /or non-recommended locations will impede, interfere and/or
damage the intended operation of the product
3. Only use attachments and accessories which have been specified for use
by the manufacturer.
4. The use of abrasive, liquid or solvent based cleaning fluids will damage
the product. Please refer and follow all Product Care instructions included
with the product.
5. Product Servicing may only be completed by authorized or certified
service centers & personnel. For a complete list of product servicing
options, please follow instructions included in the product documentation
and /or contact original manufacturer for details.

EL-SC-100
3
FCC and IC Information:
This Class B digital apparatus complies with Part 15 of the FCC rules and
with Canadian ICES-003 and RSS-247.
Operation is subject to the following two conditions:
1. This device may not cause interference and
2. This device must accept any interference, including interference that may
cause undesired operation of the device.
Cet appareil numérique de classe B est conforme aux normes canadiennes
ICES-003 et RSS-247. Son fonctionnement est soumis aux deux conditions
suivantes : (1) cet appareil ne doit pas causer d’interférence et (2) cet
appareil doit accepter toute interférence, notamment les interférences
qui peuvent affecter son fonctionnement.
Warning:
Changes or modifications to this unit not expressly approved by the
party responsible for compliance could void the user’s authority to
operate the equipment.
FCC and IC Radiation Exposure Statement:
This equipment complies with FCC radiation exposure limits set forth for
an uncontrolled environment and meets the exemption from the routine
evaluation limits in section 2.5 of RSS 102.
1. This Transmitter must not be co-located or operating in conjunction with
any other antenna or transmitter.
2. This equipment complies with FCC RF radiation exposure limits set
forth for an uncontrolled environment. This equipment should be
installed and operated with a minimum distance of 20 centimeters from
user and bystanders.

QUICK INSTALL GUIDE
4
Warning:
The device meets the exemption from the routine evaluation limits in section 2.5 of RSS 102, and users can
obtain Canadian information on RF exposure and compliance from the Canadian Representative Product
Solutions Group at Tel: (519) 763-4538.
FEDERAL COMMUNICATIONS COMMISSION
INTERFERENCE STATEMENT:
This equipment has been tested and found to comply with the limits for
a Class B digital device, pursuant to part 15 of the FCC Rules.
These limits are designed to provide reasonable protection against harmful
interference in a residential installation. This equipment generates, uses
and can radiate radio frequency energy and, if not installed and used in
accordance with the instructions, may cause harmful interference to radio
communications.
However, there is no guarantee that interference will not occur in a particular
installation. If this equipment does cause harmful interference to radio or
television reception, which can be determined by turning the equipment off
and on, the user is encouraged to try to correct the interference by one or
more of the following measures:
• Reorient or relocate the receiving antenna.
• Increase the separation between the equipment and receiver.
• Connect the equipment into an outlet on a circuit different
from that to which the receiver is connected.
• Consult the dealer or an experienced radio/ TV technician for help.

EL-SC-100
5
La puissance de sortie émise par l’appareil de sans fil est inférieure à la limite
‘exposition aux fréquences radio d’Industry Canada (IC). Utilisez l’appareil de sans
fil de façon à minimiser les contacts humains lors du fonctionnement normal.
Ce périphérique a également été évalué et démontré conforme aux limites
d’exposition aux RF d’IC dans des conditions d’exposition à des appareils
mobiles (antennes sont supérieures à 20 cm à partir du corps d’une personne).
FCC and IC Registrations
FCC ID: EF400186
IC: 1078A-00186

QUICK INSTALL GUIDE
6
EL-SC-100 Overview
Dimensions: 6.95 in. x 4.94 in. x 1.30 in.
Power
Button
Status
Indicator
EL-SC-100_Rear_01.aiEL-SC-100_Rear_01.ai
RS-232 OSD USB LAN/POE
IR OUTPUTS AUDIO SENSE
RS-232 IR Outputs
Audio Out Sense Input
OSD USB
LAN / PoE
DC Power
Reset

EL-SC-100
7
5 in.
7 in.
WALL
3 in.
Mounting
The EL-SC-100 is designed to mount on a shelf, hang in a cabinet or rack,
or mount in a structured wiring enclosure with optional mounting bracket.
Wall Mounting: The EL-SC-100 chassis has been designed to allow
convenient wall mounting in any orientation. Arrows on the rear panel may be
used to mark the location for the screws. Mark the screw locations, mount
the screws leaving approx. 3/16” (5mm) of screw exposed and slide the
chassis over the screws.
Leave a
3/16 in. gap
between screw
heads and wall. Use arrows to mark
screw holes

QUICK INSTALL GUIDE
8
Structured Wiring Cabinet Mounting: Using the optional Structured
Wiring Cabinet Mount, the EL-SC-100 can be mounted in a structured
wiring cabinet.
1. Attach mounting bracket to wiring cabinet with snap rivets and washers
2. Snap the controller to the 2 hooks on the mounting bracket
Shelf Mounting: The EL_SC-100 has rubber feet to protect finished
surfaces. Set the controller in a location that will allow you to properly
manage connected wiring so that there is no tension on the connections.
1.
2.

EL-SC-100
9
Serial Connection
Connect an RS-232 serial controlled device using an RJ45 connector
(not included) to the RS232 port on the rear of the controller.
The EL-SC-100 serial connector is not compatible with RS-485 serial
devices. If your project requires RS-485 connections you will need to
use a gSC10 controller.
Below is the wiring pin-out for the RJ45 connector.
1
2 (CD)
3 (DTR)
4 (SG)
5 (RD)
6 TD)
7 (CTS)
8 (RTS)
1
2
3
4
5
6
7
8

QUICK INSTALL GUIDE
10
Sense Input Connection
ELAN sensors can be used to trigger events from 3rd party devices.
The status is binary, either ON or OFF. This can be used to trigger an event
map or as a condition of an event map. CONNECT ONLY an ELAN sensor
to this port.
Available ELAN sensors:
Audio Sensor ........................................... P/N: AUDSENSOR
Video Sensor............................................ P/N: VIDSENSOR
Contact Closure Sensor........................... P/N: CTSENSOR
Current / Magnetic Field Sensor............... P/N: CRSENSOR
Light / LED Sensor................................... P/N: LTSENSOR
Voltage Sensor......................................... P/N: VTSENSOR
IR Output Connection
Three discrete IR outputs are supplied to control third party devices.
Each output is compatible with Xantech single and dual emitters
DVD
Media Player
TV

EL-SC-100
11
HDMI Connection
The EL-SC-100 includes an HDMI connector for an on screen display (OSD)
interface. Connect the OSD output to an available HDMI input on a display
or AVR
USB Connection
The USB connection is primarily designed for connecting the optional USB
Z-Wave antenna. See the integration note for configuring Z-Wave devices
through the EL-SC-100.
LAN / PoE Connection
The EL-SC-100 has a Gigabit PoE compatible Ethernet port. Connect an
Ethernet cable to an available port on the network.
Note: The EL-SC-100 can be connected via WiFi, however a wired
connection is preferred.
The EL-SC-100 can be powered over Ethernet (PoE).The minumum PoE
requirement is IEEE 802.3at. 42.5 - 57 VDC, 600 mA maximum.
RESET Button
Located on the right side of the controller, is the recessed pinhole button
that can be used in three ways:
1. 2 second press and release resets the controller to DHCP
2. 20 second press and release removes all configuration information.
Software version will be maintained.
3. While applying power, a 10 second press and release will perform a full
factory reset. Software will revert to factory default verison. DO NOT
remove power during a factory reset as it will permanently damage the
unit. Allow the unit to reboot and become discoverable (about 4 minutes).
Note: the LED will remain red during the reset process.
WARNING! THESE ACTIONS CANNOT BE UNDONE!

QUICK INSTALL GUIDE
12
Power
Once all other connections have been completed, connect an Ethernet cable
connected to a PoE switch or the 12 VDC, 1A power supply to the DC input.
Power Button
When the controller is off, a short press powers unit on
When the controller is on, a short press (less than three seconds)
restarts controller.
When the controller is on, a long press (3 seconds or longer)
powers down the controller
LED Status Indicator
The LED communicates the status of the controller:
Blue = Connected OK / Power
Blue flashing = Boot up
Amber = No network found
Red = Boot failure
Red flashing = Self-check failure

EL-SC-100
13
Network Connection
The EL-SC-100 is factory set to use DHCP. Connect to a wired network and
use the ELAN Configurator to connect to the controller. Once connected,
use configurator to set a static IP address or connect via WiFi.
Software Update
Prior to configuring the controller, upgrade the software to the latest available
version found on the ELAN Dealer Resources portal. Download and open the
excecutable file and follow the on screen instrucitons.

QUICK INSTALL GUIDE
14
Notes

EL-SC-100
15
Notes

www.nortekcontrol.com
All rights reserved. ©2019 Nortek Security & Control. P/N: 10024269 (Rev B)
Limited Warranty
Nortek Security & Control ( ‘NSC’ ) warrants the EL-SC-100 to be free from defects in materials
and workmanship for the period of two years (2 years) from the date of purchase. If within the
applicable warranty period above purchaser discovers that such item was not as warranted
above and promptly notifies ‘NSC’ in writing, ‘NSC’ shall repair or replace the item at the
company’s option. This warranty shall not apply (a) to equipment not manufactured by ‘NSC’,
(b) to equipment which shall have been installed by other than an ‘NSC’ authorized installer,
(c) to installed equipment which is not installed to ‘NSC’s’ specifications, (d) to equipment
which shall have been repaired or altered by others than ‘NSC’, (e) to equipment which shall
have been subjected to negligence, accident, or damage by circumstances beyond ‘NSC’s’
control, including, but not limited to, lightning, flood, electrical surge, tornado, earthquake,
or other catastrophic events beyond ‘NSC’s’ control, or to improper operation, maintenance
or storage, or to other than normal use of service. With respect to equipment sold by, but not
manufactured by ‘NSC’, the warranty obligations of ‘NSC’ shall in all respects conform to the
warranty actually extended to ‘NSC’ by its supplier. The foregoing warranties do not cover
reimbursement for labor, transportation, removal, installation or other expenses which may be
incurred in connection with repair or replacement. Except as may be expressly provided and
authorized in writing by ‘NSC’, ‘NSC’ shall not be subject to any other obligations or liabilities
whatsoever with respect to equipment manufactured by ‘NSC’ or services rendered by ‘NSC’.
THE FOREGOING WARRANTIES ARE EXCLUSIVE AND IN LIEU OF ALL OTHER EXPRESSED
AND IMPLIED WARRANTIES EXCEPT WARRANTIES OF TITLE, INCLUDING BUT NOT LIMITED
TO IMPLIED WARRANTIES OF MERCHANTABILITY AND FITNESS FOR A PARTICULAR
PURPOSE.
ATTENTION: TO OUR VALUED CUSTOMERS
To ensure that customers obtain quality pre-sale and after-sale support and service,
Nortek Security & Control products are sold exclusively through authorized dealers.
Nortek Security & Control products are not sold online.
The warranties on Nortek Security & Control products are NOT VALID if the products
have been purchased from an unauthorized dealer or an online E-tailer. To determine
if your Nortek Security & Control reseller is authorized, please call Nortek Security
& Control at (707) 283-5900.
Table of contents
Other Elan Controllers manuals
Popular Controllers manuals by other brands

Dynamic Perception
Dynamic Perception MX2 user guide

Franke
Franke ECC2 Function Controller Installation and operating instructions

Intermatic
Intermatic PE140 Installation and user guide

Streck
Streck CD-Chex CD34 Instructions for use

Sonance
Sonance AF12 installation instructions

Integra
Integra PIPETBOY acu 2 quick start guide

LAE electronic
LAE electronic SDU112 Instructions for installation and use

MRS
MRS CAN I/O SPS operating instructions

SMA
SMA Sunny Island SIC50-MPT installation guide

Bosch
Bosch rexroth CS610 user manual

Samson
Samson 3271-5 Mounting and operating instructions

Philips
Philips DYNALITE DMC4 Installation instructions manual