HIROIA JIMMY User manual

Operation Manual
Statement
This manual is a detailed description of the JIMMY scale.
Please handle the product refer to this manual.
V.2.0 ( 2019 )

Damage caused by human error or fail to follow the manual
for use of the product is not covered by the warranty.
Operation Manual
Content
1 Product instruction
1-1 Package contents
1-2 Specification
1-3 Button description
1-4 LED lights description
1-5 Battery
1-6 Display bar
2 Operation instruction
2-1 Basic operation
2-2 Mode instruction
2-2-1 Weighing mode
2-2-2 Dual display mode
2-2-3 Pour over mode
2-2-4 Espresso mode
2-2-4-1 State 1
2-2-4-2 State 2
2-2-4-3 State 3
2-2-5 Setting mode
2-2-6 Bind function
1
2
2
3
3
3
4
4
4
5
5
6
6
7
8
9
12

1 Product instruction
1‑1Packagecontent
1
JIMMY Scale
USB cable HIROIA Nameplate JIMMY Quick Guide
1‑2Speci
fi
cation
Product weight
Wireless device Bluetooth 4.1
Scale case PP
Weighing plate Aluminum + stainless steel
Display bar 8-digit display LED light
Battery Rechargeable battery 3.7V 520mAh X 2
Charging power 5VDC / 1 Ah
Scale dimension (W x Hx D) 120mm x 120mm x 19mm
Display dimension (W x Hx D) 120mm x 25mm x 25mm
Weight display limit 2000g / 70.547oz
Weighing range Weight sense
Maximum weighing
0.1g
2000.0g
0.001oz
70.540oz
Weighing unit g / oz
Maximum weighing 2000g / 70.54oz
440g
1‑3ButtonDescription
Turn on/Turn off (Press power button 2 second)
Switch mode (Click)
Timer start/stop (Click)
Timer zero (Click)
Timer zero & Tare weight (Double click)
Tare weight (Click)
Switch weighing unit (Double click)
2
Power :
Timer :
Tare :
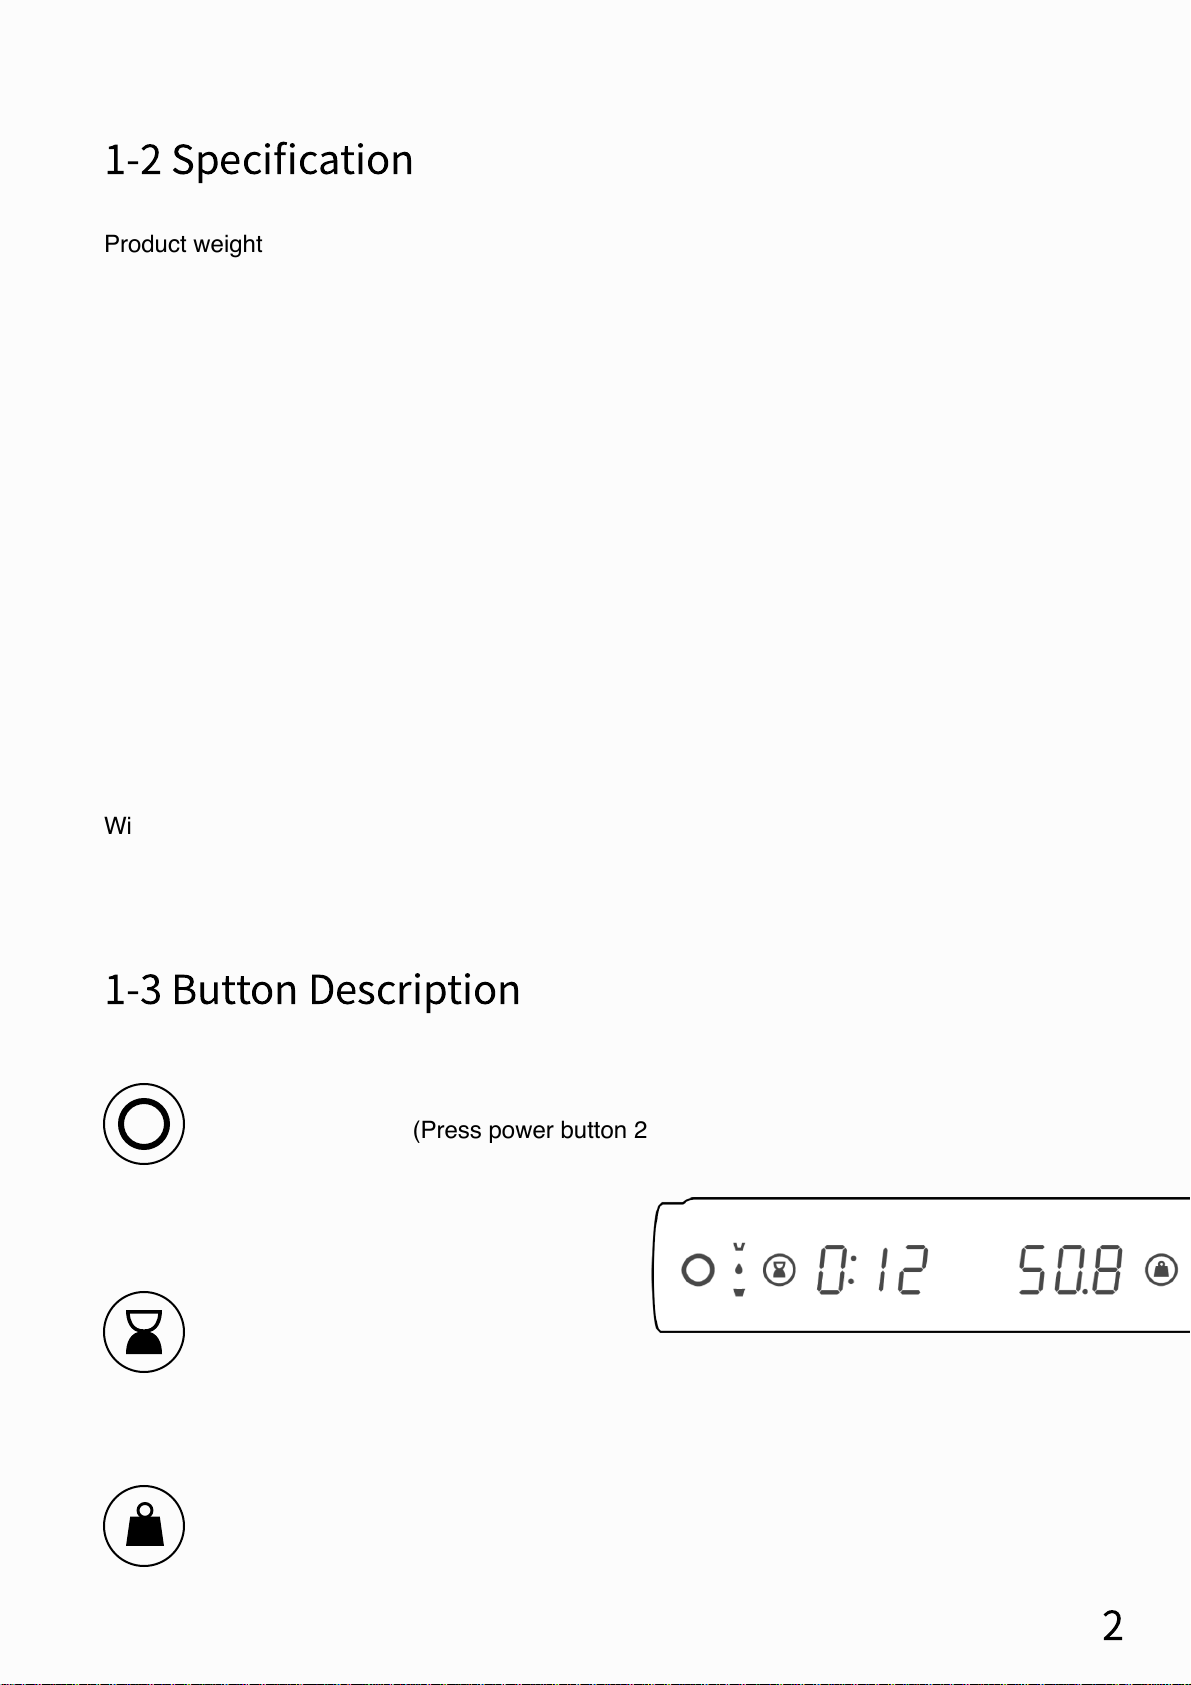
1‑4LEDLightsdescription
Bluetooth
:
When the app is connected to the scale, the icon
on the right side of the display bar will be lighten.
Weighing unit
:
When the weighing unit is switched to ounces
(oz), the icon on the right side of the display bar
will be lighten.
Charging
:
Icon will flashes while in low battery. Icon will
continuously lighten while charging. Icon will goes
off while battery is fully charged.
1‑5Battery
Before first use, please charge JIMMY for 5 hours.
This product can be charged by the following USB connector
USB port for PC or laptop
Mobile phone charger with micro USB connector (5V or 1A)Car 5V mobile phone
Charger with USB connector or micro USB connector
The lightning icon on the display bar will flash while the battery power is low
Please charge the battery before the power is complete runs out
It will take 5 hours to fully charge the battery
The standby time is 1000 hours after the battery is fully charged
The battery can be used continuously around 30 hours after fully charged
Please find JIMMY battery level in App.
If you turn on JIMMY while charging, charging light will be gone once battery is fully
charged.
The display bar must connect to the scale body while turning on
Display bar can be connected to different scales.To switch display bar and scale requires to
process “bind”, please find details on 2-2-6.
The farthest connection distance of this product is 20 meters under the obstacle-free environment
When multiple JIMMY are used at the same time, please turn on one at a time.
1‑6Displaybar
3

2 Operation instruction
2‑1Basicoperation
2‑2Modeinstruction
2‑2‑1Weighingmode
JIMMY scale has four different modes. Weighing mode, dual display mode, pour over mode
and espresso mode. In order to make different espresso extraction, we designed three
different states in espresso mode. (You can see the following details in chapter 2-3-4)
This mode only shows the weight of the weighing object on the scale. There are two
different units for this mode : grams (g) and ounces (oz).
When the weighing unit is ounces (oz), the
display bar shows
【
0.000
】
When the weighing
unit is ounces (oz), there will be a dot light on
the right side of the display bar.
When the weighing unit is gram (g),
the display bar shows
【
0.0
】
4
Turn on/Turn off (Press power button 2 second)
Switch mode (Click)
Timer start/stop (Click)
Timer zero (Click)
Timer zero & Tare weight (Double click)
Tare weight (Click)
Switch weighing unit (Double click)
Tare weight (Click)
Tare weight (Click)
Switch mode (Click)
Switch mode (Click)
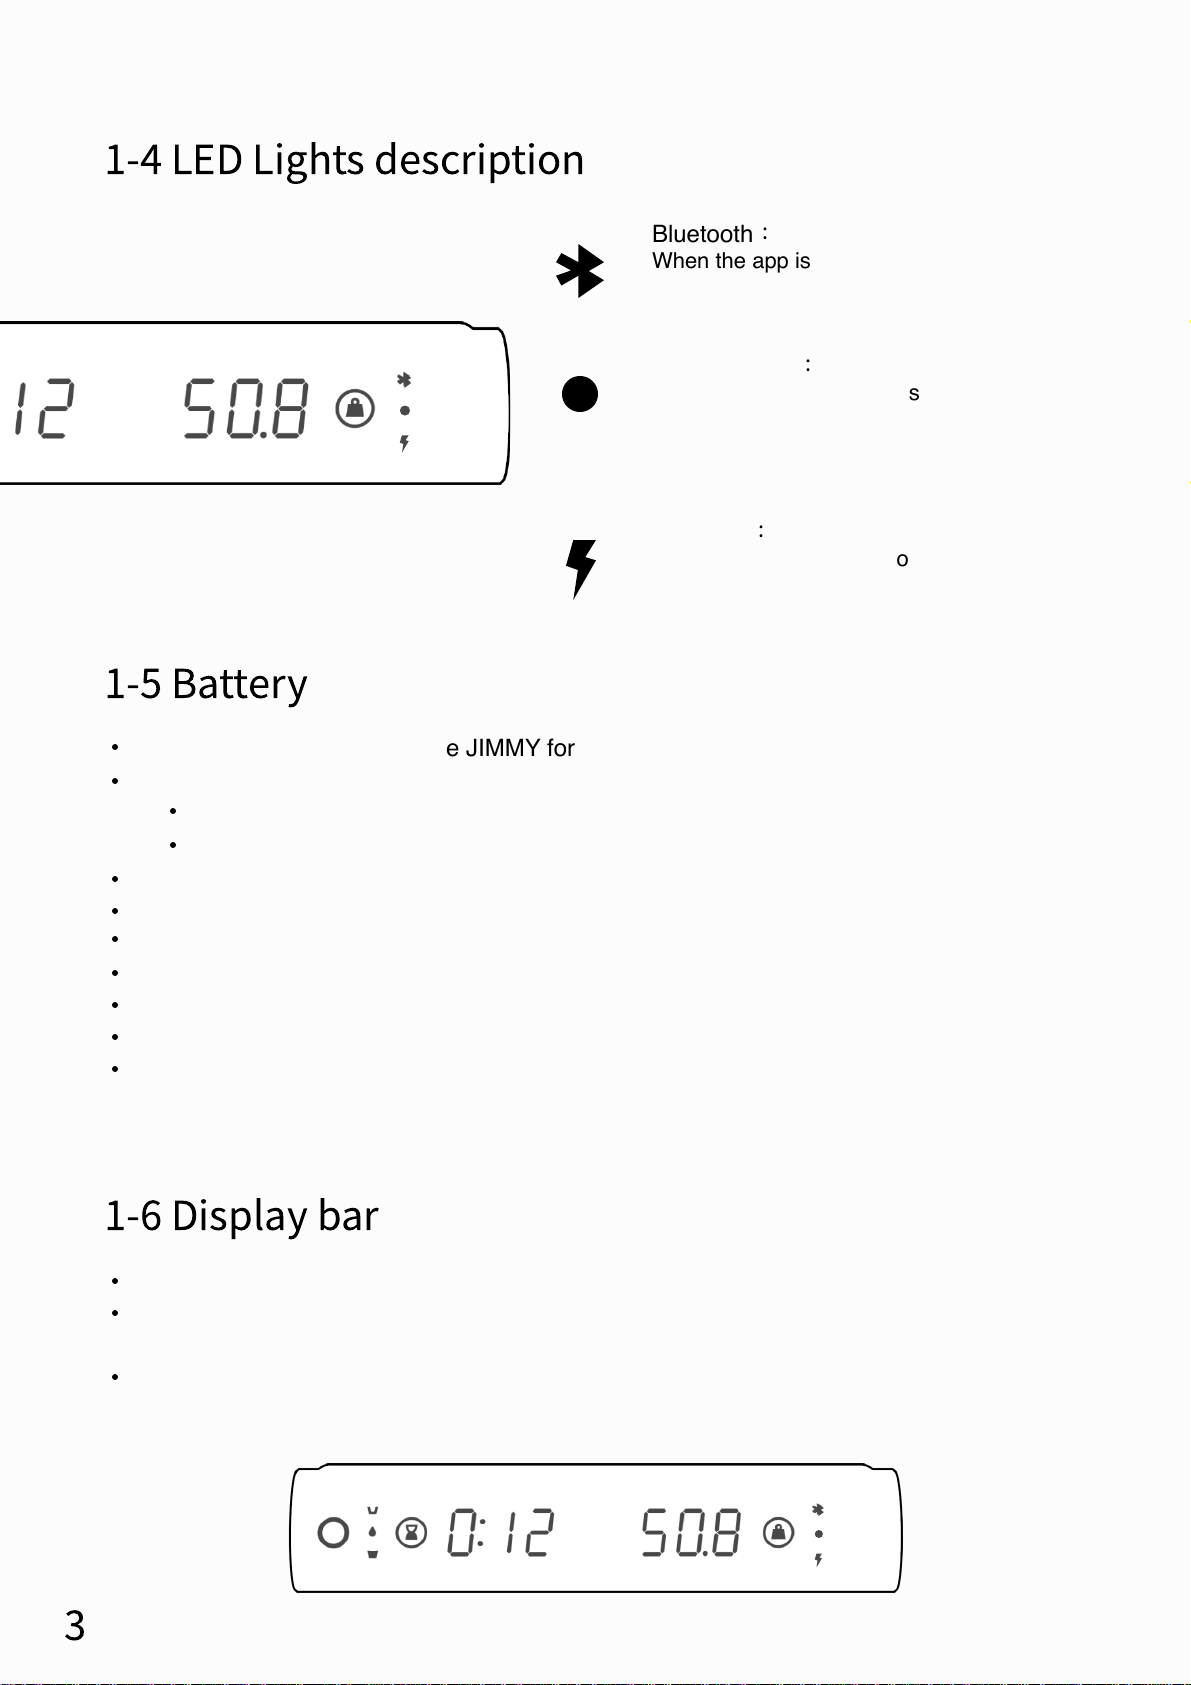
2‑2‑2Dualdisplaymode
Weight and time are displayed simultaneously in this mode.
When the weighing unit is gram (g), the
display bar shows
【
0:00 0.0
】
When the weighing unit is ounces (oz),
the display bar shows
【
0:00 0.000
】
When
the weighing unit is ounces (oz), there will be a
dot light on the right side of the display bar.
2‑2‑3Pourovermode
Weight and time are displayed simultaneously in this mode. There will be a drip light
flashing on the left side of the display bar.
When the pour over process is finished, please stop the timer manually.
Weighing units can be switched between grams (g) and ounces (oz).
Timer start/stop (Click)
Timer zero (Click)
Timer zero & Tare weight (Double click)
5
Enter setting mode (long press)
Enter setting mode (long press)
Tare weight (Click)
Switch mode (Click)
When the weighing unit is gram (g), the
display bar shows
【
0:00 0.0
】
When the weighing unit is ounces (oz),
the display bar shows
【
0:00 0.000
】
When
the weighing unit is ounces (oz), there will be a
dot light on the right side of the display bar.
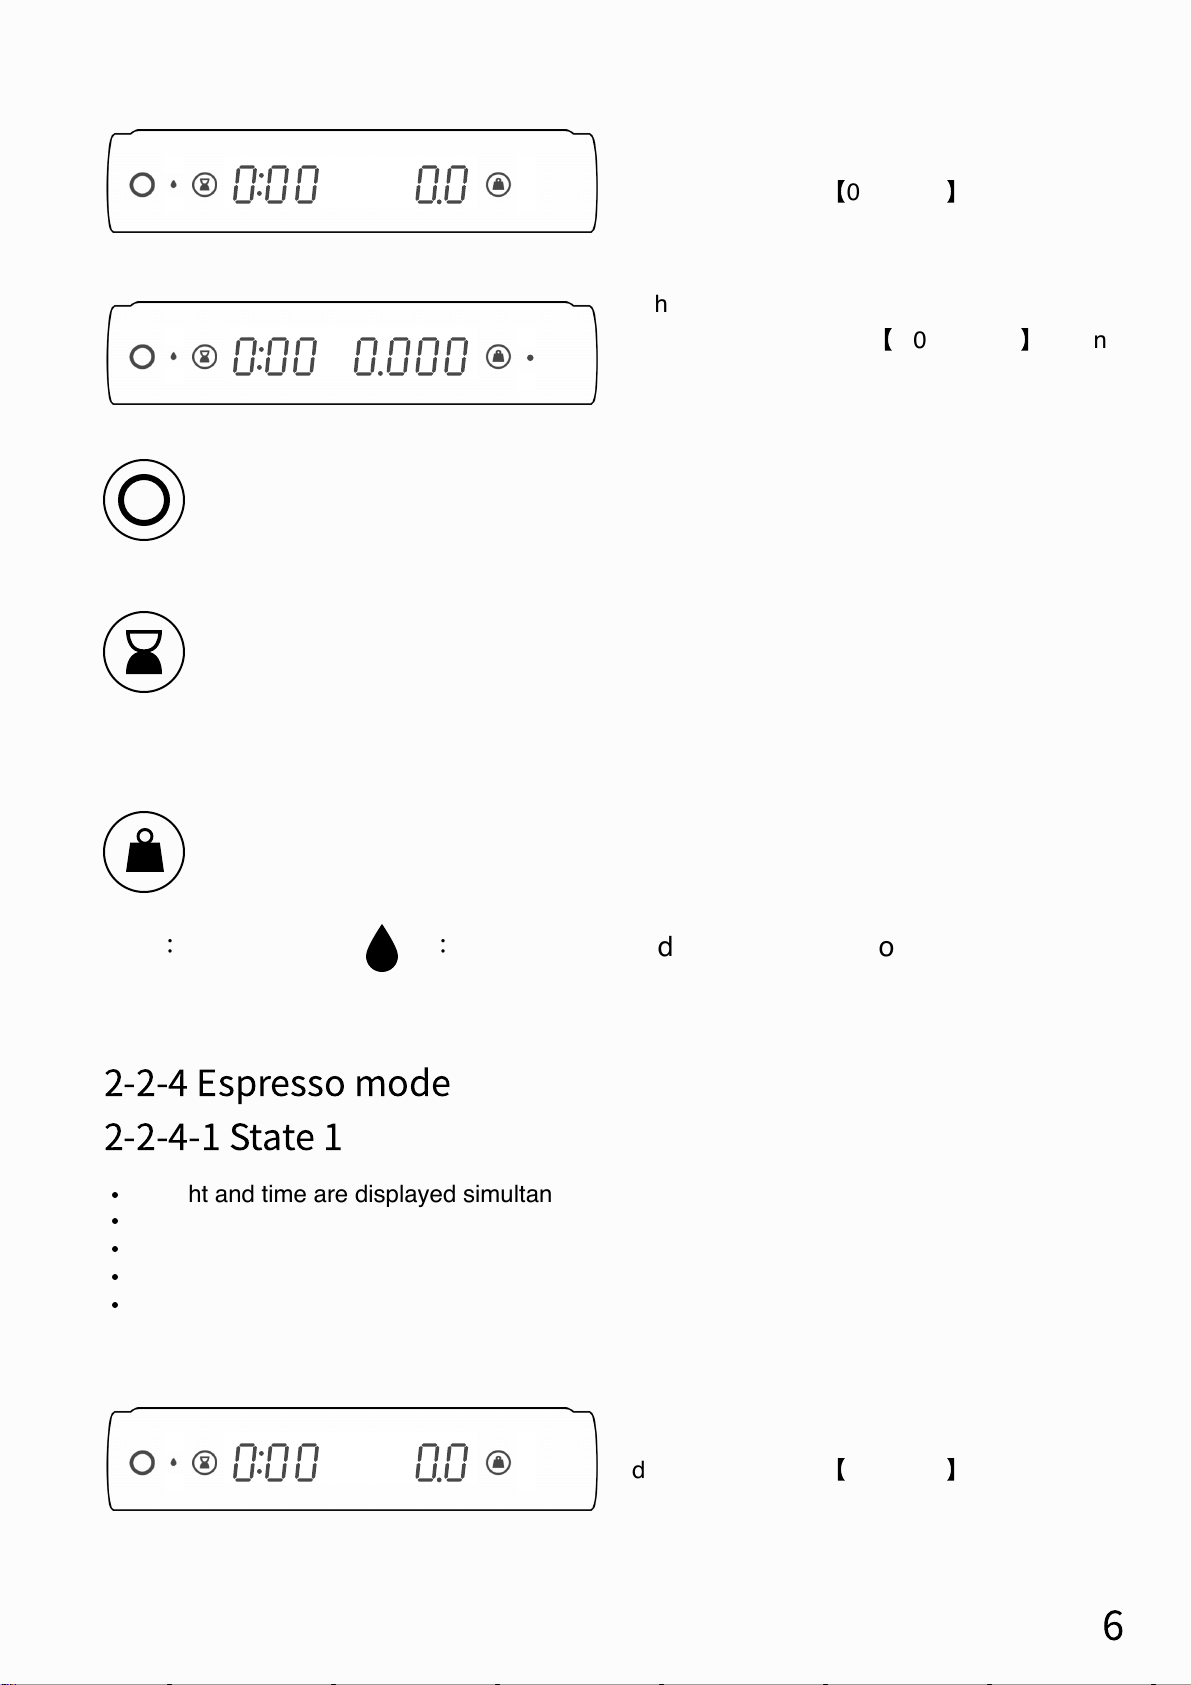
2‑2‑4Espressomode
2‑2‑4‑1State1
Weight and time are displayed simultaneously in this mode.
There will be a drip light on the left side of the display bar.
When putting the cup on, please tare the cup weight manually.
When the water flow stops, the timer will stop.
Weighing units can be switched between grams (g) and ounces (oz).
Timer stop (Click)
Timer zero (Click)
Timer zero & Tare weight (Double click)
Icon
:
Drip flashes( )
:
When the scale detect the water flow, it will
start the timer automatically.
6
When the weighing unit is gram (g), the
display bar shows
【
0:00 0.0
】
Enter setting mode (long press)

Tare weight (Click)
Switch mode (Click)
2‑2‑4‑2State2
Weight and time are displayed simultaneously in this mode.
There will be a drip and a notch light in the left side of the display bar.
When you remove the cup on the scale, the time and weight will reset to zero when the
scale re-detects the new cup weight.
When the weighing unit is gram (g), the
display bar shows
【
0:00 0.0
】
When the weighing unit is ounces (oz),
the display bar shows
【
0:00 0.000
】
When
the weighing unit is ounces (oz), there will be a
dot light on the right side of the display bar.
Timer zero (Click)
Timer zero & Tare weight (Double click)
7
Icon
:
Drip( )
:
When the scale detect the water flow, it will start the
timer automatically.
When the weighing unit is ounces (oz),
the display bar shows
【
0:00 0.000
】
When
the weighing unit is ounces (oz), there will be
a dot light on the right side of the display bar.
Enter setting mode (long press)
Table of contents


