Hitachi Relion 670 Series User manual

Relion 670/650 SERIES
670/650 series
Version 2.2 IEC
Quick start guide


Document ID: 1MRK500129-UEN
Issued: June 2023
Revision: J
Product version: 2.2
© 2018 - 2023 Hitachi Energy. All rights reserved.


Table of contents
Section 1 Introduction....................................................................................................3
Section 2 Safety information......................................................................................... 5
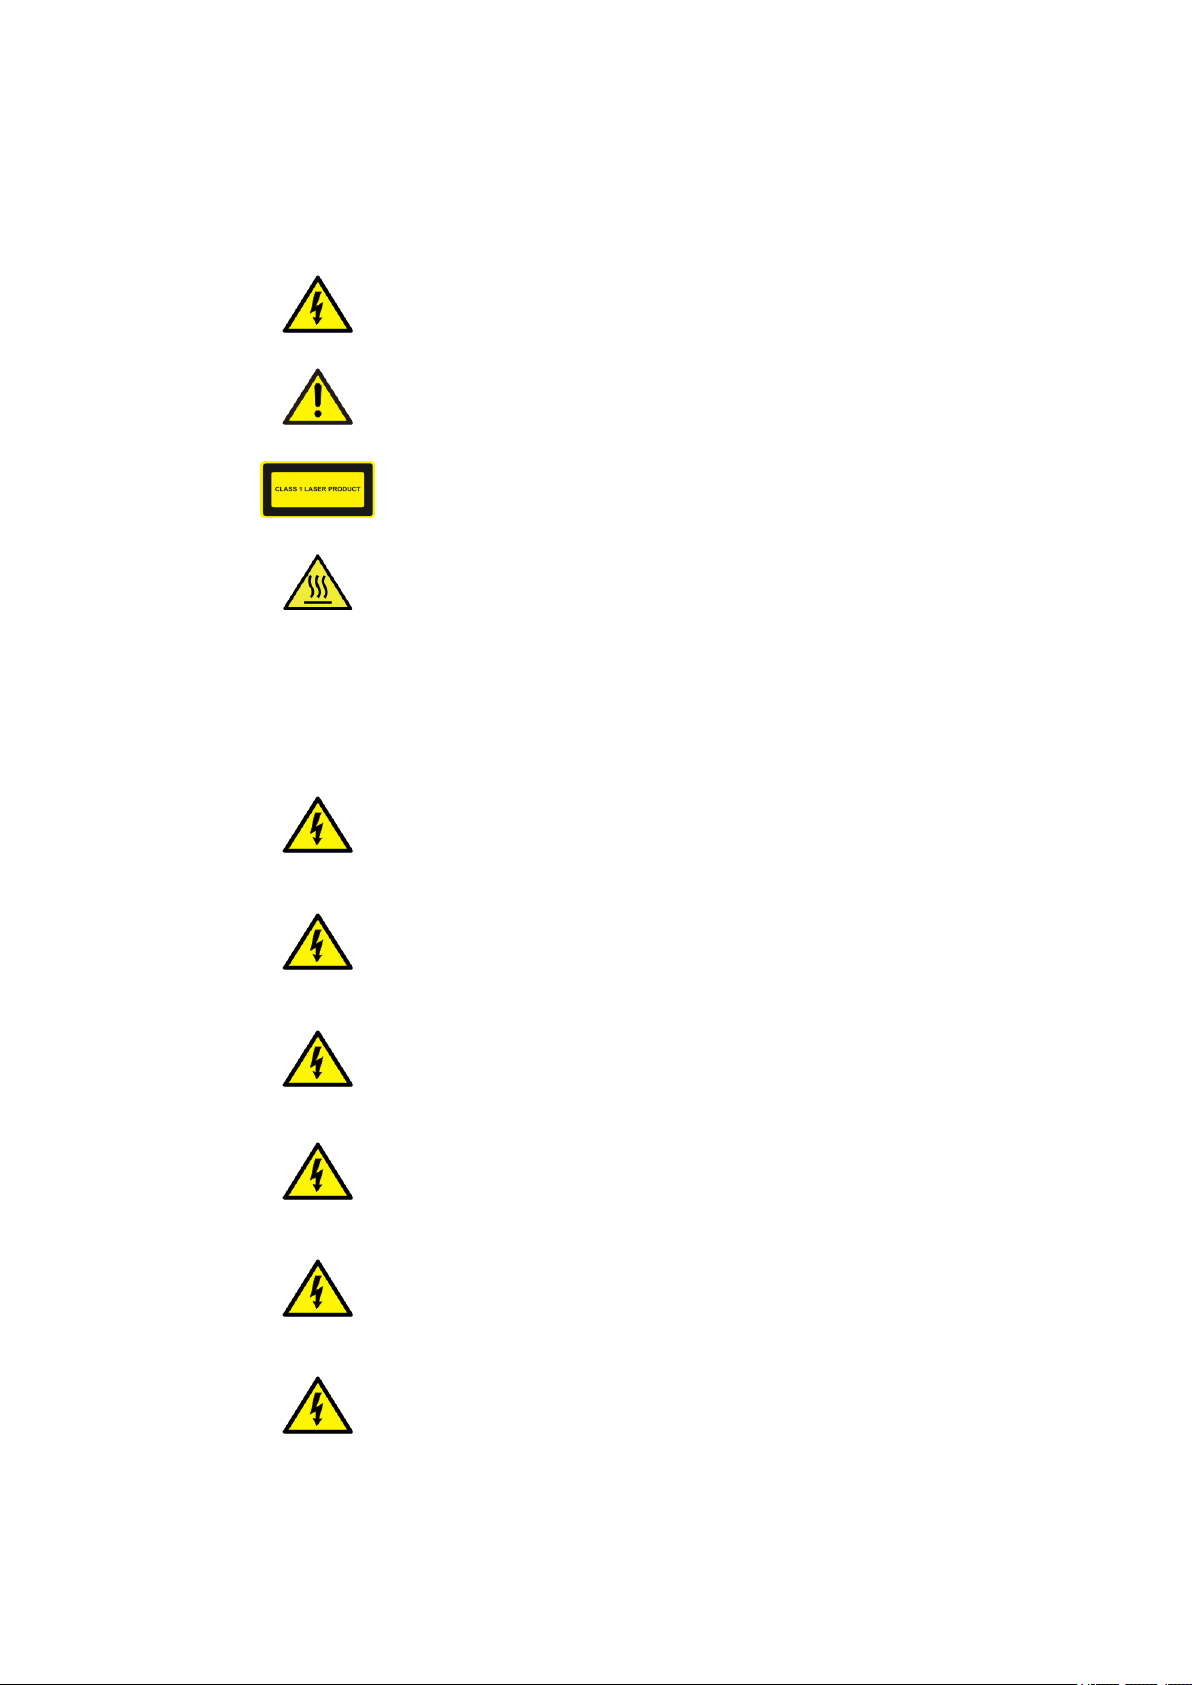
2.1 Symbols on the product.........................................................................................................5
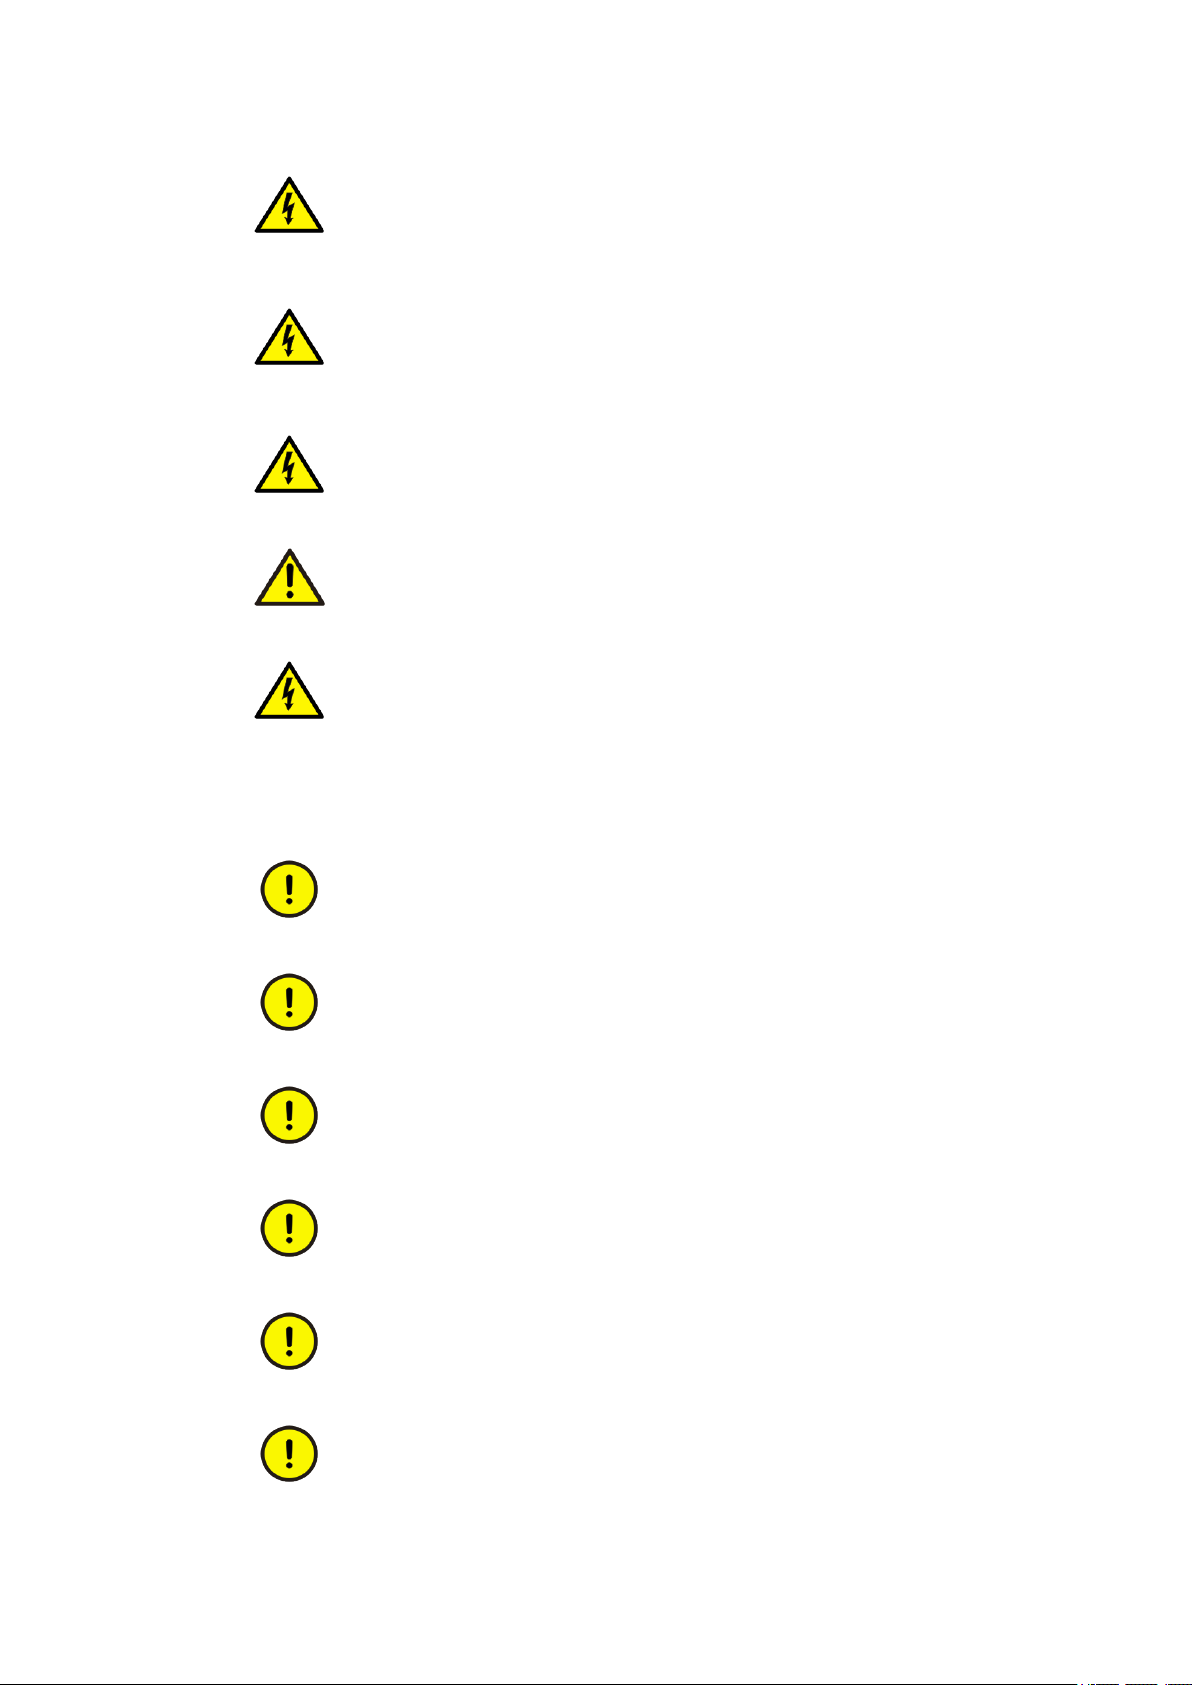
2.2 Warnings............................................................................................................................... 5
2.3 Caution signs.........................................................................................................................6
Section 3 Unpacking and inspecting............................................................................ 9
3.1 Removing transport packaging..............................................................................................9
3.2 Inspecting the product...........................................................................................................9
3.2.1 Identifying the product.........................................................................................................9
3.2.2 Checking delivery items...................................................................................................... 9
3.2.3 Inspecting the IED...............................................................................................................9
3.2.4 Returning an IED damaged in transit.................................................................................. 9
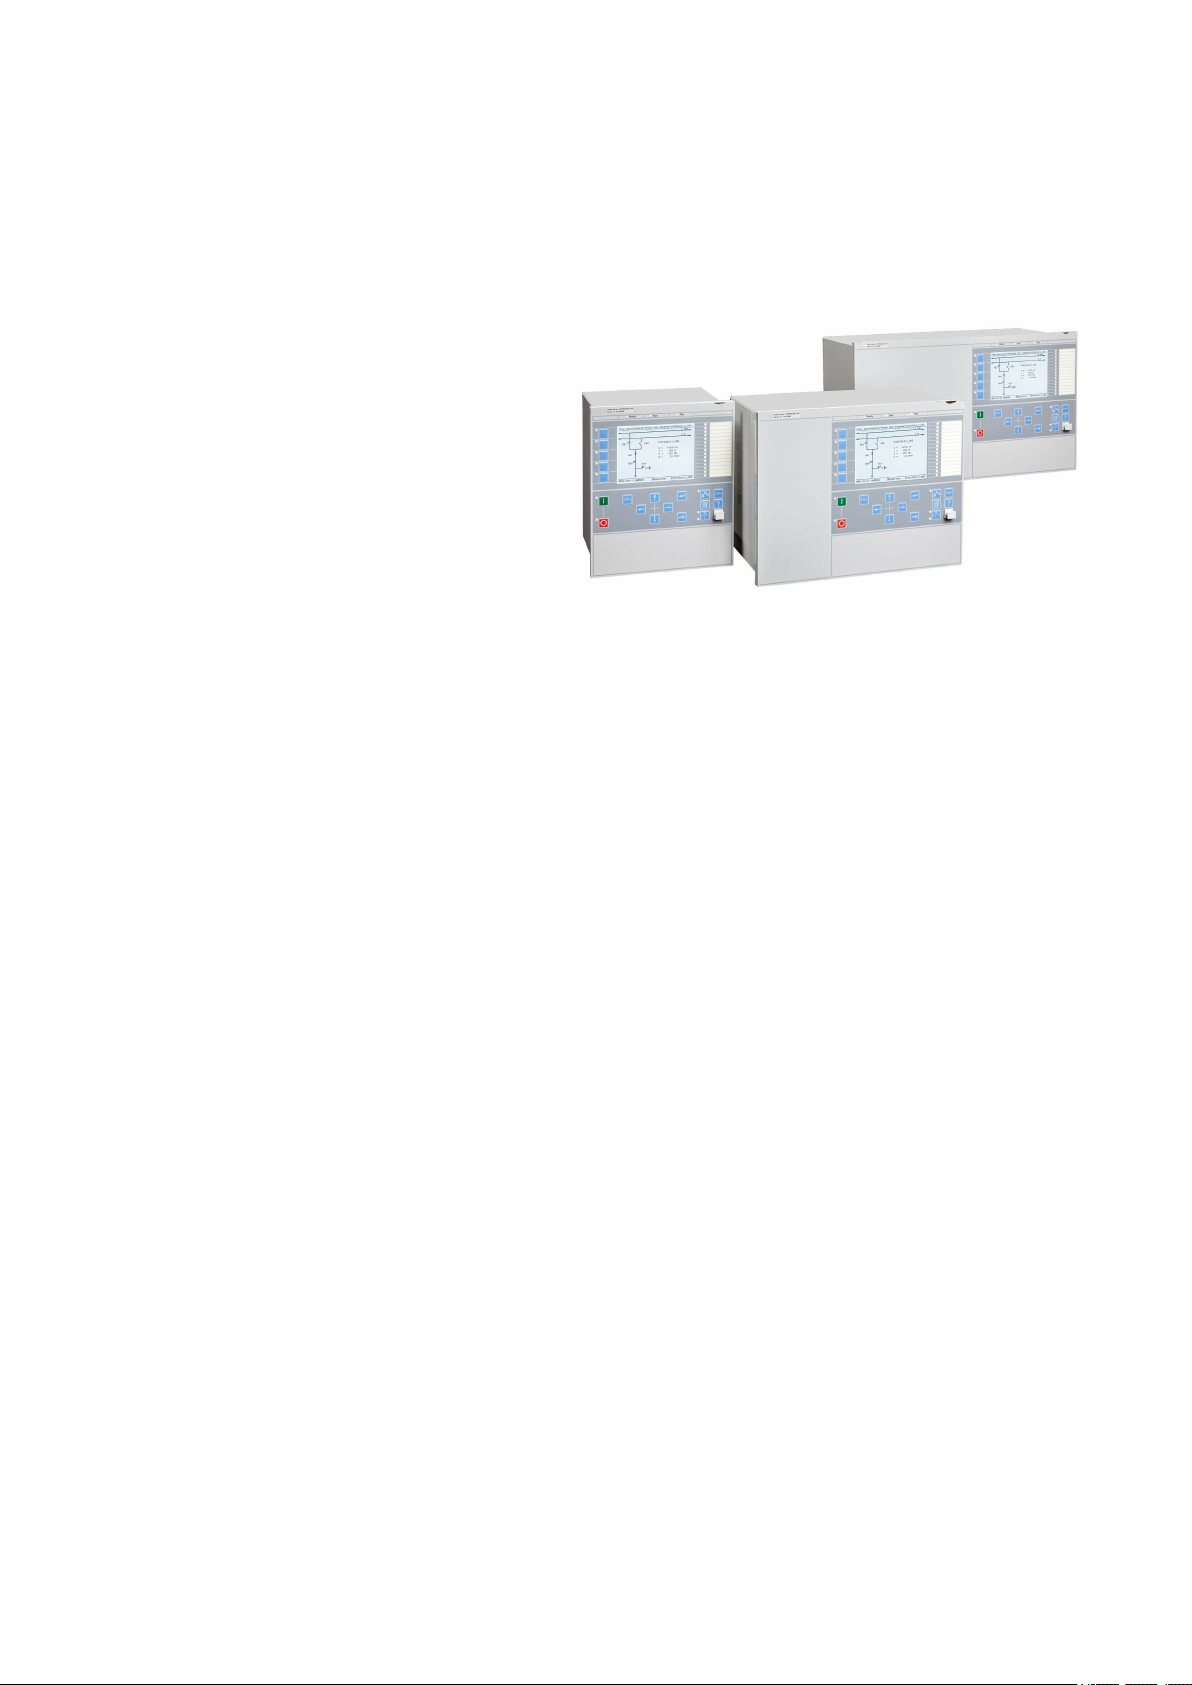
Section 4 IED hardware................................................................................................11
4.1 Overview..............................................................................................................................11
4.1.1 Variants of case size with or without local HMI display..................................................... 11
4.1.2 Case from the front and rear sides....................................................................................13
Section 5 Powering up the IED....................................................................................19
5.1 How to know the voltage level.............................................................................................19
5.2 How to connect to the power supply................................................................................... 20
5.3 Energizing the IED.............................................................................................................. 21
Section 6 LHMI overview..............................................................................................23
6.1 Local HMI............................................................................................................................ 23
6.1.1 Keypad.............................................................................................................................. 23
6.1.2 Display...............................................................................................................................26
6.1.3 LEDs..................................................................................................................................29
6.1.4 Local HMI functionality...................................................................................................... 30
6.1.4.1 Protection and alarm indication....................................................................................30
Section 7 Connecting to the PCM600 software......................................................... 33
7.1 PCM600 tool........................................................................................................................33
7.1.1 Connectivity packages...................................................................................................... 33
7.2 Preparing for the connection............................................................................................... 33
7.3 Installing the PCM600 software...........................................................................................34
7.4 Connecting the cables.........................................................................................................34
Section 8 Editing the network settings.......................................................................35
8.1 Setting up communication between PCM600 and the IED................................................. 35
8.1.1 When IED has blank front panel........................................................................................36
8.1.2 When IED has front port with RJ-45..................................................................................36
1MRK500129-UEN Rev. J Table of contents
670/650 series 1
Quick start guide
© 2018 - 2023 Hitachi Energy. All rights reserved.

Section 1 Introduction
GUID-DCFD62E5-F592-4513-84B0-EC73C7C61838 v1
The Quick Start Guide contains instructions on how to setup the Relion 670/650 series IED to get
started. The guide provides instructions to setup with a preconfigured IED, however, it is also useful
for the customized version of the IED.
The guide describes basic instructions only. For complete information, see the IED manuals.
GUID-CE76425E-C9C1-404F-8BB3-AD133E903EE7 V6 EN-US
Figure 1: Sample of an IED
1MRK500129-UEN Rev. J Section 1
Introduction
670/650 series 3
Quick start guide
© 2018 - 2023 Hitachi Energy. All rights reserved.

4

Section 2 Safety information
2.1 Symbols on the product GUID-E48F2EC3-6AB8-4ECF-A77E-F16CE45CA5FD v4
All warnings must be observed.
Read the entire manual before doing installation or any maintenance work on the product.
Class 1 Laser product. Take adequate measures to protect your eyes and do not view
directly with optical instruments.
Do not touch the unit in operation. The installation shall take into account the worst case
temperature.
2.2 Warnings IP1504-1 v2
Observe the warnings during all types of work related to the product.
GUID-C9B6638A-57E7-4E05-9A33-A60E359C54AF v1
Only electrically skilled persons with the proper authorization and knowledge of any
safety hazards are allowed to carry out the electrical installation.
M2366-2 v2
National and local electrical safety regulations must always be followed. Working in a
high voltage environment requires serious approach to avoid human injuries and damage
to equipment.
M2362-2 v1
Do not touch circuitry during operation. Potentially lethal voltages and currents are
present.
M2364-2 v1
Always use suitable isolated test pins when measuring signals in open circuitry.
Potentially lethal voltages and currents are present.
M2370-2 v1
Never connect or disconnect a wire and/or a connector to or from a IED during normal
operation. Hazardous voltages and currents are present that may be lethal. Operation
may be disrupted and IED and measuring circuitry may be damaged.
GUID-BEDD698E-356C-4CF9-9DAE-64DB3CEADEAD v1
Dangerous voltages can occur on the connectors, even though the auxiliary voltage has
been disconnected.
1MRK500129-UEN Rev. J Section 2
Safety information
670/650 series 5
Quick start guide
© 2018 - 2023 Hitachi Energy. All rights reserved.

M2369-2 v3
Always connect the IED to protective earth, regardless of the operating conditions. This
also applies to special occasions such as bench testing, demonstrations and off-site
configuration. This is class 1 equipment that shall be earthed.
M2367-2 v1
Never disconnect the secondary connection of current transformer circuit without short-
circuiting the transformer’s secondary winding. Operating a current transformer with the
secondary winding open will cause a massive potential build-up that may damage the
transformer and may cause injuries to humans.
M2372-2 v1
Never remove any screw from a powered IED or from a IED connected to powered
circuitry. Potentially lethal voltages and currents are present.
SEMOD168311-3 v1
Take adequate measures to protect the eyes. Never look into the laser beam.
GUID-11CCF92B-E9E7-409C-84D0-DFDEA1DCBE85 v2
The IED with accessories should be mounted in a cubicle in a restricted access area
within a power station, substation or industrial or retail environment.
2.3 Caution signs IP1503-1 v1
GUID-5D1412B8-8F9D-4D39-B6D1-60FB35797FD0 v3
Whenever changes are made in the IED, measures should be taken to avoid inadvertent
tripping.
GUID-F2A7BD77-80FB-48F0-AAE5-BE73DE520CC2 v1
The IED contains components which are sensitive to electrostatic discharge. ESD
precautions shall always be observed prior to touching components.
M2695-2 v2
Always transport PCBs (modules) using certified conductive bags.
M2696-2 v1
Do not connect live wires to the IED. Internal circuitry may be damaged
M2697-2 v2
Always use a conductive wrist strap connected to protective earth when replacing
modules. Electrostatic discharge (ESD) may damage the module and IED circuitry.
M2698-2 v2
Take care to avoid electrical shock during installation and commissioning.
Section 2 1MRK500129-UEN Rev. J
Safety information
6670/650 series
Quick start guide
© 2018 - 2023 Hitachi Energy. All rights reserved.

M2693-2 v2
Changing the active setting group will inevitably change the IED's operation. Be careful
and check regulations before making the change.
GUID-3BEE51C6-8793-4C89-B8A8-07D0FA6EE4CA v3
Avoid touching the enclosure of the coupling capacitor REX061 unit and the shunt
resistor REX062 unit. The surface may be hot during normal operation. The temperature
can rise 50°C in REX061 and 65°C in REX062 above the ambient temperature.
1MRK500129-UEN Rev. J Section 2
Safety information
670/650 series 7
Quick start guide
© 2018 - 2023 Hitachi Energy. All rights reserved.

8

Section 3 Unpacking and inspecting
3.1 Removing transport packaging AMU0600514 v5
IEDs require careful handling.
1. Examine the delivered products to ensure that they have not been damaged during the
transport.
2. Remove the transport packing carefully without force.
The cardboard packaging material is 100% recyclable.
3.2 Inspecting the product
3.2.1 Identifying the product AMU0600513 v5
1. Locate the IED's order number from the label attached to the IED's case.
2. Compare the IED's order number with the ordering information to verify that the received
product is correct.
3.2.2 Checking delivery items GUID-2A6D8F5A-470F-40D1-9EAE-60DE4DD85EE6 v1
Check that all items are included in the delivery in accordance with the delivery documents.
3.2.3 Inspecting the IED GUID-F6333353-F05D-4B41-BE44-5CE5274E788E v2
• Check the IED to see if any damage occurred during transportation.
3.2.4 Returning an IED damaged in transit GUID-966A05ED-CD30-4F66-957E-00FF38943A73 v6
If damage has occurred during transport, appropriate actions must be taken against the latest carrier.
Please inform the nearest Hitachi Energy office or representative. Notify Hitachi Energy immediately
if there are any discrepancies in relation to the delivery documents.
1MRK500129-UEN Rev. J Section 3
Unpacking and inspecting
670/650 series 9
Quick start guide
© 2018 - 2023 Hitachi Energy. All rights reserved.

10

Section 4 IED hardware
4.1 Overview IP14270-1 v1
4.1.1 Variants of case size with or without local HMI display M15024-3 v7
GUID-09FD09A7-9A33-4FC7-B700-7FDCD673A10D V1 EN-US
Figure 2: Example of HMI without display
IEC04000458 V3 EN-US
Figure 3: 1/2 19” case with local HMI display.
1MRK500129-UEN Rev. J Section 4
IED hardware
670/650 series 11
Quick start guide
© 2018 - 2023 Hitachi Energy. All rights reserved.

IEC05000762 V3 EN-US
Figure 4: 3/4 19” case with local HMI display.
IEC04000460 V3 EN-US
Figure 5: 1/1 19” case with local HMI display.
Section 4 1MRK500129-UEN Rev. J
IED hardware
12 670/650 series
Quick start guide
© 2018 - 2023 Hitachi Energy. All rights reserved.

4.1.2 Case from the front and rear sides IP16286-1 v2
M16105-3 v11
Table 1: Designations for 1/2 x 19” casing with 1 TRM slot
1MRK002801-AC-2-670-1.2-PG V.3 EN
1/1A
2/1B
3/3A
4/3B
5/5A6/5B
1MRK002801-AC-2-670-1.2-PG V5 EN-US
Rear position Module
X11 PSM
X31 and X32 etc. to X51 and X52 BIM, BOM, SOM, IOM or MIM
X301, X302, X303, X304 SFP
X305 LDCM1)
X306 LDCM1) or OEM
X3061, X3062 SFP if OEM is selected
X311: A, B, C, D SLM
X312 LDCM2), IRIG-B, GTM
X313 LDCM2), IRIG-B, GTM, RS485
X401 TRM
1) SR LDCM, MR LDCM and LR LDCM
2) SR LDCM, MR LDCM, LR LDCM and X21 LDCM
1MRK500129-UEN Rev. J Section 4
IED hardware
670/650 series 13
Quick start guide
© 2018 - 2023 Hitachi Energy. All rights reserved.

SEMOD111882-4 v9
Table 2: Designations for 3/4 x 19” casing with 1 TRM slot
1/1A
2/1B
3/3A
4/3B
5/5A6/5B
1MRK002801-AC-3-670-1.2-PG V5 EN-US
Rear position Module
X11 PSM
X31 and X32 etc. to X101 and X102 BIM, BOM, SOM, IOM or MIM
X301, X302, X303, X304 SFP
X305 LDCM1)
X306 LDCM1)
X3061, X3062 SFP if OEM is selected
X311: A, B, C, D SLM
X312 LDCM2), IRIG-B, GTM
X313 LDCM2), IRIG-B, GTM, RS485
X401 TRM
1) SR LDCM, MR LDCM and LR LDCM
2) SR LDCM, MR LDCM, LR LDCM and X21 LDCM
Section 4 1MRK500129-UEN Rev. J
IED hardware
14 670/650 series
Quick start guide
© 2018 - 2023 Hitachi Energy. All rights reserved.

SEMOD111884-4 v8
Table 3: Designations for 3/4 x 19” casing with 2 TRM slot
1MRK002801-AC-4-670-1.2-PG V.3 EN
1/1A
2/1B
3/3A
4/3B
5/5A6/5B
1MRK002801-AC-4-670-1.2-PG V5 EN-US
Rear position Module
X11 PSM
X31 and X32 etc. to X71 and X72 BIM, BOM, SOM, IOM or MIM
X301. X302, X303, X304 SFP
X305 LDCM1)
X306 LDCM1)
X3061, X3062 SFP if OEM is selected
X311: A, B, C, D SLM
X312 LDCM2), IRIG-B, GTM
X313, X322, X323 LDCM2), IRIG-B, GTM, RS485
X401 TRM 1
X411 TRM 2
1) SR LDCM, MR LDCM and LR LDCM
2) SR LDCM, MR LDCM, LR LDCM and X21 LDCM
1MRK500129-UEN Rev. J Section 4
IED hardware
670/650 series 15
Quick start guide
© 2018 - 2023 Hitachi Energy. All rights reserved.

M16106-3 v11
Table 4: Designations for 1/1 x 19” casing with 1 TRM slot
1MRK002801-AC-5-670-1.2-PG V.3 EN
1/1A
2/1B
3/3A
4/3B
5/5A
6/5B
1MRK002801-AC-5-670-1.2-PG V5 EN-US
Rear position Module
X11 PSM
X31 and X32 etc. to X161
and X162
BIM, BOM, SOM, IOM or
MIM
X301, X302, X303, X304 SFP
X305 LDCM1)
X306 LDCM1)
X3061, X3062 SFP if OEM is selected
X311: A, B, C, D SLM
X312 LDCM2), IRIG-B, GTM
X313 LDCM2), IRIG-B, GTM,
RS485
X401 TRM
1) SR LDCM, MR LDCM and LR LDCM
2) SR LDCM, MR LDCM, LR LDCM and X21 LDCM
Section 4 1MRK500129-UEN Rev. J
IED hardware
16 670/650 series
Quick start guide
© 2018 - 2023 Hitachi Energy. All rights reserved.
Other manuals for Relion 670 Series
10
This manual suits for next models
1
Table of contents
Other Hitachi Power Distribution Unit manuals