Electroneering SureStart Battery Power Protector User manual

Special Characteristics
• Dual Thresholds (Shut-off levels)
• Programmable Thresholds
• Programmable Automatic Reset
• Programmable Running Sensor
• Solid Sate (No mechanical parts)
• Soft Switching (Reduces transients & spikes)
• Built-in Self Test
• Microprocessor Controlled
• Easy Installation
Trouble Shooting & F.A.Q.
Q. How will SUreStart™ affect my vehicle’s alarm?
A. The SureStart™ protects the safety of the owner, the
battery, and the alar on the vehicle. SUreStart™ disconnects
the battery when discharged below 25%. The battery system
is automatically reconnected, along with the alarm, when the
owner or car thief opens the door, or tries to start the vehicle.
Q. How will the egine computer and clocks be affected?
A. The engine computer (ECM/PCM) resets itself automati-
cally during normal driving. Clocks and radio station
memory may need to be reset.
Q. Is my SureStart™ defective when it disconnects
regularly?
A. Absolutely not. Frequent disconnects may result from
electrical shorts, alternator problems, weakened battery due
to normal aging, or other electrical problems in your vehicle.
Q. How long will it take SureStart™ to disconnect the
battery if I leave my headlights on?
A.. It may take 1 to 2 hours, depending on the condition of
your battery. An interior dome light, or other low power
accessory, may require 6 to 8 hours; sometimes even longer.
Also see the “Built-in Self Test” section of the installation
instructions.
Q. Does SureStart™ cycle on/off every time I start the
engine?
A. No. The battery is disconnected only as needed to
prevent deep discharges. The SureStart™ is practically
unnoticeable to the driver.
Q. Are there other ways to reset SureStart™ ?
A. Yes. Touching the Purple test lead to the positive battery
terminal resets the SureStart™. Charging your battery to 13
volts, or more, also resets SureStart™.
Electroneering, Inc.
Houston, Texas
Electroneering, Inc.
Houston, Texas
Electroneering, Inc.
Houston, Texas
Owner’s Manual
SureStart™ Battery Power
Protector
Preserves your Battery’s
Starting Power
Description
The SureStart™ protects the battery in a vehicle from
accidental discharge. The battery is protected from the
entire electrical system. Installation is facilitated in the
engine compartment of a vehicle. The SureStart™ unit
attaches to the battery, and utilizes the existing battery
cables. It is a simple “bolt on” procedure where NO cutting
or splicing is required. The SureStart™ shuts of when the
battery charge level has decreased to approximately 25%.
The SureStart™ is reset by pressing the brake pedal, or
turning the ignition on, or opening the door, or toggling the
head light switch.
NOTE: When the SureStart™ shuts off, your battery is low
on charge, and has to be reacharged by a battery charger, or
by the alternator in your vehicle.
Signal processing circuitry detects when the engine is
running, and prevents the SureStart™ from shutting off
when the vehicle is driven.
Limited 3 Year Warranty
Description of Warranty
The manufacturer warrants the original purchaser that its
SureStart™ products, and the components thereof, will be
free from defects in workmanship and materials for a period
of (3) three year, or 36,000 miles, from the date of pur-
chase*. The manufacturer will, without charge, repair or
replace, at its option, defective SureStart™ products or
component parts. The manufacturer shall not be liable for
any consequential damages, including without limitation,
damages resulting from loss of use or cost of installation.
Remedy And Rights
Some states do not permit any limitations on the length of
any applied warranty and therfore the immediately preced-
ing senstence may not apply. In no event shall the manufac-
turer be obligated or liable for consequential, incidental,
special, indirect or punitive damages of any kind. Some
states do not allow exclusion or limitation of incidental or
consequential damages and therefore some or all of the
immidiately preceeding senstence may not apply.
Claims
To make a claim under this Limited 3 Year Warranty, contact
your supplier, dealer, or installer.
* Exclusions: This limited warranty does not apply: 1) to
any damage by accident. 2) In the event of misuse or abuse
of the product, or as a result of unauthorized alterations or
repair. 3) If the product markings are altered, defaced, or
removed.

Parts List
SureStart™
Tie Strap
Top Post Adapter
Installation Instructions
1) Turn everything off, remove your ignition key and
disconnect the positive battery terminal from the battery.
2) Attach the SureStart™ to the battery with the tie strap.
Make sure that you select a location where the original
battery cable reaches the SureStart™ unit. The SureStart™
unit may also be bolted directly to the chassis of your
vehicle
NOTE: Make sure that neither terminal of the SureStart™
comes in contact with any chassis part, moving part, or hot
part.
3) Attach the Top Post Adapter to the output terminal of the
SureStart™ if your battery has top terminals. The Top Post
Adapter attaches to the positive battery terminal if your
battery has side terminals. Tighten firmly, without over
teightening.
4) Ground the black lead of the SureStart™ to a chassis
bolt. Make sure that your chassis bolt is not rusted or
corroded. The SureStart™ will not function without proper
ground.
5) Attach the original battery cable to the output terminal (3/
8” Nut/Top Post Adapter) of the SureStart™.
6) Attach the Cable Kit to the input terminal of the
SureStart™ (5/16” bolt) and to the positive battery terminal
(The side post battery uses the Top Post Adapter).
7) Tape the end of the Quick Connect terminal of the purple
test lead with electrical tape.
Audio Amplifiers
8) Audio amplifiers and other high powered equipment are
preferably installed directly to the battery. This type of
equipment typically has remote on/off features. SureStart™
protects the radio/CD player, which in turn, controls the
Audio AMp through the remote on/off.
Restoring Vehicle Power
9) Open the vehicle door and turn everything off. Step on
the brake pedal, turn the ignition on, or toggle the head light
switch to restore power to your vehicle. It is also possible to
tough the metal part of the Quick Connect terminal of the
Purple Test lead to the positive battery terminal. Charging
your battery to a voltage equal to, or higher than, 13 Volts
also resets SureStart™. Start your vehicle and let the engine
run to recharge your battery.
Built-in Self Test
10) Locate the Purple Test lead of the SureStart™. Con-
tinuously ground this wire until the SureStart™ shuts off (1
minute or less). THis forces the SureStart™ into its test
mode, just as if the battery voltage was low. Releasing the
Purple test lead from ground ends the test. See 9 to reset the
SureStart™. Tape the end of the Quick Connect terminal
with electrical tape when finished testing.
Maintenance
11) Keep all electrical connections tight and corrosion free.
Avoid spraying rust proofing chemicals, oil, or grease on the
SureStart™ unit.
Environmental
For 12V Automotive systems with negative Ground.
Operating Temperatur - 40 °C to 125 °C
- 40 °F to 257 °F
Relative Humidity 0 to 100%
Mechanical Shock 20 G’s
Electroneering, Inc.
Houston, Texas
Electroneering, Inc.
Houston, Texas
Electroneering, Inc.
Houston, Texas
Cable Kit
It is recommended to bolt the SureStart™ unit directly
to a flat metal chassis part in applications where the
continuous current draw is expected to exceed 100 Amps.
This helps keeping the SureStart™ cool. The inner fender
is a good example of a suitable location. Be careful when
drilling in chassis parts - it is easy to accidentally drill
through exterior body panels.
Black Ground Wire
Purple Test Wire
Original Battery Cable
Top Post Adapter
Cable Kit
Table of contents
Popular Power Distribution Unit manuals by other brands
LEGRAND
LEGRAND MIDDLE ATLANTIC NEXSYS user manual

Xtreme Power Conversion
Xtreme Power Conversion SPD-0215 User & installation manual
BEGA
BEGA 10 569 Instructions for use

Victron energy
Victron energy BatteryProtect instruction manual
ADC
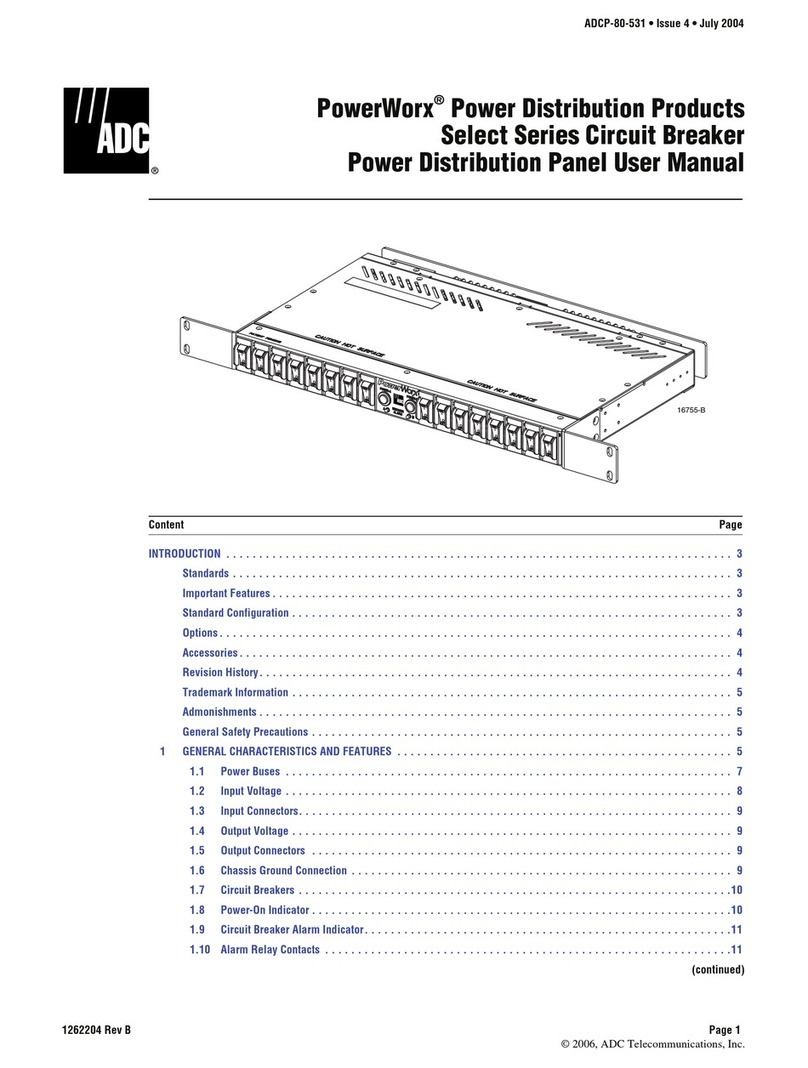
ADC PowerWorx Select Series user manual

GRAUPNER
GRAUPNER LIPO DISCHARGE PROTECTION 2-14 manual
