manuals.online logo
Brands
  1. Home
  2. •
  3. Brands
  4. •
  5. home star
  6. •
  7. Indoor Furnishing
  8. •
  9. home star KK200 Series User manual

home star KK200 Series User manual

KK200 SERIES COMPUTER DESK
OPERATING INSTRUCTIONS
Warranty
Home Star Products Warrants, to the original purchaser its products to be free from defects in material and workmanship for a period of 90 days.
Defects and damage from misuse, abuse, negligence, alteration, accident, vandalism, rusting, acts of nature or any other event beyond the control
of Home Star Products is not covered. The warranty does not cover cosmetic damage that may result from normal use. Liability for incidental
or consequential damages is excluded. The user assumes all risk of injury resulting from use of this product. The distributed weight limit of this
product is 80 lbs. This warranty gives you specific legal rights, and you may also have other rights which vary from state to state.
To make a warranty claim, contact Customer Service, provide model number, sales receipt and description of the problem. It is the customer’s
responsibility to prepay freight on any components returned to the factory. Home Star Products will pay return freight on components covered
under terms of warranty.
Our quality standards are among the highest in the industry. Sometimes, no matter how hard we try, there are times when hardware is missing.
Our Parts Department will do everything possible to promptly remedy the problem. Contact us via email parts@officestar.net, by Fax
1-909-930-5629, or toll free parts number 1-800-950-7262, Monday through Friday 8:00 a.m. - 5:00 p.m. Pacific Time. Home Star Products P.O.
Box 3520 Ontario, California 91761 USA.
Enlever toutes les pièces du carton, les organiser selon les numéros de pièce indiqués sur la liste et
s’assurer que les quantités des pièces reçues sont correctes.
ÉTAPE 1 Placer le dessus de table (1) à l’envers sur une surface douce. Aligner et sécuriser peu fermement les
deux cadres pour les pattes (4) au dessus de table (1) en utilisant quatre vis Allen longues (9). NE PAS SERRER
LES VIS LONGUES (9) COMPLÈTEMENT. Sécuriser la barre de soutien (5) aux cadres pour les pattes (4) en
utilisant deux vis Allen longues (9).
SERRER TOUTES LES VIS COMPLÈTEMENT.
ÉTAPE 2 Aligner et sécuriser le panneau inférieur (2) à l’envers sur les cadres pour les pattes (4) en utilisant quatre
rondelles plates (14), quatre rondelles d’arrêt à bague fendue (13) et quatre vis Allen longues (9).
SERRER TOUTES LES VIS COMPLÈTEMENT.
ÉTAPE 3 Aligner et sécuriser deux roulettes verrouillables (7) aux trous à l’avant du panneau inférieur (2) en utilisant
huit vis à bois à tête plate (12). Attacher trois roulettes (8) aux trous qui restent sur le panneau inférieur (2) en utilisant
douze vis à bois à tête plate (12) COMME INDIQUÉ DANS LE DÉTAILLÉ A.
SERRER TOUTES LES VIS COMPLÈTEMENT.
ÉTAPE 4 Aligner et sécuriser les supports droit et gauche (6R & 6L) au dessus de table (1) en utilisant quatre vis
Allen courtes (10).
ÉTAPE 5 Tourner la table assemblée à l’endroit soigneusement. Attacher la tablette pour le clavier (3) aux supports
(6R & 6L) en utilisant quatre vis à bois (11). SERRER TOUTES LES VIS COMPLÈTEMENT.
ATTENTION : VÉRIFIER QUE TOUS LES VIS SONT INSTALLÉS ET BIEN SERRÉS AVANT DE L’UTILISER.
© Office Star Products Mai 2006
Notes Importantes:
1. N’utiliser que des outils à main pour le montage, car les outils électriques pourraient endommager l’unité.
2. Enlever avec soin toute agrafe utilisée dans l’emballage.
DÉTAILLÉ A
1
BUREAU D’ORDINATEUR – SÉRIE KK200
INSTRUCTIONS DE MONTAGE
ÉTAPE 1 ÉTAPES 2 À 4
ÉTAPE 5
4
9
9
9
9
12
8
2
2
7
8
8
10
6R
6L
3
4
4
11
5
9
13
14
6R
6L
PIÈCE QTÉ
1. Dessus de table . . . . . . . . . 1
2. Panneau inférieur . . . . . . . . 1
3. Tablette pour le clavier . . . . . . 1
4. Cadre pour les pattes . . . . . . 2
5. Barre de soutien . . . . . . . . . 1
6. Bracket Right (6R) & Left (6L) . . 2
7. Roulette verrouillable. . . . . . . 2
8. Roulette . . . . . . . . . . . . . 3
9. Vis Allen longues. . . . . . . . .10
10. Vis Allen courtes . . . . . . . . . 4
11. Vis à bois. . . . . . . . . . . . . 4
12. Vis à bois à tête plate . . . . . .20
13. Rondelle d’arrêt à bague fendue . 4
14. Rondelle plate . . . . . . . . . . 4
15. Clé Allen (non montrée) . . . . . 1
WarnInG
1. Do not use this product unless all screws and bolts are
securely tightened.
2. Check that all screws and bolts are tight every three
months or as needed.
3. Dispose of packing material properly. Do not use plas-
tic cover as head covering. It may cause suffocation.
4. Do not use this product as a stepladder.
5. Use this product for its intended purpose only.
Remove all parts from carton, separate by part numbers indicated on parts list, and verify part quantities.
STEP 1 Place Table Top (1) face down on a soft surface. Align and loosely secure two Leg Frames (4) to Table Top
(1) using four Long Allen Screws (9). DO NOT FULLY TIGHTEN LONG SCREWS (9). Secure Support Bar (5) to Leg
Frames (4) using two Long Allen Screws (9). FULLY TIGHTEN ALL SCREWS.
STEP 2 Align and secure Bottom Panel (2) face down onto Leg Frames (4) using four Flat Washers (14), four Split
Ring Lock Washers (13) and four Long Allen Screws (9). FULLY TIGHTEN ALL SCREWS.
STEP 3 Align and secure two Locking Casters (7) to holes on front of Bottom Panel (2) using eight Flat Head Wood
Screws (12). Attach three Casters (8) to remaining holes on Bottom Panel (2) using twelve Flat Head Wood Screws
(12). AS SHOWN IN DETAIL A. FULLY TIGHTEN ALL SCREWS.
STEP 4 Align and secure Right and Left Brackets (6R & 6L) to Table Top (1) using four Short Allen Screws (10).
STEP 5 Carefully turn the assembled table upright. Attach Keyboard Panel (3) to Brackets (6R & 6L) using four
Wood Screws (11). FULLY TIGHTEN ALL SCREWS.
ATTENTION: VERIFY THAT ALL SCREWS ARE INSTALLED AND FULLY TIGHTENED BEFORE USING.
PART QTY
1. Table Top . . . . . . . . . . . 1
2. Bottom Panel. . . . . . . . . 1
3. Keyboard Panel . . . . . . . 1
4. Leg Frame . . . . . . . . . . 2
5. Support Bar . . . . . . . . . 1
6. Bracket Right (6R) & Left (6L) 2
7. Locking Caster . . . . . . . . 2
8. Caster . . . . . . . . . . . . 3
9. Long Allen Screw . . . . . .10
10. Short Allen Screw . . . . . . 4
11. Wood Screw . . . . . . . . . 4
12. Flat Head Wood Screw. . . .20
13. Split Ring Lock Washer . . . 4
14. Flat Washer . . . . . . . . . 4
15. Allen Key (Not Shown) . . . . 1
© Office Star Products May 2006
Important Notes:
1. Use hand tools only for assembly as power tools may cause damage.
2. Carefully remove any staples used for packaging.
DETAIL A
1
KK200 SERIES COMPUTER DESK
ASSEMBLY INSTRUCTIONS
STEP 1 STEPS 2-4
STEP 5
4
9
9
9
9
12
8
2
2
7
8
8
10
6R
6L
3
4
4
11
5
9
13
14
6R
6L
BUREAU D’ORDINATEUR – SÉRIE KK200
MODE D’EMPLOI
aVErtISSEMEnt
1. Ne pas utiliser ce produit à moins que toutes les
vis et tous les boulons soient resserrés.
2. Vérifier à tous les trois mois ou au besoin que
toutes les vis et tous les boulons sont resserrés.
3. Éliminer les matériaux de conditionnement d’une
manière convenable. Ne pas utiliser la couver-
ture en plastique pour couvrir la tête à cause du
risque d’étouffement.
4. Ne pas utiliser ce produit comme un escabeau.
5. Ce produit ne doit servir qu’à l’usage pour lequel
il a été conçu.
GarantIE
Home Star Products garantit à l’acheteur original que ses produits sont exempts de vices de matériaux et de fabrication pendant une période de
90 jours. Les défauts et les dégâts qui sont le résultat de la mauvaise utilisation, de la négligence, de modifications, d’accidents, du vandalisme,
de la rouille, de catastrophes naturelles ou de tout autre événement indépendant de la volonté de Home Star Products ne sont pas couverts.
La garantie ne couvre pas des dégâts superficiels qui pourraient se produire au cours de l’utilisation normale. La responsabilité de dommages
indirects ou accessoires est exclue dans la mesure permise par la loi. L’utilisateur accepte tout risque de blessure résultant de l’utilisation de ce
produit. La limite du poids distribué de ce produit est de 80 lb. Cette garantie vous accorde des droits spécifiques reconnus par la loi, et
vous pouvez avoir d’autres droits qui varient d’un état et d’une province à l’autre.
Pour faire une réclamation de garantie, contacter le service à la clientèle. Fournir le numéro de modèle, le reçu de caisse et une description du
problème. C’est la responsabilité du client de payer d’avance les frais de transport pour toute pièce retournée à l’usine. Home Star Products
paiera les frais de transport de retour pour des pièces encore sous garantie.
Nos normes de qualité sont parmi les plus élevées de l’industrie. De temps en temps, malgré nos efforts, il arrive que des pièces de montage
soient manquantes. Notre service des pièces fera tout son possible pour régler le problème promptement.
Contactez-nous par courriel: parts@officestar.net, par télécopieur: 1-909-930-5629, ou au numéro sans frais du service des pièces:
1-800-950-7262 du lundi au vendredi de 8 h à 17 h, heure du Pacifique. Home Star Products, P.O. Box 3520, Ontario, California 91761 É.-U.
Other home star Indoor Furnishing manuals

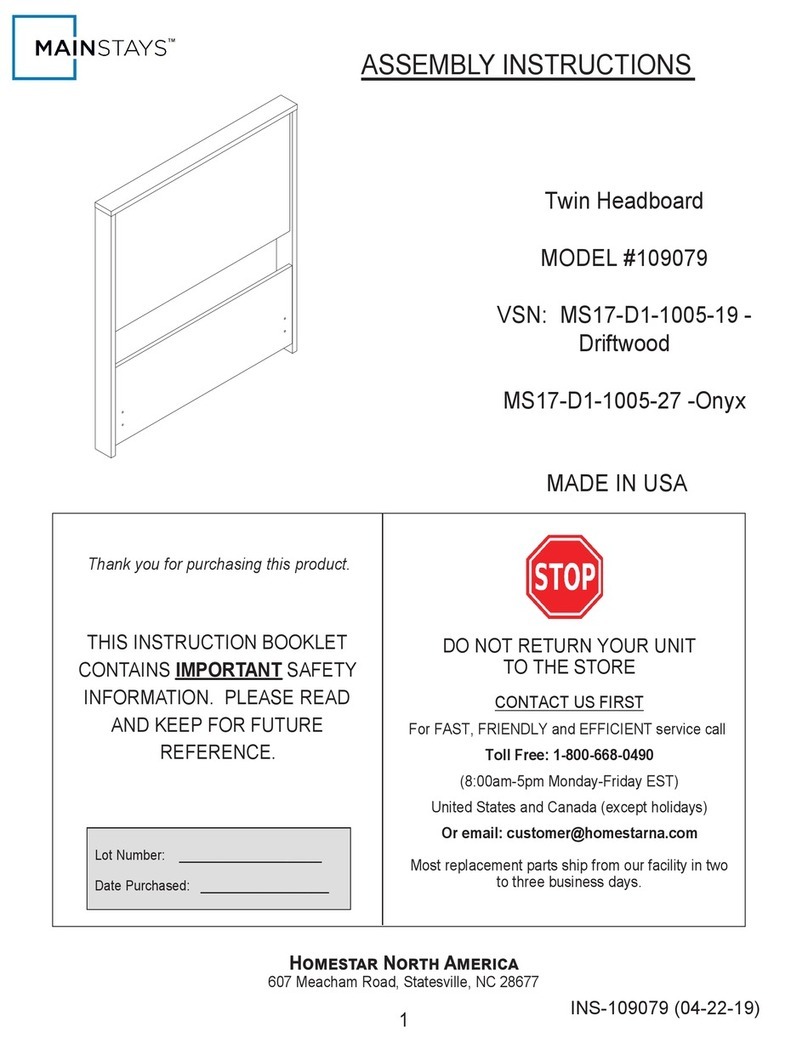
home star MAINSTAYS BRM0083CBK User manual

home star

home star MAINSTAYS BRM0083CBK User manual

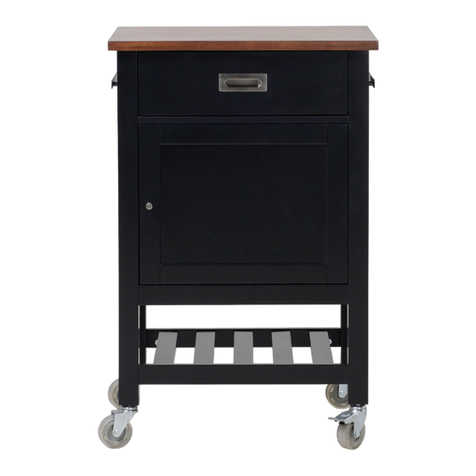
home star YZ 1810324-WHITE User manual

home star

home star YZ 1810324-WHITE User manual

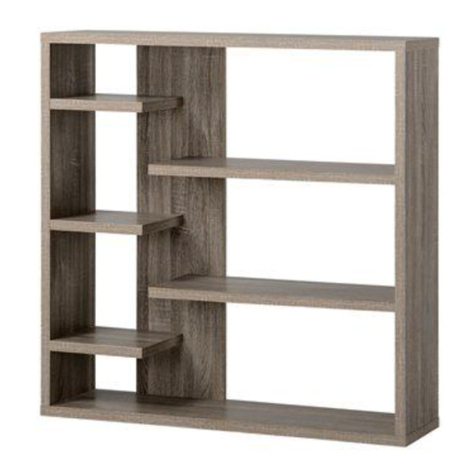
home star 108735 User manual

home star

home star 108735 User manual

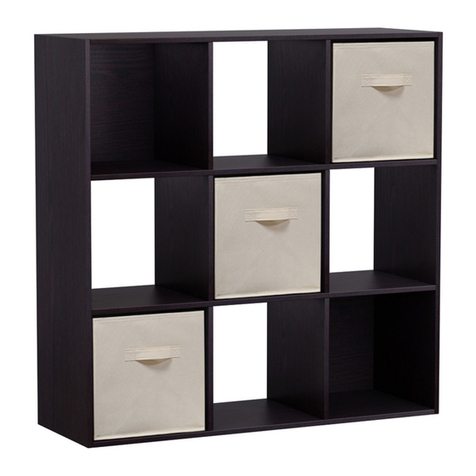
home star 208751 User manual

home star

home star 208751 User manual

home star MAINSTAYS 109075 User manual

home star

home star MAINSTAYS 109075 User manual

home star Z1710348 User manual

home star

home star Z1710348 User manual

home star ZH141191 User manual

home star

home star ZH141191 User manual

home star Mainstays ES108997A User manual

home star

home star Mainstays ES108997A User manual

home star Z1310007-W User manual

home star

home star Z1310007-W User manual

home star Z1430257 User manual

home star

home star Z1430257 User manual

home star ZH141583-R User manual

home star

home star ZH141583-R User manual

home star MAINSTAYS 109067 User manual

home star

home star MAINSTAYS 109067 User manual

home star Z1710304 User manual

home star

home star Z1710304 User manual

home star MAINSTAYS EB109064RC User manual

home star

home star MAINSTAYS EB109064RC User manual

home star Z1510751 User manual

home star

home star Z1510751 User manual

home star MAINSTAYS MS17-D1-1005-08 User manual

home star

home star MAINSTAYS MS17-D1-1005-08 User manual

home star MAINSTAYS 109076 User manual

home star

home star MAINSTAYS 109076 User manual

home star MAINSTAYS MS17-D1-1005-01 User manual

home star

home star MAINSTAYS MS17-D1-1005-01 User manual

home star Cara Z1430258 User manual

home star

home star Cara Z1430258 User manual

home star Mainstays EB109062RC User manual

home star

home star Mainstays EB109062RC User manual

home star MS17-D1-1005-07 109056 User manual

home star

home star MS17-D1-1005-07 109056 User manual

home star Z1710352 User manual

home star

home star Z1710352 User manual

home star Mainstays 109079 User manual

home star

home star Mainstays 109079 User manual

home star 208752-2 User manual

home star

home star 208752-2 User manual

Popular Indoor Furnishing manuals by other brands

Kohler K-2684 Installation and care guide

Kohler

Kohler K-2684 Installation and care guide

brewer BrewerElement 2010 manual

brewer

brewer BrewerElement 2010 manual

Cooper Lighting FAIL-SAFE VRVT2 specification

Cooper Lighting

Cooper Lighting FAIL-SAFE VRVT2 specification

Haworth Maria user manual

Haworth

Haworth Maria user manual

Epic Full-size Grid Mainframe Assembly instructions

Epic

Epic Full-size Grid Mainframe Assembly instructions

Julian Bowen Limited CAM005/2 Assembly instructions

Julian Bowen Limited

Julian Bowen Limited CAM005/2 Assembly instructions

BDI 8354 Assembly instructions

BDI

BDI 8354 Assembly instructions

BFM futureglass Ultimate Assembly instructions

BFM

BFM futureglass Ultimate Assembly instructions

Lightolier Brisa FP21U_3d specification

Lightolier

Lightolier Brisa FP21U_3d specification

Coaster 193499 Assembly instructions

Coaster

Coaster 193499 Assembly instructions

Kangaroo Bandicoot II Assembly instructions

Kangaroo

Kangaroo Bandicoot II Assembly instructions

Argos Home Gloss Single Wall Cabinet Grey 363/3704 Assembly instructions

Argos Home

Argos Home Gloss Single Wall Cabinet Grey 363/3704 Assembly instructions

Wholesale Interiors SR 930032 Assembly instructions

Wholesale Interiors

Wholesale Interiors SR 930032 Assembly instructions

BCP SKY6436 instruction manual

BCP

BCP SKY6436 instruction manual

Argos 309/1951 Assembly instructions

Argos

Argos 309/1951 Assembly instructions

RTA RLA 2674 Assembly instructions

RTA

RTA RLA 2674 Assembly instructions

Steelcase Opus Conference Table Assembly instructions

Steelcase

Steelcase Opus Conference Table Assembly instructions

NorSap NS 1500 Office Standard user manual

NorSap

NorSap NS 1500 Office Standard user manual

manuals.online logo
manuals.online logoBrands
  • About & Mission
  • Contact us
  • Privacy Policy
  • Terms and Conditions

Copyright 2025 Manuals.Online. All Rights Reserved.