HOMEDEPOT.COM
Para más asistencia, llama al 1-855-556-1852.
Información de seguridad
ADVERTENCIA: Mantén las baterías fuera del
alcance de los niños..
Especificaciones
216593
Tipo de timbre de puerta Inalámbrica
Número de Botones 1
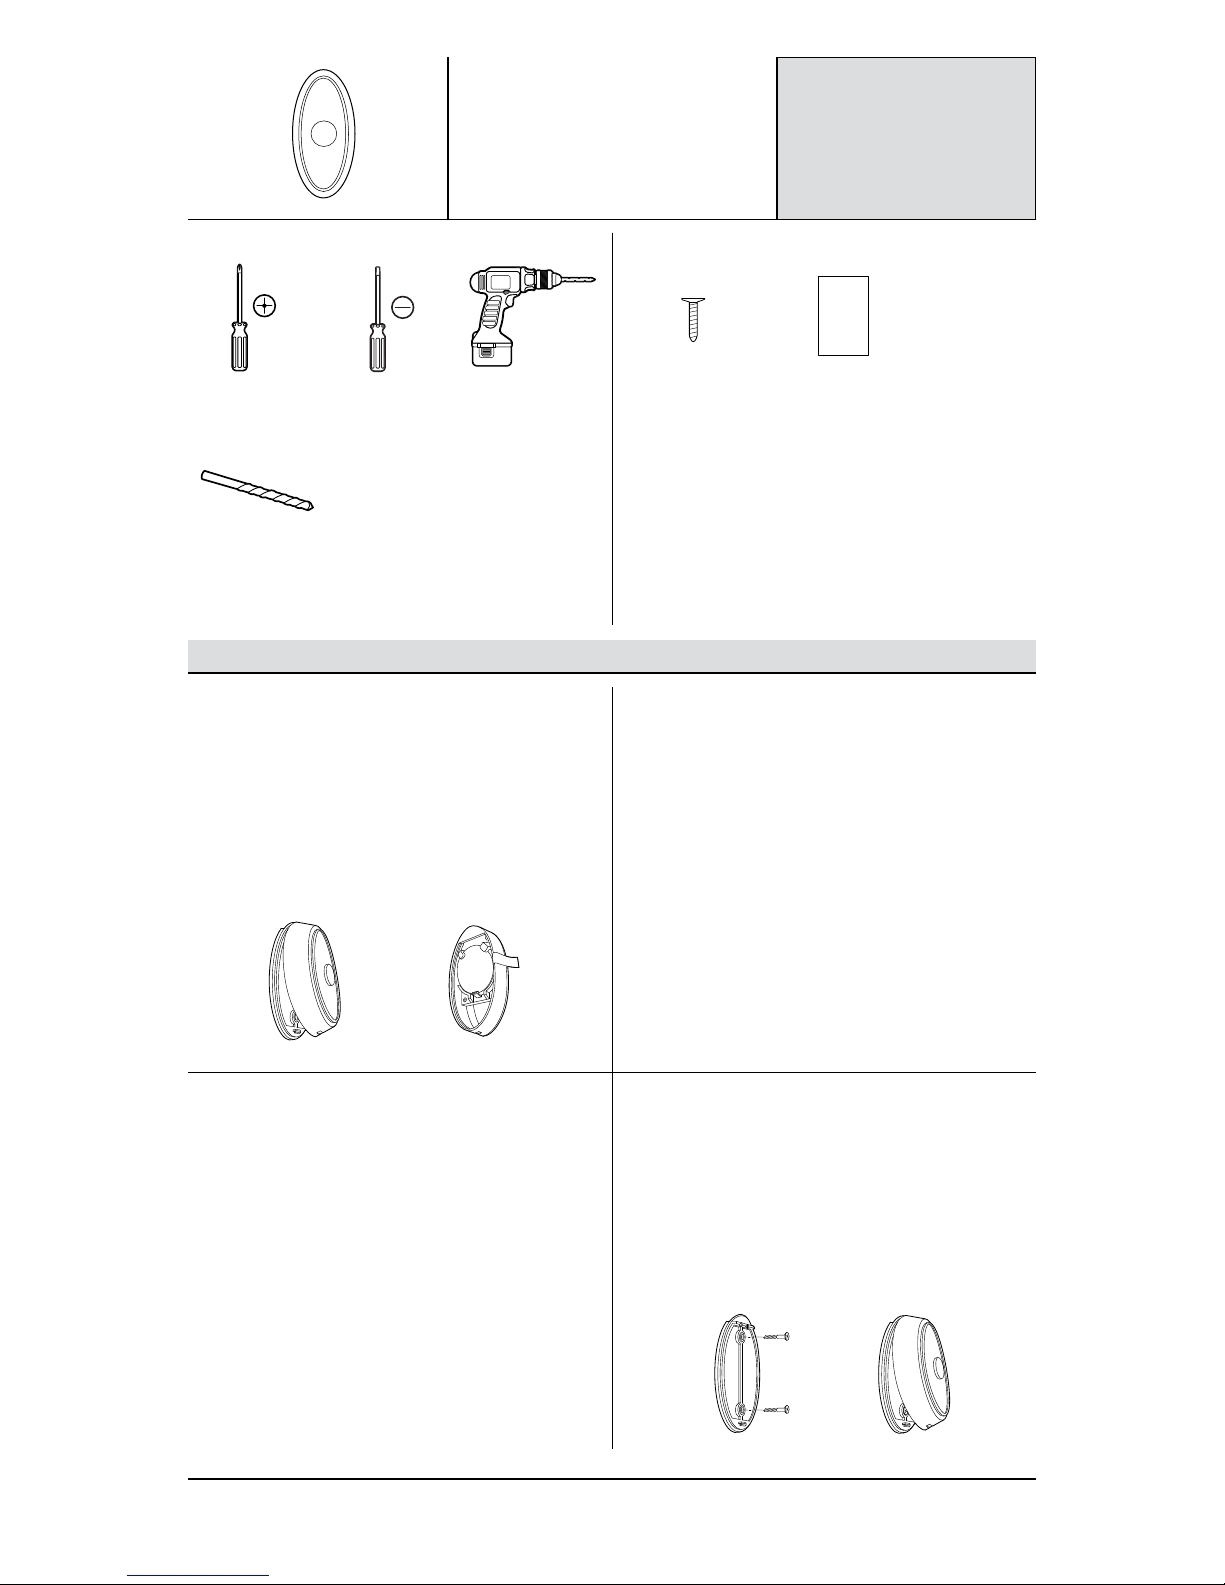
Herrajes incluidos (2) Tornillos N° 4 x 3/4 Plg y (1) calcomanía
Dimensiones del producto terminado 2.518 Plg Alto por 1.268 Plg Ancho x 0.79 Plg Profundidad
Fuente de energía Batería CR2032 (incluida)
Color del acabado Negro
Botón iluminado Sí
216594
Tipo de timbre de puerta Inalámbrica
Número de Botones 1
Herrajes incluidos (2) Tornillos N° 4 x 3/4 Plg y (1) calcomanía
Dimensiones del producto terminado 2.518 Plg Alto por 1.268 Plg Ancho x 0.79 Plg Profundidad
Fuente de energía Batería CR2032 (incluida)
Color del acabado Latón
Botón iluminado Sí
216595
Tipo de timbre de puerta Inalámbrica
Número de Botones 1
Herrajes incluidos (2) Tornillos N° 4 x 3/4 Plg y (1) calcomanía
Dimensiones del producto terminado 2.518 Plg Alto por 1.268 Plg Ancho x 0.79 Plg Profundidad
Fuente de energía Batería CR2032 (incluida)
Color del acabado Blanco
Botón iluminado Sí
Solución de problemas
Problema Causa posible Solución
La campanilla no suena cuando se presiona el botón. La batería del botón no ha sido
activada.
Confirma que la pestaña de activación ha sido
quitado y que la batería está bien colocada en el
botón.
La campanilla y el botón están fuera
del rango de transmisión.
Desplaza la campanilla para acercarla a la
ubicación del botón. Asegura que no haya objetos
metálicos ni paredes de concreto atenuando la
señal.
La batería del botón debe ser
reemplazada.
Reemplaza el la batería del botón con una batería
CR2032 de litio, tipo moneda.
La campanilla suena sin haberse presionado el botón. Un señal exterior está interfiriendo
con la señal entre la campanilla y
el botón.
Vuelve a sincronizar la campanilla y el botón
siguiendo los pasos de las instrucciones.
Garantía
QUÉ CUBRE LA GARANTÍA
El Garante se complace en extender esta Garantía a usted, el consumidor original/usuario final (“Consumidor”) de los timbres enumerados más abajo
por número de modelo (“Timbre”). Esta garantía es válida para cualquier Timbre usado en aplicaciones residenciales estándar y no puede ser cedida
ni transferida por usted.
Sólo los timbres con los siguientes números de modelo están cubiertos por esta Garantía: 216589, 216590, 216591, 216592, 216593, 216594, 216595,
216596, 216597, 216598, 216599, 216600, 216601, 216602, 216603, 216604 y 216605.
Por un período de un (1) año después de la fecha de compra, el Garante, a su entera discreción, reparará, reemplazará o reembolsará el precio de la
compra de cualquier Timbre, usado en aplicaciones residenciales estándar, que no funcione bien debido a piezas, fabricación o ensamblaje defectuoso.
QUÉ NO CUBRE LA GARANTÍA
El Garante no tendrá más responsabilidad u obligación salvo aquellas enunciadas aquí.
Esta Garantía no cubre cualquier Timbre que haya sido objeto de uso indebido o abusivo, alteraciones, uso bajo condiciones anormales, almacenamiento
inadecuado antes de la instalación, ni que haya sido usado de alguna manera diferente a las establecidas por el Garante.
Se le advierte que los cambios o modificaciones sin previa aprobación expresa de la parte responsable de su
cumplimiento podrían anular su derecho a operar el equipo.
Este dispositivo cumple con la Parte 15 de las Normas de la FCC. Su uso está sujeto a las dos condiciones siguientes:
1) este dispositivo no causa una interferencia dañina, y
2) este dispositivo debe aceptar cualquier interferencia recibida, incluyendo la interferencia que pueda causar un
funcionamiento no deseado.