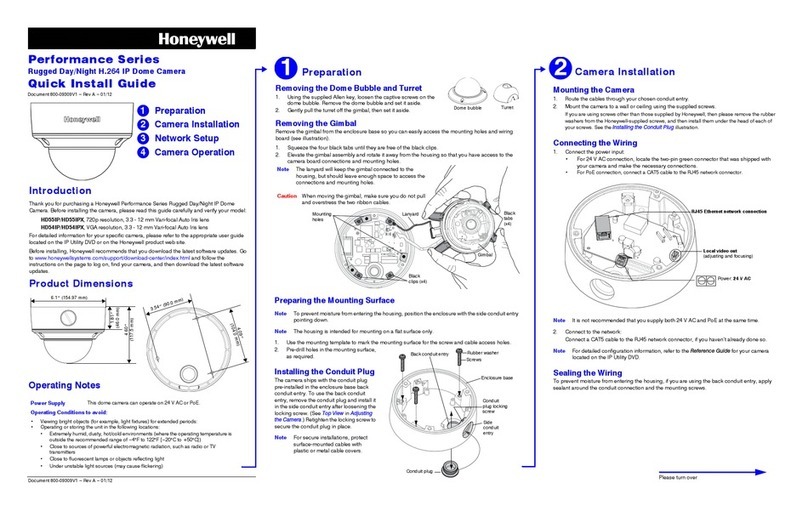
ACUIXTM ES Fixed Camera Installation Guide
Document 800-02848 Rev C 5
03/2009
Important Safety Instructions
BEFORE OPERATING OR INSTALLING THE UNIT, READ AND FOLLOW ALL
INSTRUCTIONS. AFTER INSTALLATION, retain the safety and operating
instructions for future reference.
1. HEED WARNINGS - Adhere to all warnings on the unit and in the operating
instructions.
2. INSTALLATION
• Do not install in any extremely humid, dusty, hot/cold environments (where the
operating temperature is outside the recommended range of 14°F to 122°F [-10°C
to +50°C]).
• Any wall or ceiling mounting of the product should follow the instructions for the
mount used and use best installation practice appropriate for the structure and
material the mount is being attached to.
• Avoid installing operating or storing the unit close to sources of powerful
electromagnetic radiation, such as radio or TV transmitters or close to fluorescent
lamps or objects reflecting light, or under unstable light sources, which may
cause flickering.
3. POWER SOURCES - This product should be operated only from the type of power
source indicated on the marking label. If you are not sure of the type of power
supplied to your facility, consult your product dealer or local power company.
4. HEAT - Situate away from items that produce heat or are heat sources such as
radiators, heat registers, stoves, or other products (including amplifiers).
5. WATER AND MOISTURE - This product is designed for indoor use only. Do not use
this unit near water or in an unprotected outdoor installation, or any area classified as
a wet location.
6. MOUNTING SYSTEM - Use only with a mounting system recommended by the
manufacturer, or sold with the product.
• Consider using a UPS source to ensure satisfactory performance.
• Using replacement parts or accessories other than the original manufacturers may
invalidate the warranty.
• To make good wire contact and ensure the wire does not short to adjacent wires, fully
insert the wire in the hole on the terminal strip.
• Ensure there are no bare wires touching or faulty operation may occur.
CAUTION: TO REDUCE THE RISK OF ELECTRIC SHOCK,
DO NOT REMOVE COVER (OR BACK).
NO USER-SERVICEABLE PARTS INSIDE.
REFER SERVICING TO QUALIFIED SERVICE PERSONNEL.
CAUTION
RISK OF ELECTRIC SHOCK
DO NOT OPEN
