manuals.online logo
Brands
  1. Home
  2. •
  3. Brands
  4. •
  5. Hotpoint
  6. •
  7. Range
  8. •
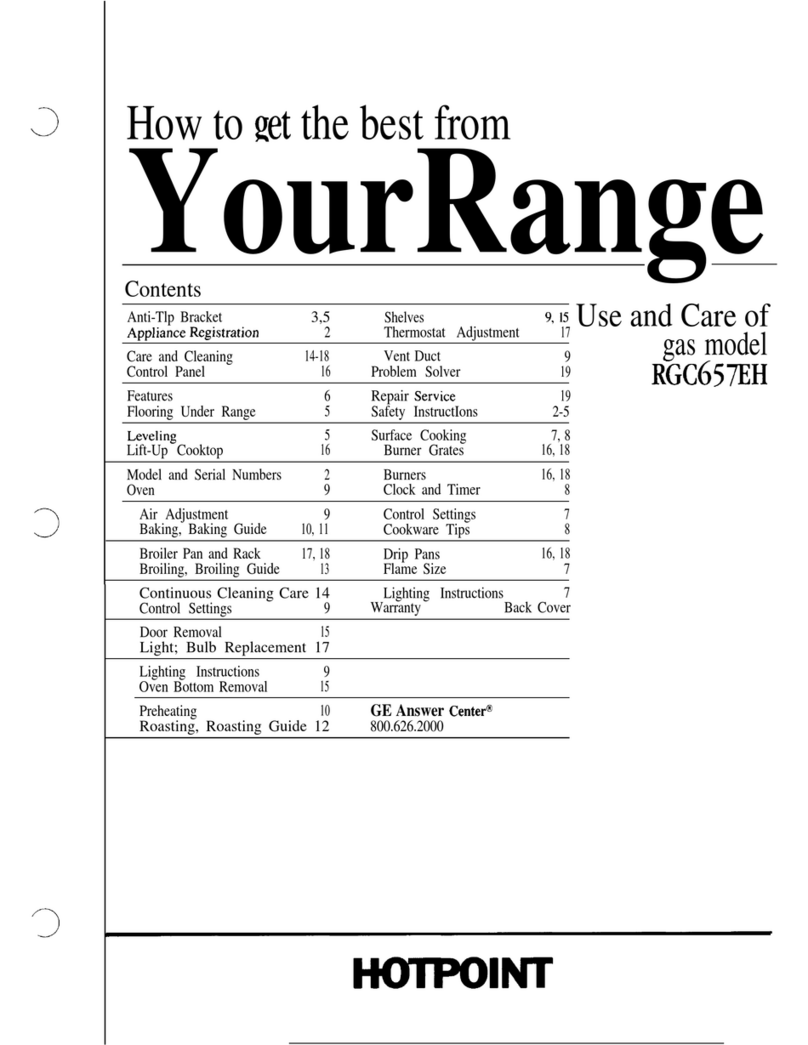
  9. Hotpoint RGA512EJ Installation instructions

Hotpoint RGA512EJ Installation instructions

This manual suits for next models

11

Other Hotpoint Range manuals

Hotpoint RGB790WEKWW Manual

Hotpoint

Hotpoint RGB790WEKWW Manual

Hotpoint RB790SRSA User instructions

Hotpoint

Hotpoint RB790SRSA User instructions

Hotpoint RB787BHBB - 30" Electric Range User instructions

Hotpoint

Hotpoint RB787BHBB - 30" Electric Range User instructions

Hotpoint RB790DPWW User manual

Hotpoint

Hotpoint RB790DPWW User manual

Hotpoint RB787 User manual

Hotpoint

Hotpoint RB787 User manual

Hotpoint RB526CCC User instructions

Hotpoint

Hotpoint RB526CCC User instructions

Hotpoint RGB744GER Installation guide

Hotpoint

Hotpoint RGB744GER Installation guide

Hotpoint RB792DRWW User instructions

Hotpoint

Hotpoint RB792DRWW User instructions

Hotpoint HH 50 IX/HA User manual

Hotpoint

Hotpoint HH 50 IX/HA User manual

Hotpoint RB754N User manual

Hotpoint

Hotpoint RB754N User manual

Hotpoint RGA724EKWH - R 24 Inch Gas Range User manual

Hotpoint

Hotpoint RGA724EKWH - R 24 Inch Gas Range User manual

Hotpoint EG94X User manual

Hotpoint

Hotpoint EG94X User manual

Hotpoint RGB508PEAAD User instructions

Hotpoint

Hotpoint RGB508PEAAD User instructions

Hotpoint RGA820 Original instructions

Hotpoint

Hotpoint RGA820 Original instructions

Hotpoint RGB524PETWH User instructions

Hotpoint

Hotpoint RGB524PETWH User instructions

Hotpoint FZ G /HA User manual

Hotpoint

Hotpoint FZ G /HA User manual

Hotpoint RGA720 Operating instructions

Hotpoint

Hotpoint RGA720 Operating instructions

Hotpoint RB757CHCC User instructions

Hotpoint

Hotpoint RB757CHCC User instructions

Hotpoint HDT67V9H2CB/UK User manual

Hotpoint

Hotpoint HDT67V9H2CB/UK User manual

Hotpoint m524N Installation instructions

Hotpoint

Hotpoint m524N Installation instructions

Hotpoint RS504GP Installation instructions

Hotpoint

Hotpoint RS504GP Installation instructions

Hotpoint SA2840PIX Installation and operation manual

Hotpoint

Hotpoint SA2840PIX Installation and operation manual

Hotpoint RB790DT User instructions

Hotpoint

Hotpoint RB790DT User instructions

Hotpoint RB754 User manual

Hotpoint

Hotpoint RB754 User manual

Popular Range manuals by other brands

Maytag MGR5875QDW - 30 Inch Gas Range Use and care guide

Maytag

Maytag MGR5875QDW - 30 Inch Gas Range Use and care guide

Frigidaire FFGF3024SS use & care

Frigidaire

Frigidaire FFGF3024SS use & care

Capital Precision Series GCR484W Specifications

Capital

Capital Precision Series GCR484W Specifications

Officine Gullo GGS8P Installation and use instruction

Officine Gullo

Officine Gullo GGS8P Installation and use instruction

LG LSD4913 Series owner's manual

LG

LG LSD4913 Series owner's manual

Kenmore 4101 - Elite 30 in. Slide-In Electric Range installation instructions

Kenmore

Kenmore 4101 - Elite 30 in. Slide-In Electric Range installation instructions

Moffat Blue Seal Evolution G576 Technical data sheet

Moffat

Moffat Blue Seal Evolution G576 Technical data sheet

CornuFé C1NF user guide

CornuFé

CornuFé C1NF user guide

GE JGS650SEFSS Dimensions and installation information

GE

GE JGS650SEFSS Dimensions and installation information

LG LDG3015ST Manual De Propietario

LG

LG LDG3015ST Manual De Propietario

Whirlpool RF350PXP Use and care guide

Whirlpool

Whirlpool RF350PXP Use and care guide

Samsung FCQ321HTUW Service manual

Samsung

Samsung FCQ321HTUW Service manual

Kenmore 790.45712 Use & care guide

Kenmore

Kenmore 790.45712 Use & care guide

Wolf CHR CHSSR owner's manual

Wolf

Wolf CHR CHSSR owner's manual

Smeg Built-in Microwave Oven Instructions for the user

Smeg

Smeg Built-in Microwave Oven Instructions for the user

Zanussi ZCG054G user manual

Zanussi

Zanussi ZCG054G user manual

GE JCSS630 quick start guide

GE

GE JCSS630 quick start guide

Samsung NX58M9960P series installation manual

Samsung

Samsung NX58M9960P series installation manual

manuals.online logo
manuals.online logoBrands
  • About & Mission
  • Contact us
  • Privacy Policy
  • Terms and Conditions

Copyright 2025 Manuals.Online. All Rights Reserved.

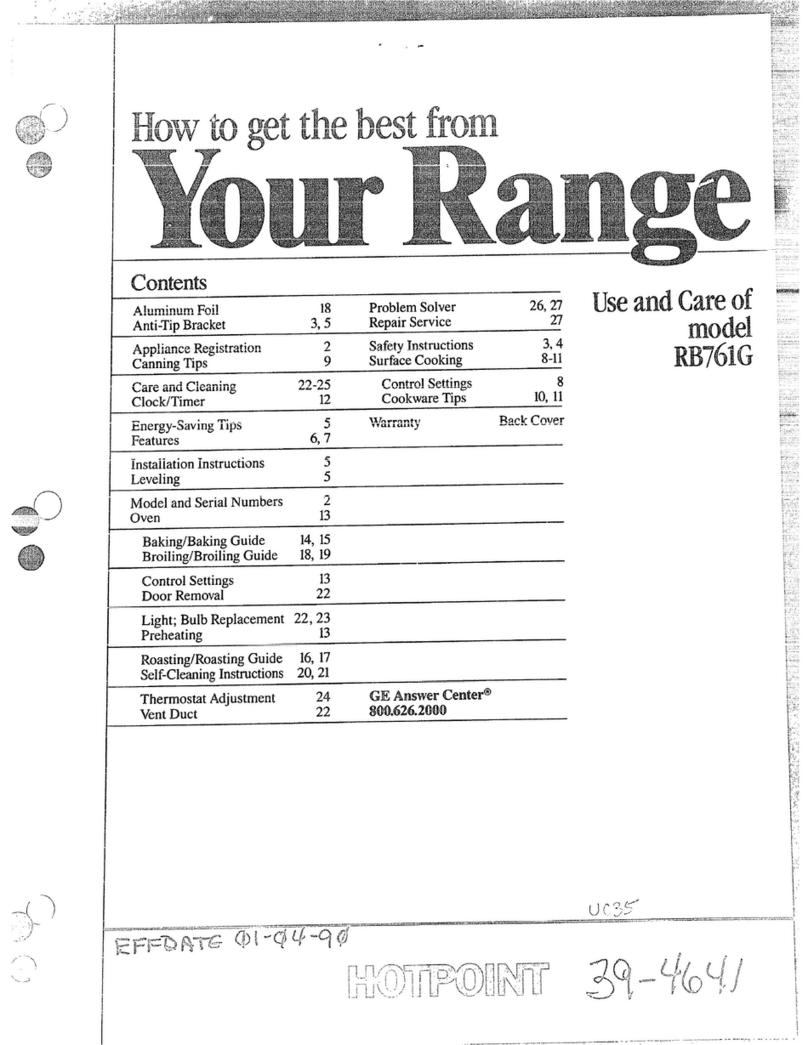
Feature
surfaceCooting
ovencooking pxi!
continuous-cleaningovenpu?l
useandcareof
gasmodelswith
Ekixk Iglmm
RGB524EJ
RCA525GEJ
RGB528q
RGB528GEJ
RGB628GEJ
StindingPilot
RGB524PJ
-“
RGB528PJ
BeforeUsing YourRange., . . ...2
Safetyhshmio!ls . . .+. . . ...3-5
Installingthellange ..........5
Levelingthel?ang e.. o........ .5
FeamresofYourRmge . . . . . . .6-9
SurfaceCooking ..........10.11
ClockandT’ime r. . . . . . . . . . . .11
UsingMmrOven . . . . . . ...12.13
B&ing. ...................l4
Bakhg Guide ...............15
Roasting ...=...............16
RoastingGuide ..............16
13roiiing. . . . . . . . . . . . . . . . . . ..l7
BroilingGuide . . . . . . . . . . . . . .17
Continuous-Cleaning
OvenCare. . . . . . . . . . . . . . . . . .18
CarezuzdCkxming.........18-21
Ckming@kJe .., ..........22
Thel?roblem%lver ..........23
~f~ou~~eed~ervi~e. . . . . . . ...23
Warranty . . . . . . . . . ..I3ackCover
E&ad.this bad<Giw%2fl.dly
Itisintendedtohelpyouoperateand
maintainyournewrangeproperly.
Keepithandyforanswerstoyour
questions.
Ifyoudon’tunderstandsomething
orneedmorehelp,write(include
yourphonenumber):
ConsumerAffairs
Hotpoint
AppliancePark
Louisville,KY40225
write‘dmm.the !mldd
andserialI’Rlmberse
You’llfindthemon alabellocatedin
theburner boxunderthecooktop.
Seepages6and8.
Thesenumbersarealsoonthe
ConsumerProductOwnership
RegistrationCardthatcamewith
yo~rrange. Beforesendinginthis
card, pleasewritethesenumbers
here:
Model Number
Serial Number
Usethese numbersinany
correspondenceor servicecalls
concerningyourrange.
If’ym r’e@wefd
.23$lk-EMBgedT’ange. .e
Immediately contactthe dealer (or
builder)that soldyouthe range.
ii
-1, ..-. ,. . ...
.--
dam h’the !&me?the fatmay
ignite. ‘Rimexcess fatK)prexmt
excessiveflare-ups,
aiwfdke WMw bmikr pm is in
place IComdy to reduce the
possibilityofgreasefires.
@If you should haveagwuw!
&=ein the broiler pan, turnoff
oven,and keepthebroilerdrawer
closedto containthe fireuntilit
burnsout.
@Keep X%mge dean and free
d’aceu~flulationsd’ grease or
$pmwws which may ignite..
[f !iiibmNtx@.EkTYkx?
~Red “NW Pmbkm solver”
B.npage 23 ofthis book.
‘mm%attemptto repair
wlrepkm any part dyour
ange mh?ss it isSpeeifiealiy
ecom.mendedin‘thisbd’i. AH
Flooringunder
theRange
Yourrange,Me so Emmyother
householdM?m, isheavyand
cansettleinto softfloorcoverings
such asCW3hi(m?dvinylor
carpeting. When movingtherange
onthistypeofflooring,usecare.
Do notinstallthe rangeover
kitchen carpeting unlessyou
placean insulatingpad or sheetof
l/4-inch-thickplywoodbetween
therangeandcarpeting.
Whenthejlow coveringendsd
the~ront o~the range, the area that
therangewillrest on shouldbe
builtup with plywoodor similar
materialtothe samelevelor higher
than thefloor covering.This will
allowthe rangetobe movedfor
cleaningor servicing.
bveling the
Range
Yourrangemustbe levelin order to
produceproper cookingand baking
results.Afteritisin itsfinal
otherservicingshouldbe referred location,place alevelhorizontally
to aqualified technician. on an ovenshelfand check the
levelnessfront toback and sideto
~~~i T~=~~ side. Levelthe rangeby adjusting
the levelinglegsor by placing
ERISTrJRUCTIO~4S shimsunder the corners as needed.
RGA!!U2PJwith
standing PM Ignition
%N?i
RGB524PJ with
standing PM Ignition
RGB524EJ with
Automatic Pikltles$Ignition
IL, : ---- -
—
iGs525GPJ
lmxm.wEJ
Explained
on page RGA5UP3
RGA5KUU
5$
4
4
FeatureIndex
1Modeland Serial Numbers
(inburner boxundercooktop)
2Surface.BurnerControls
2@
4
m
10
13
3SurfaceBurnersandGrates
4Oven TemperatureControl
5Oven Shelves
(easilyremovedor repositionedon shelfsupports)
6Oven ShelfSupports
7Broiler Panand Rack
8RemovableOven Door
(easily removedforovencleaning)
9RemovableOven Bottom !
10 Lift-Up Coolctop
HOven Vent
13,19
13
21
19
20 @
63
4e
0
1
I
!,
lo
i“
7
1“
,/
,
,
..
RGB528P’ with
standing PM Ignition
RGB528EJwith
standing E%k)tIgnition
RGB528GEI ?MR
Expkiined
on page
2
RGW92M?J RGB52$GPJ
RGB528U RGRYMWXLJ
1ModelandSerialNumbers
(inburner boxundercooktop)
2SurfaceBurnerControls
3SurfaceBurnersandGrates
e
4
4
44’
m
10
20
44
4ChromeDrip Pans e
5OvenTemperatureControl
6Clock andTimer
7OvenInteriorLight
8OvenLightSwitch
(letsyouturninteriorovenlighton and off)
H
13
13
63
$3
9OvenW&es
(easilyremovedor repositioned
on shelfsupports)
13,19 2 2 2
10 Oven ShelfSupports
HBroilerl% and Rack I21 eI63 e+
12 RemovableOven Door 19 e@
(easily removedfor ovencleaning)
13 RemovabIeOven Bottom 19
14 Continuous-CleaningOven Interior IN
15 Lifi-Up Cooktop .20
MOven Vent 4-+--i+- +3
~L .
!rr”-
,“
Howto!EikkctFkme size
The flamesizeonagasburner
shouldmatchthecookwareyou
t+hlrfaceBurner controls
Theknobsthatturn thesurface
burnersorIand offare locatedon
the lowercontrolpanelin frontof
theburners.
Thetwoon the leftcontroltheleft
frontandleftrear burners. The two
standing l%kxMolds
RG4.5E2PJ RGB528PJ
RGB524PJ RGB528GPJ
XGS!525GPJ RGB628GP.]
Theserangeshavestandingsurface
burnerpilotsthatmust be lit
initially.Tolightthem: onthe rightcontroltherightfront
and rightrear burners.
To Li@t asurface BuFner
1. Besure surfaceburner control
knobsare in theOFF position.
2. Removethegrates and liftthe
cooktopup or off(see page20). .
NEVER LET THE FLAME
EXTEND W?‘THESIDES OF
THE COOKWARE.Anyflame
,0---
qfe
‘/---
~,.
,,,,,,.,...
‘J,+=S-E
——!- <._...--=%”c ‘“ ‘t’/=-
1y~> largerthan thebottomofthe
cookwareis wastedand only serves
toheatthe handles.
I
Iwhenusingaluminumor
alminum-clad stainlesssteel
potsad. pans, adjusttheflameso
the circleit makesisabout 1/2inch
smallerthan thebottomofthe
cookware.
3. Locate the twopilot portsand
lighteach ofthem with amatch. Push the controlknob in and turn it
toI.JTE. On electricignitionmodels,
youwillhear alittleclickingnoise—
thesoundoftheburnerlighting.
Pilot
adjustment
x
Pilot
screw
\@ )!!”s
\\ Pilot filter
‘\ ‘\
Manifold (Manifold
Whenboiling,usethis same
flame size—1/2inch sm.aHertixm
the bottomofthe cookware—no
matter what the cookwareismade
of. Foodscookjust as quicklyat a
gentleboil asthey do at afurious,
roHingboil. Ahighboil creates
steamand cooksawaymoisture,
flavorand nutrition, Avoidit except
forthe few cookingprocesses
which need avigorousboil.
panel Ipipe
4. If pi]otsneed adjusting, turn
adjustingscrew on pilot filter.
5, Loweror replacecooktop.N.uthce
burners are nowready for use.
After theburner ignites,turnthe
knobto adjusttheflamesize.
whenh-yingOK’Wmllingfamds ~,
!’;i
in Stainks$ sttq castimn or ~::;
~.-
emnMWMW9keep the flame down 1
;7;;
lower—toabout 1/2the diameter \t,::
;.
r-
ofthe pan. k
~,..‘
1,.;
when. frying illglass or Cm%mlic ~,;
Cookwareylowerthe flame even f-:
Note:
~Do notoperateaburner for
extendedperiodsoftimewithout
havingcookwareon thegrate.The
finishon the gratemaychipwithout
cookwareto absorb theheat.
oCheck to be surethe burneryou
turned on is the cmeyouwantto use. more.
L=IBe sure the burners and grates are
cool beforeyou pkuceyourhand, a
pothokier, cleaning cloths or other
materials on them.
I
,
.. ...
AiaE?A
-’
----
q
----
-------
\
,!
-,
AiFAdjustment
.4rIairadjustmentshutterforeach
surfaceburner regulatestheflowof
air totheflame.
Vvherltherightamountd’air
flowsintothebwner9thetlame
will besteady,relativelyquietand
haveapproximately1/2”sharpblue
cones. This isusuallythecasewith
factorypreset shuttersettings.
With too much air, the flamewill
be unsteady,possiblywon’tburn all
the wayaround, andwill benoisy,
soundinglike ablowtorch.
With not enough air, youwon’tsee
anysharp blue conesin theflame,
youmaysee yellowtips, and soot
mayaccumulateon potsandpans.
Air adjustment shutter
.—._
~u?
‘1-oadjusttheflowof ail-to the
b+urnem~rotate the shuttersto
~IIowmore or lessair into the
w-mzn-tubesas needed.
AitBnlinunIk:Medium-weight
cookwareis recommendedbecause
itheatsquicklyandevenly.Most
foodsbrownevenlyin an aluminum
skillet.Mineralsin foodand water
willstainbut willnotharm
aluminum.Aquickscourwith a
soap-filledsteelwoolpad after
eachusekeepsaluminumcookware
lookingshinynew.Use saucepans
withtight-fittinglidsfor cooking
with minimumamountsofwater.
Cast Iron: If heatedslowly,most
skilletswillgivesatisfactoryresults.
Enamelware: Under some
conditions,the enamelof some
cookwaremaymelt.Followcookware
manufacturer’srecommendations
forcookingmethods.
Glass:There are two typesofglass
utensils—thosefor ovenuseonly
andthose for top-of-rangecooking
(saucepans,coffeeand teapots).
Glassconductsheat very slowly.
Heatproof GBass(Marnk: Can
beused for either surface or oven
cooking.It conductsheat very
slowlyandcoolsvery slowly.Check
cookwaremanufacturer’sdirections
tobesureitcanbeusedongasranges.
StainlessSteel:Thismetalalonehas
poorheatingproperties,andisusually
combined with copper, aluminum
or other metals for improvedheat
distribution. Combination metal
slcilletsgenerallywork satisfactorily
if used at medium heat as the
manufacturer recommends.
The ClockandTimer (onmodels
soequipped)are helpfuldevices
thatserveseveralpurposes.
The clock
Toset the Clock, pushintheknob
andturnthe clockhandstothe
righttothe correcttime. Then let
theknoboutandcontinueturning
toOFF.
‘mmr
The Timerhas been combinedwith
therangeclock. Use it to time all
yourprecise cookingoperations.
You’Hrecognizethe Timer as the
pointerwhich isdifferen~in color
than the clock hands.
Minutesare marked up to 60 on the
center ring ofthe clock.
Toset the Timer, turn the knob to
theleft, without pushingin, until
the pointer reaches the number of
minutesyou wantto time.
Attheendof tksettimt27a
M2YXWsoundsto tellyouthe is
up. Turn the knob, without pushing
in, untilthe pointer reaches OFF
and the buzzer stops.