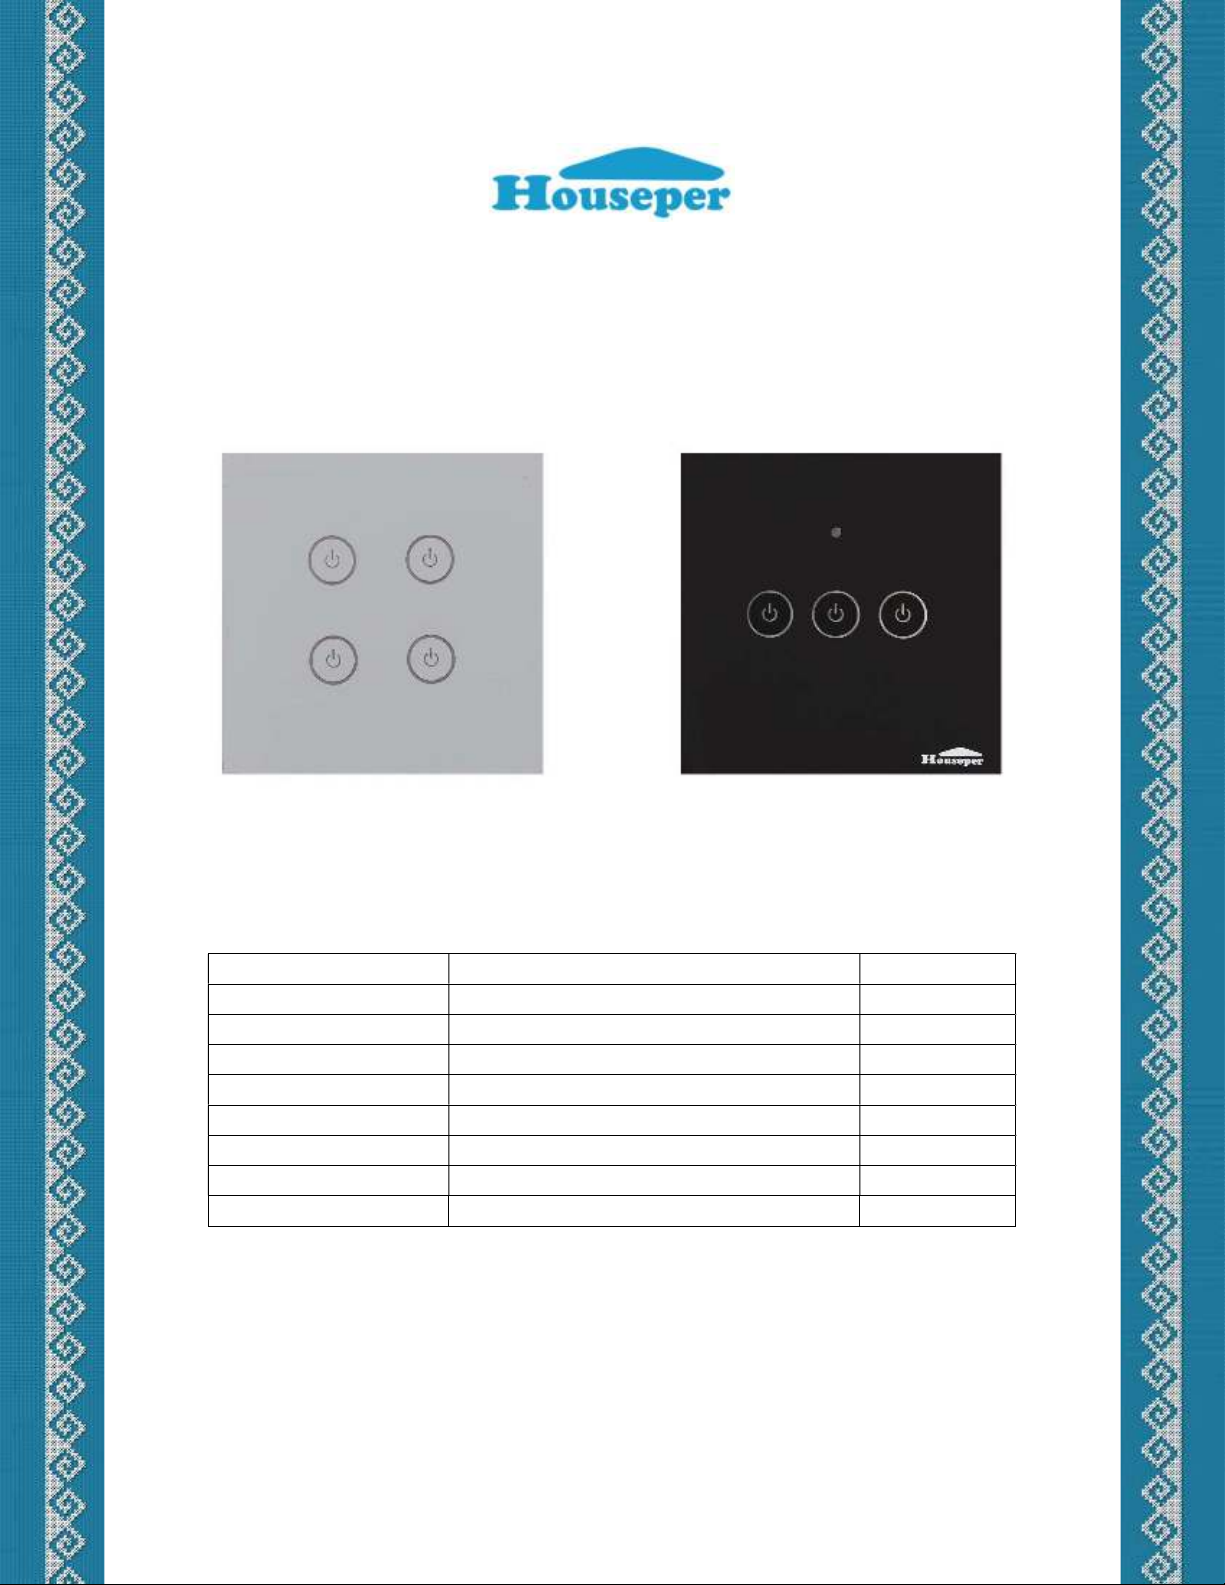
Houseper GMB-HAR-WS1-M02 User manual

Smart touch sensitive light switch
Model Logical devices / Lines count IR receiver
GMB-HAR-WS1-M02 1 x On/Off light No
GMB-HAR-WS2-M02 2 x On/Off light No
GMB-HAR-WS3-M02 3 x On/Off light No
GMB-HAR-WS4-M02 4 x On/Off light No
GMB-HAR-WIR1-M02 1 x On/Off light Yes
GMB-HAR-WIR2-M02 2 x On/Off light Yes
GMB-HAR-WIR3-M02 3 x On/Off light Yes
GMB-HAR-WIR4-M02 4 x On/Off light Yes
User Guide
version 2.0

Technical specification
Network ZigBee 3.0
Frequency 2.4 GHz
Coverage 100m (open area)
Network extender
Yes
Operating temperature -10
℃
~ +85
℃
Operating humidity ≤ 95%RH
Nominal voltage AC 110V - 240V
Max. load 5A / line
Overheat protection > 85
℃
Overload protection > 5A * lines count
Dimensions 86 x 86 x 36 mm
Face part dimentions 86 х 86 х 10 mm
Mounting part dimensions d – 54 mm, h – 26 mm
Weight ≤ 140 g
Material ABS, glass
PIN code Included in the package
PUK code Included in the package
Description
The device is a touch sensitive wall switch with 1 to 4 lines, depending on the model,
and controlled by an independent logic device for each line. Each individual line represents a
switch with a normally open contact and is controlled by a touch sensitive button. The device is
designed to control lighting with a load of up to 5A per line. It is intended for indoor use and
integration into an apparatus box. The wall switch has built-in overload and overheating
protections, which will turn off the consumer and the device will generate an "Electricity
failure" alarm. After turning on the power, the device is in the off state.
The wall switch has a built-in ZigBee module that allows it to be a part of a ZigBee 3.0
network or create its own. As a part of a ZigBee network, it can be controlled by other smart
devices belonging to the same network and, depending on the capabilities of the system to
which it is added, be monitored and controlled remotely.
Optionally, some models have a built-in IR receiver that allows them to be taught and
controlled via an IR remote.
The device has a built-in module for measuring current and total electricity
consumption. Connected to a Houseper system, it provides information on the cash equivalent
of the energy consumption spent.

Functionality (Clusters)
(input 0x0000) Basic
(input 0x0006) On/Off
(input 0x0702) Consumption metering
(input 0x0003) Identify
(input 0x0004) Groups
(input 0x0005) Scenes
Control
Touch a button to toggle the corresponding line.
If the device is connected to a ZigBee network, use the capabilities of the corresponding
system to monitor and control the device remotely.
If a line of the switch is binded with another ZigBee device (eg Button) follow its
instructions. Most often, the command is sent by a single press.
If the device supports infrared (IR) control, press the configured button on your IR
remote to toggle the corresponding line.
Indicators
The device has two light indicators for each line:
Orange – to indicate a line is powered.
Blue – for backlight (line off) and configuration status indication:
FAST blinking (4 times/second) – when executing a command.
SLOW blinking (once/second) – when entering a command or returning
the result of a command.
In case of an invalid command or configuration error, the blue LED will blink
SLOWLY as follows:
1 – wrong command.
2 – the device is not part of a ZigBee network. The command could not be
executed.
3 – the device is locked. The configuration command could not be
executed.
4 – the device is part of a ZigBee network. The command could not be
executed.
5 – wrong PIN/PUK code. The command will not be executed.
* When the command refers to a line, only its light will blink.

Preparation and installation
Front
Back
fig. 1
1. Switch off the power supply.
2. Connect the device as shown in fig.1.
3. Mount the device into an apparatus box.
4. Install the front panel by attaching the upper part first, then push the lower part until it
clicks.
5. Switch on the power supply.
* In order to properly calibrate the sensor buttons, power must be applied after the device
and front panel are installed.
button
1
IR
GMB
-
HAR
-
WIR
1
-
M02
GMB
-
HAR
-
WIR
2
-
M02
IR
button
1
button
2
GMB
-
HAR
-
WIR
3
-
M02
IR
button
1
button
2
button
3
GMB
-
HAR
-
WIR
4
-
M02
IR
button
1
button
2
button
3
button
4
GMB
-
HAR
-
WS
4
-
M02
button
1
button
2
button
3
button
4
GMB
-
HAR
-
WS
3
-
M02
button
1
button
2
button
3
GMB
-
HAR
-
WS
2
-
M02
button
1
button
2
button
1
GMB
-
HAR
-
WS
1
-
M02
L
2
L
1
line
2
line
1
neutral
phase
GMB
-
HAR
-
WS
2
-
M02
GMB
-
HAR
-
WIR
2
-
M02
L
2
L
1
line
3
line
2
line
1
neutral
phase
L
3
GMB
-
HAR
-
WS
3
-
M02
GMB
-
HAR
-
WIR
3
-
M02
L
4
L
2
L
1
line
4
line
3
line
2
line
1
neutral
phase
L
3
GMB
-
HAR
-
WS
4
-
M02
GMB
-
HAR
-
WIR
4
-
M02
L
1
line
1
neutral
phase
GMB
-
HAR
-
WS1
-
M02
GMB
-
HAR
-
WIR1
-
M02

Initial power on
On power up, the device will check if it has a configured ZigBee network and:
a. If there is a ZigBee network configured, the device will start periodically trying to join it
until it successfully joins. If you want to terminate this process, you need to execute the
"Leave network" command. This command will reset the device to its factory default
settings.
b. If there is no ZigBee network configured and the device is unlocked, it will make 4
consecutive attempts to join an ZigBee network, within up to 1 minute. If the device
does not join a ZigBee network, it can be configured later.
* If there is no ZigBee network configured and the device is locked, it will not automatically
try to join a ZigBee network at power up. To allow such a device to join a network, unlock it.
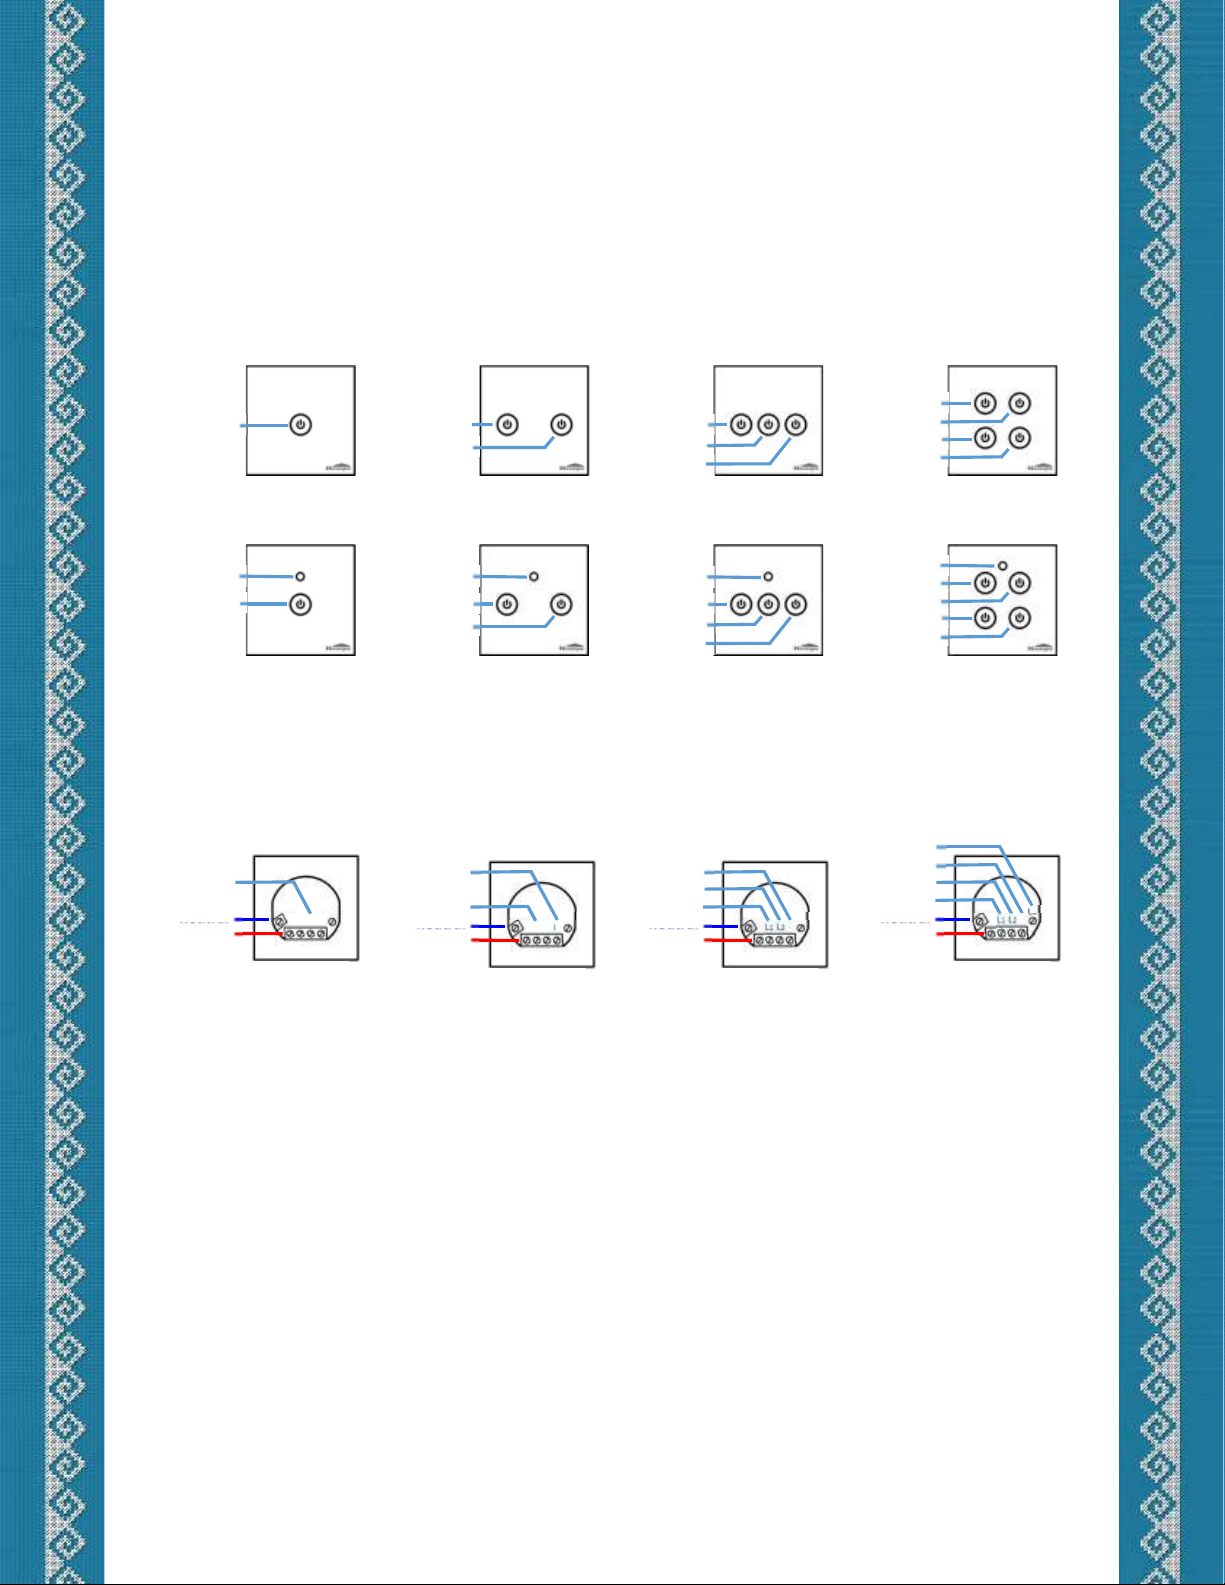
Configuration
To configure the device touch and hold a button. After 3 seconds all the blue LED
indicators will turn off. After another 2 seconds the blue LED indicators will start blinking
SLOWLY. Wait until the blue LED indicators blink the CORRESPONDING NUMBER of times
(NUMBER OF BLINKS) for the desired command and release the button. Possible error
indications:
If a wrong or invalid command is entered, the blue LEDs will blink 1 time SLOWLY.
If the device is not part of a ZigBee network and you execute a command related to a
ZigBee network, the blue LED indicators will blink 2 times SLOWLY, indicating that the
command cannot be executed.
If the device is locked, the blue LEDs will blink 3 times SLOWLY, indicating a locked state,
and the command will not be executed.
If the device is part of a ZigBee network and you execute a command to join or form a
network, the blue LED indicators will blink 4 times SLOWLY, indicating that the
command cannot be executed.
When wrong PIN/PUK code is entered, the blue LED indicators will blink 5 times
SLOWLY.
* When the device is in configuration mode, no other commands can be executed, but it can
be controlled.

Commands
Command Number of
blinks on hold
Description
IR learning
( Optional )
3 Configure an IR command for the corresponding
light line.
Duration: until an IR command is configured or until
30 seconds have elapsed.
Network status 4 Information about the presence of a configured
ZigBee network.
Binding 5 Binding with another ZigBee device.
Duration: until 60 seconds have elapsed or the
command ends.
Allow joining 6 Opening the ZigBee network for new devices to
join.
Duration: 60 sec.
Join network 7 Joining an existing ZigBee network. The device
makes 4 consecutive attempts.
Leave network
8 When leaving a network, the device goes to its
factory default settings.
Form network 9 Creates its own ZigBee network.
Lock/Unlock 10 Deny/Allow configuration changes.
Change PIN code 11 Configures a new PIN code
Enable/Disable backlight 12 Deny/Allow blue backlight
IR learning (Optional)
1. Submit an IR learning command by touching the button on the corresponding line and wait
for 3 blinks.
2. The button will start blinking blue FAST for 30 seconds or until an IR command is received.
3. Point the IR remote at the IR receiver of the wall switch (fig. 1) and press the selected
button on the remote, with which you will toggle the lighting.
4. The Houseper wall switch will remember the command and stop blinking.
5. In case the Houseper wall switch does not receive a command from the remote within 30
seconds, it will remove the old command if there was one configured and stop blinking.
* This command is only applicable to models with a built-in IR receiver.
Network status
1. Submit network status command by touching a button and wait for 4 blinks.
2. All blue LED indicators will start blinking SLOWLY:
2 times if the device is not part of a Zigbee network.

4 times if the device is connected to a ZigBee network.
Binding
1. Submit a binding command by touching the button on the corresponding line and wait for 5
blinks.
2. The button will start blinking blue FAST for 1 minute or until the command is completed.
3. Follow the binding instructions of the device you want to control the wall switch with. It
must be part of the same ZigBee network.
Alternatively: When both devices you want to bind are part of a Houseper system, binding can
be done via the Houseper app.
* To execute this command, the device must be part of a ZigBee network.
Allow joining
1. Submit allow joining command by touching a button and wait for 6 blinks.
2. All buttons will start blinking blue FAST for 1 minute. During this time, the ZigBee network is
open for new devices to join.
3. Follow the instructions of the device you want to join to the Zigbee network.
Note: In case another device opens the ZigBee network, all buttons will indicate this by blinking
blue FAST until the command expires. No configuration commands can be executed during this
time.
* To execute this command, the device must be part of a ZigBee network.
Join network
1. Make sure that the ZigBee network you want to join the device to is open. If you are using a
Houseper system, press the "Add device" button in the Houseper app.
2. Submit join network command by touching a button and wait for 7 blinks.
3. All buttons will start blinking blue FAST and the device will make 4 consecutive attempts to
join an open ZigBee network, within up to 1 minute.
Alternatively: If the device is not connected to a ZigBee network, make sure the device is not
locked and turn off the power for about 30 seconds. When the power is restored, the device
will automatically start searching for a ZigBee network to join.
* To execute this command, the device must NOT be part of a ZigBee network.
Leave network
1. Submit leave network command by touching a button and wait for 8 blinks.
2. The command will return the device to its factory default settings and the device will
reboot.

Alternatively: If the device is a part of a Houseper system, you can execute this command
through the app.
* To execute this command, the device must be part of a ZigBee network. When leaving a
ZigBee network, the PIN code does not return to its original value, but the last one entered is
saved.
Form network
1. Submit form network command by touching a button and wait for 9 blinks.
2. All buttons will start blinking blue FAST until the device forms its own network or until 1
minute has passed.
Note: This command can be executed for a very short time and the blue LEDs may not blink.
* To execute this command, the device must NOT be part of a ZigBee network.
Lock/Unlock
1. Submit Lock/Unlock command by touching a button and wait for 10 blinks.
A. Lock
2. If the device is unlocked, it will lock. All buttons will blink 3 times SLOWLY in blue,
indicating that the device is now locked and no reconfiguration commands can be
executed.
B. Unlock
2. If the device is locked (and not blocked), all blue LEDs will remain off, waiting for a
PIN/PUK code to be entered.
3. Enter the 4 digits of the PIN/PUK code sequentially by touching a button and holding
until it blinks the number of times corresponding to the entered digit. If no digit is
entered within 10 seconds, PIN/PUK code entry will be terminated and the device will
remain locked.
4. After entering the 4 digits of the PIN/PUK code, all buttons will blink blue:
a. 10 times SLOW if the code entered is correct and the device is unlocked.
b. 3 times SLOW if the code entered is wrong and the device remains locked.
* If you enter the wrong PIN/PUK code 3 times in a row, the device will be locked for 1
hour. During this time, it cannot be unlocked even after rebooting. This 1 hour is
measured only when power is on.
C. Blocked device
2. If the device is blocked, the blue LED indicators will blink 3 times SLOWLY, indicating a
locked and blocked device.

Change PIN code
1. Submit change PIN code command by touching a button and wait for 11 blinks.
2. All blue LED indicators will remain off, waiting for a new PIN code to be entered.
3. Enter the 4 digits of the new PIN code 2 times consecutively (For example: If the new
PIN code is 1234, you must enter 12341234) by holding a button until the device blinks
blue, as many times as the corresponding digit. If no digit is entered within 10 seconds,
the command will be terminated.
* The new PIN code can only contain numbers from 1 to 9.
4. After entering the 8 digits of the new four-digit PIN code, all buttons will blink blue:
a. 11 times SLOW if the entered PIN is accepted.
b. 5 times SLOW if the entered PIN is wrong:
The first 4 digits do not match the second 4 digits.
A digit greater than 9 has been entered.
No digit has been entered for 10 seconds.
Enable/Disable backlight
1. Submit Enable/Disable backlight command by touching a button and wait for 12 blinks.
2. If the blue backlight is off, it will turn on and vice versa: if it is on, it will turn off.
* Turning off the blue backlight does not affect the blue indication when executing
commands.
This manual suits for next models
7
Table of contents
Popular Switch manuals by other brands

Intel
Intel 470F - NetStructure Switch user guide

GarrettCom
GarrettCom Magnum 6K32T Installation and user guide

ETC
ETC Echoflex MBI-2 Series installation guide

Unitron
Unitron 9732 user manual

TP-Link
TP-Link TL-SG2216 user guide

Brocade Communications Systems
Brocade Communications Systems A7533A - Brocade 4Gb SAN Switch Base Command reference