Seite 7
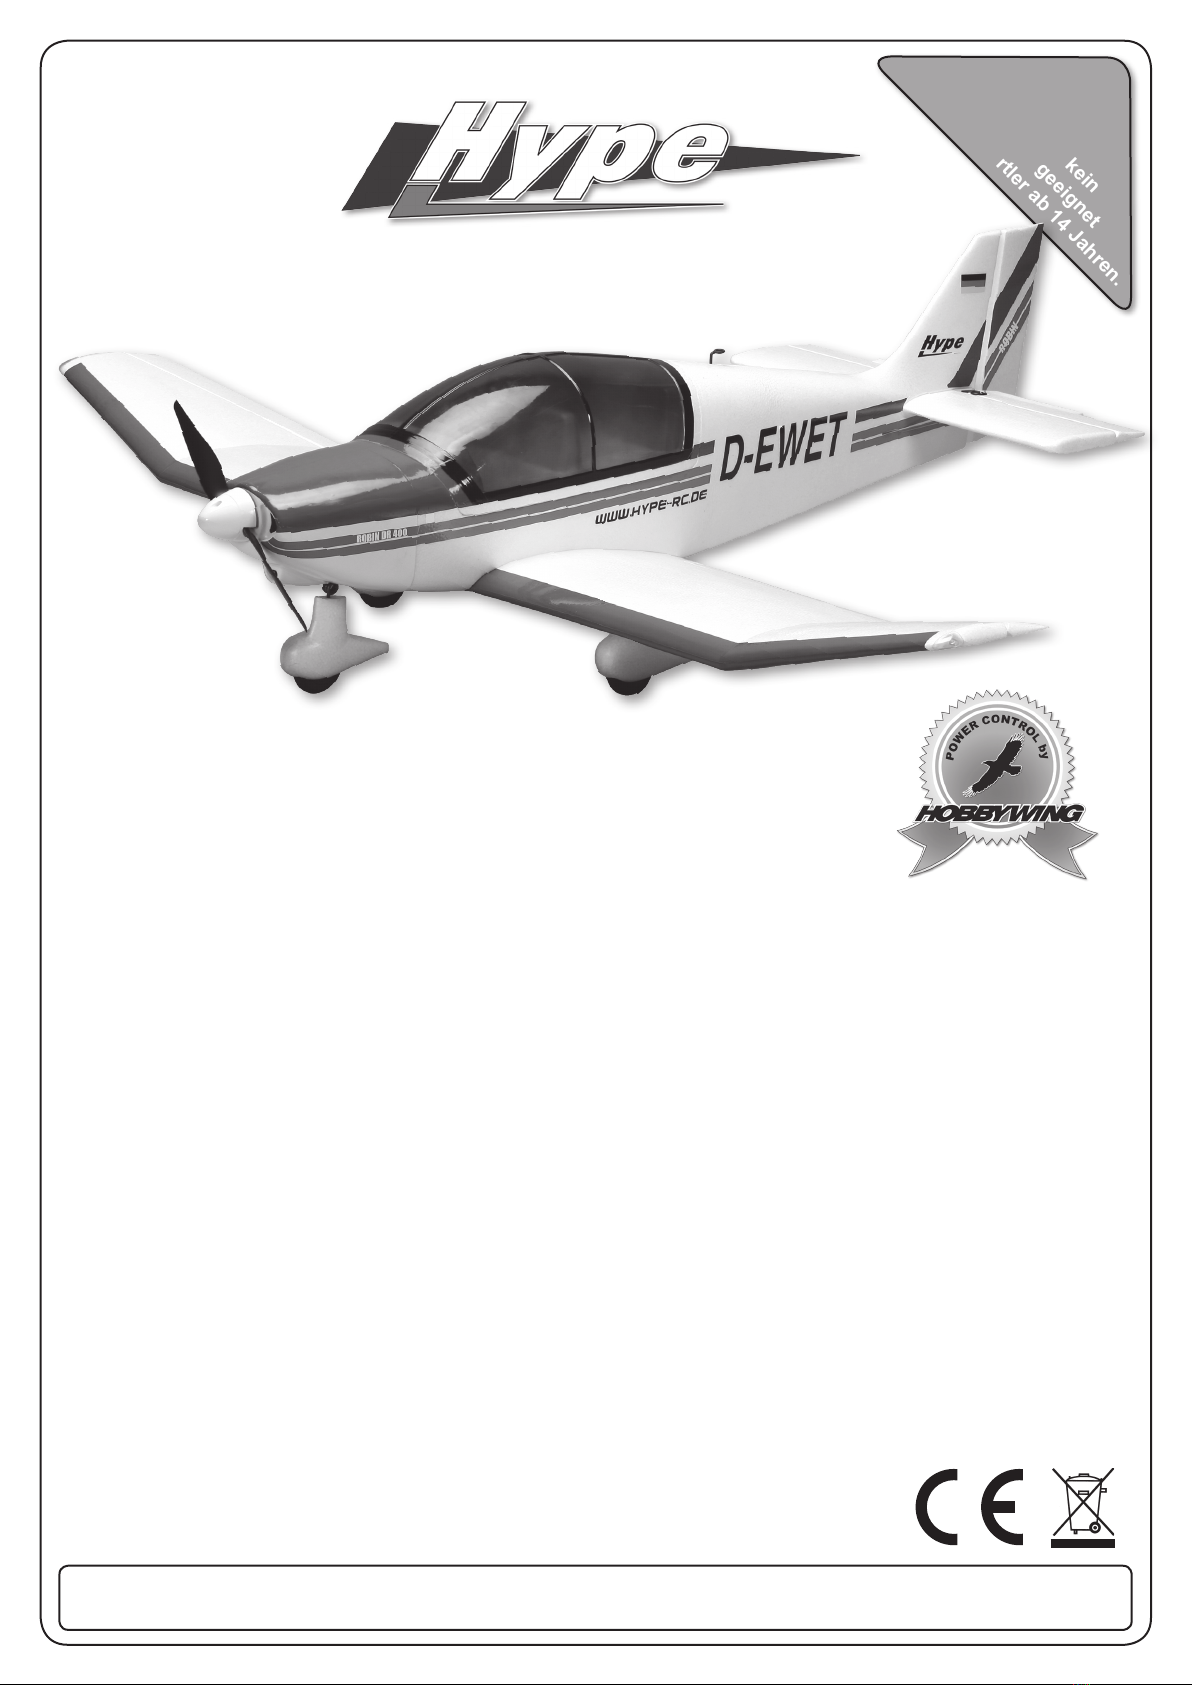
Best.-Nr. / Item-No. / art. 028-1040
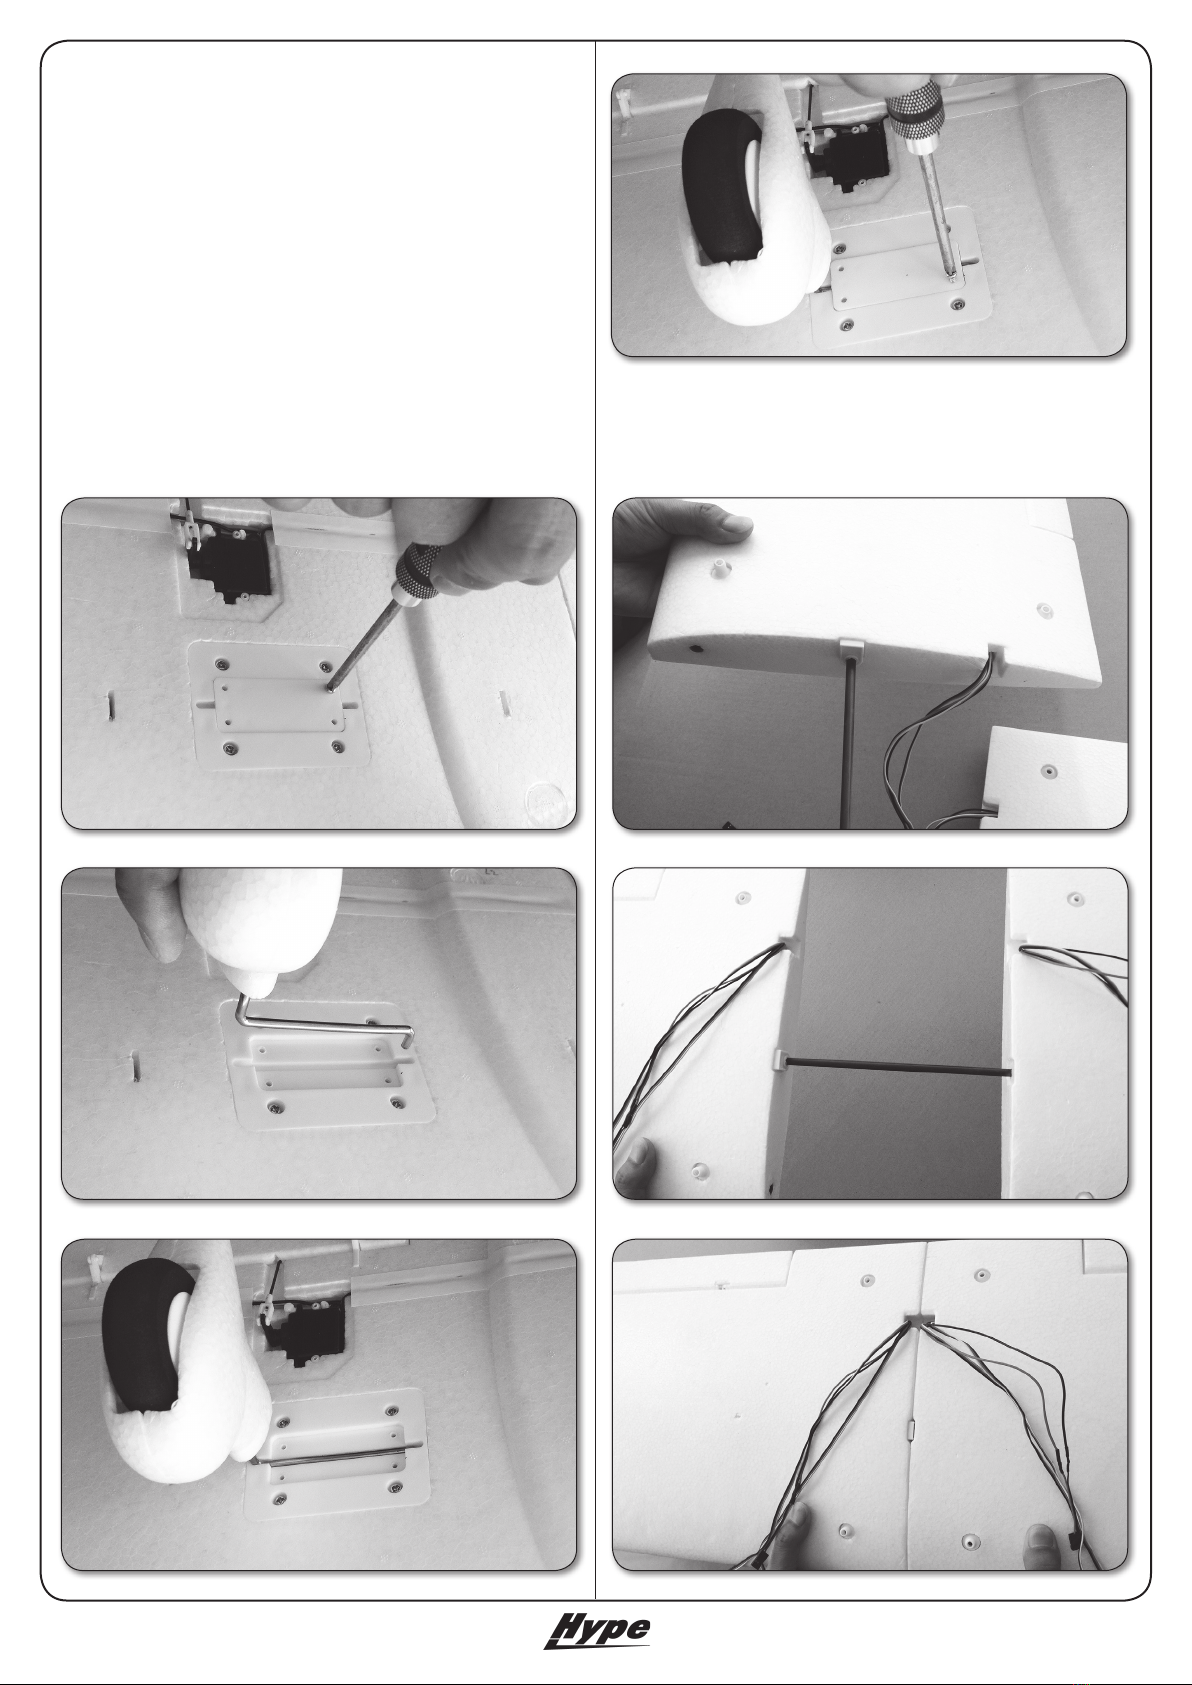
Prüfen Sie nun, ob sich alle Ruder korrekt bewegen.
Zuerst(!) den Sender einschalten, danach den gelade-
nen Antriebsakku im Modell anschließen. Betätigen Sie
der Reihe nach alle Funktionen am Sender. Vorsicht im
Umgang mit dem drehenden Impeller! / Check the func-
tion of all rudders. Switch on the transmitter rst(!) and
connect then the LiPo-Battery to the speed controller in
the model. Move all rudders one by one. Attention! Be
careful with the rotating impeller! / Vericate ora che tutte
le parti mobili si muovano correttamente: accendere la
trasmittente e collegare la batteria caricata nel modello.
Ora provare tutte le funzioni radio. Attenzione a non ferirvi
con l'impeller in rotazione!
Beim Ausschalten stets zuerst das Modell und dann den
Sender ausschalten. / Always switch off the model rst,
then switch off the transmitter. / Per spegnere spegnete
sempre prima il modello e poi la trasmittente!
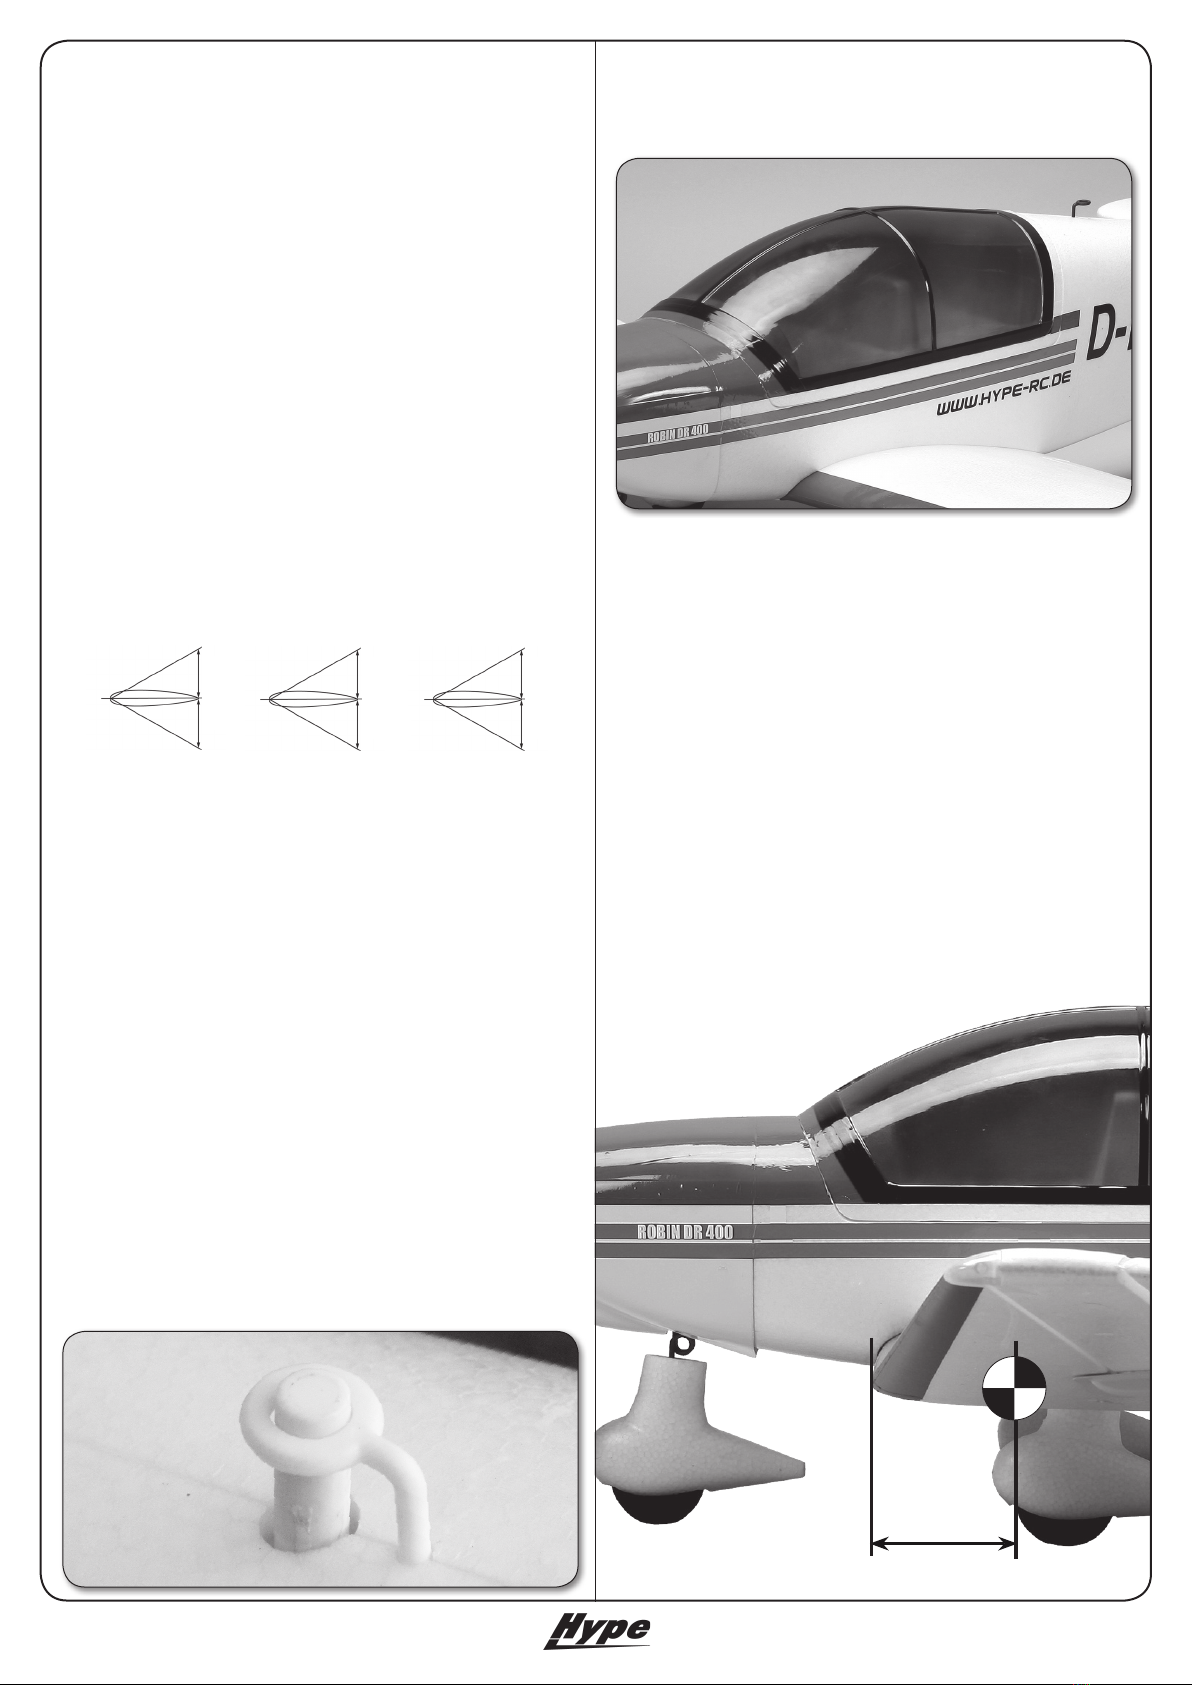
Stellen Sie die maximalen Ruderausschläge gemäß der
nachfolgenden Werte ein. / Adjust the maximum travel of
the control aps according to the sketch below. / regolare
le escursioni massime dei piani mobili come segue:
Die Werte werden an der inneren Hinterkante der Ruder
gemessen. Geben Sie auf das Höhenruder 35% Expo-
nential-Anteil. / The values are measured at the inner rear
edge of the aps. Set 35% Exponential on on the eleva-
tor. / si misura al bordo posteriore delle parti mobili. Date
35 % di esponenziale su piano di quota.
Die Landeklappen können bis zu einem Winkel von 70°
ausgefahren werden. / The aps can be lowered up to an
angle of 70°. / I aps possono essere aperti no ad un
angolo di 70°.
Achten Sie darauf, dass der Bolzen der Schleppkupplung
im verriegelten Zustand leicht über die Zugöse schaut,
damit die Zugkräfte in den Rumpf eingeleitet werden. Im
geöffneten Zustand muss der Bolzen vollständig im Rohr
verschwinden. / When the tow release is locked, the bolt
must be fully inserted into the towing ring! When opened,
the bolt must disappear completely into the tube. / Il per-
no del gancio di traino deve - quando è chiuso - sporgere
leggermente dall'asola di traino, in maniera tale da intro-
durre di forze trainanti all'interno della fusoliera. Quando
è aperto, il perno deve sparire totalmente nel tubo.
100 mm
Setzen Sie abschließend die Kabinenhaube auf den
Rumpf auf. / As the last step put the canopy on the fusela-
ge. / Ora mettere la cabina sulla fusoliera.
Abschließend muss der Schwerpunkt am Modell überprüft
werden. Dazu werden alle Komponenten (auch der Akku!)
im Modell montiert. Der Schwerpunkt liegt 100 mm
hinter der Nasenleiste der Tragäche. Unterstützen Sie
das Modell mit zwei Fingern exakt an diesen Punkten und
beobachten Sie, wie das Modell auspendelt. Die Nase
des Modells sollte sich leicht nach unten neigen. Dann ist
der Schwerpunkt optimal justiert. / Before the rst ight
you have to check the center of gravity. For doing so you
have to mount all components (also the battery!) in to
the model. The CG is placed 100 mm behind the nose
cone of the main wing. Support the model exactly at the
marked spots on the bottom side of the wing. Put the
model on two ngers and watch the fuselage. The nose
should point slightly to the ground. Then the CG is placed
correctly! / Vericare il centro di gravità. Dovrete usare il
modello completo della batteria! Il CG è a 100 mm dietro
il bordo d'entrata dell'ala. Tenere il modello tra due dita
come mostrato e guardate la fusoliera. Il muso dovrebbe
puntare leggermento verso il basso.
QUERRUDER
AILERON
ALETTONI 13mm
13mm
SEITENRUDER
RUDDER
DIREZIONALE 35mm
35mm
HÖHENRUDER
ELEVATOR
PIANO DI QUOTA 15mm
15mm