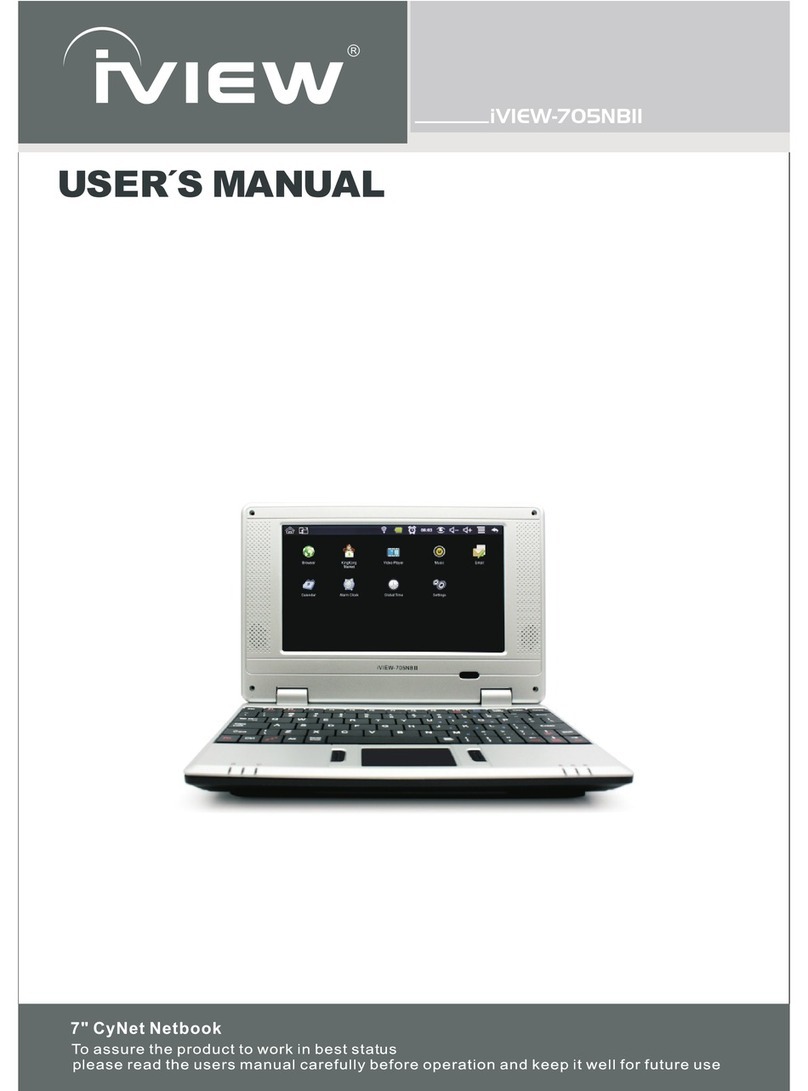
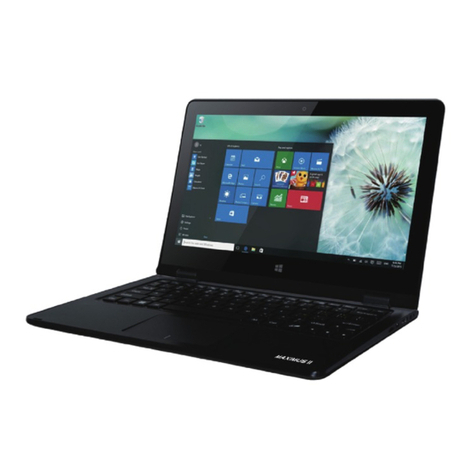
I-View IOIONB User manual

iVIEW-1010NB
"
10 CyberNet

iVIEW-760TPC
(7" Tablet with Leather Case)
iVIEW-975TPC
(9.7" Tablet with Dual Core)
iVIEW-1030TPC
(10" 4:3 Tablet PC)
iVIEW-795TPC
(7" Tablet with Dual Core)
iVIEW-700EB-T
(7" Ebook)
iView-705NBII
(7" Netbook)
iVIEW-792TPC
(7" Tablet with Phone)
iView-430TPC
(4.3" Tablet with Phone)

iVIEW-3000STB
Converter Box
iVIEW-368PTV
3.5" ATSC Portable TV
iVIEW-700TPC
7" ATSC Portable TV
iVIEW-1000KOD
Karaoke on Demand
iVIEW-970PDVXII
(9" Portable DVD)
iVIEW-1900LEDTV
19" LED TV
iVIEW-HFR2-SU3
(eSata 4 Bay Enclosure)
iVIEW-1000GB
(Google TV Box)

Pre-loaded Applications
Application Management
Weather
Paly store 12
15
15
15
15
16
16
16
17
17
17
18
19
Browser
Calendar
Camera
Take Pictures
Take Videos
Single-motion Panorama
Calculator
Email
Add Email accounts
Email Inbox
Open Email Message
Compose New Email Message
Edit Email Accounts
Delete Email Accounts
Set Default Email Account
File Browser
My Music

My Video
My Photo
Gallery
Task Manager
WI-FI
Screen Capture
30. Pppoe Settings 25
31. Ethernet 25
32. Settings 25-28
33. Frequently Asked Questions 29
34. Battery Management 30
35. Important Safety Precautions 30
36. Appendix 1 : The optional parts and models 31
37. Appendix 2:List of the default key function 32


Settings →Storage →USB storage → Unmount this storage device. When it displayed
Mount this device and then you can unplug the U-disk.
CyberNet

USING MICRO-SD CARD
→Settings → Storage →SD card → Unmount this storage device.When it displayed Mount
this device and then press the card lightly; it is partiallyejected allowing you to pull the card out.
☆Don’t insert and remove the U-disk repeatedlyin a short time, as this maycause damage to the card.
☆We recommend using major brands of memorycards to avoid incompatibility.

The device automatically scans and lists all local Wi-Fi Network found. A lock indicates
secure Wi-Fi networks that require input password to connect.
3. Tap the desired network to which you want to connect → enter the Network Password
if applicable → tap Connect.
4. Tap to return to the Desktop screen.
☆If your Wi-Fi network is set as hidden, it won’t be found by the auto scan. Tap Add
Wi-Fi network and follow the prompts to add your network.
HDMI video play
This device support through the Mini HDMI connected with TV, it makes TV and device displayed
synchronic. For using this feature, insert the Mini HDMI cable into the right side of the device interface to
connect with TV.
TV screen adjustment
After connecting HDMI, Enter into Settings → Display → TV screen adjustment, By adjusting the drag
strips in the interface to change the width and height of the TV side.
☆After connecting HDMI, you can press the power button to turn off the screen, In order to get longer
battery life.

1. Back.
2. Home.
3. Recent Apps.
4. Hide status bar.
5. Menu.
6. Current time.
7. Screen capture.
8. Volume.
9. Wireless network
10. Battery Status.
11. Google search.
1
11 12 13 14
2 3 4 5 6 7 8 9 10
12. Voice search.
13. Add Widgets/Apps shortcuts or setting wallpapers and more.
14. Tap to view the applications screen
Through add icon can make many personalized operation, such as, add widgets, application
shortcuts, set wallpaper, add bookmarks, email accounts and set up the shortcut.
☆Tap on any application icon to launch it.
☆Touch, hold and then slide icons to reposition then on the screen.
☆Touch, hold and slide icons onto to remove them from the Desktop screen.
Can be set to automaticallylock screen or quickly press the power button to manuallylock screen.
The system provides four lock screen style for users.You can enter Settings →Security →Lock
Screen to switch.
Tap the unlock icon and drop it to the right and out of the circle to unlock.

Weather Set up the degree of temperature, weather auto-refreshrate,
add cityand view the city’s weather.
Clock It can displaythe time and set the alarm.
play store Downloaded applications quickly& easily.
Browser Access internet.
Calendar Calendar.
Camera Take normal photos, panoramic photos and take video.
Calculator Do calculation.
Email Send/Receive email using your existing email addresses.
File Browser
File manager application for viewing and managing files
and apps.Use to install Android apps, and to backup files
to your SD card.
My Music Playand manage audio files.
My Video Playand manage video files.
My Photo View and manage photo files.
Gallery Play, view, and manage video and photo files.
Picture
Capture Capture image of the screen.
Task
Manager Application manager for managing processes.
Flas player
settings Flashplayer settings.
Downloads View the downloads and the download progress.
Search Local searchand online search.
Settings Multiple settings for personalizing and enhancing your
Device.
To move an icon to the Desktop screen, touch & hold the icon, and then release it when it appears on
the Desktop screen, or click icon ,Then click on the icon which you want to add to desktop in the
App shortcuts below this interface , the icon will automatically move to the desktop.
☆Touch, hold and then slide icons to reposition then on the screen.
☆Touch, hold and slide icons onto to remove them from the Desktop screen.

10.STATUS AND NOTIFICATION AREA
On the Desktop screen, click the icons which in the state bar to view more
state information and events.
Airplane mode Switchairplane mode.
Wi-Fi Access to Wi-Fi settings interface.
Brightness Setting screen brightness.
Notifications Open or close the notification.
Settings Access to settings.
9

• d avvveaknarpotdnaderutaefehtfoemosrofesacwohsasitekraMgnoKgniKehT
applications and games available. For a comprehensive, up-to-date list of the
tens of thousands of titles available, check out other application markets.
1. Click the King Kong Market icon from the desktop.
2. Choose from the list of applications .
3. Check whether the program need to be paid or not, then click”compatibility”
to check compatbility.
4. Click “Install” if the programme is compatible with the device and if it’s free.
5. Register the needed information for must-be-paid programme.
6. Click “Install” to download programme after you paid for it.
7.Wait for the prompt “Do you want to install this application?”
8. Click “Install” and “Done/Open” when screen prompts “Application installed”.
9. Press [ESC] to go back and/or exit.
Note:
1. Applications c an’t be downloaded unless i t’s c ompatible with the device or s ystem
s oftware.
2. W hen you get to the crash repor t dialog and press c ancel, Apps menus will s till work.
Y ou c an use them to navigate . Even pressing E SC c an restore the previous wor king
s creen. Wor st case scenar io would be to go to settings a nd force stop the application,
r elaunching will w ork,
3. Above oper ation must be under c onnected i nter net .
Install Android Applications
☆There are many interesting and free Android applications that can be found on the web.
Such as launch your web browser and do a search for “Android applications”.
Purchased or free Android applications that you have downloaded to your computer can be
installed quickly & easily on your Tablet using the File Browser or task manager
application.
1. Copy the .apk files that you want to install onto a SD card or USB device → insert or
connect to your Device.
2. Tap the File Browser application icon
.
3. Tap or and locate the folder in which the .apk application files were saved.
4. Tap on a .apk file → Install.
The application is installed and the application icon is added to the Applications screen.
5. Tap Open to launch the application now, or tap Done to return to the File Browser screen.
Download Android Applications directly from a Website
You can download Android applications directly from websites, and then quickly and easily install them
on your device.
1. Tap the browser application icon to launch the internet.
2. Enter the desired website URL, and tap the download link for the application you want to install on
your device.
3. After the download is completed, tap →Downloads. Open the applications from app list.
12. APPLICATION MANAGEMENT
11.King Kong Apps Market

Uninstalling Android Applications
You can also quickly and easily uninstall the Android applications that you have installed.
1. Tap → Settings → Apps → All.
2. Tap the application you want to uninstall → Uninstall.
3. Tap OK to confirm the Uninstall.
Tap the Weather application icon.
General setting
You can set Temperature Unit(℃), Update frequency .
About
View software version number and relevant legal information.
Add city
You can add city to Weather and view the city’s weather information.
Select city
In the list of cities, click the city to view the weather information. After selected the city, tap
delete the city, tap refresh the weather information.
You can make the weather displayed on the Desktop through adding widget. The way is: tap
→Widgets → Weather Widget.
Tap the Clock application icon. You can see the time and date.
Alarm
You can use your device as an alarm clock by setting multiple alarms.
Add Alarm
1. Tap the Clock application icon.
2. Tap Set alarm → Add alarm.
3. Set up your alarm as desired.
4. Tap OK.
5. Selected the alarm clock.
Shut Off Alarm Alert
When a scheduled alarm is activated, a pop-up window with the alarm title appears.
Tap Snooze if you want to be reminded again in 10 minutes.
Tap Dismiss to cancel the alert.
13 WEATHER
1 4 CLOCK

1.In the Alarm list, find the desire alarm.
2.Click the
on the left.
3.After the change to , tap Done.
Edit Alarm
1.Tap the Clock application icon →Click .
2.Tap on the alarm you want to edit →make desired edits.
3.After editing, tap OK.
Delete Alarm
1.Tap the Clock application icon →Click .
2.Tap on the alarm you want to delete.
3.Tap Delete →OK.
Tap to return to the Desktop screen.
Turn Alarm on
PLAY STORE
15
The google paly store has manyapplications that you can quicklyand easilydownload to
your
Tablet.
Download Applications
1.Tap the paly store application icon.
☆The first time, it will prompt “Register” and “Login” options. If you have not
yet registered an google account, tapRegister. Otherwise, tap Login and enter
your login information and then tap Login again.
2.You can select applications from the default Featured group, byCategories, Top
(latest, hottest, random), or searchbyname.
3.Tap on an application →Download.
4.After the app is downloaded, tap Install.
5.Tap Open to launchnow, or Done to return to the paly store screen.

16 BROWSER
Users can connect to the Internet
Web browser
throughbrowser.
Click the browser icon on the Desktop , and then you can open the
17 CALENDAR
Tap the Calendar application icon.
For the first time using the Calendar, you need to add an Exchange account.Enter account
email address and password.Enter the system Settings →Account & sync →Add
account.According to the prompts complete the setting.After then you can use the calendar.
Onlyto view the calendar need not to add Exchange account.
Add Event
1.On the Calendar screen, tap on the date to whichyou want to add an event.
2.Tap on the event time →tap .
3.In eachfield, enter the details of the related activities.
4.Tap Done.
Click the date time in the upper left to choose the calendar you want, suchas
DAY,WEEK,MONTH and AGENDA displaymode.
☆Dates with gray bars indicate scheduled events.

18 CAMERA(This section involves camera/video functions. If the device has
a camera hardware , please modify the
☆
Note at the begin of this section)
☆Before using this feature please connect the USB camera.
Tap the Camera application icon.
Take Pictures
1.Tap switchto video, and you can take picture.
2.Tap take picture.
3.The picture will be saved.
4.Tap the picture thumbnail to enter My Photo to scan the picture.
5.Press Back to the Camera.
6.Tap to exit theCamera and back to the Desktop.
Take Videos
1.Tap switchto video, and you can take videos.
2.Tap to begin and tap to stop.
3.The video will be saved.
4.Tap the video thumbnail to playthe video.
5.Press Back to the Camera .
6.Tap to exit theCamera and back to the Desktop.
Single-motion Panorama
For capturing larger scenes, tap icon and switchto single-motion panorama
mode.In this mode, the user starts an exposure and then slowlyturns the Camera to
encompass as wide a perspective as needed.The Camera assembles thefull range of
continuous imageryinto a single panoramic photo.
Note: You can tap on the top left of the interface to choose the files are stored in the
ROM, SD card or USBstorage.

19 CALCULATOR
1.Tap the Calculator application icon.
2.Tap the numbers and sign of operation to do the calculation.
3.Tap CLEAR to clear the result one byone, tap and hold CLEAR to clear all.
20 MYRECORDER
1.Tap therecorder icon.
2.Tap the record icon to start recording.
3.Tap therecord icon to stop record.
4.Tap theplaybutton to playthe voice of recording.
21 EMAIL
☆POP3, SMTP and Exchange accounts are supported.
Add Email accounts
You can enter one or more personal email addresses that you would like to access
throughyour Tablet.
1.Tap the Email application icon.
2.On the Account setup screen, Tap in the Email address entryfield →enter your
email address.
3.Tap in the Password entryfield →enter your email password.
4.Tap Next.

1.Manual Setup (optional):The server settings are automaticallypopulated based on
your email account provider (i.e., gmail.com, etc).However, if you need to change
the server settings tap Manual Setup and make necessarychanges.
6.According to the selected mailbox server, enter or select the parameter and server
type, and then tap Next.
7.Optional:Enter a name for the account.
8.Enter name for outgoing message →tap Done.
☆After setup, if you are unable to connect to a free email account, check with your
email provider to make sure their servers support free accounts on Post Office
Protocol (POP) or Simple Mail Transfer Protocol (SMTP).
Email Inbox
1.Tap the Email application icon.
2.If you set up onlyone email account, it opens immediately. If you set up multiple
accounts, theyare listed in the Accounts screen.
3.Tap on the desired email account →tap Inbox.
Open Email Message
1.On the Inbox screen, tap on an email to open it.
2.For attachments, tap Open to launchappropriate application, or tap Save to
save attachment to a SD card.
3.To replay, tap Reply or Reply all.
a.Tap in the Compose Mail entryfield to enter your replymessage.
b.Tap Send to send immediately, Save as draft to save without send or Discard
to discard without saving or sending.
4.To delete the email immediately, tap Delete.
Compose New Email Message
1.On the Inbox screen, tap .
2.Enter the e-mail address in the recipient field.if you want to add Cc or Bcc
recipients, tap →, and then enter the recipient’s email
address.
3.Tap in the Subject entryfield to enter your desired subject title.
4.Tap in the Compose Mail area to enter your personal message.
5.If desired, tap →to attacha file.
6.When readyto send the email, tap .

Edit Email Accounts
1.Tap the Email application icon.
2.On the Inbox screen, tap →settings.
3.Set your desired preferences to customize your email account.
4.Tap to return to the Inbox screen.
Delete Email Accounts
☆If you have multiple accounts, and you delete the account designated as the defaul
t
account, the next email listed is automatically set as the default.
1.Tap the Email application icon.
2.On the Inbox screen, tap →Settings.
3.Click the account you want to delete.
4.In the pop-up Account options window, tap Delete
5.Tap OK to confirm the deletion.
Set Default Email Account
You must always have one account designated as the default account, so if you have
multiple email accounts, you can select anyone as the default.
1.Tap the Email application icon.
2.On the Inbox screen, tap →Settings.
3.Tap the desire account.
4.In the right settings list, tap Default Account to select it.
If you delete the account that was designated as the default account, the next email listed
is automaticallydesignated as the default.
This manual suits for next models
1
Table of contents
Other I-View Laptop manuals

I-View
I-View MAXIMUS II User manual

I-View
I-View 700NB User manual

I-View
I-View CyberNet 706NB User manual

I-View
I-View UNISON User manual

I-View
I-View MAXIMUS Pro User manual

I-View
I-View i330nb User manual

I-View
I-View MAGNUSII User manual

I-View
I-View 705NBII User manual

I-View
I-View 116J3710 User manual

I-View
I-View 705NB User manual