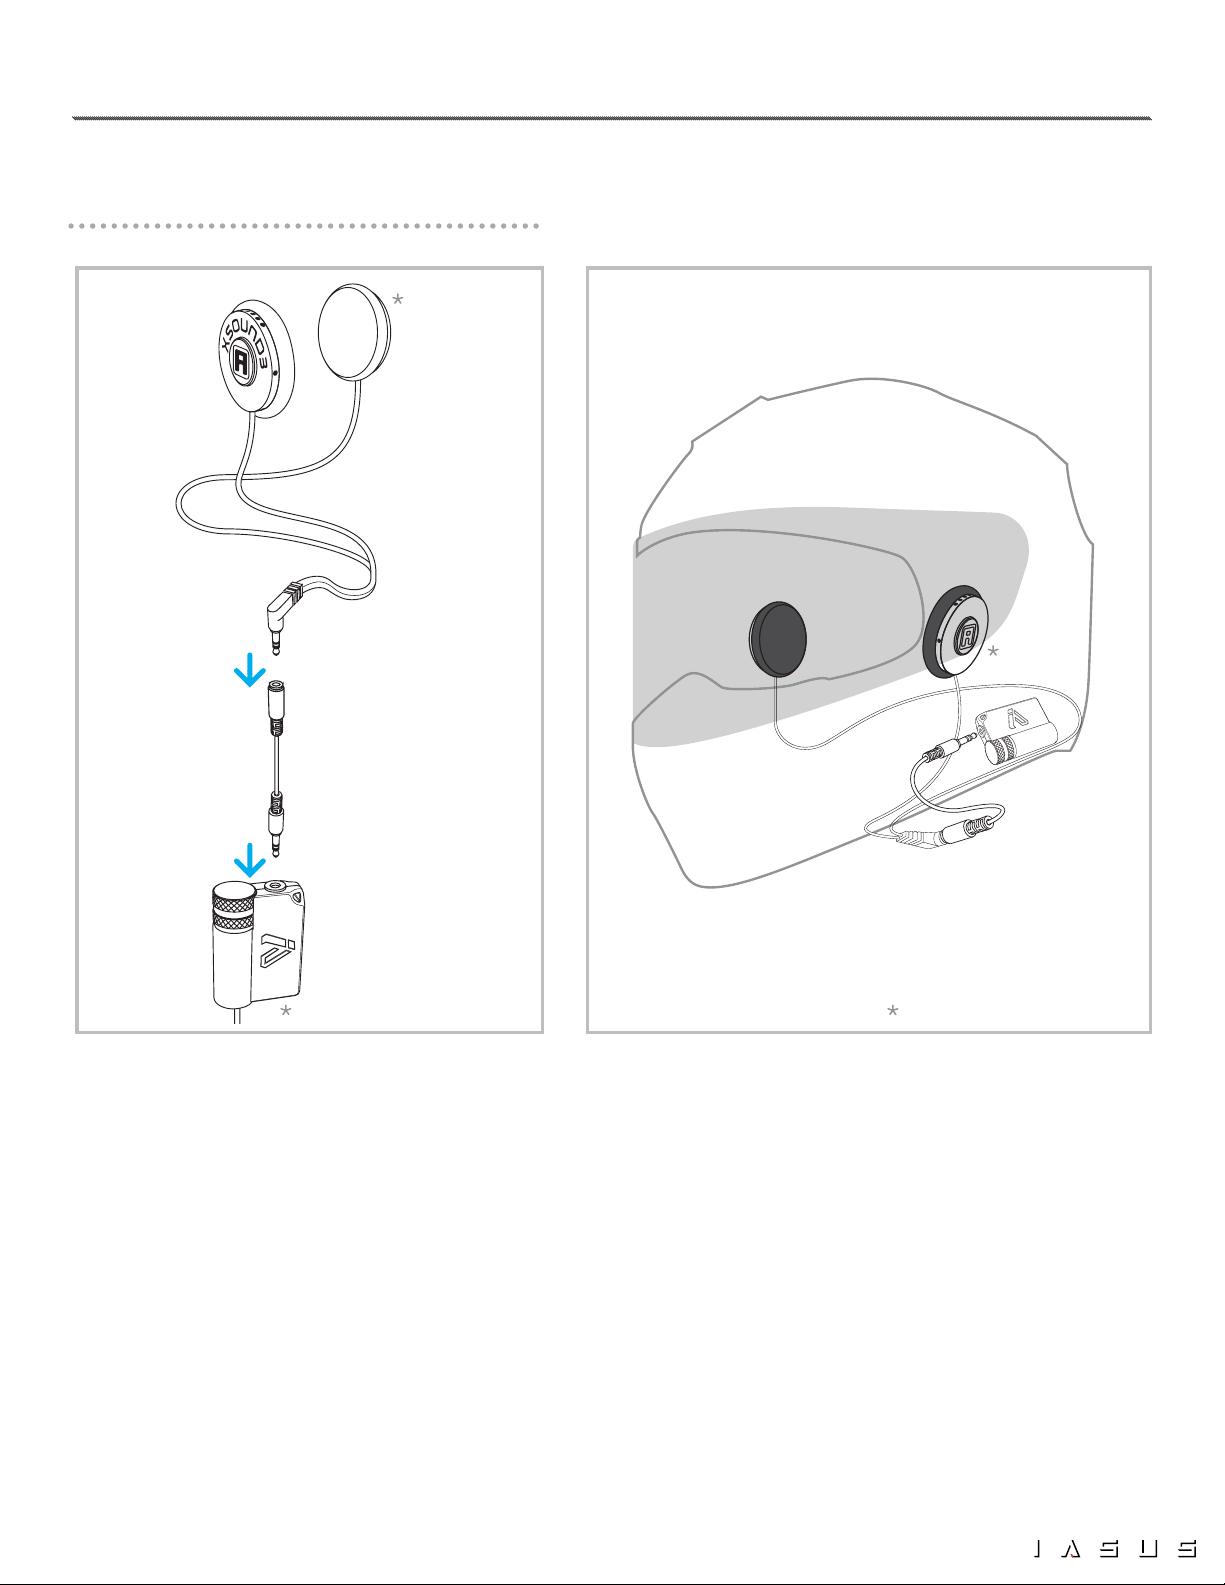
IASUS_EAR3H_OPERATINGINSTRUCTIONS_v1_2020 6
BOOSTING VOLUME
AND SAVING BATTERY LIFE
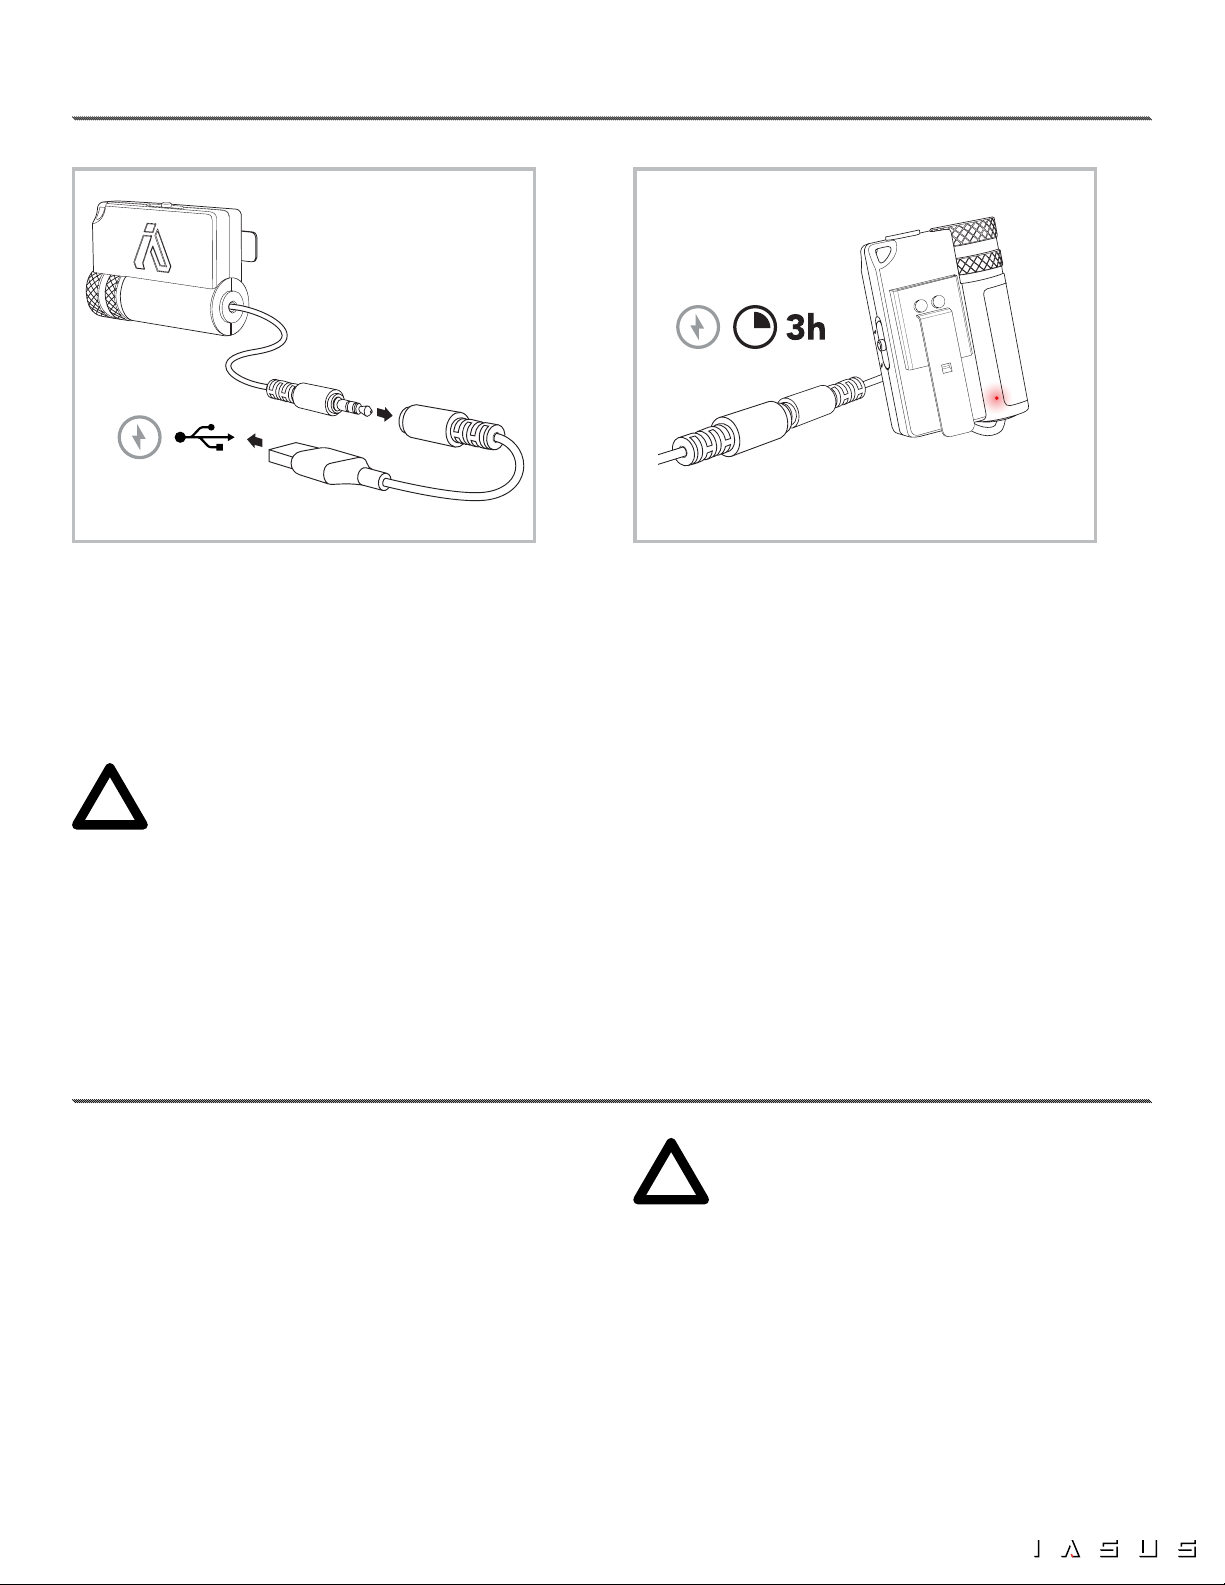
CHARGING THE EAR3H
The EAR3H is powered by an internal, non-removable
lithium-ion battery. It is pre-charged, enabling the
EAR3H to be ready for use right out of the box.
When charging is required, connect the included
charging cable to the input jack at the bottom of the
unit and the other end to a computer USB port.
When charging, the Charging Indicator LED (7) is lit
red and will turn off when charging completed.
A full charge can be completed in about 3 hours
when charged using a computer’s USB port (0.5A
output). Each charge allows for usage of up to 20
hours, depending on the output volume level and
ambient temperature.
To prolong the life of the battery cells, IASUS does
not recommend charging the EAR3H using high
output USB chargers (ie. 1.0A, 2.1A, etc).
Note: If the EAR3H will not be used for a prolonged period, fully charge the unit before storing to
prevent permanent damage to the battery.
One of the EAR3H’s main features is amplifying
your audio source’s signals to higher and sufcient
levels for your helmet speakers and earphones. This
results in the fuller and richer sound one comes to
expect from IASUS portable ampliers.
Another main feature is conserving the power on
your audio source (smartphone, music player...)
Example: Lowering the volume on your phone
and turning up the EAR3H will allow you to
achieve the same desired volume while saving
your phone’s battery power.
WARNING: Do not turn the volume up
too high on the EAR3H. It have the potential
to damage helmet speakers, earphones,
headphones, etc., should they not be rated
for a higher audio input. Use the volume
amplification slowly and proceed with caution
to avoid over boosting your helmet speakers,
earphones, headphones, etc., but most
importantly, to avoid permanently damaging
your hearing.
!
!
Use only the included IASUS charging
cable. Using any other charging cable
may cause permanent damage to the
EAR3H.