4
Section 1. Installation
IMPORTANT! This appliance must be left to stand in an upright position for
at least 4 hours before being switched on for the first time.
Remove all packaging and securing tape from the appliance.
Wash the interior of the appliance with luke warm water containing a small
amount of bicarbonate soda (5ml to 0.5 litres of water).
Position the appliance in a dry atmosphere and out of direct sunlight.
Do not position next to a cooker or other sources of heat, i.e. radiator.
If positioned next to another fridge or freezer, leave a minimum gap of 2cm
between the appliances in order to avoid condensation.
A clearance of 50mm should be left above the appliance. If this cannot be
achieved you should ensure a clearance of 25mm is maintained on each
side of the appliance.
Please ensure that there is a small ‘air-gap’ between the condenser on the
rear of the appliance and the rear wall.
Do not place or store heavy items on the top of this appliance.
Ensure that the appliance is positioned on a firm flat floor.
This appliance must be level. Adjust the level by screwing the adjustable
feet up or down (use your fingers or a suitable spanner).
Ensure that the appliance is upright and both feet are in firm contact with
the floor so that the cabinet is stable.
Connect the plug to an adjacent 13amp socket outlet and ensure that the
appliance is not standing on the supply cable.
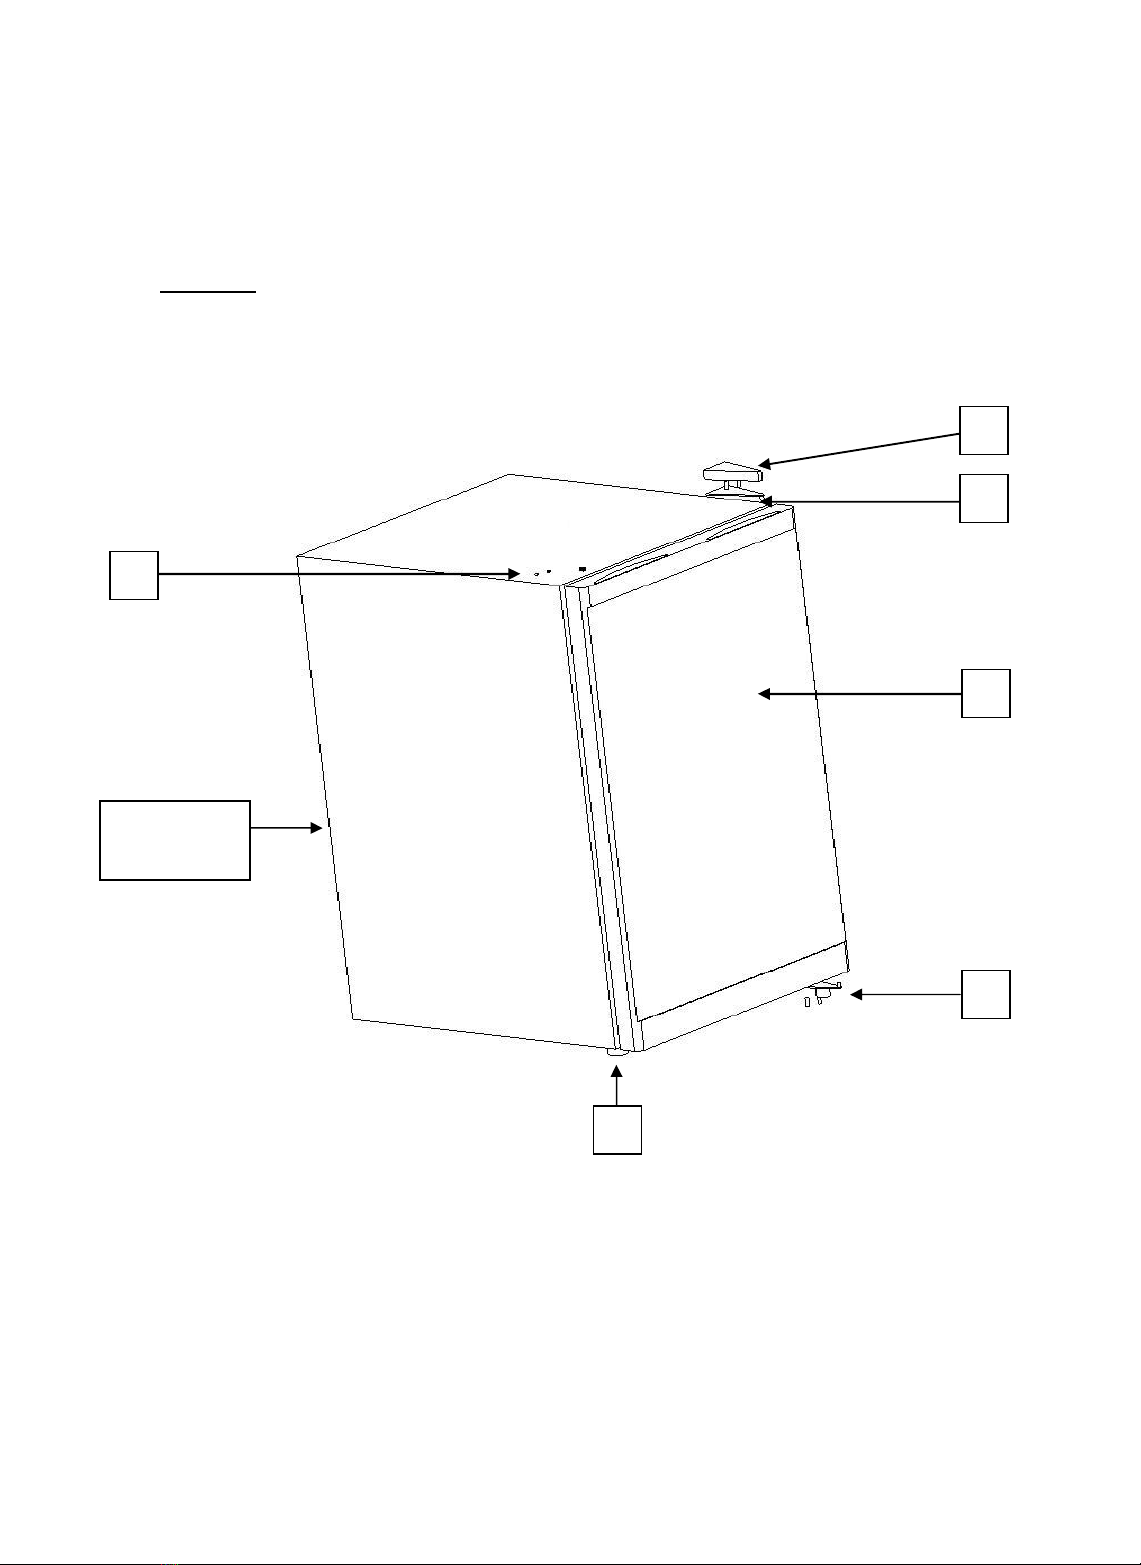
Your appliance is fitted with a unique Frost Protection Thermostat.
The ON/OFF switch located on the interior Thermostat Dial/Light Unit
(see pic.1 below) should always remain in the “OFF” position except
in the following conditions: Where the appliance is located in a garage or
out-building and the ambient temperature has fallen below zero for an
extended period, you may find that the temperature inside the larder unit is
not as cold as normal, if this happens simply press the switch to the “ON”
setting. This will turn the compressor on and the interior temperature will
recover within a few hours. Turn the switch back to “OFF” as soon as the
temperature has recovered. WARNING! DO NOT LEAVE THE SWITCH IN
THE “ON” POSITION FOR MORE THAN 6 HOURS!
Pic.1.