Sync button
Press this button to activate the Auto-Sync function of each desk at your software.
Slave
Activate the “Slave” function of the software.
Transport buttons (CUE, Play/Pause)
Press to activate the CUE, Play/Pause functions of each desk at your software.
Hot Cue button
While pressing & holding the hot cue button, press buttons 1,2,3 or 4 to create
different hot cue points.
Shift button
While pressing & holding the shift button, press buttons 1,2,3 or 4 to delete the
corresponding cue point.
Mixer knobs (Hi, Mid, Bass & Gain)
These adjust the channel balance, gain, the high-frequency, mid-range,
low-frequency EQ settings of each desk at your software. Press to return the
corresponding fader to centre value.
Mixer control buttons (Treb, Mid & Bass)
Press to switch the corresponding EQ On & Off.
VST button
Activate the VST function of the software.
Monitor A/B buttons
Activate the monitor A/B functions of the software.
9
10
11
12
13
14
15
16
17
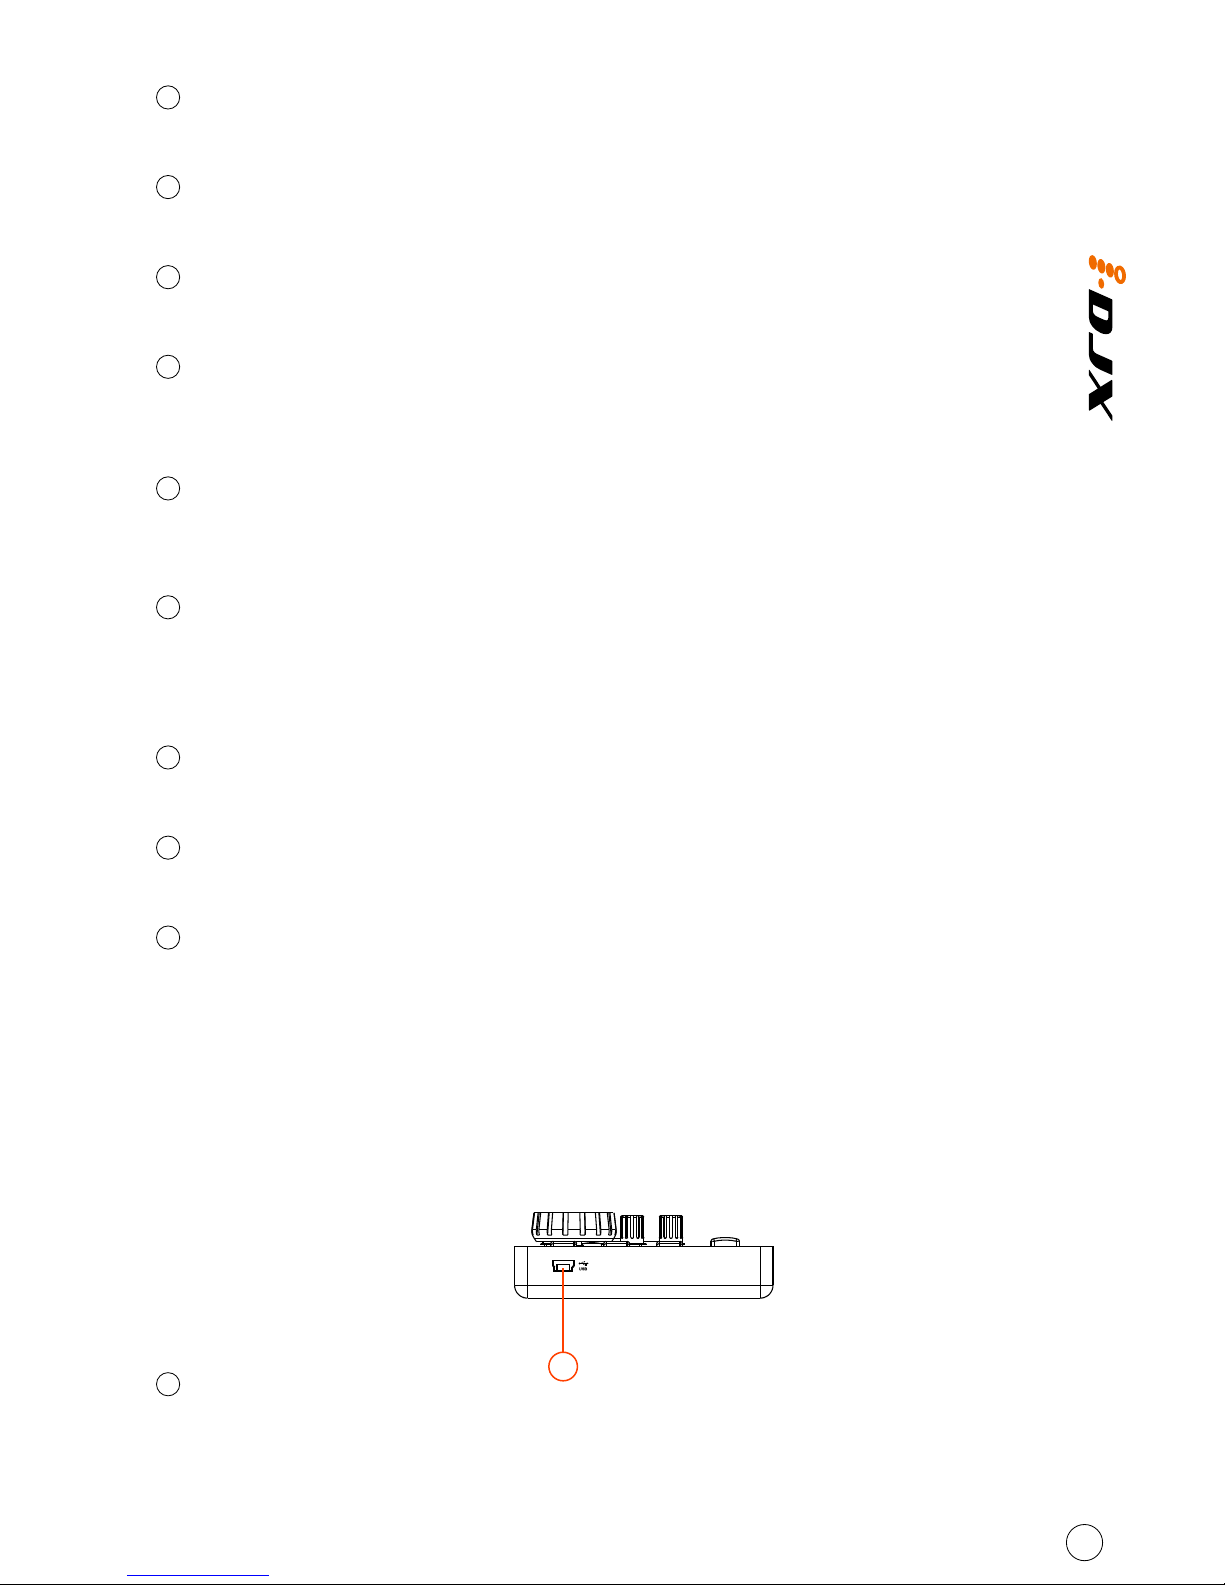
Side Panel Layout
USB port (B-Type)
Functions as a MIDI port to your notebook (or computer) and compatible software.
Also provides power to your iDJX.
1
4
1