ID-AL My Video Player VP320 User manual

ID-AL My Video Player
Quick Start Guide V1.0 for VP320 and VP330
1 Introduction
The My Video Player range is com osed of standalone 4K HDR
UHD video layers su orting video, icture, and audio files in many
formats stored in an internal memory, or on a microSD card or a
USB flash drive. Files can be layed automatically according to an
“AutoPlay” setting, a timestam ed rogramming, or a triggering by
external events (in ut contacts, RS-232 or TCP/IP commands,
infrared remote control).
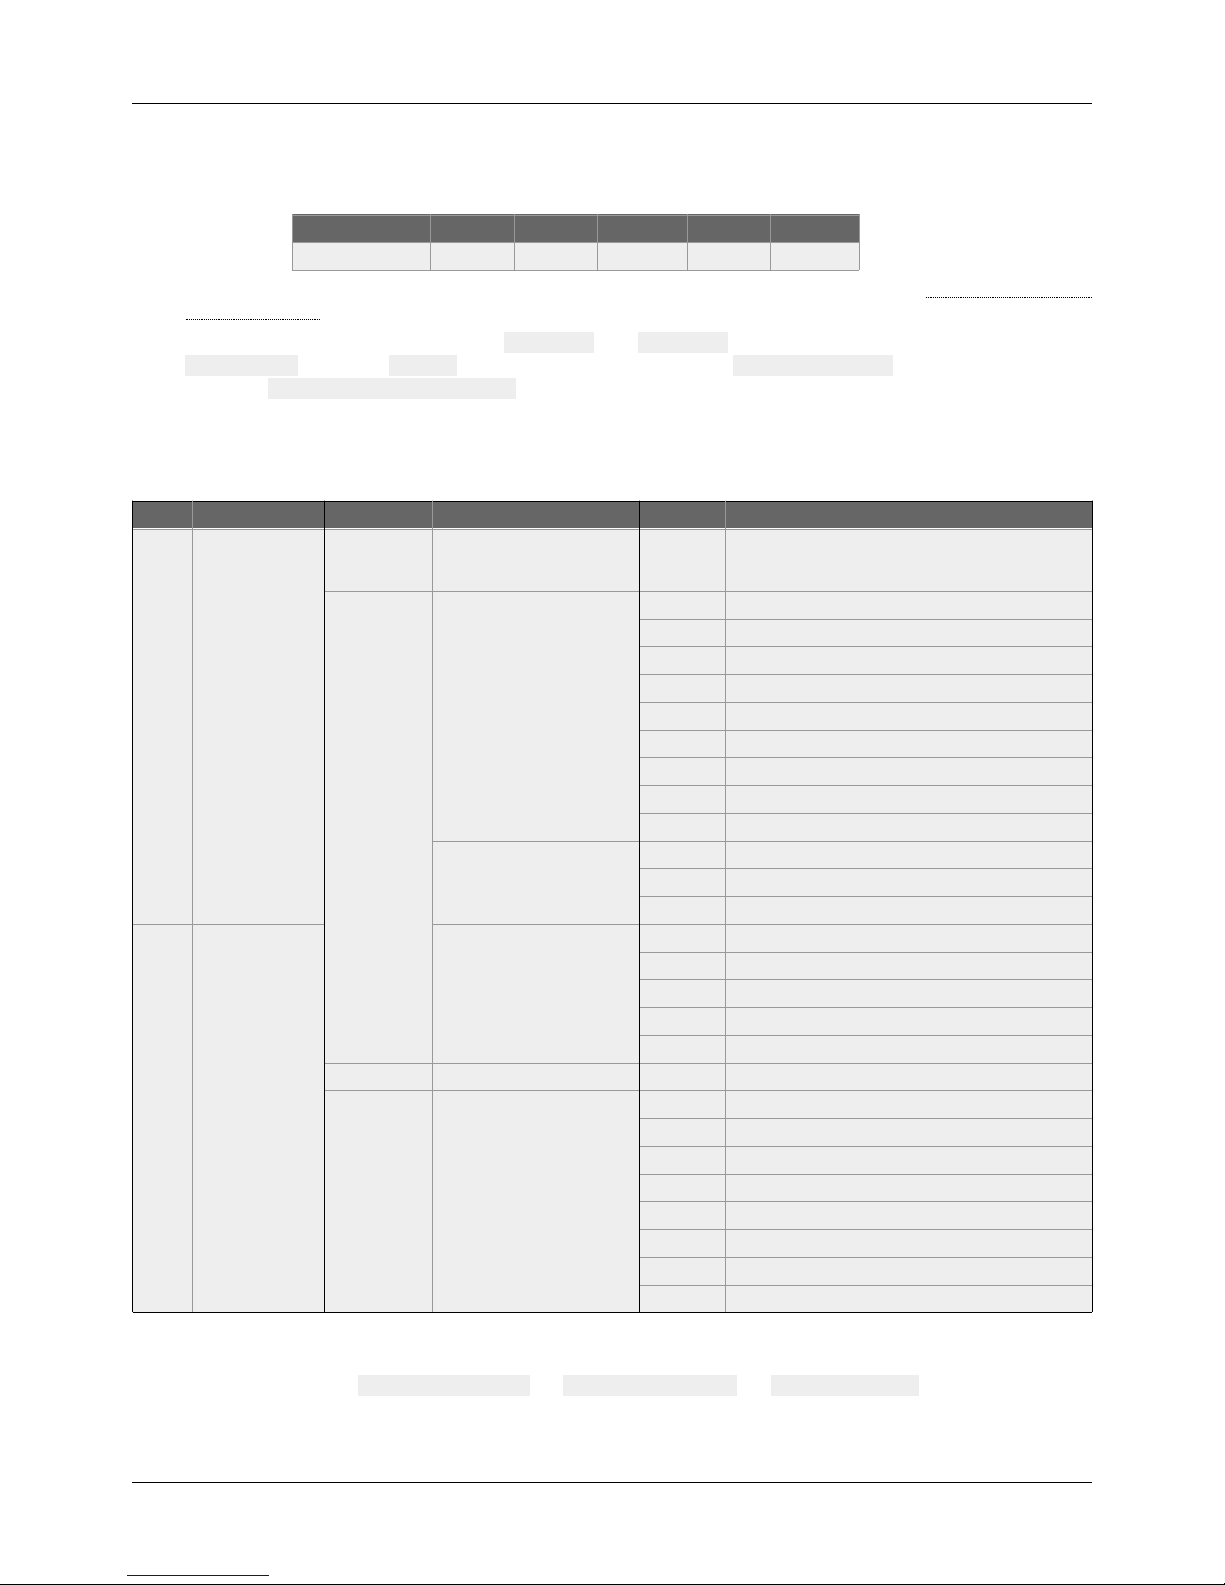
1 Head hone stereo audio out ut, standard 3.5 mm (TRS) jack
2 Infrared sensor
3 Clickable knob (volume)
4 Status LED
5 0 dBu line-level stereo audio out ut, RCA connectors
6 Class D am lified s eaker stereo audio out ut, luggable terminal blocks
7 USB Host 2.0 for USB flash drive, ty e-A rece tacle
8 Standalone o to-isolated in ut and ower su ly out ut, luggable terminal block
9 HDMI audio/video out ut, ty e-A (standard) rece tacle connector
10 microSD card slot
11 10/100 Mb s Ethernet, RJ45 connector
12 USB Host 2.0 for USB flash drive, ty e-A rece tacle
13 External DC ower su ly chassis socket
14 RS-232 serial link and ower su ly out ut, luggable terminal block
15 8 o to-isolated in ut contacts and ower su ly out ut, luggable terminal block
16 8 MOSFET out uts and ower su ly out ut, luggable terminal block
17 5 V DC out ut, luggable terminal block
This guide ex lains how to quickly start u the layer for the first use. For the firmware, additional software and the
com lete user guide of the roduct, see the su ort age of the My Video Player on www.id-al.com.
2 Preparation of the Storage Device
Choose a quality microSD card or USB flash drive, and format it as
FAT32. Store on it useful files according to the organization demanded
by the layer (see given o osite exam le). Do not use s ecial or
accented characters.
•O tional configuration files in the SYSTEM folder at the root:
serial.txt, scheduler.tm2, waitscreen.jpg,
maintenance.jpg, etc.
•Organization of the layback folders at the root:
°No subfolders allowed.
°Naming: xxx Name [TAG1 [TAG2 or SYNCHRO
xxx: folder no. from 000 to 999 used by the commands.
The AutoPlay feature uses the 000 folder.
Name (o tional): folder name (free).
[TAGx (o tional): tags controlling the layback. See the
cha ter Folder and File Tags.
•Organization of the files in the layback folders:
°Format: MP4, MKV, MOV, WAV, MP3, M4A, OGG, JPG, PNG,
BMP and more.
°Naming: Name [TAG1 [TAG2 .ext
In sequential mode, the files are layed in the
al hanumeric order.
Name: filename (free).
[TAGx (o tional): tags controlling the layback. See the
cha ter Folder and File Tags.
ext: extension according to the file format.
© 2018, Waves System - 7 im asse de La Ville en Bois, 44830 Bouaye, France - Phone: +33 (0)2 40 78 22 44 - [email protected]

ID-AL My Video Player - VP320 and VP330 - Quick Start Guide V1.0
3 Connection of the Input Contact
The standalone in ut contact of the VP320 and the VP330 or the 8 in ut contacts of the VP330 are used to
generate events. Triggering devices can be connected to these in uts (e.g.: ush-button, resence sensor, relay,
PLC, SensoPad, IRPad, etc.). These devices must behave like o en or closed contacts between an in ut and the
ground of the layer, the activation being triggered by a closed contact by default. The activation of the standalone
in ut contact generates a standalone event, and the activation states (1 if activated) of the in ut contacts of the
VP330 are combined to form a binary code identifying the generated event:
xxxcombination
=
Input
1
+
Input
2
×
2
+
Input
3
×
4
+
Input
4
×
8
+
Input
5
×
16
+
Input
6
×
32
+
Input
7
×
64
+
Input
8
×
128
A command is assigned to each event. By default, the standalone in ut and the xxx combination on the other
in uts trigger the layback of the folders 001 and xxx, res ectively. The setu menu allows to change these
commands. With the VP330 and u to 8 combinations (001, 002, 004, 008, 016, 032, 064, 128), the triggering
devices can be directly connected to the in uts. Beyond, a circuit based on diodes can be used to obtain u to 255
combinations (e.g.: the board ID-AL Ext15In roviding u to 15 combinations).
4 Connection of the Output Contact
The VP330 offers 8 out uts with MOSFET switches (u to 500 mA er out ut) to o erate ower relays, motor
controllers, lights, layers, and various devices. The states of the out ut contacts can be controlled by the
[RESxxxxxxxx (a lied at Start of layback) and [REExxxxxxxx] (a lied at End of layback) folder and file tags.
xxxxxxxx re resents the activation states of the 8 out uts, from the 8th to the 1st: a 0 o ens the contact, a 1 closes it,
and a # kee s its last state. E.g., if 001[RES00001000 [REE00000000 is the name of the folder 001, then the
4th contact is closed and all the other contacts are o ened when the layback of this folder starts, and all the
contacts are o ened when the layback of this folder ends.
5 Fir t Startup
•Make sure that the layer is off (mains ada ter un lugged).
•Connect the video and audio out uts to the installation according to the needs.
•Connect the in ut and out ut contacts according to the needs. See the cha ters Connection of the In ut
Contacts and Connection of the Out ut Contacts.
•Connect the Ethernet network and the RS-232 serial link if needed.
•Insert the re ared storage device. See the cha ter Pre aration of the Storage Device.
•Turn the layer on by lugging the mains ada ter.
•Use the setu menu to configure the layer. See the cha ter On-Screen User Interface.
•The layer is o erational.
6 On-Screen U er Interface
The on-screen information and menu, the clickable knob, and the infrared remote control are aimed at viewing the
layer state, configuring it, and controlling the layback. The following controls are available:
Control Remote Control Key or Front Panel Control Descri tion
Playback Control the layback.
Custom ▄▄▄▄Send a configurable order.
Volume VOL + VOL - Clickable knob Change the volume.
Standby and wake u POWER Set the layer to standby or wake it u .
Configuration MENU ESC OK Use the on-screen setu menu to configure the layer.
7 Scheduler
The layer can be rogrammed thanks to the Scheduler, according to a timetable rovided on the storage device. It
manages the layback thanks to folder layback, sto and resume commands.
•The timetable is stored in a scheduler.tm2 file, to generate with the Scheduler software.
•Once the scheduler.tm2 file has been created, it must be laced in the SYSTEM folder of the storage
device as ex lained in the cha ter Pre aration of the Storage Device.
© 2018, Waves System - 7 im asse de La Ville en Bois, 44830 Bouaye, France - Phone: +33 (0)2 40 78 22 44 - [email protected]

ID-AL My Video Player - VP320 and VP330 - Quick Start Guide V1.0
8 FTP Server
To manage the files and folders of the storage device over the network, use the embedded FTP server of the
layer. In an FTP client a lication, enter the following settings:
•Host: IP address of the layer (e.g.: 192.168.0.104).
•Port: 21.
•User: username of the embedded FTP server (by default: idalftp).
•Password: assword of the embedded FTP server (by default: idalftp).
Note: for maximum security, it is highly recommended to set ro er usernames and asswords in the setu menu.
9 Playback Start Synchronization
This feature allows to synchronize the start of layback of a designated file within a grou of layers over the
network, using the selected multicast UDP ort:
•With the [SYNCHROxxx file tag (e.g.: Video A[SYNCHRO001 .mp4), the layer sends the xxx
synchronization request to all the other layers within the grou .
•The layers receiving the xxx synchronization request look for a file with a name beginning with xxx in the
SYNCHRO folder (e.g.: 001 Video B.mp4). All the layers of the grou then start the layback
synchronously.
•For all the layers in the grou , in the setu menu, select Scenario settings → Playback start
synchronization, then enable Playback start synchronization and change the Multicast
UDP port value if needed (by default: 44830).
10 Firmware Update
In the setu menu, select System settings → System update:
•With the Internet, the firmware can be u dated from our servers by selecting Check for update.
•In all cases, the firmware can be u dated manually by selecting Manual update and then choosing
firmware files from a storage device.
In order to com lete the firmware u date, follow the on-screen instructions.
11 Reference
11.1 Folder and File Tag
Tag Folder File Parameter Descri tion
Min Max Default
[Jxxx] ● ● 000 999 Jum to the xxx folder at the end of the layback.
[LOOP] ● Play a folder in a loo without executing the end and start tags at loo time.
[RESUME] ● Resume the layback of a folder, taking into account its revious layback history.
[RET] ● ● Return to the revious folder at the end of the layback.
[RND] and [SEQ] ● [RND] Random or sequential folder layback mode.
[V+xxx] and [V-xxx] ● ● 000 100 000 Relative volume of the folder or of the file.
[NT] ● ● Block all the commands from a configurable list of sources.
[RESxxxxxxxx] and
[REExxxxxxxx]
● ● Each x: 0, 1 or # Set the states of the 8th to 1st out ut contacts at the Start or at the End of the layback:
0 = o en, 1 = close, # = don’t change.
[RSSxxx] and
[RSExxx]
● ● 001 999 Send the #xxx RS-232 frame from the serial.txt file at the Start or at the End of
the layback.
[WHL] ● Play the folder while the assigned in ut combination remains activated.
[NXTxxx] ● 001 999 Play the next xxx files each time the folder is layed.
[SYNCHROxxx] ● 001 999 Synchronize the start of layback between the layers over the network.
© 2018, Waves System - 7 im asse de La Ville en Bois, 44830 Bouaye, France - Phone: +33 (0)2 40 78 22 44 - [email protected]

ID-AL My Video Player - VP320 and VP330 - Quick Start Guide V1.0
11.2 RS-232 Serial Link
This link allows the layer to receive commands, to send arbitrary frames, and to send status information. By
default, it is configured as follows (can be changed in the setu menu):
Baud Rate (bauds) Start Bit(s) Data Bit(s) Parity Bit(s) Sto Bit(s) Handshake
19200 1 8 0 1 None
•In rece tion, the layer obeys a control rotocol also used over TCP/IP. See the cha ter RS-232 and TCP/IP
Control Protocol.
•Arbitrary frames can be sent with the [RSSxxx and [RSExxx tags. These frames must be defined in the
serial.txt file in the SYSTEM folder of the storage device, as #xxx:tt tt tt…, with one definition er
line (e.g.: #002:98 75 21 35 45 B2).
11.3 RS-232 and TCP/IP Control Protocol
The control rotocol allows the layer to receive commands and information requests. It can be used either over
RS-232 or over TCP/IP ort 65079. It is based on a 3-byte frame: “Status”, “Command”, and “Data”:
Status Descri tion Command Descri tion Data Descri tion
80h All the layers.
01h, 11h, 21h,
31h, 41h, 51h,
61h, and 71h
Play a folder in a bank of 128
folders.
command = bank × 10h + 1
00h to 7Fh Number of the folder in the bank.
02h
Playback control.
01h Play the last layed file.
02h Sto the layback.
03h Play the next file of the current folder.
04h Play the revious file of the current folder.
05h Pause or resume the layback.
06h Play the next folder.
07h Play the revious folder.
0Eh Pause the layback.
0Fh Resume the layback.
Standby and wake u .
08h Set the layer to standby or wake it u .
0Ch Set the layer to standby.
0Dh Wake u the layer.
81h to
FFh
Only the layer
with the ID from 1
to 127.
Volume control.
09h Increase the volume by one ste .
0Ah Decrease the volume by one ste .
10h Mute or unmute the sound.
11h Mute the sound.
12h Unmute the sound.
03h Volume control. 00h to 40h Volume value.
04h Information request.
01h Request the state of the layer.
02h Request the name of the current file.
03h Request the ath of the current file.
04h Request the name of the active storage device.
06h Request the current folder no.
09h Request the remaining time of the current layback.
0Ah Request the total time of the current layback.
0Bh Request the volume value.
12 Factory Re et
In the setu menu, select System settings → Storage & reset → Factory reset, then follow the on-
screen instructions.
© 2018, Waves System - 7 im asse de La Ville en Bois, 44830 Bouaye, France - Phone: +33 (0)2 40 78 22 44 - [email protected]
Other manuals for My Video Player VP320
1
This manual suits for next models
1
Table of contents
Other ID-AL DVD Player manuals