Introduction
Preface
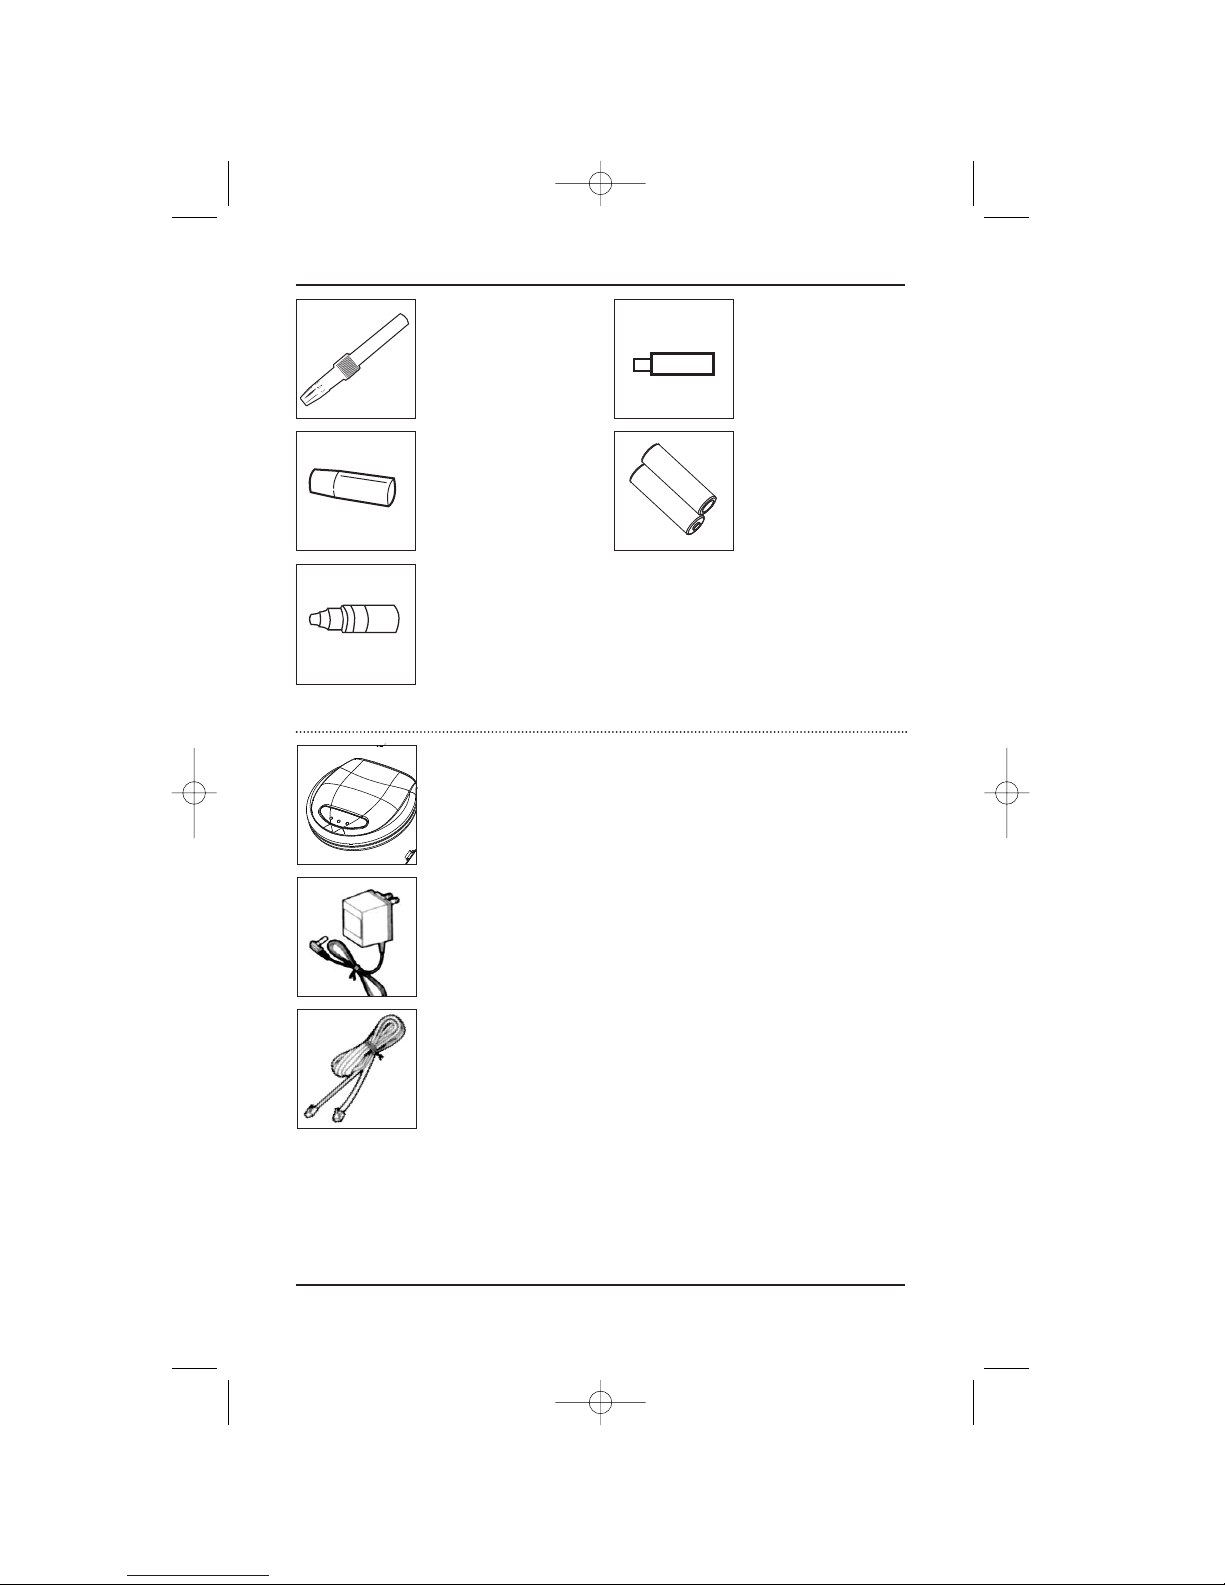
Thank you for purchasing the IDEAL LIFE Gluco-Manger™, or GMM 0001 and IDEAL LIFE Pod™, or ILP
0001. This completely automatic system measures your blood glucose, captures subjective
information and manages everything automatically so that you can better manage your blood glucose
with your care provider. Your measurement reading is clearly displayed on a large screen on the IDEAL
LIFE Gluco-Manager™ after each measurement, and later stored for a more detailed analysis in the
form of tables for easy viewing and graphs for easy interpretation. Your new IDEAL LIFE Gluco-
Manager™ provides you with accurate, whole blood test results for blood glucose. The system is
compact with convenient operation so it is simple to use.
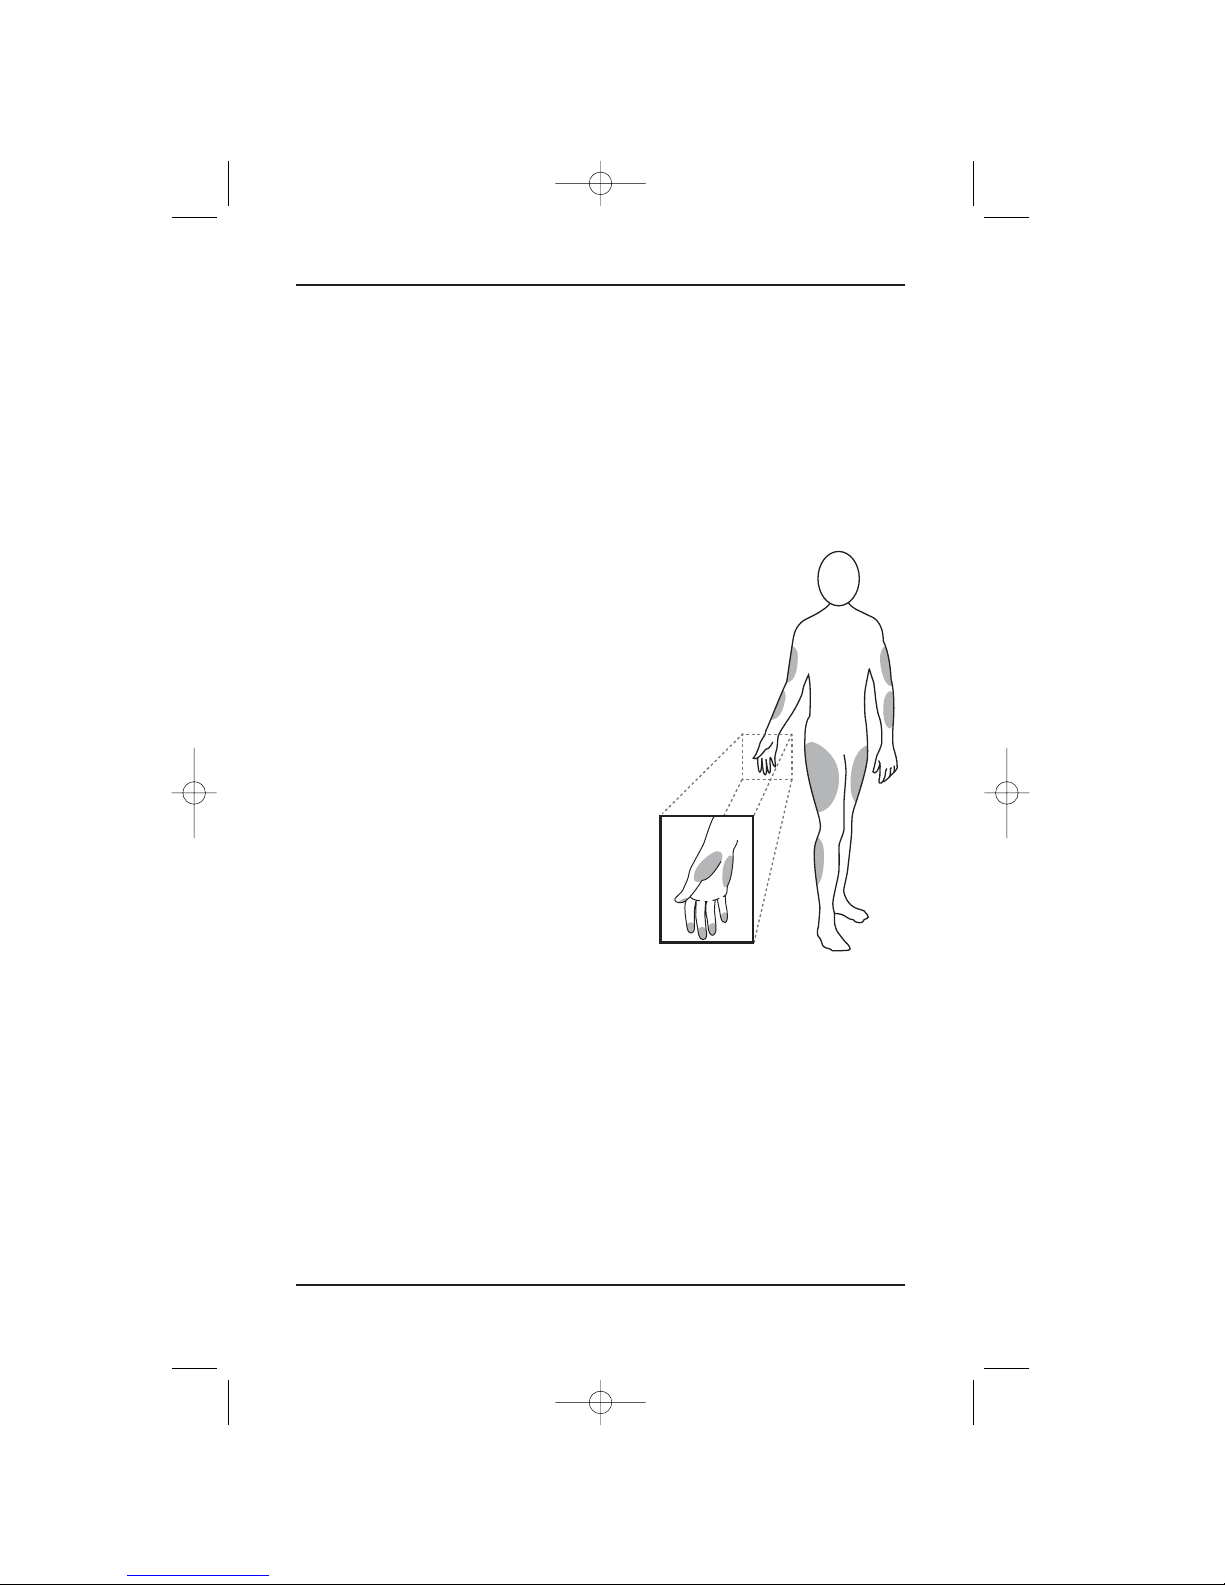
The IDEAL ILFE Gluco-Manager™ is intended for use in the quantitative measurement of glucose in
fresh capillary whole blood from the finger and the following alternative sites: the palm, the forearm,
the upper-arm, the calf and the thigh. It is intended for use by adults with diabetes mellitus in a non-
clinical environment such as in the home, as an aid to monitoring the effectiveness of a diabetes
control program. It is not intended for the diagnosis of, or screening for, diabetes mellitus and not
intended for use on neonates. The alternative site testing can be used only during steady-state blood
glucose conditions.
The IDEAL LIFE Gluco-Manager™ can be used alone to measure your blood glucose.
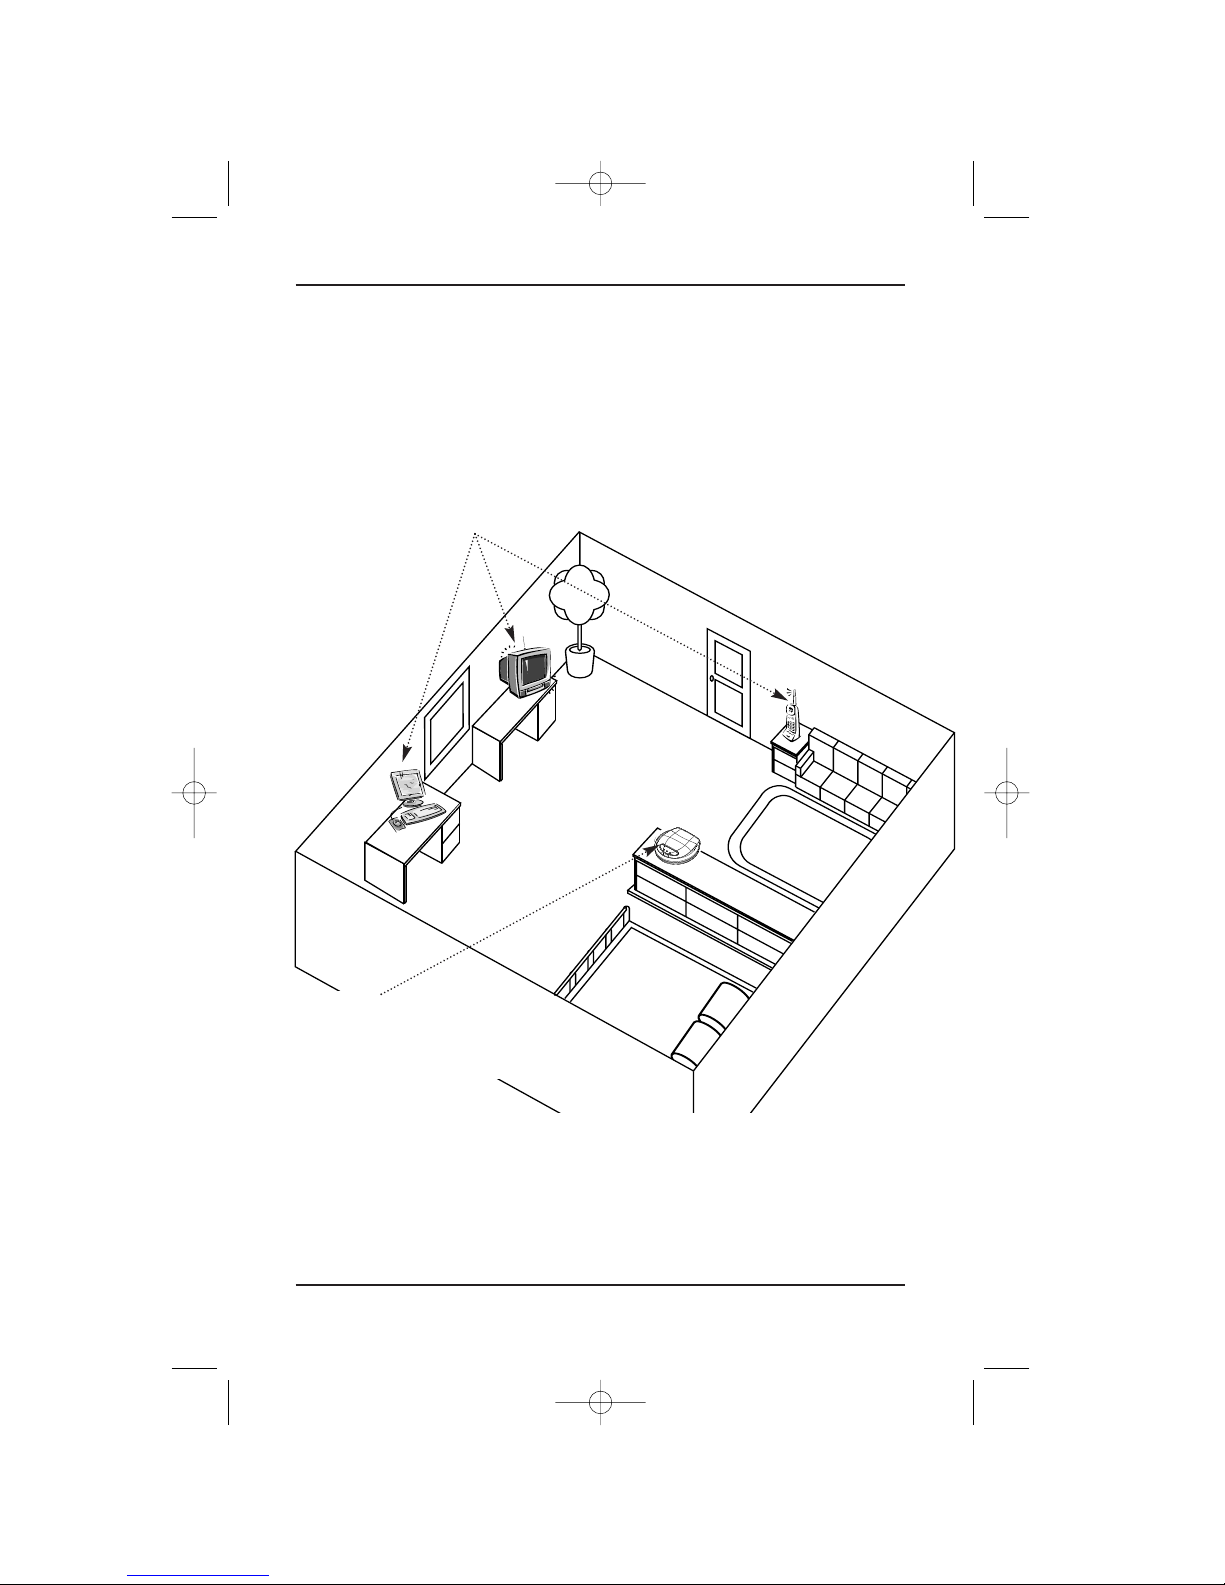
If you would like to transmit blood glucose information for display on a personal computer, the
optional IDEAL LIFE Pod™ can be purchased.
CAUTION: Before using any product to test your blood glucose, read all instructions thoroughly
and practice the test. Do all quality control checks as directed and consult with a diabetes
healthcare professional. For proper interpretation of blood glucose measurements, make sure to
consult a physician.
Contraindications
**Warning: This system is designed for use outside the human body. It is not recommended for
use on infants and is not intended for and should not be used to try and measure the blood glucose
of infants as it may not be accurate and/or relied upon.
Do NOT use the device for purposes other than measuring blood glucose.
This unit does not serve as a cure of any symptoms or disease. The data measured are only for
reference. Always consult your physician to have the results interpreted.
Introduction
Instruction Manual 3