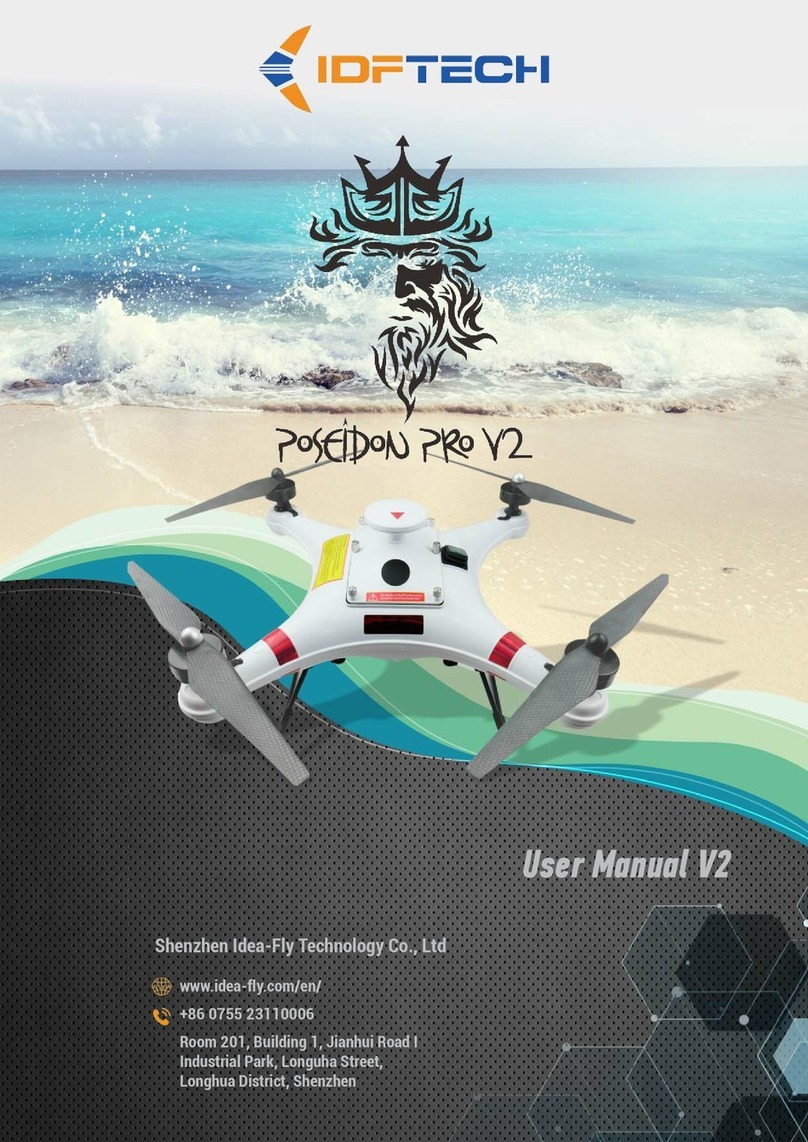
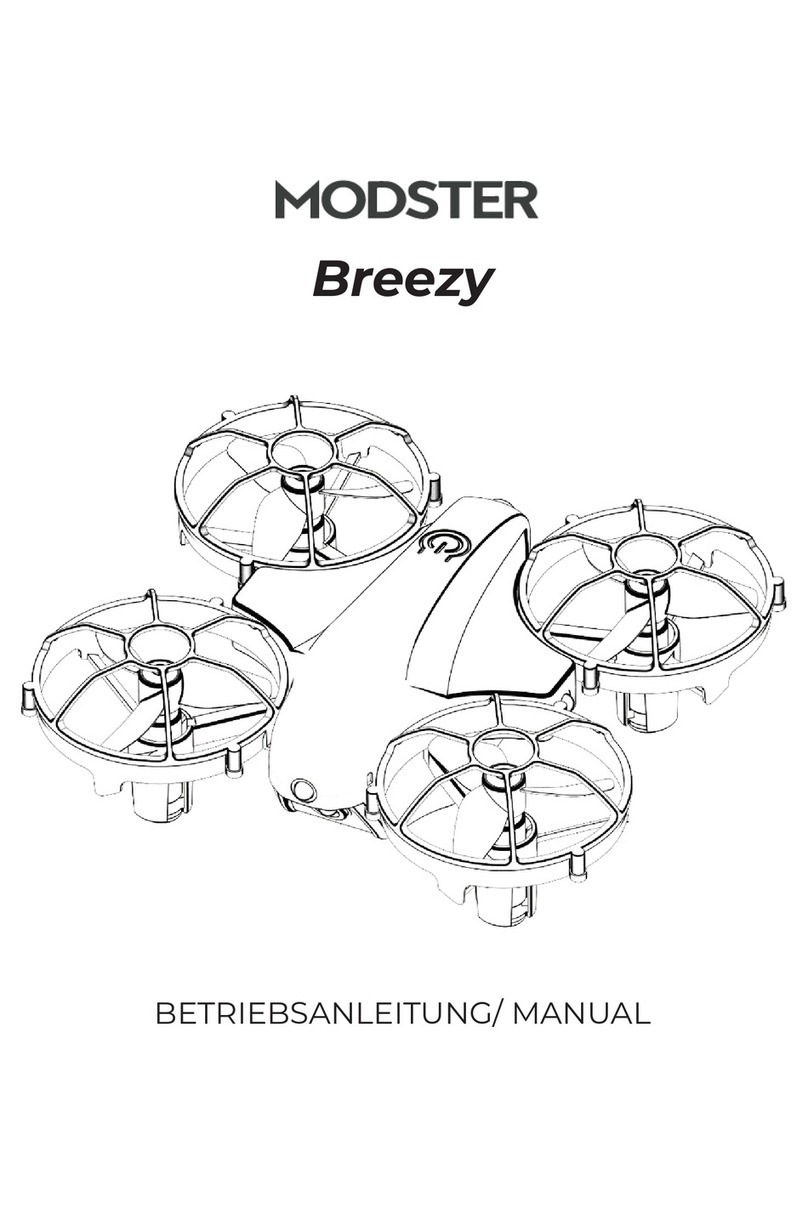
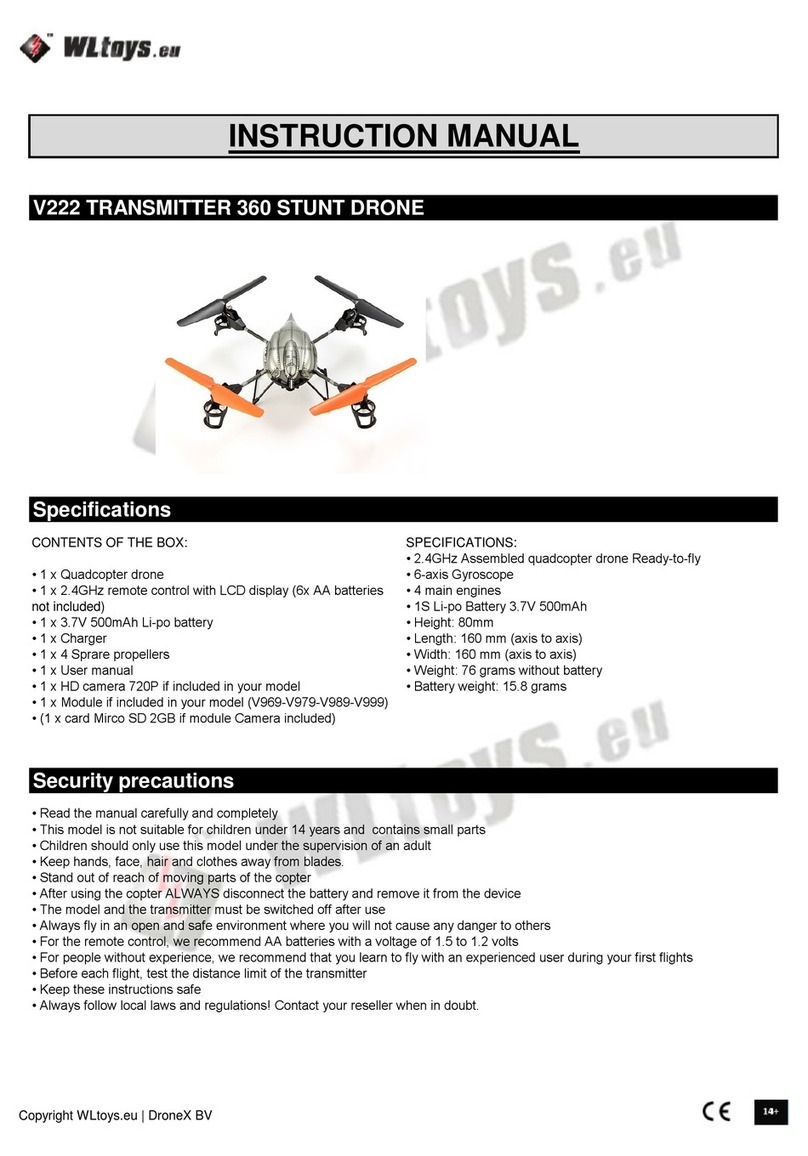
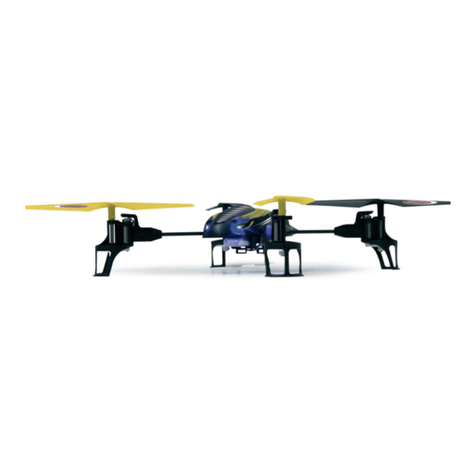
IDFTECH Poseidon Pro II Black User manual

Poseidon Pro II Black
User Manual

2
Contents
Thank you very much for choosing this product. When you need to know
more about this product than what is found in this user manual, please visit
our official website www.idea-fly.com or contact your local dealer. Any
subsequent updates to the user manual will be found on this website.
Before using this product, please read this manual carefully and ensure
you understand it. Once you use this drone, you will be deemed to have read
& accepted the contents of this manual.
Please strictly follow the user manual to install and use the product. In
the event of improper installation and use, IDFTECH will not be liable for
damages and compensation.
Disclaimer
Items in box
Remote
controller Initial
Setup
LED Indicators
Compass
Calibration Motors
start/stop Flight
modes
Drone Operation Controls
App Download & Setup and Use
Charging
Technical Parameters

3
Disclaimer
These warnings and safety precautions are very important; please read the
following carefully and follow the instructions in this operating manual to ensure
safety.
Propeller safety:
The Poseidon pro II Black's propeller is very strong and very sharp & is made
from carbon fiber. This material gives the propeller high strength and improves the
flight of the quadcopter.
• When updating the firmware of your flight controller or if the aircraft is
experiencing any issues, or you are doing calibrations please make sure the
propellers are removed from the aircraft to prevent the propeller from injuring
you and others.
• When one of the propellers is damaged, do not fly, as the damaged propeller
can cause the aircraft to not perform as expected and at worst could possibly
lead to the drone being unmanageable, which can be very dangerous.
• Make sure the propellers are installed in the correct order and that the propeller
retaining clips and screws are in place.
Precautions:
• This quadcopter can be extremely dangerous and cause personal injury. Be careful
when flying and operating it. Please follow the contents of this manual and comply
with relevant laws and regulations when flying.
• Before each flight, please ensure that all parts of the aircraft are properly installed
and that the order of rotation of the four motors is in accordance with the rotation
sequence in this manual.
If the propellers are installed incorrectly or are in the wrong direction for the motor
rotation, the aircraft will NOT fly, and It may cause damage to the aircraft.
• When flying, please fly in open areas away from people and animals, and make
sure you are fully aware of different flight modes.
• The lithium batteries should be taken out of the aircraft after each flight. When not
in use for a long time, the lithium batteries should be placed in a fireproof
container to avoid accidents & should ONLY be stored at half-charge.
• When flying in GPS mode, if you find that the aircraft is flying unstable or
uncontrollable please switch the flight mode to Attitude Mode (also called Stabilize
mode) very quickly, to hopefully gain back full control of the aircraft to avoid
accidents

4
Items in box
Included in your box:
A B C
D E F
G H I

5
Items in box
Poseidon pro II Black drone X 1
Remote X 1
Balance charger X 1
Bait drop + 4K camera & Single axis gimbal X 1
1355 propeller X 2 pairs
6S 8000 mAh high voltage battery X 1
Digital battery capacity checker X 1
USB flash drive X 1
Carry case X 1
Note:
The USB flash drive contains the Poseidon pro II Black drone training videos.
A
B
C
D
E
F
G
H
I

6
Items in box
The remote control has been coded/paired with the receiver of the aircraft at
the factory. It is not necessary to modify the settings of the remote control. Do
not touch the fine-tuning buttons of each channel of the remote controller.
Otherwise, the aircraft/remote controller will not work.
(The picture of remote control below in Mode 2/Factory Setting)
Note: When switching on the remote control, ensure the switches are set to the top position,
otherwise the remote control will display a warning.
IMPORTANT: The FLIGHT MODE Switch should be set to “GPS Hover” for new Pilots at ALL Times during
normal Flight (Please refer to the Flight Mode Section later in this Product Manual).

7
Initial Setup
Pay attention to the RED Markings on the Drone to identify
which is the front and the rear of the drone.
This chapter will guide you to familiarize and assemble the Poseidon pro II Black and to learn
more about the flight characteristics of the Poseidon pro II Black . It is recommended that you read
this chapter carefully and follow the steps in this section to prepare for the Poseidon pro II Black
before flight. Improper installation may cause the Poseidon pro II Black to malfunction or damage the
aircraft.

8
1. Be sure to calibrate the compass when you are flying for the first time or changing to a
new flight area ;
2. When calibrating, please make sure that the surrounding area is relatively empty, away
from strong magnetic environments, such as magnetic fields, high-voltage lines, parking
lots, building areas with steel bar strengthening, cars etc.
3. Do not carry magnets or metal objects with you when calibrating, such as keys, mobile
phones, etc.;
4. If there is a circle or hovering instability in the GPS hover mode during flight, please land
immediately and refer to the above requirements for the environment (points 1-3) &
calibrate compass.
Switch UP : Bait Drop/ Lock
Switch DOWN: Bait Drop/Unlock
Initial Setup
First fit each of the two landing gear into the base of the Drone –one on each side of the drone. These should easily
slide into the metal supports.
Don’t worry about any slight movement as the legs will not come out.
1. Ensure the drone is placed on a flat surface & Install a fully charged battery into the drone, then make sure
that the battery cover is fully secured back down using the thumb screws.
Note: Once the Battery Cable is Plugged in - make sure that the Battery Cable is tucked securely behind the
battery to ensure it remains some distance away from the GPS Sensor on the LID, before attaching the LID.
2. Make sure all switches are in the UP position & turn on the Remote Control switch. Then power on the drone
using the large ON/OFF Switch on the Outside of the Drone. (IMPORTANT: Please DO NOT install
propellers until after the drone has been calibrated and everything is normal)
Note: Once the drone is powered on do not move it for 20 seconds to wait for the system to fully initialize.
3. Operate the switch to confirm that the bait drop is working properly.

9
LED Indicators
After following the above, the drone lights will then flash as in the below diagram. These lights are
the ones located on the UNDERSIDE of the Drone.
NOTE:
It is recommended to check the drone telemetry (on your phone & APP Screen) including calibration
status when you encounter an error
When the drone voltage is too low, (red LED flashing)
“Armed” below Means the Drone has just been Powered On – but not yet ready for take-off. It is
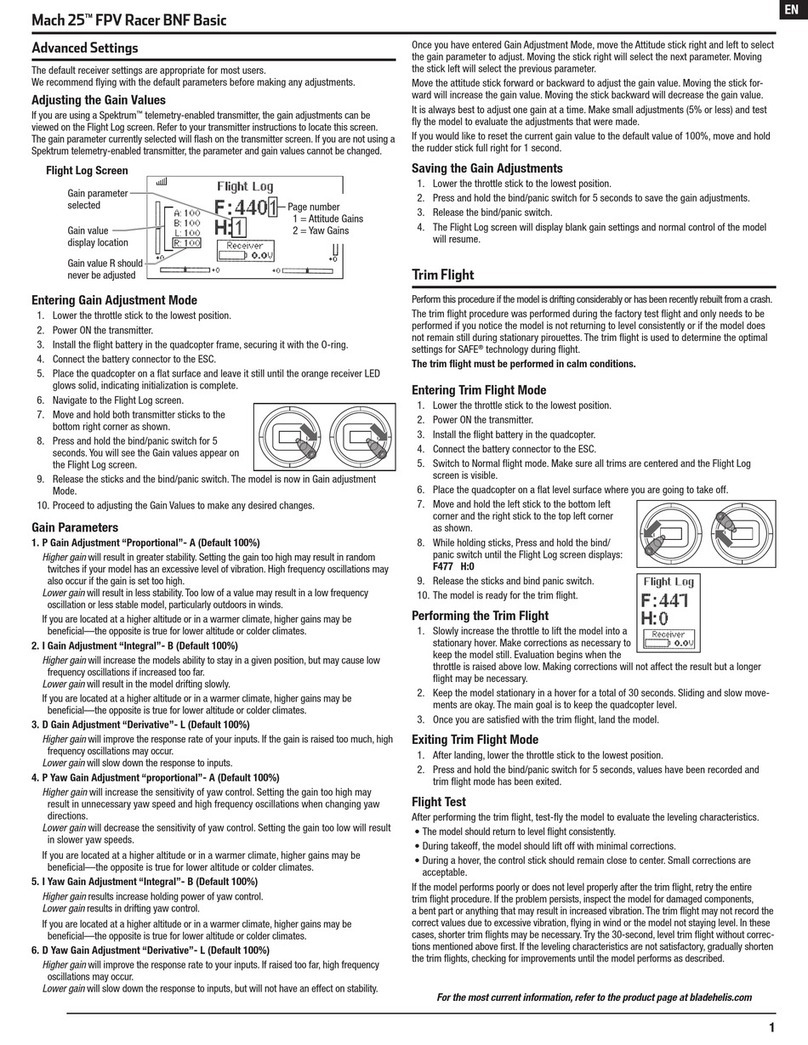
recommended to ONLY Takeoff when lights are “SLOW BLUE FLASHING” and under GPS Hover
Mode.
Please do not attempt to fly this drone on low battery (lower than 22V). The battery should always be
fully charged.

10
Compass calibration
1) After confirming that the initialization of the drone is completed and the signal light is
flashing normally (slow flashing BLUE Lights), perform the magnetic compass calibration
2) Open the main interface of the mobile APP and click the “Setting” icon, as shown by the
BLUE ARROW in figure (A).
Click the “Start Calibration” button, as shown by the BLUE ARROW in figure (B),
and click the start calibration icon to start the magnetic compass calibration.
As you begin to spin the drone – you will see a % Completion bar appear on the APP
Screen. Once the bar reaches its 100% Mark – Please place the drone back on the flat
ground & switch both the drone and remote control OFF.
(A)
(B)

11
Compass calibration
3) The drone needs to be calibrated on six sides, by spinning the drone in a Clockwise
Direction as shown below:
(A)(B)
(C)(D)
(E)(F)
4) IMPORTANT: After the Drone compass calibration is completed please switch off the
Drone & then the Remote Control - and then back on, to lock in the calibration.

12
Compass calibration
5) Installing the Propellers: The second figure below shows the spin of the propellers while in
flight.
To attach the propellers you need to reverse the Spin of the Propeller (shown in the
image below) to screw it on correctly. Propellers need to only be hand tightened as they
will self tighten while in flight.

13
Starting and Stopping the Motors
1. Starting/ARMING the Motors. First keep the drone horizontally and still (15 seconds). Push
the LEFT & RIGHT JOYSTICKS DOWN & IN to start the motors & the motors will go into
idle (as shown in the diagram):
Note: In GPS mode, after starting/arming the drone, if the throttle is not pushed above 10%, the drone will
automatically enter the disarm mode, and the propeller will automatically stop after about 5 seconds。
Do NOT attempt to take off with any less than 13 Satellites, as shown on the Poseidon APP Main Screen at the top.
2. Shutting Down/DISARMING the Motors Perform the following actions to stop the propellers
and power down the drone. Push the LEFT & RIGHT JOYSTICKS DOWN & OUT to STOP
the motors – as shown in the diagram below. (Note: Do not try the above actions while the
drone is in flight)

Ch
14
Flight Modes
The Flight Mode Switch on the Remote Control is very important to ensure safe flight at all
times. Listed below are the THREE Flight Modes available on your new Poseidon. It is
recommended that you familiarize yourself with all of them.
GPS HOVER.
This is the Flight Mode that you will generally remain in while you are flying your drone. All Sensors are
switched on and therefore your drone is easiest to fly in this mode.
STABILIZE.
This Flight Mode Setting is also known as Attitude or Manual Mode. It Should only be used in Emergencies or
by those experienced Pilots. This is because putting your Drone into Stabilize turns off several of the important
sensors that the drone relies on for safe flight. For this reason, putting your drone into Stabilize mode allows it to
drift with the wind and will NOT hold GPS Position.
Stabilize mode is often used by Fishing Drone Pilots if the Drone becomes unstable in flight or is not responding to
Joystick controls. By Switching to this mode quickly might allow you to regain control of your Aircraft.
RETURN TO HOME.
In “Return to Home” MODE, The Drone will go into Autopilot and Initiate a return to it’s original take-off
point. This is very useful for a Fisherman as it means once you have dropped your bait, switching on this Flight
Mode will allow the Poseidon to Automatically Fly home and land itself without fisherman intervention.
Note: “Return to Home” Mode should NOT be used in emergencies. If the Drone is experiencing issues while
in flight – Please use the “Stabilize” Flight Mode instead.
Flight Mode Switch

Ch
15
Drone Operation Controls
3. Main Operation using Joysticks (Mode 2/Factory Setting)
Remote control Joystick position
Drone
THROTTLE:
Takeoff-Lift / Descend
PITCH:
Forward / Backward
ROLL:
Fly left / Fly right
YAW:
Rotate Left
And
Rotate Right

16
APP Download & Setup and Use
1. APP installation method (Android system):
Enter IDFTECH GO in the Google PLAY Store on your Android phone to download the APP
2. APP installation method (IOS system):
Enter IDFTECH GO in the APP store of the iPhone to download the APP.
Once Downloaded, (and with both the Phone and the Remote Control Switched on) you will need to
connect the Phones WIFI to the Remote Control WIFI. In the WIFI Settings on your phone, Please
search for the Poseidon Drone (you are looking for Idftech-XXXXXX-XXX) in your phone’s WIFI List.
Then the Password to connect the Remote Controller to the Phone is “0123456789”. ONCE you have
paired the Rwmote control with the Phone’s WIFI – THEN the IDFTECH GO APP can be started.
NOTE: ONLY connect the phone (and APP) to the remote control AFTER you have first paired the drone
to the remote control

17
APP Setup and Use
KEY for each of the APP Onscreen ICONS (Both Android and Apple Phone)
It is possible to either use the controls on the APP OR the controls on the Remote Control.
IMPORTANT:
Please pay close attention to the Important Telemetry Information displayed on the APP Screen
as shown in the image above –in particular the Drone Battery Voltage, and the Number of
Satellites, Please land your drone As soon as possible if the drone battery voltage gets below 22
volts.

18
Charging the battery
Charging steps for both the drone battery & remote control battery:
1)Connect the Battery Charger to a Wall Outlet.
2)Connect the Battery to the charger as shown in the image below and Power On the Charger.
3) Adjust the charger menu and set the correct parameters:

19
Charging the battery
The Correct Settings (as shown in the image) should be:
Battery type => LiHV (Note: the battery is a high-voltage battery)
Charging method => BAL-CHG (Balance Charge)
Number of battery cells for this 22.8V Battery => 6S
Battery Capacity = 8000 mAh Battery
Charging current => Recommended to set charging 5.0A or Less
After confirming that the settings are correct, press and hold "START/ENTER" for more
than 3 seconds to automatically start charging
4) After the battery is fully charged, disconnect the battery from the charger at this
time;
5) To Charge the Remote Control Battery – please use the Included Cable as shown:
The Remote Control Battery needs to be first removed from the Rear of the Remote
Control before charging. First remove the rear cover of the
Remote, then carefully remove the battery.
DO NOT use any sharp instruments to remove the battery OR Damage the battery in
any way, as this can be dangerous.
Once the Battery has been removed, unplug the Cable that connects the battery from
the Remote Control.
The USB Cable (Shown in the Image) can then be plugged into the Battery & also into
any standard USB Power Connector. There will be a small LED Light that will
illuminate RED inside the Blue Plastic Casing during charging. This indicates that the
Battery is Charging. Once the Light changes to GREEN – then the Battery has been
fully charged and is ready to be used in the Remote Control. Please carefully put the
battery back inside the Remote Control, Connect the Cable & Slide the Rear Lid closed.

20
Technical Parameter
For more information please contact your local dealer or visit Website:
www.idea-fly.com
This manual is subject to update or change without notice!
Please visit the website above for the latest and most updated information.
flight control
IDF-9
Packing size( carton packaging)
56*46*18cm
Image transmission distance
1000m
Diagonal size (without propeller)
480mm
Propeller blade size
1355
Motor mode
4218
ESC parameters
40A
Maximum rising speed
6m/s
Maximum falling speed
4.5m/s
Maximum horizontal flight speed
18m/s
Maximum tilt angle
35°
Working temperature
-40℃--85℃
Satellite positioning module
UBX-M8030-KT GPS / GLONASS receiver
Hover accuracy
Vertical +0.8m. horizontal+2. 5m
Maximum wind speed level
25+ knots
Maximum load
2.8KG(max)
Flight time(No load)
30min
Flight time( Load 1kg)
22min
Flight time( Load 2.5kg)
9.5min
Camera parameters
4K
Other IDFTECH Drone manuals
