manuals.online logo
Brands
  1. Home
  2. •
  3. Brands
  4. •
  5. Eachine
  6. •
  7. Drone
  8. •
  9. Eachine FB90 User manual

Eachine FB90 User manual

4c,e9cHinie
Specification
Brand Name: Eachine
Wheelbase: 90mm
Weight: 63g (with battery)
Size: 120.100*42mm
Flight controller: SP RACING F3_EVO_Brush
Firmware version: Cleanflight 1.13.0
Motor: 8520 coreless Motor
Prop Size: 40mm
Receiver Versionl: Frsky compatible SBUS receiver
Receiver Version2: Flysky compatible PPM receiver
Receiver Version3: DSM2 compatible PPM receiver
Camera: 520TVL HD CMOS 1/4 inch Camera
AV Wireless Transmitter: 5.8g 25mw 48ch
Batterry: 7. 4V 400ma h Li po battery
Flight time: 5 minutes
F B 9 0
Tiny FPV Quadcopter
Components
FB90 Aircraft frame
QTY
1
FRSKY
Include
FLYSKY
Include
SDM2
Include
Part NO
FB9OF
8520_25 CW coreless Motor
3
Include
Include Include
FB905CW
8520_25 CCW coreless Motor
3
Include
Include Include
FB905CCW
F3_EVO_BRUSHED Built-in Frsky receiver
1
Include
FB906
F3_EVO_BRUSHED Built-in Flysky receiver
1
Include
FB906
F3_EVO_BRUSHED Built-in DSM2 receiver
1
Include
FB906
5.8G 48CH 25MW VTX with 520TVL Camera
1
Include
Include Include
FB9OV
Propellers(2pcs cw+2pcs ccw)
2
Include
Include
Include
FB9OP
7.4V 400mah Lipo battery
2
Include
Include
Include
FB9OB
25 USB Charger
1
Include
Include Include
FB90C
Propeller Disassembly tool
1
Include
Include Include
FB907
LED Headlight
1
Include
Include Include
FB908
Velcro for battery
1
Include
Include Include
FB909
www.eachine.com
NTSC/PAL Switch
still ouch up 2S;
Sho t touch switch
to reverse video
disp ay.
Frequency
group A-F
selected still
touch up to 2S;
Channel ch1-ch8
selected with
short touch.
F B 9 0
Tiny FPV Quadcopter
A\ CAUTION: Read and follow all instructions and warnings in the manual prior to setup or use. Failure to operate the product correctly can result in damage to the
product, personal property and/or injury. This is a sophisticated hobby product. It must be operated with caution and common- sense and requires some basic
mechanical ability.
1. General Product Safety Precautions
•
As the user of this product, you are responsible for operating it safely, not endangering yourself and others,or damaging the product or the property of others.
•
Operate your product in open spaces away from people and property.
•
Never operate your product with damaged electrical components.
•
Keep the transmitter powered on while model is powered on.
•
Let parts cool after use before touching, motors will get hot in use.
•
Remove batteries after use, as applicable.
•
Keep all batteries, chemicals, small parts and anything electrical out of the reach of children.
•
Avoid water exposure to this product. Keep parts dry.
•
Keep moving parts clean.
2. 5.8G VTX channels list
CH
FR
CH
CH1
CH2
CH3
CH4
CH5
CH6
CH7
CH8
FR
GA
5740MHz
5760MHz
5780MHz
5800MHz 5820MHz
5840MHz
5860MHz
5880MHz
GB
5705MHz
5685MHz
5665MHz
5645MHz 5885MHz
5905MHz
5925MHz
5945MHz
GC
5865MHz
5845MHz
5825MHz
5805MHz 5785MHz
5765MHz
5745MHz
5725MHz
GD
5658MHz
5695MHz
5732MHz
5769MHz 5806MHz
5843MHz
5880MHz
5917MHz
GE
5733MHz
5752MHz
5771MHz
5790MHz 5809MHz
5828MHz
5847MHz
5866MHz
GF
5362MHz
5399MHz
5436MHz
5473MHz 5510MHz
5547MHz
5584MHz
5621MHz
www.eachine.com

-2-
F B 9 0
Tiny FPV Quadcopter
3.
Charge the Flight Battery
n NOTICE:Inspect the battery to make sure it is not damaged e.g.,
swollen, bent, broken or punctured. Charge only
batteries that are cool to the touch and are not damaged.
Charging with USB LI-Po Charger
Connect the battery to the USB Li-Po Charger,
then plug into the USB port of your computer
LED STATUS:
Solid Red LED --Charging
Solid Blue LED --Charge Complete
4.Flight controller connection diagram
-3-

www.eachine.com
T e • reen LED &

be solid,
thi indita4esitiWcliaget
nto t Fomding.mode
F B 9 0
Tiny FPV Quadcopter
5. (Frsky version)Binding Procedure
1.Turn on the transmitter, select D8 mode for the Receiver.
2.Connect the battery to FB90 while Jumped the two "BIND° pins on the Board, the green LED will get be solid, this indicates the receiver get into the binding mode.
www.eachine.com

-4-
F B 9 0
Tiny FPV Quanicopter
3.Go to the Receiver [Bind] option, and ENT to Bind with the receiver, The transmitter beeps.
DIGITAL TELEMETRY RADIO SYSTEM
[
,

•
PAGE
'

MENU
EXIT
ACC.Sr


[girdTangel °
(1111
Di::
21

•
111P3411.14
1.=.bal Funcs
n al RF
,
nt
.
Ial
P. a 11
iver
nal

i A 11 ANIS .0/05 1 ENT ( I
.
1181
2
4GFtz
4.The green LED on the receiver will turning off, this indicates that the bind process was successful Reconnect the battery for the FB90, and the green LED on the receiver is
solid again.
www.eachine.com
DIGITAL TELEMETRY RAD/0 SYSTEM
MENU
.4
i1
a'
b9
100EIThr.
-ioo.a111=111
I I ElAil
PAGE
100EIEle
1
100EIRud
1001SA
EXIT
ACCS1"
TRIIANIS
°
1
()
ENT
F B 9 0
Tiny FPV Quadcopter
6. Set the switch to ARM/DISARM the motor
1.Turn on the transmitter and move to the MIXER interface, Set "SA" or "SB" switch etc. for Ch5 to ARM/DISARM the motor.
2.The FB90 Frsky Version BNF was set AUX1(CH5) to ARM/DISARM the motor before shipping, you can also customize it.The default receiver channel map for frsky
version is TAER1234, please ensure your transmitter is matched with it, otherwise it can't be armed.
www.eachine.com
The blue LED will get be sol
once the motor was armed
F B 9 0
Tiny FPV Quanicopter
3.Toggle the Switch and the blue LED on the flight controller will get be solid, this indicate the motor was armed ,enjoy yourself now !
-7-

www.eachine.com
5-.1•////!
-
1.Select RX setup to AFHDS Mode
2.Turn on the transmitter while
holding the bind button
F B 9 0
Tiny FPV Quadcopter
7. (Flyskverslon)BIndIng Procedure
1.Select RX setup to AFHDS Mode, turn on the transmitter while holding the bind button to getting into binding mode.
www.eachine.com
1 ti p e d The two Bind pins
N.
F B 9 0
Tiny FPV Quanicopter
2.Connect the battery to FB90 while Jumped the two 'BIND' Pins on the board the green LED will getting to be solid first and turn off for a second ,then it will getting to be
solid again, this indicates binding successfully
-9-

www.eachine.com
g ttimg to besolid, this
ding soccusful.
sua
i
cessfully,The green LED
should

rist when connection is
establi

\
d betw
l
in the flight controller
and you t ansmitter
F B 9 0
Tiny FPV Quadeopter
3.Reconnect the FB90 and the battery, the green LED on the board will blinking fast, this indicates Receiver and transmitter are all works.
www.eachine.com

-10-

-ff,Allrigi

FS .16
=WK

nc

. chal,,/s=

ner
4C3lavi11*1
45ourc. SwA
I

:
GAUD
PIM
Rar.g:'sc
F B 9 0
Tiny FPV Quadcopter
8. Set the switch to ARM/DISARM the motor
1.Turn on the transmitter and move to the AUX. Channels interface, Set "SWA" or "SWB" switch etc. for CH5 to ARM/DISARM the motor, USE FLYSKY 16 as an
example.
www.eachine.com
The bl O LED on the
flight @ntroller Will
"solid once the motor
was armed
F B 9 0
Tiny FPV Quadeopter
2.The FB90 Flysky Version BNF was set AUX1(CH5) to ARM/DISARM the motor before shipping, you can also customize it.The default receiver channel map for
flysky version is AETR1234, please ensure your transmitter is matched with it, otherwise it can't be armed.
3.The blue LED on the flight controller Will getting be solid once the motor was armed
www.eachine.com

-12-
Turn off means
binding successfully
LED status
Turn on and get be solid,
means connection is
established with your
transmitter
Blinking
slowly
Blinking fast
means
looking

— enter into
ooking for
binding mode
signal from
Radio
F B 9 0
Tiny FPV Quadcopter
9. (DSM2 version)Binding Procedure
1.This DSM2 protocol receiver has an 'auto-bind' procedure just like with small toy quadcopter.
. First Connect the battery to FB90, waiting Receiver to get into
binding mode. The Green LED will blinking slowly,and it will blinking fast soon, this indicate receiver is in Binding mode, turn on the transmitter and Enter into
Binding mode, the
green
LED on the receiver will turn off and then get be solid ,this indicate binding successfully.
-13-

www.eachine.com
The blue LED on the fl
get be

,

imdi
G
armed
F B 9 0
Tiny FPV Quadeopter
2.The Fb90 DSM2 Version BNF was set AUX1(CH5) to ARM/DISARM the motor before shipping ,and you can also customize it with Cleanflight Configurator. The
default receiver channel map for DSM2 version is TAER1234, please ensure your transmitter is matched with it, otherwise it can't be armed.
3.Turn on the transmitter and set a switch for CH5 to ARM/DISARM the motor, some transmitter like Specktrum DX6I, the default CH5 is Gear switch.
4.Toggle the Switch and the blue LED on the flight controller will get be solid, this indicate the motor was armed ,enjoy yourself now !
www.eachine.com

-14-
i‘
*
;
E941411sIE
www.eachine.com
*User manual is subject to change without prior notice.

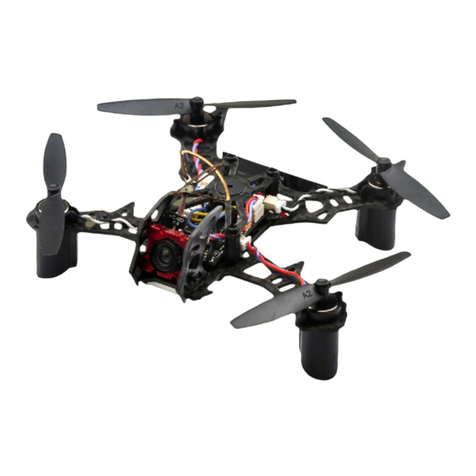
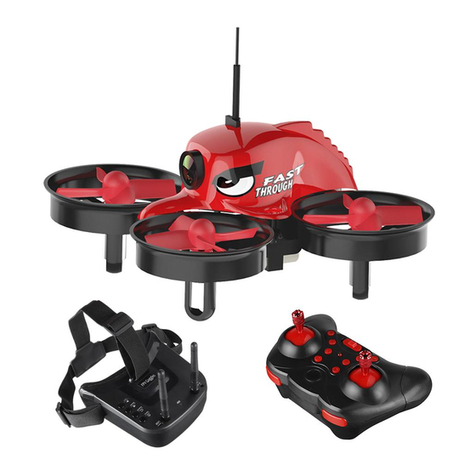
Other Eachine Drone manuals

Eachine X220 V3 User manual

Eachine

Eachine X220 V3 User manual

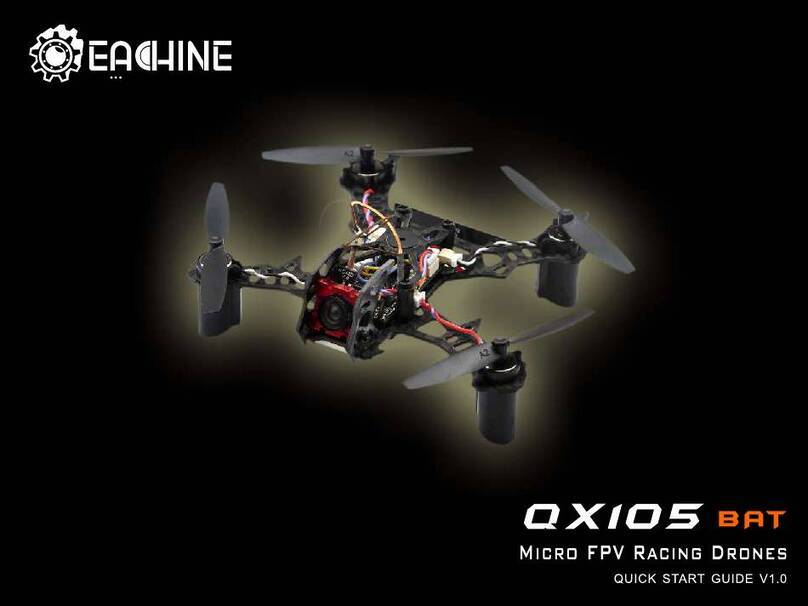
Eachine QX105 BAT User manual

Eachine

Eachine QX105 BAT User manual

Eachine UZ65 User manual

Eachine

Eachine UZ65 User manual

Eachine X140HV User manual

Eachine

Eachine X140HV User manual

Eachine US65 User manual

Eachine

Eachine US65 User manual

Eachine TURBINE QX70 User manual

Eachine

Eachine TURBINE QX70 User manual

Eachine 1S Cinefun 75mm 1080P/ 4K Cinewhoop User manual

Eachine

Eachine 1S Cinefun 75mm 1080P/ 4K Cinewhoop User manual

Eachine Novice-IV 3-4S 4inch LR drone RTF User manual

Eachine

Eachine Novice-IV 3-4S 4inch LR drone RTF User manual

Eachine Novice-III User manual

Eachine

Eachine Novice-III User manual

Eachine Wizard TS130 User manual

Eachine

Eachine Wizard TS130 User manual

Eachine E011C User manual

Eachine

Eachine E011C User manual

Eachine Wizard X220HV Operating and maintenance instructions

Eachine

Eachine Wizard X220HV Operating and maintenance instructions

Eachine TYRO129 User manual

Eachine

Eachine TYRO129 User manual

Eachine Lizard 105s User manual

Eachine

Eachine Lizard 105s User manual

Eachine V-tail 210 User manual

Eachine

Eachine V-tail 210 User manual
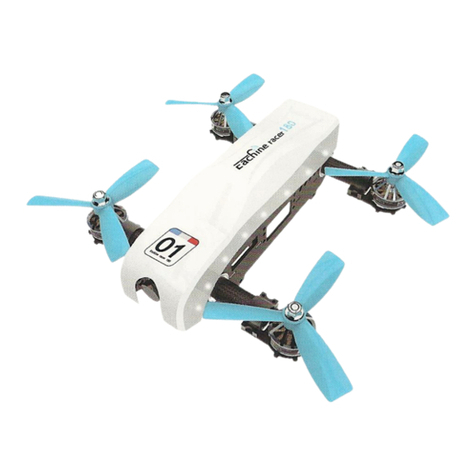
Eachine RACER 180 User manual

Eachine

Eachine RACER 180 User manual

Eachine Racer 250 User manual

Eachine

Eachine Racer 250 User manual

Eachine Novice IV User manual

Eachine

Eachine Novice IV User manual

Eachine 520S User manual

Eachine

Eachine 520S User manual

Eachine EX5 User manual

Eachine

Eachine EX5 User manual

Eachine Racer 250 User manual

Eachine

Eachine Racer 250 User manual

Eachine EX3 User manual

Eachine

Eachine EX3 User manual

Eachine QX105 BAT User manual

Eachine

Eachine QX105 BAT User manual
Eachine TYRO99 User manual

Eachine

Eachine TYRO99 User manual

Popular Drone manuals by other brands

HexaCrafter HC-1100 user manual

HexaCrafter

HexaCrafter HC-1100 user manual

WLtoys V303 Quick start manual

WLtoys

WLtoys V303 Quick start manual

dji M30 user guide

dji

dji M30 user guide

WLtoys V333 instruction manual

WLtoys

WLtoys V333 instruction manual

Kogan KACAMDRONEA user manual

Kogan

Kogan KACAMDRONEA user manual

Potensic Dreamer Pro user manual

Potensic

Potensic Dreamer Pro user manual

dji Phantom 3 Advanced user manual

dji

dji Phantom 3 Advanced user manual

Aosenma CG035X owner's manual

Aosenma

Aosenma CG035X owner's manual

MotionPilot EXPLORER user manual

MotionPilot

MotionPilot EXPLORER user manual

QYSEA FIFISH PRO W6 quick start guide

QYSEA

QYSEA FIFISH PRO W6 quick start guide

Happymodel Mobula7 HD DSMX quick start guide

Happymodel

Happymodel Mobula7 HD DSMX quick start guide

Brookstone Flight Force 324185 instruction manual

Brookstone

Brookstone Flight Force 324185 instruction manual

SWELLPRO Splash Drone 3 user manual

SWELLPRO

SWELLPRO Splash Drone 3 user manual

dji Mavic 3 quick start guide

dji

dji Mavic 3 quick start guide

Hubsan H501S X4 AIR user manual

Hubsan

Hubsan H501S X4 AIR user manual

2FAST2FUN SMART DRONE manual

2FAST2FUN

2FAST2FUN SMART DRONE manual

Hubsan H501S Advanced CHEAT SHEET

Hubsan

Hubsan H501S Advanced CHEAT SHEET

TopXGun 3WWDZ-30.1 user manual

TopXGun

TopXGun 3WWDZ-30.1 user manual

manuals.online logo
manuals.online logoBrands
  • About & Mission
  • Contact us
  • Privacy Policy
  • Terms and Conditions

Copyright 2025 Manuals.Online. All Rights Reserved.