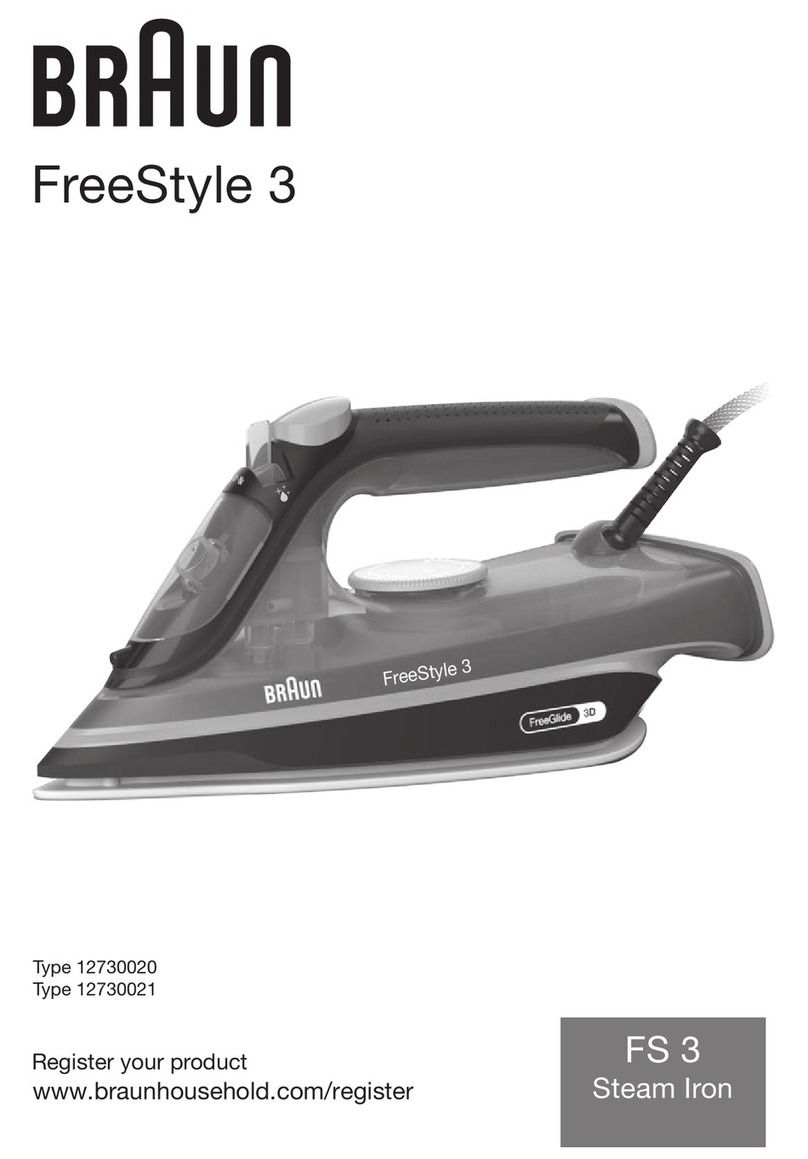
iGenix IG3122 User manual

2200W Steam Iron Purple and White
USER MANUAL
Please read these instructions carefully before use and retain for future reference
Before switching on your appliance,
always check for any damage which may have been caused in transit
Batch code:
IG3122

2
CONTENTS
Important Safety Instructions...............................................3-4
Appliance Overview...................................................................5
Anti-Calc System.........................................................................6
General Instructions...................................................................7
Preparations .................................................................................7
Steam Ironing ...........................................................................8-9
Dry Ironing................................................................................ 10
Cleaning...................................................................................... 10
Self-Cleaning.............................................................................. 11
After Use ................................................................................... 11
Built In Anti-Scale System....................................................... 11
Troubleshooting........................................................................ 12
Fuse Replacement.................................................................... 13
Disposal and Recycling............................................................ 13
Igenix Warranty ................................................................. 14-15

3
IMPORTANT SAFETY INSTRUCTIONS
When using electrical appliances, basic safety precautions should
always be followed, including the following:
READ ALL INSTRUCTIONS BEFORE USE
1. Before using for the rst time, please ensure the voltage rating
on the type plate corresponds to the mains voltage in your
home.
2. Make sure to unplug the appliance from the socket when taking
a break, even for a short while Stand the iron on its end when
doing so.
3. Unplug the appliance from the socket before lling the iron with
water.
4. If the power cord becomes damaged, it must be repaired by a
qualied service engineer.
5. Do not direct the iron toward others when ejecting steam.This
can cause injury.
6. The iron must be used and rested on a stable, non ammable
surface.
7. Do not pull the iron by its cord, use the cord as a handle, close
a door on the cord or pull the cord around sharp edges or
corners.
8. This appliance is for normal domestic use. It must only be used
for its intended use.
9. This appliance can be used by children aged from 8 years
and above if they have been given supervision or instruction
concerning the use of the appliance in a safe way and understand
the hazards involved.
10. Cleaning and user maintenance shall not be made by children
11. Keep the appliance and its cord out of reach of children.
12. Children shall not play with the appliance.
13. Appliances can be used by persons with reduced physical,
sensory or mental capabilities or lack of experience and

4
knowledge if they have been given supervision or instruction
concerning use of the appliance in a safe way and understand the
hazards involved.
14. Do not operate iron with a damaged cord or if the iron has been
dropped or damaged.To avoid the risk of electric shock, do not
disassemble the iron, take it to a qualied person for examination
and repair. Incorrect reassembly can cause a risk of electric shock
when the iron is used.
15. To protect against a risk of electric shock, do not immerse the
iron in water or other liquids.
16. Never yank cord to remove plug from the socket, instead, grip
plug top and pull to remove.
17. Do not allow cord to touch hot surfaces. Let iron cool
completely before putting away. Loop cord loosely around iron
when storing.
18. Always disconnect iron from socket when lling with water or
emptying and when not in use.
19. Close supervision is necessary for any appliance being used by or
near children. Do not leave iron unattended while connected or
on an ironing board.
20. Burns can occur from touching hot metal parts, hot water, or
steam. Use caution when you turn a steam iron upside down –
there may be hot water in the reservoir.
21. To avoid a circuit overload, do not operate another high wattage
appliance on the same circuit.
22. If an extension cord is absolutely necessary, a 10 amp cord
should be used. (Cords rated for less amperage may overheat).
Care should be taken to ensure the cord cannot be pulled or
tripped over.
23. DO NOT leave the hot iron touching fabrics or very
inammable surfaces.
24. NEVER touch the appliance with wet or damp hands.
25. DO NOT leave the appliance exposed to the weather (rain,
sun, etc.).

5
APPLIANCE OVERVIEW
1
Skirt
Spray Nozzle
Water Tank
Water Tank Cover
Spray Button
Steam Button
Handle
Flexible Cord Protector
Rear Cover
Power Indicator Light
Steam Dial
Temperature Dial
2
4
11
6 5 7
8
9
3
12
1)
2)
3)
4)
5)
6)
7)
8)
9)
10)
11)
12)
10

6
ANTI-CALC SYSTEM
A special resin lter inside the water reservoir softens the water
and prevents scale build-up in the plate. The resin lter is permanent
and does not need replacing.
Please note!
Only use tap water. Distilled and/demineralised water
makes the “Zero-Calc” anti-calc system ineffective. Do not
use chemical additives, scented substances or decalciers.
Failure to comply with the above mentioned regulations
leads to the loss of guarantee.
ANTI-DRIP SYSTEM
With the anti-drip system, you can perfectly iron even the most
delicate fabrics.Always iron these fabrics at low temperatures.
Usually when the soleplate cools down to the point where no
more steam comes out, drops of boiling water can leave marks or
stains on the fabric.This iron will automatically activate the Anti-
drip system to prevent vaporization, so that you can iron the most
delicate fabrics without the risk of spoiling or staining them.When
this occurs a loud click may be heard.This is natural and indicates
the system engaging.

7
G E N E R A L I N S T R U C T I O N S
When using the iron for the rst time, you may notice a slight
emission of smoke and hear some sounds made by the expanding
plastics.This is quite normal and it stops after a short time.We
recommend passing the iron over an ordinary cloth before using it
for the rst time.
Before using for the rst time, remove any stickers or protective foil
from the soleplate and clean with a soft cloth.
PREPARATIONS
Sort the laundry to be ironed according to the international symbols
on the garment label, or if this is missing, according to the type of
fabric.
Start ironing the garments requiring a low temperature.
This reduces the waiting times (the iron takes less time to heat up
than to cool down) and eliminates the risk of scorching the fabric.
Synthetic
Silk – Wool
Cotton – Linen
Fabric Not To Be Ironed
FABRIC
TYPE
GARMENT
LABEL
THERMOSTAT
REGULATION
MIN
MAX

8
STEAM IRONING
FILLING THE RESERVOIR
You may use the iron with tap-water, but if you live in a hard water
area, you should use distilled water (not chemically descaled or
softened water).
1. Check that the plug is disconnected from the socket.
2. Move the variable steam selector to minimum/off and open the
water inlet cover.
3. Raise the tip of the iron to help the water enter the opening
without overowing.
4. Slowly pour the water into the reservoir using the ll cup, taking
care not to go over the maximum level indicated by “MAX” on
the reservoir. (If overlled, water will escape when in use).
5. Close the cover.
Caution: synthetic fabric, nylon, synthetic silk and silk cannot use
the steam iron, otherwise it will damage the surface.
SELECT THE TEMPERATURE
1. Put the iron in a vertical position.
2. Plug into the socket.
3. Adjust the temperature control dial according to the
international symbol on the garment label.The temperature
indicator light will illuminate and indicates that the iron is heating
up.Wait until the temperature indicator light goes off before
ironing.
Warning: during ironing, the temperature control light comes on at
intervals, indicating that the selected temperature is maintained. If you
lower the temperature after ironing at a high temperature, do not start
ironing until the temperature control light comes on again.

9
SELECT THE STEAM
The quantity of steam is regulated by the variable steam selector.
1. Move the steam selector to a position between minimum and
maximum depending on the quantity of steam required and the
temperature selected.
Warning: the iron gives off steam continuously only if you hold the
iron horizontally.You can stop the continuous steam by placing the iron
in a vertical position or by moving the steam selector to minimum/off.
As indicated on the temperature control dial and in the Preparations
table, you can only use steam at the highest temperature if the selected
temperature is too low, water may drip onto the plate
SHOT OF STEAM AND VERTICAL STEAMING
1. Press the steam-shot button to generate a powerful burst of
steam that can penetrate the fabrics and smooth the most
difcult and tough creases. Wait for a few seconds before
pressing again.
2. By pressing the steam-shot button at intervals you can also iron
vertically (curtains, hung garments, etc.).
For the best result, there should be 5 seconds rest between each
press of the steam button.To prevent leaking water from the
soleplate does not press the steam button for more than 5 seconds
continuously. Also allow the iron to rest for 1 minute before using
this function.
Warning: the steam-shot function can only be used at high
temperatures. Stop the emission when the temperature control light
comes on, then start ironing again only after the light has gone off.

10
SPRAY FUNCTION
1. Make sure that there is water in the reservoir. Press the spray
button slowly (for a dense spray) or quickly (for a vaporized
spray).
Warning: for delicate fabrics, we recommend moistening the fabric
beforehand using the spray function, or putting a damp cloth between
the iron and the fabric.To avoid staining, do not use the spray on silk or
synthetic fabrics.
DRY IRONING
If you’re going to be dry ironing for 20 minutes or more, empty the
reservoir rst, to avoid spontaneous bursts of steam.
1. Turn the variable steam selector to minimum/off.
2. Wait until the light goes out and then start ironing.
CLEANING
Please note: before cleaning the iron in any way, unplug from the
socket and let it cool down fully.
Any deposits or starch residue left on the soleplate can be removed
using a damp cloth or a non-abrasive liquid detergent.Avoid
scratching the plate with steel wool or metallic objects.The plastic
parts can be cleaned with a damp cloth then wiped over with a dry
cloth.
Warning: never use a strong acid or alkali to avoid damaging the
soleplate.

11
SELF-CLEANING
To prevent scale building up, use the self-clean function regularly, at
least monthly in normal water areas, more often in hard water areas.
1. Check that the plug is disconnected from the socket.
2. Set the steam selector to position “O”.
3. Fill the reservoir up to the maximum level indicated and set the
variable steam selector to minimum/off
4. Set the temperature control dial to the maximum and wait for
the temperature indicator light to turn off.
5. Hold the iron horizontally over the sink.
6. Hold the Self-clean button until all the boiling water, steam and
impurities come out.
7. When the soleplate has cooled down, you can clean it with a
damp cloth.
AFTER USE
1. Remove the plug from the socket.
2. Empty the reservoir by opening the water inlet cover and turning
the iron upside down and gently shaking it over the sink.
3. Leave the iron to cool down completely.
4. Wrap the power cord around the iron as shown below.
5. Always store the iron on its heel, to avoid corrosion and damage
to the soleplate.
BUILT IN ANTI-SCALE SYSTEM
The built in anti-scale cartridge is designed to reduce the build up
of limescale which occurs during steam ironing.This will prolong
the lifespan of the iron. However, please note that the anti-scale
cartridge will not totally prevent the natural process of limescale
build-up.

12
Problem Possible Cause Possible Solution
Not enough heat or too
much heat.
Thermostat dial is set
incorrectly or iron is not
fully plugged in.
Check position of
thermostat dial and check
that the iron is plugged in.
No steam or iron is leaking. The thermostat dial has
been set to MIN.
Set the thermostat dial to
the required position.
No burst of steam or no
vertical steam.
The (vertical) burst of
steam function has been
used too often within a
very short period.The iron
is not hot enough.
Continue ironing in
horizontal position and
wait a while before using
the (vertical) burst of
steam function again.
Leaking water from
soleplate.
Set the thermostat dial out
of steam range.
Set the thermostat dial as
per steam range.
The heat is still not enough.
Open steam button only
after the indicator light
goes off.
The water is higher than
max position.
Pour out the remaining
water.
Little steam
The steam selector is set
to minimum position.
Set the steam selector to a
higher position.
Steam hole is blocked. Clean hole with distilled
water.
Not enough water in the
water tank. Fill the water tank.
No spray No enough pressure or air.
Press the spray nozzle
by hand, and push the
spray button several times
continuously.
TROUBLESHOOTING
If you are having problems with your appliance, please use our troubleshooting guide
below. If you are unable to resolve the issue using this guide please ring our Customer
Service Department on 01473 271 272. Please have the model code, batch number and
purchase information available.

13
IMPORTANT
THERE ARE NO USER SERVICEABLE PARTS INSIDE AND THE CASING SHOULD
NOT BE OPENED BY AN UNQUALIFIED PERSON
THIS APPLIANCE IS INTENDED FOR DOMESTIC USE ONLY
DISPOSAL INFORMATION
The European Directive 2012/19/EU on Waste Electrical and
Electronic Equipment (WEEE), requires that old household
electrical appliances must not be disposed of in normal unsorted
municipal waste.
Old appliances must be collected separately in order to optimise
the recovery and recycling of the materials they contain and reduce the impact
on human health and the environment.
The crossed out “wheeled bin” symbol on the product reminds you of your
obligation, that when you dispose of the appliance it must be separately
collected. Consumers should contact their local authority or retailer for
information concerning the correct disposal of their old appliance.
Fuse Replacement (Class I)
This appliance must be earthed. Remove the central
screw on the plug and open the shell.Take out the
fuse and replace with a new fuse of the same Amp.
Install the shell again and tighten the screws.
MAINS PLUG FUSE REPLACEMENT

14
lgenix Warranty Terms & Conditions
This product is guaranteed for a period of 12 months as standard from the date of purchase
against mechanical and electrical defects.You can extend your warranty for a further 12 months by
registering your product.
Upon registration we will cover your product for a period of 24 months from the original purchase
date against any mechanical or electrical defects.
To qualify for the guarantee, the product must be used for domestic household use only and in
accordance with the instructions in the user manual.Any misuse of the product will result in the
warranty being void.
The guarantee does not cover accidental damage, misuse, neglect, tampering or incorrect
adjustment or installation.
The guarantee will be rendered invalid if the product is resold, has had its serial number removed
(or has an invalid serial number), or if an unauthorised person has carried out any repairs or
alterations.
The warranty does not cover accessories or consumable parts that require replacement under
normal use. This includes shelving, dials, lters, belts and trays etc.
In the unlikely event of a breakdown please refer to the Troubleshooting guide in your user manual
and check all plugs, fuses and the electricity supply.
If you still require assistance please contact our Customer Service department on
01473 271 272 or write to us at the following address:
Customer Service Department
38 Bluestem Road, Ransomes Europark
Ipswich, IP3 9RR
Please quote the Product Code which begins ‘IG’ or ‘DF’ and the Batch Coder beginning ‘5’ and give
details of the exact fault.We will then decide whether to repair or replace the item.
Before we arrange the repair or replacement you will be required to return a copy of your proof
of purchase. Please retain your original.
If an item is replaced within the agreed guarantee period, the guarantee for the replacement item
will be calculated from the purchase date of the original.
In the event that the product is inspected and no fault is found or the product is not within the
guarantee period you will be charged for the repair and any carriage costs.

15
Thank you for choosing lgenix
As a valued customer we would like to offer you a FREE 2 year warranty to cover your product
against any electrical or mechanical defects.
This means that in the unlikely event you develop a fault or problem with your product we will
happily repair or replace the item free of charge.
To qualify for the 2 year warranty you must register your product within 30 days of purchase.The
full Terms & Conditions of our warranty policy are shown on the opposite page.They are also
available on our website. www.igenix.co.uk

38 Bluestem Road, Ransomes Europark, Ipswich, IP3 9RR
Tel. 01473 271 272
Disclaimer: Igenix operate a policy of continual improvement and development.
We therefore reserve the right to change/alter the specication and appearance of our appliances without prior notice.
All diagrams and images shown in this manual are for illustration purposes only.
Table of contents
Other iGenix Iron manuals
