Before using the appliance, read these
safety instructions. Keep them nearby for
future reference.
These instructions and the appliance itself
provide important safety warnings, to be
observed at all times. The manufacturer
declines any liability for failure to observe
these safety instructions, for inappropriate
use of the appliance or incorrect setting of
controls.
Very young children (0-3 years) should
be kept away from the appliance. Young
children (3-8 years) should be kept away
from the appliance unless continuously
supervised. Children from 8 years old and
above and persons with reduced physical,
sensory or mental capabilities or lack of
experience and knowledge can use this
appliance only if they are supervised or
have been given instructions on safe use
and understand the hazards involved.
Children must not play with the appliance.
Cleaning and user maintenance must
not be carried out by children without
supervision.
WARNING!: If the door or door seals are
damaged, the oven must not be operated
until it has been repaired – risk of injury.
WARNING!: Liquids and foods must not
be heated in sealed containers – risk of
explosion, heating of beverages can result
in delayed eruptive boiling, care must be
taken when handling the container – risk
of burn.
The microwave oven is intended for
heating food and beverages. Do not dry
food or clothing or heat warming pads,
slippers, sponges and similar - risk of re.
Safety Information
Table of contents
When heating food in plastic or paper
containers, remains vigilant on the oven -
risk of re.
The contents of feeding bottles and
baby food jars must be stirred or shaken
and their temperature checked - risk of
burn. Do not heat eggs in their shells and
whole hard-boiled eggs - risk of explosion.
Only use utensils that are suitable for
microwave cooking. Do not use metallic
containers - risk of injury.
Only use a temperature probe
recommended for this oven - risk of re.
If smoke is emitted switch o or unplug
the appliance and keep the door closed in
order to stie any ames.
If the appliance is installed 850 mm
or more above the oor, take care not to
displace the turntable when removing
containers – risk of injury.
Do not use your microwave oven for
deepfrying, because the oil temperature
can not be controlled.
Metallic containers for food and
beverages are not suitable during
microwave cooking.
Do not remove the microwave inlet
protection plates on the side of the cavity
walls (certain models only). They prevent
grease and food particles from entering
the microwave inlet channels.
PERMITTED USE
CAUTION: The appliance is not
intended to be operated by means of an
external switching device, such as a timer,
or separate remote controlled system.
Safety Information 5
Product description 7
Control panel 7
First use 8
Daily use 8
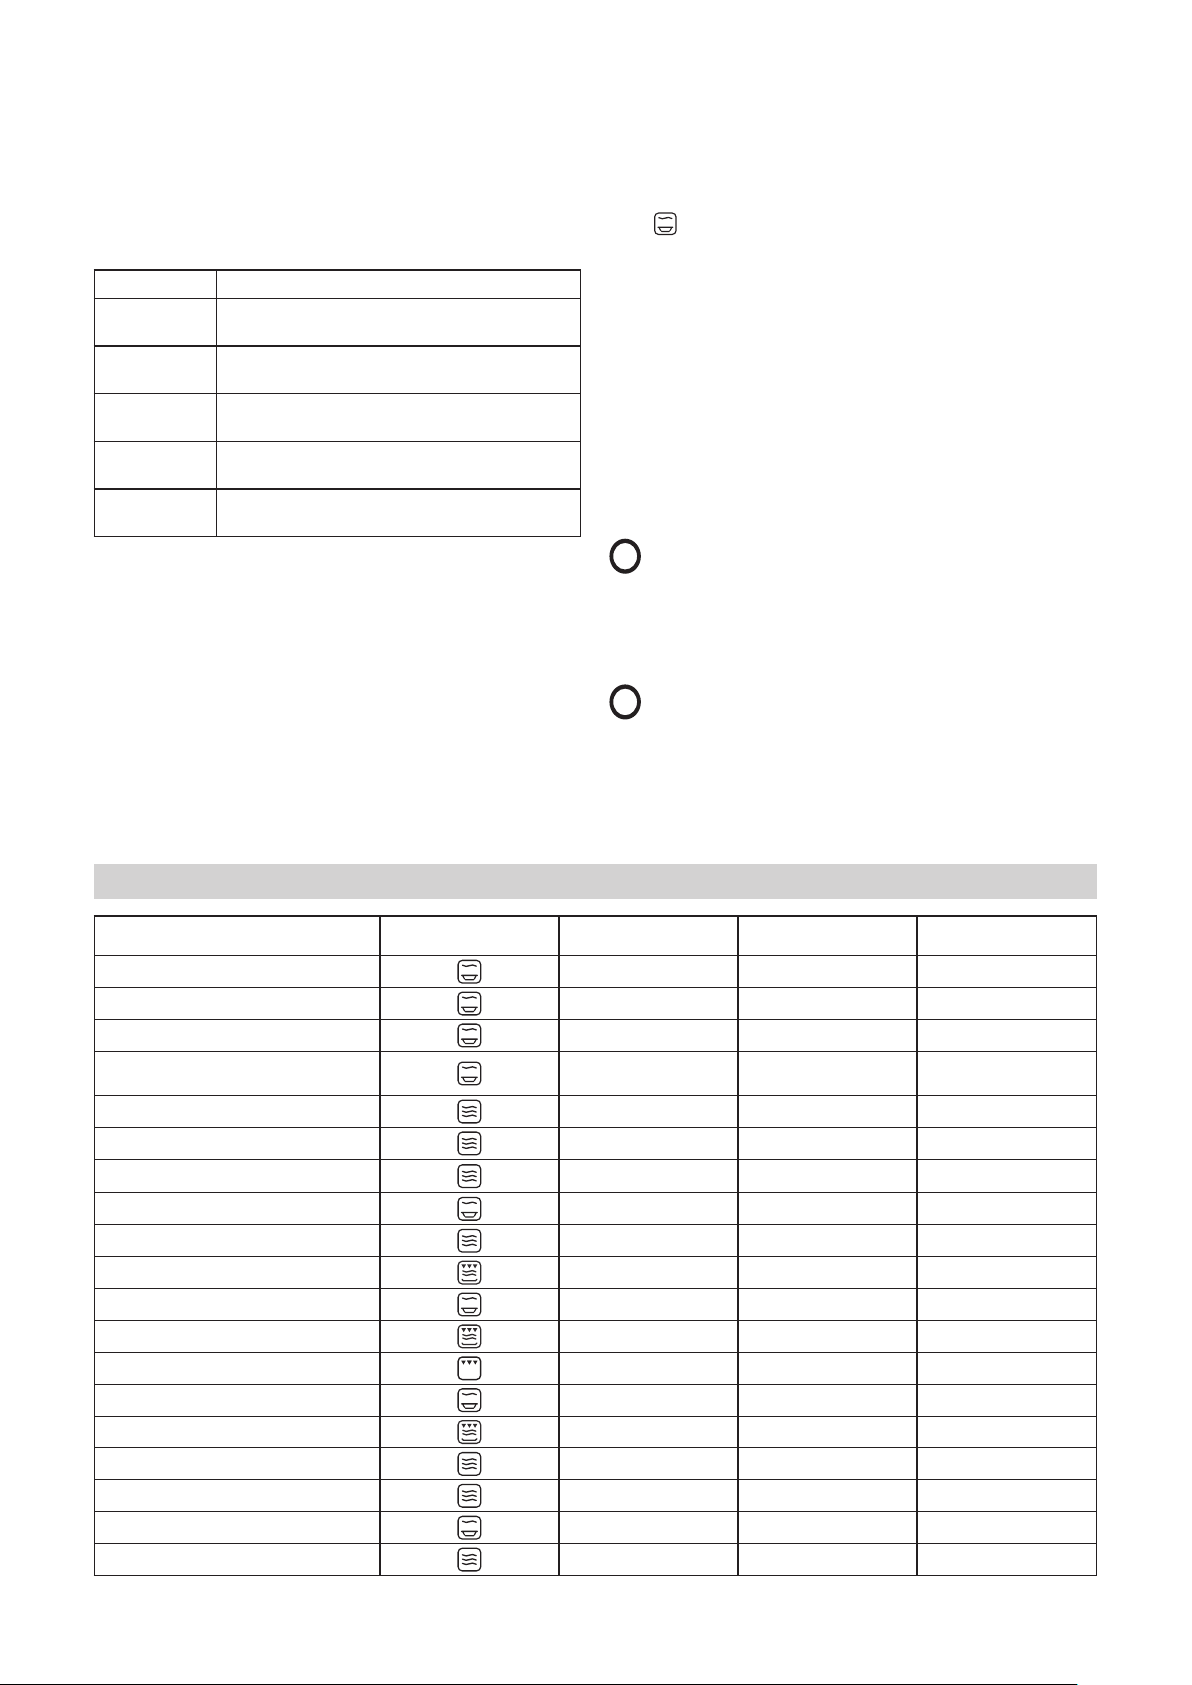
Cooking tables 10
Cleaning and maintenance 11
What to do if ... 11
Technical data 12
Installation 12
Electrical connection 12
Environmental concerns 13
IKEA GUARANTEE 14
IN
ENGLISH


M Service manual")