iKonavs SYNERGY AU4 User manual
Ikon AVS Reliability through quality & simplicity
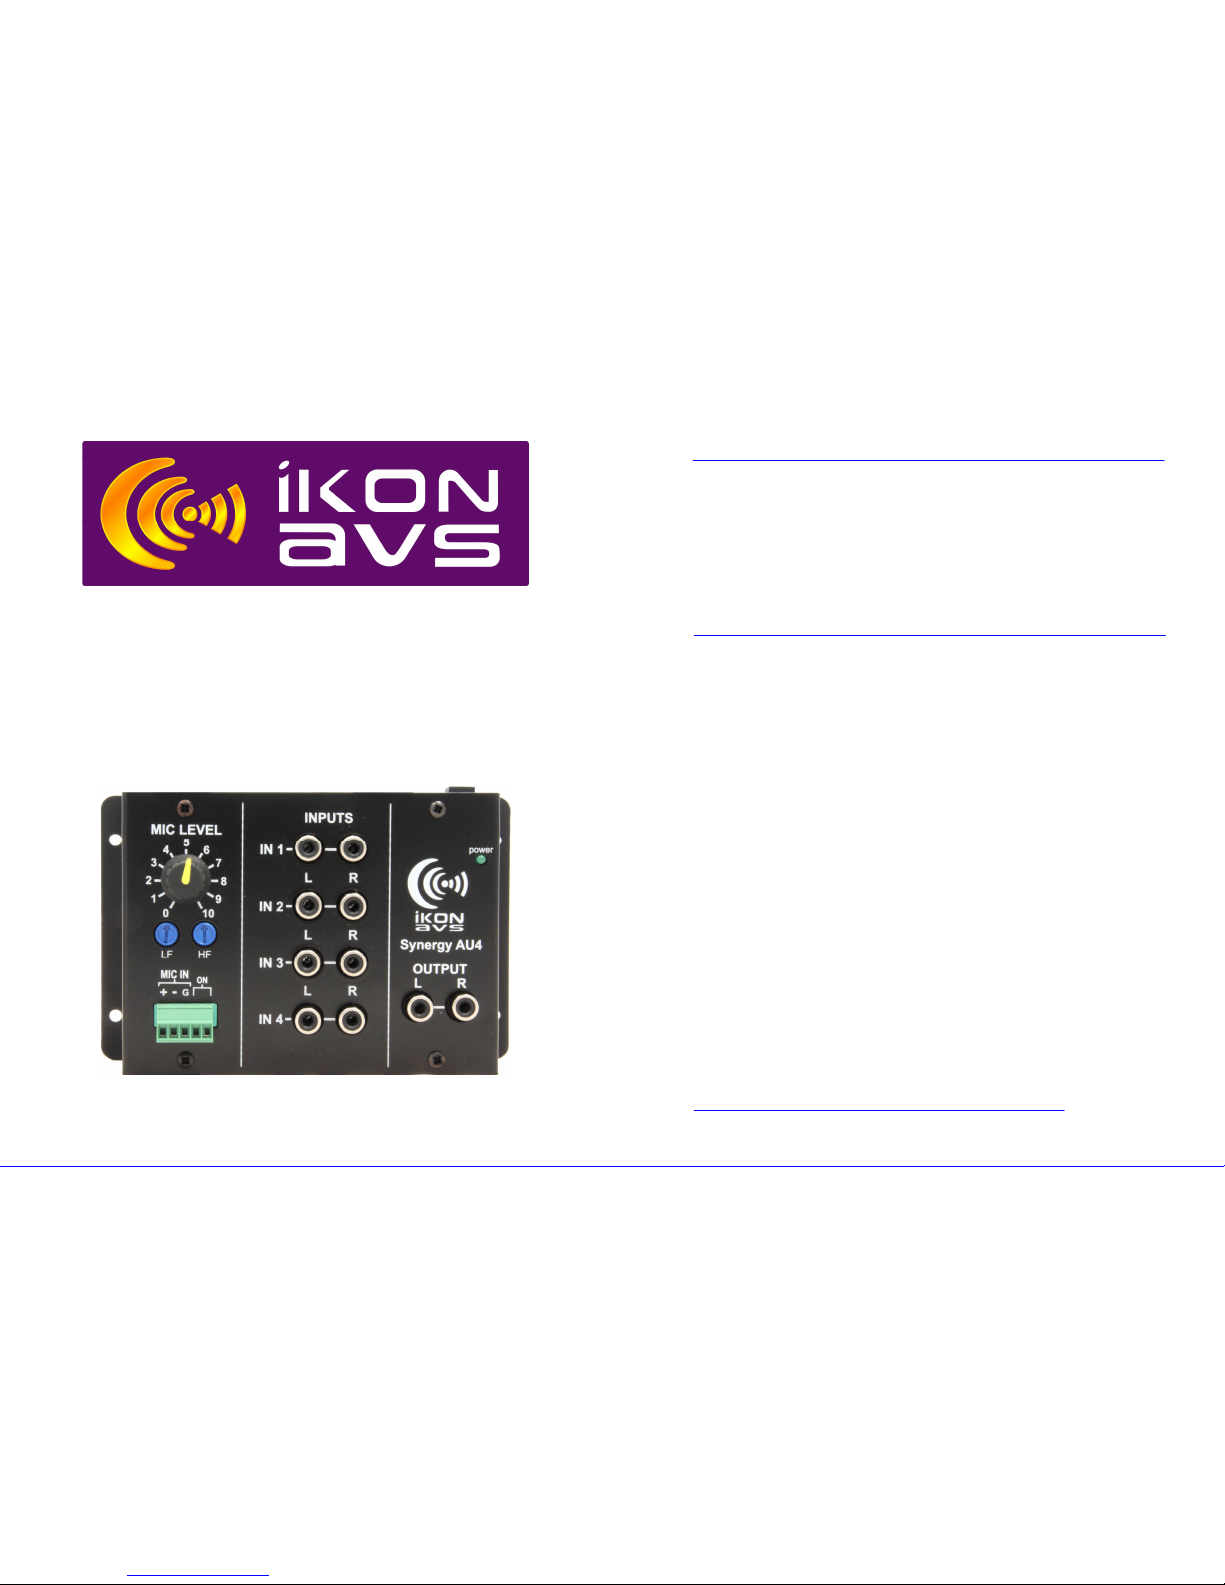
SYNERGY AU4
The Synergy AU4 series of audio controllers from
iKON AVS.
Ikon AVS Reliability through quality & simplicity
Introduction
The Synergy AU4 series are a 4 input to 1 output stereo audio router
and volume control. They also features a microphone input that is
mixed with the program audio
The AU4L has a line level output whilst the AU4P is fitted with a 10W
stereo class D amplifier.
Supplied Parts
The AU4L is supplied complete with:-
ۥ The AU4L itself.
€‚ 12V plug top power supply1.
€ƒ Instruction manual.
The AU4P is supplied complete with:-
€„ The AU4P itself.
€… 12V switched mode power supply.
۠ Mains power cable1.
€‡ Instruction manual.
Please either retain packaging for future use or dispose of via
recycling. All packaging is recyclable.
1The mains power cable / power supply will be country specific and
may be supplied external to the main amplifier packaging.

Ikon AVS Reliability through quality & simplicity
Overview
The AU4's are a 4 input to 1 output stereo audio router and volume
control. They also feature a microphone input that is mixed with the
program audio. The microphone can be muted via either a dedicated
switch input, from a Synergy or SPC controller or from an RS232
serial string.
The AU4L has a line level output whilst the AU4P is fitted with a 10W
stereo class D amplifier.
They can be connected to any of the Synergy panels via the Syn-Link
port and requires no additional programming other than the assigning
of buttons on the Synergy panel to audio inputs on the AU4 in the
Synergy panel software.
Installation
Warning Disconnect power and unplug the unit from the
power source before installing or removing.
The AU4 is designed be either free standing or secured to a surface
using suitable screws (not supplied). Consideration should be given
to cable support next to the unit.
Power The amplifier is DC powered and this should be fed
from either the supplied power supply or suitable
alternative. A mains power connection will be required for the power
supply achieved by plugging the supplied cable into an adjacent
socket.
For all screw terminal connections it is recommended to twist the
cables before inserting but do not tin as over time this leads to cold
forming and can loosen the connection.
The use of crimp ferrules is recommended.
Ikon AVS Reliability through quality & simplicity
Connecting – Audio
Line Inputs Phono (RCA) sockets are provided for the
connection of stereo unbalanced line level
sources into the AU4.
Microphone
Input
A low impendence microphone can be
connected to the screw terminals provided.
Either a dynamic or electret type can be used.
Turn ON the phantom power for electret and
OFF for dynamic. In the rare occasions when
an unbalanced microphone is used (two
conductors only with one the screen) connect
to + and –only.
The microphone input can be locally enabled
and disabled by using the MIC ON connections.
To enable the microphone insert a link between
these terminals. Use a switch if local On/Off of
the microphone is required.
Line Output Phono (RCA) sockets are provided for the
connection of the AU4 to an external amplifier’s
unbalanced inputs.
Loudspeakers On the AU4P additional rear screw terminals
are provided for the connection of
loudspeakers.
The minimum load impedance in stereo is 8
Ohms per channel. The amplifier is a bridge
design, there is no loudspeaker common, and
so each pair of loudspeaker cables MUST be
connected back to the amplifier terminals.
Please observe polarity for correct ‘in phase’
operation.

Ikon AVS Reliability through quality & simplicity
Connecting – DC Power
The AU4 can be powered two ways:-
Option 1. Connect the supplied 12V DC power supply to the
DC socket on the rear of the AU4. The Screw
terminals can be used to loop DC power to a
Synergy or SPC control panel.
Option 2.Power the AU4 from the Synergy or SPC panel by
feeding 12V DC into the screw terminals on the rear.
On the AU4P the supplied DC power supply MUST be connected to
the DC input socket. Power can be fed to a Synergy or SPC control
panel via the screw terminals if required.
Connecting - Remote
DC Use for either powering the Synergy AU4 from an external
12V DC source or for feeding DC to a Synergy or SPC
control panel.
Ikon AVS Reliability through quality & simplicity
RS232 Use to connect the AU4 to a Synergy or SPC control
panel for control or for external RS232 control.
Connection to a Synergy Panel
Connect as follows
SYNERGY Panel AU4
A ------------------------------------------------------------------------- Rx
B ------------------------------------------------------------------------- TX
C ------------------------------------------------------------------------- COM
Connection to a SPC Controller
When used with the SPC controllers the synergy AU4 is inserted into
the RS232 TX line between the SPC and the display as follows:-
SPC AU4 Display
Tx -------------------------------- Rx
Tx --------------------------------- Rx
Rx ---------------------------------------------------------------------- Tx
Com ------------------------------ COM ------------------------------ Com
In this mode you will need to program the SPC and the AU4 with the
same program.
AU4 Setup
The AU4 is shipped ready to connect to a synergy panel for
operation. There are a few user adjustments that can be made by
using the four way DIP switched on the rear of the unit. Two of these
adjust the audio control parameters and two set the units operation.

Ikon AVS Reliability through quality & simplicity
Rear Panel DIP switch settings
Switch 1ON = 0dBu OFF = Previous Setting
This sets the audio level at power on. When ON the inputs
are reset to 0dBu to ensure a known audio level is achieved.
When set OFF they retain the last user adjusted setting.
[Recommendation. If using the restricted range of +15dBu
to –15dBU use ‘retain last level’. If using the full range of
control set to 0dBu as this will ensure that there is also audio
when powered.]
Switch 2ON = 48dBu OFF = 15dBu
Used to set the range of audio control when ON the range is
limited to +15dBu to –15dBu to allow user adjustment within
set main and max parameters.
When set OFF the full range of control is available ranging
from +15dBu to –48dBu. If taken below –48dBu input is
muted
Switch 3ON = IKON protocol with SW4 OFF = RS232
Sets the method of control for the AU4 between pre-
configured IKON protocol and user controlled RS232.
Switch 4ON = Synergy OFF = SPC
Set which Ikon controller the AU4 is to be used with.
Ikon AVS Reliability through quality & simplicity
Microphone Operation
There are three installer options for the microphone input selected by
the DIP switches on the side of the unit.
Switch 1Phantom power ON / OFF for powering electret
microphones.
Switch 220dB pad ON/OFF to allow the feeding of the AU4
microphone input from an external microphone mixer
(e.g. the iKON AVS iCS-FM2 module).
Switch 3Hi-Pass filter in (OFF) /out (ON) for use if using a
close talking microphone to reduce the low
frequency content.
When ON, the microphone input is always mixed with the selected
program source and is adjusted by its own volume control and local
equalisation.
Operation from a Synergy Controller
Operation of the AU4 requires enabling within the Synergy software.
Once enabled operation of the AU4 is transparent and required no
additional programming.
Input Select Just select the assigned input from the Synergy
panel.
Volume Adjust from the Synergy panel using the VOL+ and
VOL-buttons. A single press will increase or
decrease the volume 1dB and a press and hold will
ramp the volume.
All volume adjustments are PER INPUT and not
global allowing input levels to be matched and
recalled.
Microphone If configured the microphone can be turned ON and
OFF.
Ikon AVS Reliability through quality & simplicity
Operation from a SPC Controller
Operation of the AU4 requires the same configuration that is loaded
into the SPVC panel loading into the AU4 via the RS232 port.. Once
loaded operation of the AU4 is transparent and required no additional
programming.
Input Select Selected by the SPC with the following
assignments:-
PC1 = Input 1
PC2 = Input 2
Video 1 = Input 3
Video 2 = Input 4
Volume Adjust from the SPC panel using the VOL+ and
VOL-buttons. A single press will increase or
decrease the volume 1dB and a press and hold will
ramp the volume.
All volume adjustments are PER INPUT and not
global allowing input levels to be matched and
recalled.
Microphone Not available from the SPC panel.
Operation from an external RS232 controller
The AU4 can be operated from an external RS232 controller. To use
the AU4 in this mode set the rear dip switch 3 to OFF. Use the
following protocol for control.
Ikon AVS Reliability through quality & simplicity
AU4 –RS232 control protocol
The following RS232 protocol allows the Synergy AU4 range of audio
controllers to be operated by a third party RS232 controller. It is not
required when used with the iKON Synergy controllers.
To use set the rear bit switch to the RS232 position prior to powering
the unit. All communications is at 9600 Baud with 8 data bits, 1 stop
bit and no parity. All commands are plain ASCII text
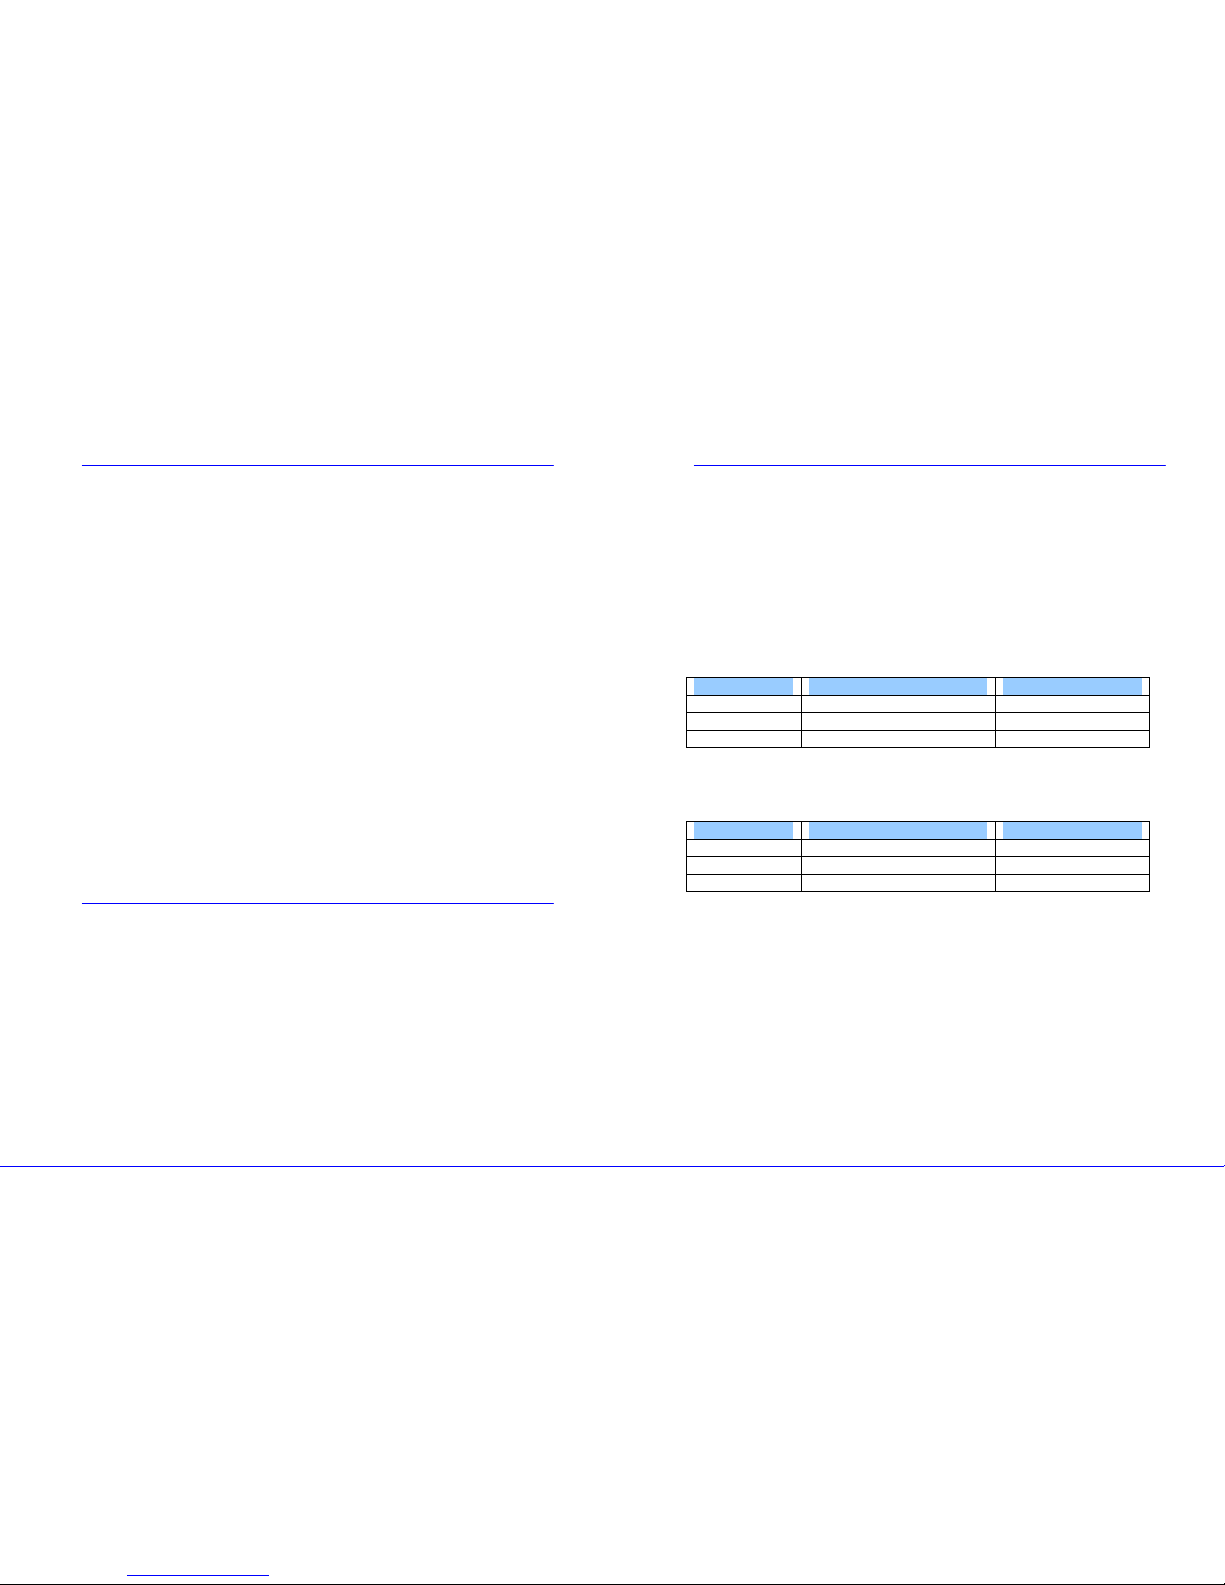
Microphone Control
Command Action AU4 Reply
MN Turn microphone ON M1
MO Turn microphone OFF M0
RM Request microphone status M1 if ON, Mo if OFF
Mute Control
This mutes the program audio only and not the microphone
Command Action AU4 Reply
UN Set mute ON U1
UO Set mute OFF U0
RU Request mute status U1 if ON, U0 if OFF
AU4 Level Range
The level range available on the AU4 can be +15dBu to –15dBu OR
+15dBu to –48dBu depending upon the setting of the rear panel bit
switch. The returned level will be signed + or -.
The start up level when power is applied can be set to 0dBu or the
last user setting dependent upon the position of a rear panel bit
switch.
Table of contents
Other iKonavs Recording Equipment manuals


