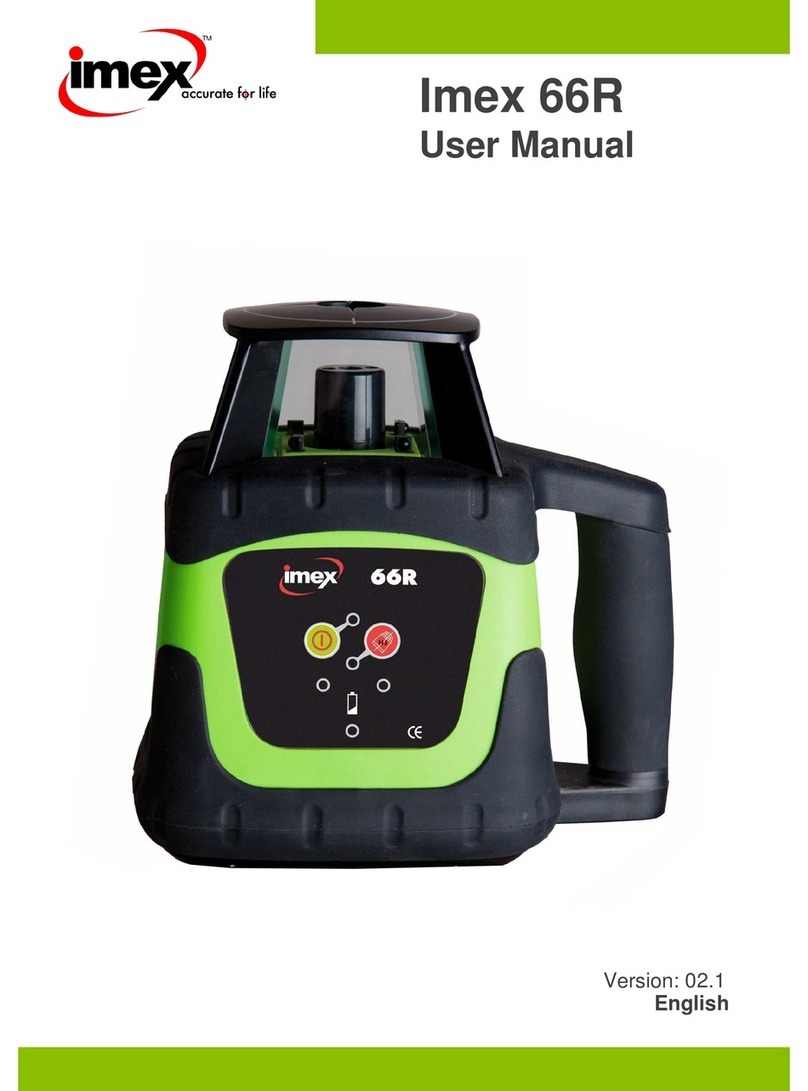
imex 66R User manual

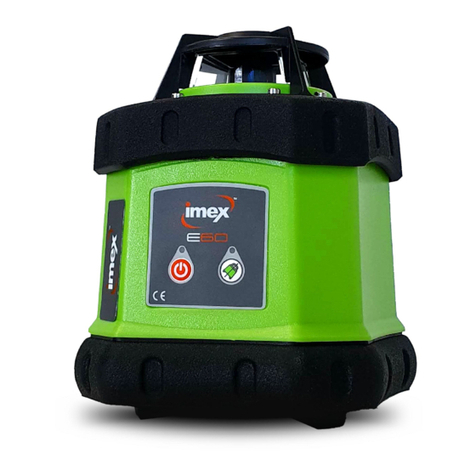
IMEX 66R
ROTATING LASERS
OPERATION MANUAL

OPERATING MANUAL
ROTATING LASER IMEX 66R
Introduction
Congratulations on your purchase of a quality Imex rotating laser.
These lasers have been designed for the professional and
incorporate the latest laser technology with a robust and simple
construction for years of trouble-free use.
These instruments are suitable for all interior and exterior general
construction leveling applications and feature quick set-up,
excellent accuracy and ease of use.
The following operating manual has been designed to assist you in
getting the optimum performance from your instrument. Please
read carefully before using the instrument, and observe all safety
conditions.

OPERATING MANUAL
ROTATING LASER IMEX 66R
Contents
Page
1. About the Instrument –Functions 3
2. Basic Operation 4
3. Batteries 6
4. Checking Accuracy 7
5. Trouble Shooting 8
6. Warranty, Service and Care 9
7. Technical Specifications 10

1. About the Instrument - Functions
1.1 Instrument Overview
Laser Module Handle Laser Detector
Lighthouse Reception
Window
Beam
Windows
Control
Panel
Staff Bracket
Rubber Sheathed base
1.2 Control Panel
a. b.
c.
e.
d.
a) On/Off switch
b) On/Off light
c) H.I. Out of level warning button and light
d) Leveling lights
e) Battery indication light

1.3 Function
The instrument is equipped with a semi-conductor diode with wavelength
of 635nm. The laser beam is clearly visible, and the laser module rotates
freely to form a laser scanning surface.
In the upright position, ideally placed on a standard aluminium tripod the
laser beam emits a horizontal line which can be detected by the
instruments receiver/detector.
2. Basic Operation
2.1 Standard Set-up Leveling
Place unit on tripod and roughly set up so that the instrument is within 5%
of level.
Switch the unit on (a).
The instrument will then begin to spin at 600rpm as it levels itself. As the
instrument is leveling itself the leveling lights (d) will flash, when leveling
lights are constant the instrument is level and ready for use
If the unit is bumped or moved the leveling lights (d) will flash to warn you
that the laser is not level. After the instrument has re-leveled itself the
leveling light will be constant
2.2 H.I Alert Function
When using your laser it is recommended that you use the H.I function
(button c.) to get most accurate results.
Press the H.I button (c) after unit has leveled itself, the H.I light will flash
for 30 second as the tool activates the H.I mode.
When H.I begins to flash faster after 30 second this indicates that H.I
mode is activated. If tool is bumped or knocked when H.I mode is
activated the tool will stop rotating to prevent you from
getting inaccurate results. To restart tool, turn off then on again.

2.2 Receiver Set-up
Using the bracket included, mount this onto a staff or grade rod.
Turn the receiver on and raise or lower the receiver on staff until it makes
a continuous beeping sound. This is the point level with the instrument.
The receiver has two settings; a course and a fine setting. The band
width and the audio volume can be adjusted using the receiver’s
buttons.
LCD display Reception window
On/Off Button
Volume Button
Fine/course Button Staff Bracket
Standard Leveling Set-up
When set up the instrument will create a laser beam across the entire
work site to a radius of 200m and the receiver will give a signal at all
points within the instruments rang

3. Batteries
The instrument is powered by 4 DC4.8-6V Nimh rechargeable batteries that
allow for approximately 20 hours continuous use in standard conditions (20º-
25º)
Alternatively you can use the alkaline battery pack supplied.
3.1 Battery Situation
The battery case is located on the base of the instrument. If changing
batteries; undo the cover, replace batteries checking polarity.
3.2 Recharging Batteries
The battery indication light (e) will begin to flash when the battery is low.
To charge NiMH batteries, remove battery pack from instrument and plug
charger into charge plug at the base of the battery pack.
DO NOT OVER CHARGE BATTERIES!
3.3 Battery Charging Time
Standard full Charge time is approximately 7 hours.
In some instances a car charger accessory kit is an advantage.
3.4 Using Alkaline Batteries
To use alkaline batteries, remove NiMH battery pack from base of
instrument. Insert 4 ‘C’ cell batteries into alkaline battery pack, then insert
battery pack into base of instrument

4. Checking Accuracy
Your Imex instrument has been pre-set and calibrated for accuracy
before dispatch and should perform within the stated accuracy
tolerance in standard conditions. However if the instrument is
knocked, poorly transported or mistreated in any way the accuracy
may be compromised and unit may need re-calibration.
On commencement of a task it is advisable to carry out a simple
control check.
4.1 Level Checking –Horizontal
Place instrument approximately 30m from a blank wall and with X1
axis square to the wall project a line onto the wall and mark line with
a fine pencil or similar.
Turn the instrument 180º to X2 and repeat
The value or the difference between the two points should not exceed
4mm
Repeat the process on the Y axis
Rotate 180º x1 Beam
x 2 x 1
X2 Beam 4 mm
max
30m
If values exceeded these by 10% contact your local service centre or
1800 669 110 to organise service and calibration.

5. Trouble Shooting
Problem
Possible Cause/Solution
Out of level
alert –unit won’t
self level
- Check that instrument is within 5ºof
level, before switching on
- Check that manual level switch is not
on
- Check that unit hasn’t been bumped
or moved
Low battery light
flashing. No power,
unit won’t operate
- Re-charge batteries
- If batteries are fully charged and still
won’t operate, open battery terminals
and check terminals are clean and
polarity correct
- Batteries may need replacing if over
charged too often
Out of level and
battery light on.
Instrument not
working properly
- Environment and direct sunlight may
be too harsh and instrument can’t
operate without damaging the laser
- Place unit in shaded area and below
50ºC
Receiver not
working or
functioning
properly
- Check receiver batteries. Change if
necessary
- Check that receiver is within working
range. 250m radius from unit
- Check that windows of the laser are
not obstructed and are clean and free
of dust

6. Warranty Service and Care
6.1 Warranty
The Imex rotating laser range is covered with a 5 year warranty as
detailed on the warranty form. For registration please visit:
www.imexlasers.com
6.2 Service and Calibration
It is recommended that in general use, laser equipment should be
calibrated by a registered service centre every 6 months. For less
frequent use 12 months is permissible.
6.3 Care of Instrument
For optimum results from your instrument care must be taken to
prevent damage. Laser instruments contain sensitive optical assemblies
and need to be treated carefully.
-Storage –Store in an area away from direct sun-
light and under the storage temperature limit of 70°C
-Transport –Lasers are affected by vibration and shock;
never transport loose on the back of a vehicle.
-Cleaning –When working in a dusty environment
always clean instrument before packing away.
-If working in wet environment, completely dry unit
with dry cloth before packing away, to prevent damage to the
unit. Failure to do this will void warranty.

7. Technical Specifications
Model
66R Red Beam
Horizontal/Vertical
Horizontal only
Self-Leveling Range
±50
Water proof
IP64
Accuracy
2mm @ 30m
Power
DC 4.8-6v (Ni-MH)
/ 4 ‘C’ cell alkaline
Working Distance
Diam 400m with
included detector
Working time between charge
20 hours (Ni-MH)
60 hours (Alkaline)
Rotation Speeds
600 rpm
Low Battery Light
Yes, approx 1 hour
warning
Scan Mode
NO
Battery Charger
240V
Grade Slope
NO
Working Temperature
-200C - +500C
Detector
Double sided
operation fine &
course setting
Light Source
Red laser diode,
635nm
Other manuals for 66R
1
Table of contents
Other imex Measuring Instrument manuals