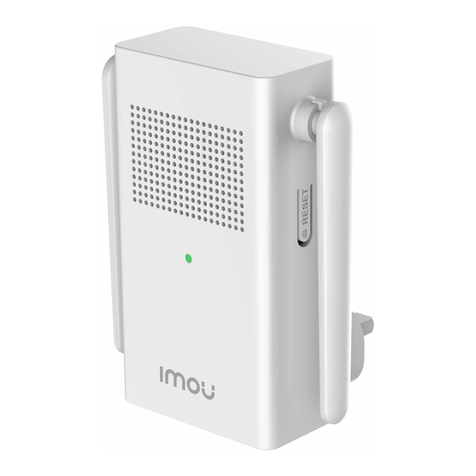
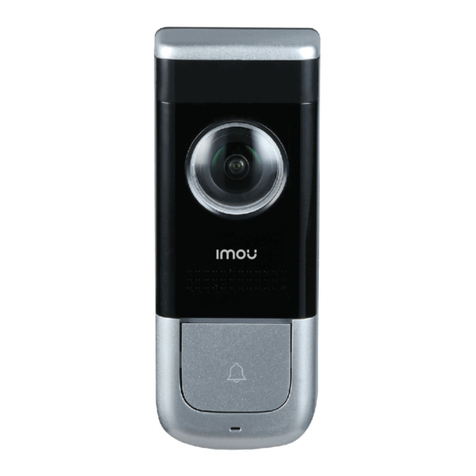
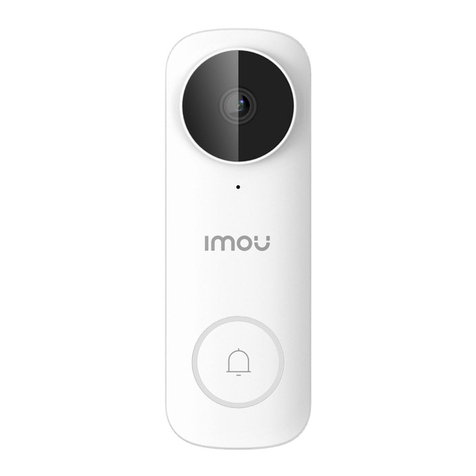
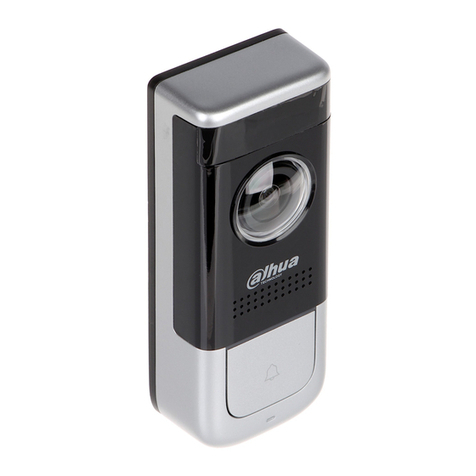
IMOU DB11 User manual

Doorbell Wired - DB11
Quick Start Guide
www.imoulife.com

Welcome
Thank you for choosing IMOU.
We are devoted to providing you easy smart
home products. If you have problems using the
product, please contact our service team before
returning your product.
Our service mail: service.global@imoulife.com
Frequently asked questions can be found at
imoulife.com/support/help

Packing List
Quick Start Guide x1Chime Kit x1Screwdriver x1Video Doorbell x1
Screw
Package x1
Door Frame
Screws x3
Power Port
Screws x2 Wire Caps x3
Chime Cables x2Doorbell Cable x2
ChimeKit

Product Overview
Front Panel
Rear Panel
Front Panel
Screw
Hole
PIR
Detection
Camera
IR Light
Loudspeaker
Call Button
Microphone
Indicator
Light
During SetupBehavior
Blue Spinning
Blue Solid
Blue Flashing
After Setup
Hotspot active
Power on
Ready for setup
Calling
Talking
Abnormal network
Micro-SD
Card Slot
Reset
Button
Power
Input Port

• Turn o the power Running to your existing doorbell and chime box at the
breaker.
• Remove your existing doorbell and disconnect wiring.
Secure the mounting bracket
2
Next, use the mounting bracket to mark holes for mounting. Use the
mounting accessories specied below depending on mounting
location.
Preparation
1
Remove the metal mounting plate from the back of the doorbell.
Before beginning setup, there are some essential preparations to make.
Tips
i
Bend the power cables so they do not fall through the hole in the wall.

For both installations, ensure the power cables from the wall t
comfortably thtougl the hole in the mounting bracet.
installing on brick installing on a metal door
Note:

Windows
Imou Life
Tips
i
To ensure the best possible wireless performance, please make sure there are no obstacles
and electromagnetic interference between the Doorbell and router.
Add Doorbell to Imou Life App
3
a

Next, you will complete the wiring for your new doorbell.
Wiring the doorbell
4
Setup
WIFI Name
Password
Next
Setup
Done
b
ab

+50
-20
DC
12V1A
cd
If the power cables in the wall are not long enough, use the
optional power cable connectors and wire caps.
Ensure there is enough space to t the cable connetors and wire caps
into the hole in your wall or dor frame.
Note:

Troubleshooting
Question Answer
The device cannot
boot up?
• Please conrm whether power voltage of the device
is normal, and whether power cable is well
connected.
• The device, mobile phone and router are too far
away. Please put them within 30cm (12 inches)
when conguring.
• Please reset the device to factory defaults and follow
the guide on App page to try again.
• Please check whether alarm subscription is enabled.
• If it is enabled, please check whether corresponding
PIR zone is enabled.
• Please check whether zone detection distance is set
to be a relatively small range.
• Please press Reset Button on the rear panel of the
device for 5s. Blue light will be on for 3s and then
turn o; the device will reboot automatically and
restore factory default settings.
Connection is overtime?
The device is not online?
How to restore factory
settings?
There is no message
when PIR motion
detection is triggered?
• Please check the state of device indicator light. If
blue light ickers all the time, it means that the
device fails to connect the network. Please check
whether wireless router can connect the network;
connect your mobile phone with this wireless
network to test it. If it can connect the network,
please reset the device and congure again.

Safety Tips and Warnings
Disclaimers
The following description is the correct application method of the device.Please read
the manual carefully before use, in order to prevent danger and property loss. Strictly
conform to the manual during application and keep it properly after reading.
Caution
• Please don’t place and install the device in an area exposed to direct sunlight or near
heat generating device.
• Please don’t install the device in a humid, dusty or fuliginous area. Please keep its
horizontal installation, or install it at stable places, and prevent it from falling.
• Please don’t drip or splash liquids onto the device; don’t put on the device anything
lled with liquids, in order to prevent liquids from owing into the device.
• Please install the device at well-ventilated places; don’t block its ventilation opening.
• Use the device only within rated input and output range.
• Please don’t dismantle the device arbitrarily.
• Please transport, use and store the device within allowed humidity and temperature
range.
• Products with category I structure shall be connected to grid power output socket,
which is equipped with protective grounding.
• This doorbell includes an Auto Mechanical IR Cut Filter. When the camera changes
between Day/Night viewing modes, an audible clicking noise may be heard from
the doorbell. This clicking is normal, and
indicates that the camera lter
is working.

Doorbell Wired - DB11
Kurzanleitung
www.imoulife.com

Willkommen
Vielen Dank, dass Sie sich für IMOU entschieden
haben. Wir sind bestrebt, einfachere Produkte für
das intelligente Heim anzubieten. Wenn Sie Probleme
bei der Verwendung des Produkts haben, wenden
Sie sich bitte an unser Serviceteam.
Unsere Service-
Häug gestellte Fragen nden Sie unter
imoulife.com/support/help

Packungsinhalt
Kurzanleitung ×1
Gong-
Kit x1
Schraubendreher x1
ChimeKit
Video-
Türklingel x1
Schrauben und
Dübel ×1
Türrahmen-
Schrauben x3
Stromversorgungs-
Anschlussschrauben x2 Kabelverbinder x3
Gong-Kabel x2Türklingelkabel x2

Produktübersicht
Frontblende
Geräterückseite
Frontblende
Schraubloch
PIR-
Erkennung
Kamera
IR-LED
Lautsprecher
Klingelknopf
Mikrofon
LED
Während der EinrichtungVerhalten
Rotiert blau
Leuchtet blau
Blinkt blau
Nach der Einrichtung
Hotspot aktiv
Einschalten
Bereit zur Einrichtung
Telefonieren
Sprechen
Netzwerk anormal
MicroSD-
Kartensteckplatz
Rücksetztaste
Stromanschluss

1
• Schalten Sie die Stromversorgung Ihrer vorhandenen Türklingel und des
Gongs an der Sicherung aus.
• Entfernen Sie Ihre vorhandene Türklingel und trennen Sie die Verkabelung.
Montageplatte befestigen
Als nächstes markieren Sie mit der Montagehalterung die Löcher für
die Montage. Verwenden Sie je nach Montageort das unten
angegebene Montagezubehör.
Vorbereitung
1
Entfernen Sie die Metall-Montageplatte von der Rückseite der Türklingel.
Bevor mit der Einrichtung begonnen werden kann, sind einige
wesentliche Vorbereitungen zu treen.
Tips
i
Biegen Sie die Stromkabel so, dass sie nicht durch das Loch in der Wand fallen.
2

Für beide Installationen ist sicherzustellen, dass die
Stromkabel von der Wand bequem durch das Loch in der
Montagehalterung passen.
Montage auf Ziegelsteinwand Montage auf Metalltür
Hinweis:

Windows
Imou Life
Tips
i
Um die bestmögliche drahtlose Leistung zu gewährleisten, stellen Sie sicher, dass
keineHindernisse und elektromagnetischen Interferenzen zwischen Türklingel und Router
vorhanden sind.
3
a
Türklingel zur Imou Life-App hinzufügen

Setup
WIFI Name
Password
Next
Setup
Done
b
b
Als nächstes schließen Sie die Kabel für Ihre neue Türklingel an.
Türklingel anschließen
4
a

+50
-20
DC
12V1A
cd
Wenn die Stromkabel in der Wand nicht lang genug sind,
verwenden Sie die optionalen Kabelverbinder.
Achten Sie darauf, dass genügend Platz vorhanden ist, um die
Kabelverbinder durch das Loch in Ihrer Wand oder im Türrahmen zu führen.
Hinweis:
Other manuals for DB11
1
Table of contents
Languages:
Other IMOU Accessories manuals


