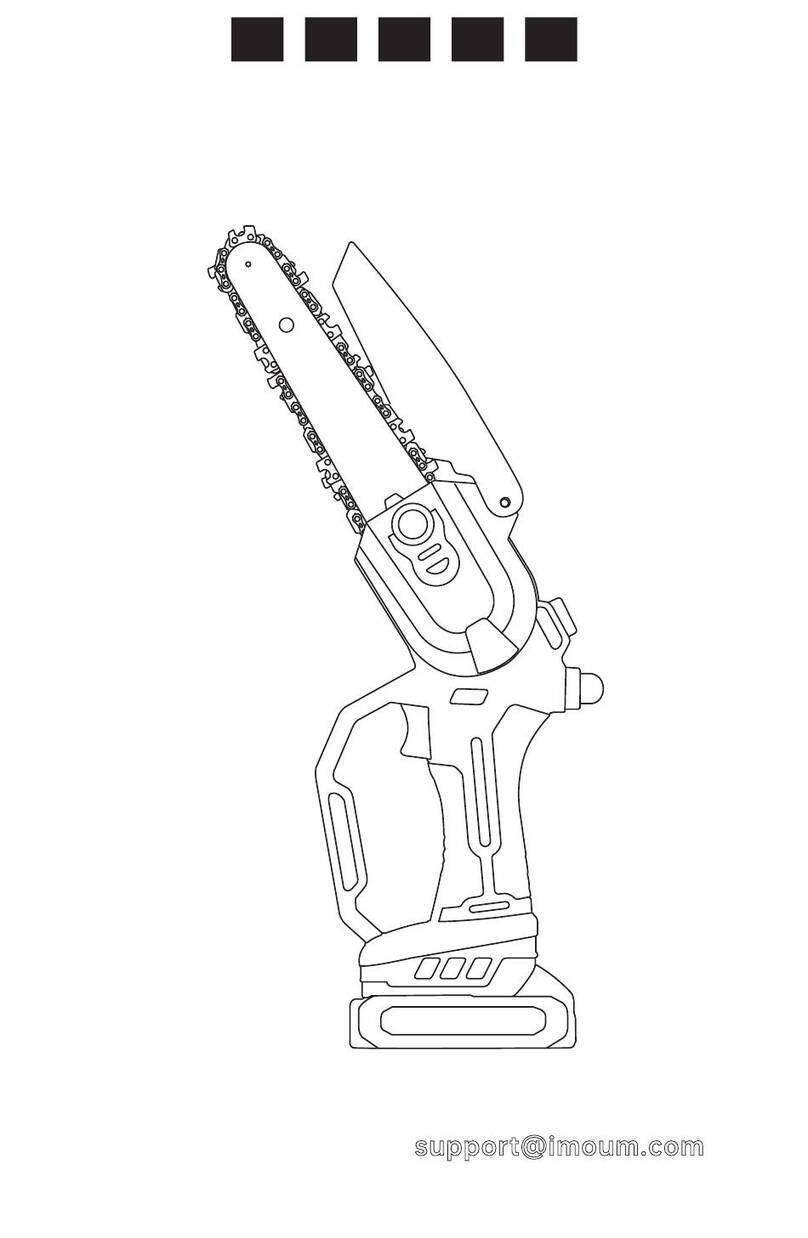
IMOUMLIVE DLJ-6 User manual

6-INCH MINI CHAINSAW
User Manual (Model: DLJ-6)
Read all safety rules and instructions carefully before operating this tool.
Questions or Concerns?
contact IMOUMLIVE via suppo@imoum.com

CATALOG
General PowerTool Safety Warnings 01-03
SafetyWarnings for Charger 04
Specications 05
06-07
Geing to Know Your Chainsaw
Before First Use 08
How to AdjustThe ChainTightness 09
How to ReplaceThe Chain 10-11
HowTo LubricateThe Chain 12
Baery Pack Installation 13
Charge The Baery 14
Troubleshooting 15
Maintenance and Cleaning 16
Environment 16
WarrantyTerms 16
Extend Your Warranty by 1 Year 17
WEEE Recycling Instructions 17-18

General Power Tool Safety Warnings
WARNING!
2.Electrical safety
1. Work area safety
01
Read and understand all instructions. Failure to follow the warnings and
instructions may result in electric shock, re and/or serious injury.
a. Keep work area clean and well lit. Cluered or dark areas
may lead to accidents.
b. Do not operate the chainsaw in explosive atmospheres, such as in the
presence of ammable liquids, gases or dust. Sparks created by the
chainsaw may ignite dust or fumes.
c. Keep children and bystanders away while operating a chainsaw.
Distractions can cause you to lose control.
a. Chainsaw plugs must match the outlet. Never modify the plug in any way.
Do not use any adapter plugs with eahed (ground-ed) power tools.
Unmodied plugs and matching outlets will reduce the risk of electric shock.
b. Avoid body contact with eahed or grounded suaces, such as pipes,
radiators,ranges and refrigerators. There is an increased risk of electric
shock if your body is eahed or grounded.
c. Do not expose the chainsaw to rain or wet conditions.Water entering
power tool will increase the risk of electric shock.
d. Do not abuse the cord. Never use the cord for carrying, pulling or
unplugging the chainsaw. Keep the cord away from heat, oil, sharp
edges or moving pas. Damaged or entangled cord increases the risk
of electric shock .
e. If operating the chainsaw in a damp location is unavoidable, please
use a residual current device (RCD) protected supply to reduce the
risk of electric shock.
Save all warnings and instructions for future reference.
The term "power tool" in the warnings refers to your mainsoperated
(corded) power tool or baery-operated(cordless)power tool.
01

3. Personal safety
4.Chainsaw use and care
Stay ale, watch what you are doing and use common sense when
operating a chainsaw.
Do not
use the chainsaw when you are tired or
under the inuence of drugs, alcohol or medication. A moment of
inaention while operating a chainsaw may result in serious injury.
Use personal protective equipment. Always wear eye protection, protective
equipment such as dust mask, non-skid safety shoes, helmet, or hearing
protection used for appropriate conditions will reduce personal injuries.
Prevent unintentional staing. Ensure the switch is in the o position
before connecting to a power source and/or baery pack, picking up or
carrying the chainsaw.
Remove any adjusting key or wrench before turning the chainsaw on.
A wrench or a key le aached to a rotating pa of the power tool may
result in personal injury.
Do not
overreach while using the chainsaw?
Do not
overreach while using. Keep proper footing and balance at all
times. This enables beer control of the chainsaw in unexpected situations.
Dress properly.
Do not
wear loose clothing or jewelry. Keep your hair,
clothing and gloves away from moving pas. Loose clothes, jewelry or
long hair can be caught in moving pas.
a.
b.
c.
d.
e.
f.
Apply the correct power toolfor your application.The correct power
tool will do the job beer and safer at the rate for which it was designed.
Do not
use the chainsaw if the switch can not be turned on and o,
Any chainsaw that cannot be controlled with the switch is dangerous
and must be repaired.
Disconnect the plugfrom the power source and the baery pack from
the chainsaw before making any adjustments, changing accessories, or
storing a chainsaw. Such preventive safety measures reduce the risk
of unexpected sta.
Store idle chainsaw out of the reach of children.
Do not
allow persons
unfamiliar with the chainsaw or these instructions to operate the
chainsaw. Chainsaws are dangerous in the hands of untrained users.
a.
b.
c.
d.
02

5.Battery tool use and care
CAUTION! RISK OF EXPLOSION!
Never charge non-rechargeable baeries!
Protect the rechargeable baery from heat, such as
continuous strong sun-light, re, water and moisture.
Maintain chainsaw. Check for misalignment or binding of moving pas,
breakage of pas and any other condition that may aect the chainsaw's
operation. If the chainsaw is damaged, please repair it before the next
use. Many accidents are caused by poorly maintained chainsaws.
Keep cuing tools sharp and clean. Properly maintain cuing tools
with sharp cuing edges are less likely to bind and easier to control.
Use the chainsaw and accessories in accordance with these instructions,
taking into account the working conditions and the work to be peormed.
Use of the chainsaw for operations dierent from the intended use
could result in a hazardous situation.
Children should be supervised to ensure that they do not play.
with the chainsaw.
e.
f.
g.
h.
Recharge only with the charger specied by the manufacturer. A charger
that is suitable for one type of baery pack may create a risk of re
when used with another baery pack.
Do not
open the baery. Prevent the danger of sho-circuiting.
Protect the baery from heat, such as continuous strong sunlight, re,
water and moisture. Prevent the danger of explosion.
Use the chainsaw only with specically designated baery packs. Use
of any other baery packs may create a risk of injury and re.
When the baery pack is not in use, keep it away from other metal
objects, like paper clips, coins, keys, nails, screws or other small metal
objects that can make a connection from one terminal to another.
Shoing the baery terminals together may cause burns or re.
Under abusive conditions, liquid may be ejected from the baery,
please avoid contact. lf contact accidentally occurs, ush with water.
lf liquid contacts eyes, seek medical help immediately. Liquid ejected
from the baery may cause irritation or burns.
a.
b.
c.
d.
e.
f.
03

Safety Warnings for Charger
Do not allow any liquid to come into contact with the charger. Danger
of electric shock may occur.
Do not place tools or chargers near the sink, washbasin, toilet, or any
other places near water.
Do not spill liquid of any kind on the chainsaw or the charger. Doing so
may sho out pas, cause damage to the product, and create the risk
of re or electric shock.
The most suitable temperature to charge the baery packs is between
68F°-77F°. During charging, baeries must be placed in a well-ventilated area.
The chainsaw is not to be used by persons (including children)with
reduced physical, sensory or mental capabilities, or lack of experience
and knowledge unless they have been given supervision instructions.
Children must be supervised not to play with the appliance.
Donot recharge non-rechargeable baeries!
04

Specifications
Battery Specification
Product Specification
Model Name
Brand
Max Cuing Diameter
Power Source
Horsepower
ProductWeight
DLJ-6
IMOUMLIVE
6 Inch
Baery Powered
600 Was
2.2 Lbs
Baery Type
Voltage
Baery Capacity
ChargingTime
Working Time
Li-ion Baery
21V
2.0 Ah 37Wh
2 Hours
60 Min
05

Getting to Know Your Chainsaw
To reduce the risk of serious personal injury, turn the unit o and
remove the baery pack before making any adjustments or
removing/installing aachments or accessories. An accidental
sta-up can cause injury.
2.0Ah Baery Pack
Anti-slip handle Oil Pump Chain tensioning roller
6”saw chain
Bar locking knob
Sprocket cover
Sta switch
Hand guard
6”guide bar
Bae
Brushless Motor
Safety Lock
Oil reservoir
OilTube
NOTE
06

Cover xing column Ⅱ
Cover xing column Ⅲ
Adjustment column
Cover xing hole
Cover xing column Ⅰ
07

Before First Use
If you feel that the baery is inseed tightly, please quickly
unplug it 3-5 times to get a suitable tightness.
NOTE
1. Check if the received accessories are complete.
2. Full charge the baery.
3. Check whether the chain is tight or not. If the chain becomes loose,
follow the instructions on Page 9 and tighten the chain.
4. Tighten the locking knob rmly to prevent the chain and cover from
loosening during cuing.
5. Fill the oil reservoir with lubricating oil.
6. Inse a fully charged baery pack.
7. Press the oil pump to lubricate the chain and sta the equipment to use.
08

How to Adjust The Chain Tightness
Please adjust the tightness of the chain before using the device. If the
chain is too loose or too tight, the chain may fall o or jam. Please adjust
according to the following steps.
1. Unscrew the bar locking knob manually.
2. Manually scroll the yellow chain tensioning roller to tighten the chain.
3. Make sure there is a gap of about 0.1 inch between the chain and the
guide bar. This means the chain becomes tight properly, please stop
scrolling the roller.
4. Firmly tighten the bar locking knob manually.
If the chain tensioning roller is stuck, please remove the sprocket
cover and re-installed it.
Please rmly tighten the bar locking knob to prevent the chain
becomes loose aer several times use.
DO NOT use an electric drill to loosen the screws.
NOTE
9
1 2 3 4

How to Replace The Chain
2. Remove the cover, remove the guide bar and the chain.
1. Manually loosen the bar locking knob.
Remove the chain
Install the chain
10
4. Pre-adjust the sprocket cover.
Adjust the chain tensioning roller
to move the adjustment column
to the 1/3 lemost position.
1 .Clean the cover debris with the brush.
2.Install the new chain onto the guide
plate(do not reverse the direction
of the chain), and assemble it on
the gear.
3. Hang the assembled guide plate
chain on the sprocket, and pull the
guide plate outward to straighten
the chain, then x the guide plate
beneath the xing column (see
below gure)
Fix the guide plate
straighten the chain

Please pull the guide plate by hand to ensure that it is fully xed.
If not, continue to tighten the bar tightening knob.
NOTE
8. Firmly tighten the bar locking knob.
7. Conrm the chain tightness is proper. The appropriate tension is when
the chain is tightly aached to the guide plate and can be pulled by hand
with 0.1 inch.
11
6. Tight the chain. Manually scroll
the yellow chain tensioning roller
up to tighten the chain.
5. Install the cover. Align the cover
xing columnⅠand cover xing
columnⅡcompletely with no gap,
press the cover and scroll up the
chain tension roller until hear a "click".
This means the cover is matched
successfully.
cover xing column Ⅱcover xing column Ⅰ
(Loose)
(Tight)

How To Lubricate The Chain
We recommend lubricating every 5-7 cuts.
NOTE
1. Add lubricating oil to the oil reservoir (note: lubricating oil needs to b
ordered separately).
2. Press the oil pump to send lubricating oil to the chain.
3. Sta the chainsaw and lubricate the chain.
12

Battery Pack Installation
To install the baery pack into
the tool handle, align the baery
pack with the rails inside the tool’s
handleand slide itinto thehandle
until the baery pack is rmly
seatedin the tool andensure that
it does notdisengage.
To remove the baery pack from
the tool, press the release buon
and rmly pull the baery pack out
of the tool handle.
For best results, make sure your baery pack is fully charged.
Note:
13

Charge The Battery
Use our included adapter to charge the baery, and it takes about 2
hours for a single full charge (note: the charging inteace is at the
position shown in the above gure).
Indicator Light
Red
Green
Status
Charging
Full Charged
Charge the baery pack with the included adapter by inseing it into
the charging jack.
14
Release buon
LED Light Switch Baery Indicator Light
Charging Po

Problem Possible Reason Possible Solution
The chain is loose/falling
o/popping out
The chain is not installed in place
The guide bar did not xed completely
Remove the cover plate and adjust the
chain again. lf you have any diculties,
please contact customer service for
fuher help
Firmly tighten the bar locking knob
Lifespan
Unable to cut wood
Can not pump out oil
Stop working
How to charge the baery
Accessories and other questions
Some accessories such as chains and
baeries can be purchased separately
at the IMOUMLIVE store
For any fuher assistance, directly contact
our customer service. Check the cover and
nd our contact information there
This is a rechargeable baery that directly
connects to an adapter. The charging po
is on the baery, please refer to Page 15
The lid of the oil reservoir is too tight
The oiler is oveilling
The oiler tube is bent
Baery issue
The tool is overheating
/
/
/
/
Check that the baery is installed in place
and the baery is charged. lf you have a
spare baery, you can change the spare
one to see if the machine is turned on
Continuously using the toolfor a long
time will cause overheating. Let the tool
completely cool down and try using it again
Please loosen the lid slightly to keep air
from entering the oiler
Pour out a lile oil and leave 1/3 of the
spaceintheoilreservoir toensure the
internal pressure work
Check if the transparent tube connecting
the oil pot is bent, if is, it needs to be
adjusted to maintain the normal ow of oil
The direction of the chain blade is reversed Check the blade and reinstall the chain
Low baery Need to charge
The actual use time varies with hardness,
wood diameter, and outside temperature
The peormance of lithium baeries will
decrease signicantly in a low-temperature
environment or a high-temperature environment,
And duration will reduce as well
Troubleshooting
15

Maintenance and Cleaning
16
Before cleaning and maintenance, always switch o the chainsaw
and remove the baery.
NOTE
Clean the chain carefully aer each use. Wipe the chain with lubricating
oil and spray with metal protection spray.
Wipe the chain with lubricating oil and spray with metal protection spray.
Do not spray the equipment with water or break it into the water,
otherwise it may cause electric shock.
Clean the machine casings regularly with a so cloth preferably aer each
use, keep the ventilator, motor room and equipment handle clean.
Remove persistent di using a so cloth moistened with soapsuds. Do not
use any solvents such as gasoline, alcohol. ammonia, etc. Chemicals such
as these will damage the synthetic components.
The warranty period of this product is 12 months, this clause does not
include the following points:
1.Any natural wear and tear, overload work.
2.Damage caused by lack of daily maintenance.
3.lmproper use and other man-made damage.
4.A product modied or dismantled by an illegal repairman.
5.Severe impact damage.
6.Usenon-original accessories and baeries.
Environment
Warranty Terms
Faulty and/or discarded electrical of electronic apparatus
have to be collected at the appropriate recycling locations.

Extend Your Warranty by 1 Year
17
Information on electrical and electronic equipment.
Register your product within 14 days of purchase at www.imoum.com to
extend your 1-year warranty by an additional year.
The following information is intended for private end users who use
electrical and/or electronic equipment.
1.Separate collection of waste equipment.
Electrical and electronic equipment that has become waste is referred to
as old equipment. Owners of waste equipment must dispose of it separately
from unsoed municipal waste. In paicular, old appliances do not belong
in the household waste, but in special collection and return systems.
2.Baeries and rechargeable baeries.
As a rule, owners of old appliances must separate old baeries and accumulators
that are not enclosed in the old appliance from the laer before handing them
in at a collection point.This does not apply if the waste equipment is handed
over to public waste management authorities and separatedfrom other waste
equip ment there for the purpose of preparation for reuse.
3.Options for returning old equipment.
If you have old equipment, you can hand it in at the facilities set up and
available by public waste management authoritiesfor the return or collection
of old equipment for the purpose of proper disposal of the old equipment.
If necessary, it is also possible to hand in electrical and electronic equipment
there for the purpose of reusing the equipment. For more information, please
contact the respective collection or take-back point.
WEEE Recycling Instructions

18
4.Data protection notice.
Old devices oen contain sensitive personal data. This applies in paicular
toinformationand telecommunicationstechnologydevicessuch ascomputers
and smaphones. In your own interest, please note that each end user is
responsiblefor deleting the data on the old devices to be disposed of.
5.Meaning of the symbol "crossed-out dustbin.
The symbol of a crossed-out wheeled garbage is regularly displayed on
electrical and electronic equipment indicating that the respective device
must be collected separately from unsoed municipal waste at the end
of its service life.
"The symbol of the crossed-out garbage can on baeries or accumulators
indicates that they must not be disposed of with household waste at the end
of their life. If baeries or accumulators contain mercury (Hg), cadmium (Cd)
or lead (Pb), you will nd the respective chemical symbol below the symbol
of the crossed-out trash can. You are legally obliged to return old baeries
and accumulators aer use. You can do this free of charge in a retail store or
at another collection point near you.Addresses of suitable collection points
can be obtained from your city or local government.
Baeries may contain substances that are harmful to the environment and
human health. Special care should be taken when handling baeries containing
lithium due to the paicular risks involved. The separate collection and recycling
of old baeries and accumulators is intended to avoid negative impacts on
the environment and human health.
Please avoid the generation of waste from old baeries as much as possible,
e.g. by preferring baeries with a longer life or rechargeable baeries. Please
avoid liering public spaces by not carelessly leaving baeries or electrical
and electronic equipment containing baeries. Please consider ways to reuse
a baery instead of disposing of it, for example by reconditioning or repair
ing the baery.
Table of contents
Other IMOUMLIVE Chainsaw manuals
