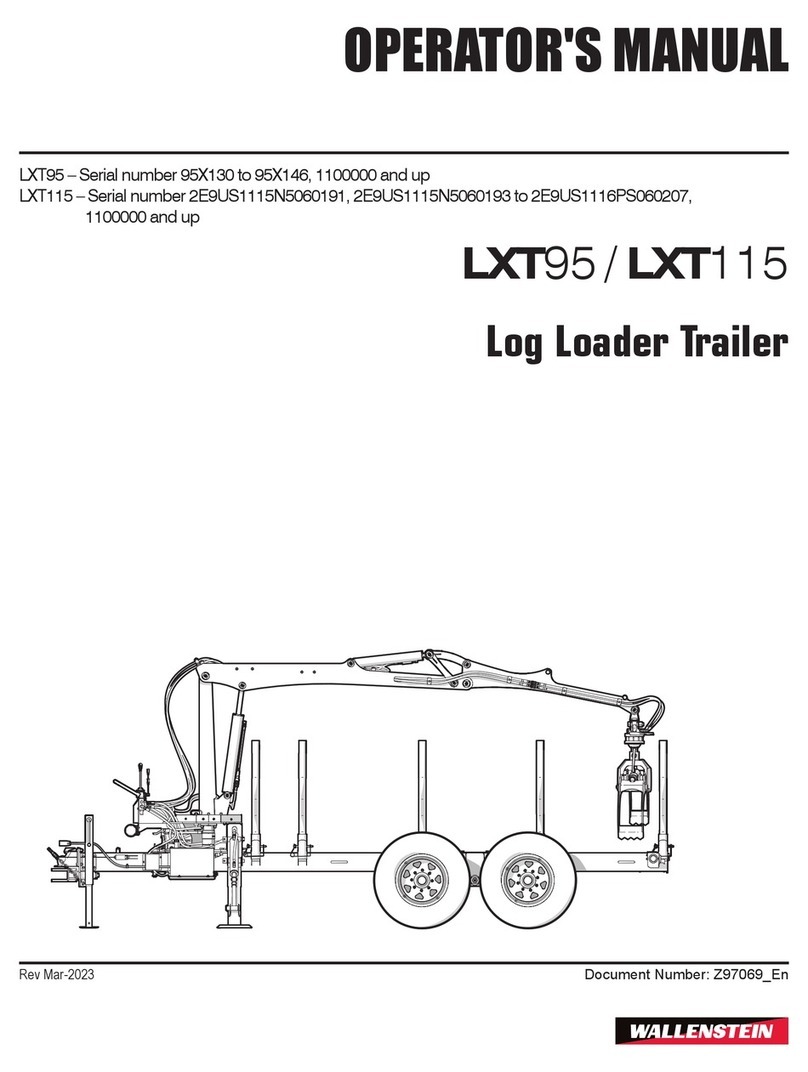
Impact Implements XT1000 User manual

Item #2100
XT1500 Off-Road Trailer
Rated Capacity 1500lb
Item #2094
XT1000 Off-Road Trailer
Rated Capacity 1000lb
Assembly Instructions:
Impact Implements
XT1000 & XT1500
Off-Road Trailers
XT Trailer Manual - Impact Implements 2-18-19
2019 Impact Implements All Rights Reserved
Page 1

Warning!
This is a low speed, OFF-ROAD trailer and is not
intended for road use. Do not tow trailer in excess of
10mph. Inspect trailer for damage before each use.
Keep tires inflated to proper tire pressure. Serious
injury or death could result from riding in a moving
trailer. Always make sure trailer is properly and
securely attached to tow vehicle before operating.
Never load cargo that exceeds the hauling capacity of
trailer. Never haul cargo that exceeds the braking
capacity of tow vehicle. Never drive on hilly or uneven
terrain as trailer load may shift causing loss of tow
vehicle control. When using coupler, be sure coupler
load capacity is the same or less than ball load
capacity. Make sure hitch and trailer ball are the same
size. Use extreme caution when removing rear trailer
gate. Never dump trailer while vehicle is moving.
READ, UNDERSTAND AND FOLLOW ALL ASSEMBLY INSTRUCTIONS PROVIDED
BEFORE EACH USE. FAILURE TO FOLLOW ALL WARNINGS AND INSTRUCTIONS
COULD RESULT IN SERIOUS INJURY OR DEATH.
DOUBLE CHECK THE ASSEMBLY OF YOUR TRAILER TO BE SURE YOU ASSEMBLED IT
CORRECTLY AND ALL NUT & BOLT ASSEMBLIES ARE TIGHT BEFORE INITIAL USE.BE
SURE TO PERIODICALLY CHECK ALL NUT AND BOLTS FOR TIGHTNESS. OVER TIME,
NUTS AND BOLTS MAY BECOME LOOSE FROM VIBRATION.
BE SURE TO ALWAYS HAVE THE CORRECT AMOUNT OF AIR PRESSURE IN TIRES.
THIS WILL HELP DETER FROM UNNECESSARY WEAR AND/OR DAMAGE. AIR
PRESSURE REQUIREMENTS CAN BE LOCATED ON SIDEWALL OF TIRE.
NEVER DRIVE ON HILLY TERRAIN - EXCESSIVE WEIGHT CAN CAUSE WEIGHT SHIFTS
WHICH CAN LEAD TO LOSS OF CONTROL OF YOUR ATV AND/OR ATV TRAILER.
DO NOT DRIVE IN-EXCESS OF 10 MPH WHILE USING THIS PRODUCT.
* NEVER ALLOW PEOPLE OR ANIMALS TO RIDE IN THE ATV TRAILER!
* THIS TRAILER IS NOT DESIGNED FOR THAT MATTER.
* USE CAUTION NEAR TRAILER TILT LATCH.
* BE SURE LATCH IS ENGAGED BEFORE EACH USE.
NEVER EXCEED THE MAXIMUM WEIGHT CAPACITY OF THE SPECIFIC TRAILER
CAPACITY PURCHSED, ALWAYS EVENLY DISTRIBUTED WEIGHT.
We recommended two people assemble this product.
TOOLS REQUIRED:
- Adjustable Wrenches (2), socket set
with ratchet & extension, needle nose pliers.
IMPORTANT ASSEMBLY TIP:
Do not tighten any nut and
bolt combinations completely until all parts are assembled
together! Finger tighten plus one turn of a wrench only! This
will temporarily hold the nut on the bolt while helping alignment
of all parts! After all parts are assembled together, all nut &
bolt combinations must be completely tightened.
Important! Please Read First
Page 2
Email: [email protected]

XT1000 & XT1500 Trailer Instructions
STEP 1 - Verify all hardware is accounted for.

(1x) Hitch Bracket
Trailer Front Frame
Trailer Back Frame
(1x) Backer Plate
(2x) Trailer Bed Bracket
(2x) Gate Bracket
(1x) Axle Hitch Tube
(2x) 16" Diameter
Tire/Wheel
(1x) Step Latch
(1x) Hitch Tube
(2x) Axle Weldment
(5x) XT1000 Rail
(1x) XT1000 Gate
XT1000 Trailer Manual
STEP 2 - Verify all loose parts are accounted for.
Trailer Assembly Instructions
Lay out all trailer parts, show detail of all parts
Page 4
Email: [email protected]

(1x) Hitch Bracket
Trailer Front Frame
Trailer Back Frame
(1x) Backer Plate
(2x) Trailer Bed Bracket
(2x) Gate Bracket
(5x) XT1500 Rail
(1x) XT1500 Gate
(1x) Axle Hitch Tube
(2x) 18" Diameter
Tire/Wheel
(1x) Step Latch
(1x) Hitch Tube
(2x) Axle Weldment
XT1500 Trailer Manual
STEP 2 - Verify all loose parts are accounted for.
Trailer Assembly Instructions
Lay out all trailer parts, show detail of all parts
Page 5
Email: [email protected]

4
2
Trailer Back Section
1
1/2" Nylock Nut
1/2" Flat Washer
Backer Plate
Axle Assembly
Hitch Bracket
1/2-13 x 3.50" Carriage Bolt
Axle Assembly
2X Locations Each Side
5/16-18 x 1.75" Hex Bolt
Secured with Flat Washer,
Lock Washer, 5/16-18 Hex Nut
3
4X Locations
5/16-18 x 2.75" Hex Bolt
Secured with Flat Washer,
Lock Washer, 5/16-18 Hex Nut
XT Trailer Manual
STEP 3
Trailer Front Section
Assembly Notes:
Turn front and back trailer bed sections upside down and butt together so four center holes align.
1.
Assemble Trailer Frame Hardware
2.
Install axle sections with two bolts through each side plate.
3.
Install four center axle bolts at Hitch Bracket and Backer Plate.
4.
Tighten all hardware at this point.
5.
Page 6
Email: [email protected]

5/16" x 1.75"
Hex Bolt (4x)
5/16" Flat Washer (4x)
5/16" Lock Washer (4x)
5/16-16 Hex Nut (4x)
Trailer Bed Bracket 1x
Repeat above procedure for other side of trailer bed frame
XT Trailer Manual
STEP 4
Assembly Notes:
Secure upper "Trailer Bed Bracket" with provided hardware shown below.
1.
Hand tighten all hardware at this point.
2.
Repeat this step for both sides of the trailer bed bracket and hardware.
3.
Page 7
Email: [email protected]

AB
1
2
17
4
4
15
18
Compress Spring prior to inserting
Spring Latch Plate
Trip Latch Pin
6
13
6
13
5
7 8
XT Trailer Manual
STEP 5
Assembly Notes:
Assemble Trip Latch Assembly as shown below.
1.
Do not overtighten any of the below shown hardware.
2.
Secure hex nuts so that all locations move freely and do not bind.
3.
ITEM NO.
DESCRIPTION
QTY.
1
Spacer
2
2
Latch Link Plate
2
3
Step Latch
1
4
HBOLT 0.3750-16x3.24
2
5
1/4" x 1" Hex Bolt
1
6
3/8" Flat Washer
2
7
1/4" Flat Washer
1
8
1/4-20 Nylock Nut
1
9
Strip Latch Spring
1
10
Trip Latch Pin
1
11
Spring Latch Plate
1
12
Trip Latch Plate
1
13
3/8-16 Nylock Nut
2
14
Latch Trip Pin
1
15
Latch Spring
1
16
Spring Latch Plate
1
17
Hitch Tongue
1
18
Latch Trip Plate
1
Page 8
Email: [email protected]

(1x) Hitch Assembly
(1x) Axle Hitch Tube
2
3/8" Nylock Nut (2x)
3/8" Flat Washer (2x)
3/8-16 x 3.24"
Hex Bolt (2x)
1/2" Flat Washer (1x)
1/2-13 Nylock Nut (1x)
Hitch Bracket
1/2-13 x 3.50"
Carriage Bolt (1x)
XT Trailer Manual
STEP 6
Assembly Notes:
Lay previously assembled trailer frame face down on floor.
1.
Secure previously assembled trailer tounge assembly
2.
with below listed hardware.
Once assembled, tighten 1/2" Carriage Bolt and hardware
3.
so that tounge assembly will swivel freely.
Assembly Notes:
Assemble Hitch Assembly and Axle Hitch Tube.
1.
Use below listed hardware to secure two sections together.
2.
1
Page 9
Email: [email protected]

9
6
5
8
2
2
2
2
2
1
4
3
10
8
5
6
8 5 6 7
Place Rail Spacer Plate Between Rails prior
to securing hardware.
13
11
12
STEP 7 - XT1500
Assembly Notes:
Insert all Rails into main trailer upright tube fully seated to bottom.
1.
Loosely Assemble all hardware as shown below.
2.
Tighten all rail hardware to secure rails into upright trailer bed tubes.
3.
ITEM NO.
DESCRIPTION
QTY.
1
XT1500 - Rear Gate
1
2
Rail XT1500
5
3
Gate Bracket
2
4
RHSNBOLT 0.3125-18x1.75x1-N
4
5
Regular LW 0.3125
10
6
Regular FW 0.3125
10
7
HBOLT 0.3125-18x2.5x0.875-N
4
8
HNUT 0.3125-18-D-N
10
9
HBOLT 0.3125-18x1.5x0.875-S
2
10
Gate Bracket Spacer
2
11
Rail Connector 2
2
12
5/16" DIA ROUND PIN W/WIRE LOCK
2
13
Rail Spacer Plate
2
Page 10
Email: [email protected]

2
2
2
2
2
1
11
4
658
3
10
8569
13
8
5
6
7
Place Rail Spacer Plate Between Rails prior
to securing hardware.
XT1000 Off-Road Trailer
Rated Capacity 1000lb
STEP 7 - XT1000
Assembly Notes:
Insert all Rails into main trailer upright tube fully seated to bottom.
1.
Loosely Assemble all hardware as shown below.
2.
Tighten all rail hardware to secure rails into upright trailer bed tubes.
3.
Item No.
DESCRIPTION
QTY.
1
XT1000 - Rear Gate
1
2
Rail XT1000
5
3
Gate Bracket
2
4
Carriage Bolt 5/16" x 1.75"
4
5
Regular LW 0.3125
10
6
Regular FW 0.3125
10
7
HBOLT 0.3125-18x2.5x0.875-N
4
8
HNUT 0.3125-18-D-N
10
9
HBOLT 0.3125-18x1.5x0.875-S
2
10
Gate Bracket Spacer
2
11
Rail Connector 2
2
12
5/16" DIA ROUND PIN W/WIRE LOCK
2
13
Rail Spacer Plate
2
Page 11
Email: [email protected]

16" for the XT1000
18" for the XT1500
1" Washer
Lynch Pin
Trailer Axle
XT1500 Off-Road Trailer
XT1000 Off-Road Trailer
Assembly Notes:
Locate (2) 1" Washers, (2) Wheels and (2) Lynch Pins.
1.
Slide wheel onto end of axle with Valve Stem outward.
2.
Place 1" Washer on axle then secure with Lynch Pin.
3.
Final Step
Page 12
Email: [email protected]
This manual suits for next models
3
Table of contents
Popular Utility Vehicle manuals by other brands
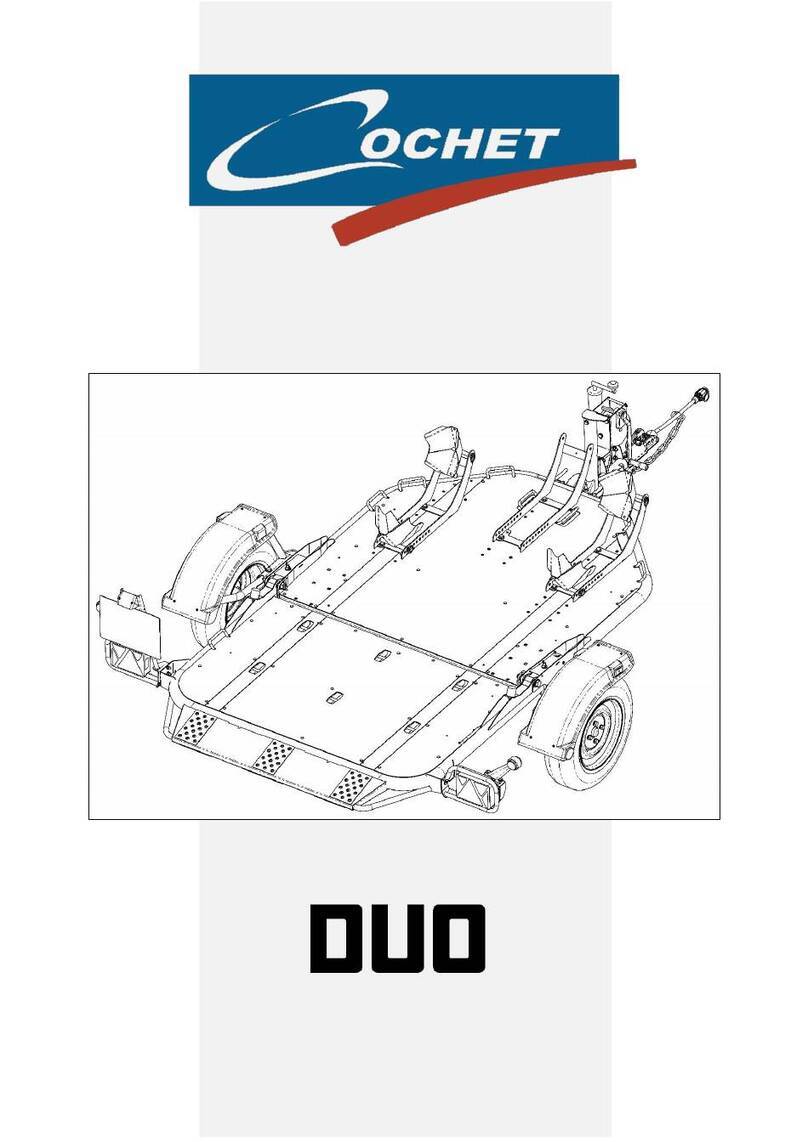
COCHET
COCHET DUO Operation and maintenance manual

Taylor-Dunn
Taylor-Dunn SC-011-59 Operation, t roubleshooting and replacement parts manual
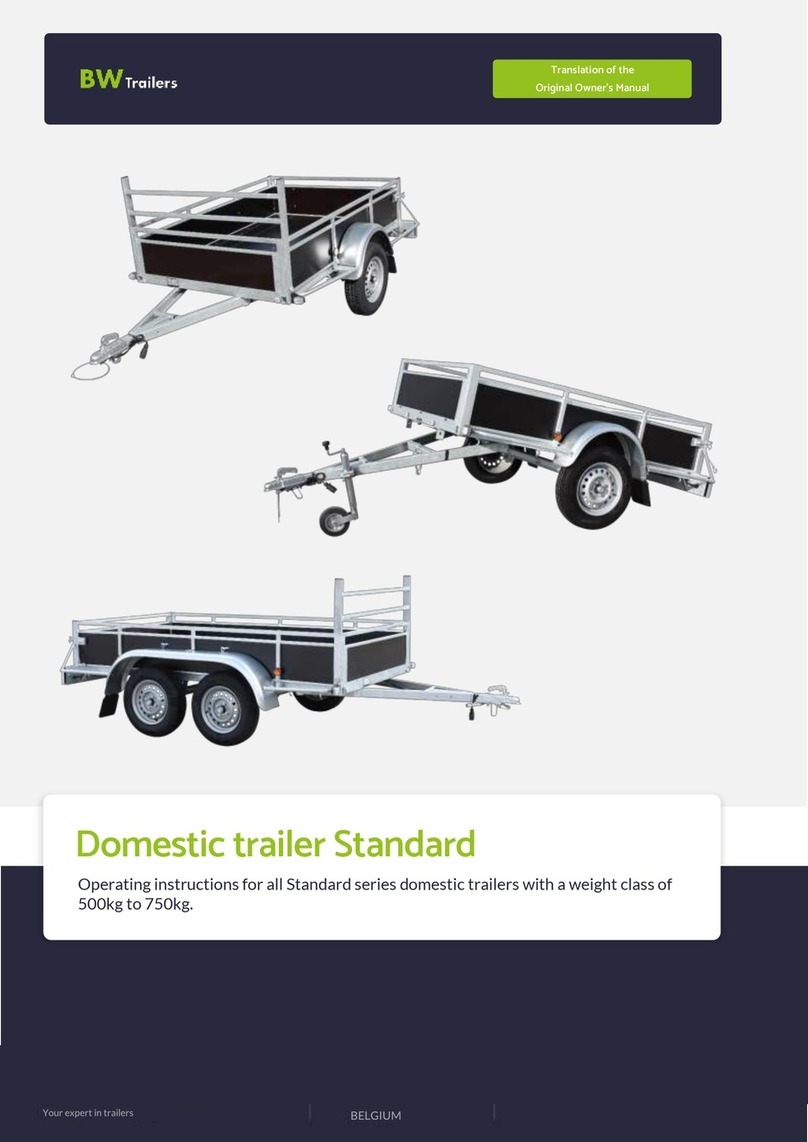
BW Trailers
BW Trailers Domestic trailer Standard operating instructions

Toro
Toro Workman MD Service manual

Malone
Malone XtraLight MPG525G Assembly instructions
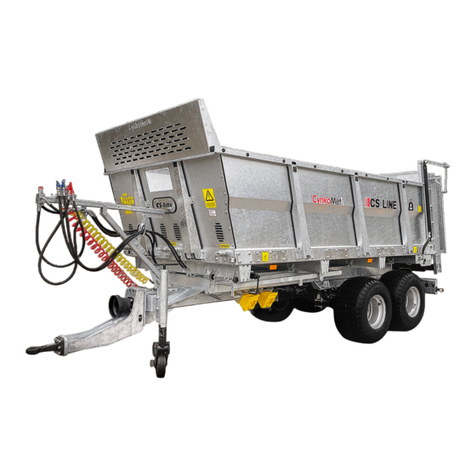
CynkoMet
CynkoMet N-221/3-3 Instructions for Use and Operation


