Guarantees, Terms and Customer Care:
We recommend that all products are purchased with the assistance of a
specialist bathroom retailer and always installed by an experienced installer who is a
member of a recognised plumbing association.
Horus Bathrooms sanitaryware products are produced to the most demanding standards
set by any manufacturer in the industry and each piece can be subject to as many as 15
individual quality control checks during production.
Not withstanding the high quality finishes achieved in the Imperial factory, all sanitaryware
is subject to the limitations of the ceramic manufacturing process.
Vitreous China
These are extremely hard, non-porous products; but are also brittle and therefore must
not be put under stress during installation.
Basin waste fittings when over tightened can create stress within the ceramic material
which may in time cause the failure of the product. Waste fittings should be carefully
bedded in silicon and the back nut hand tightened.
One additional quarter turn using a suitable spanner is sufficient to create the required
watertight seal.
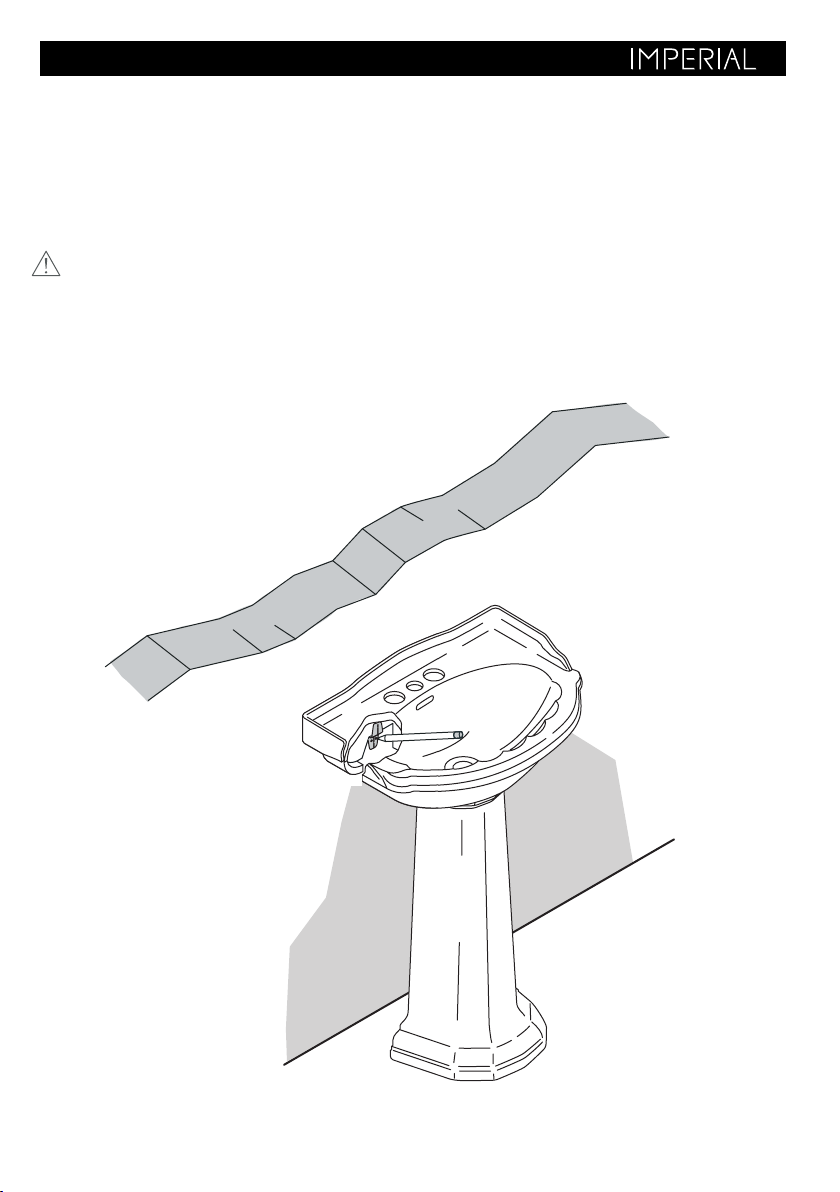
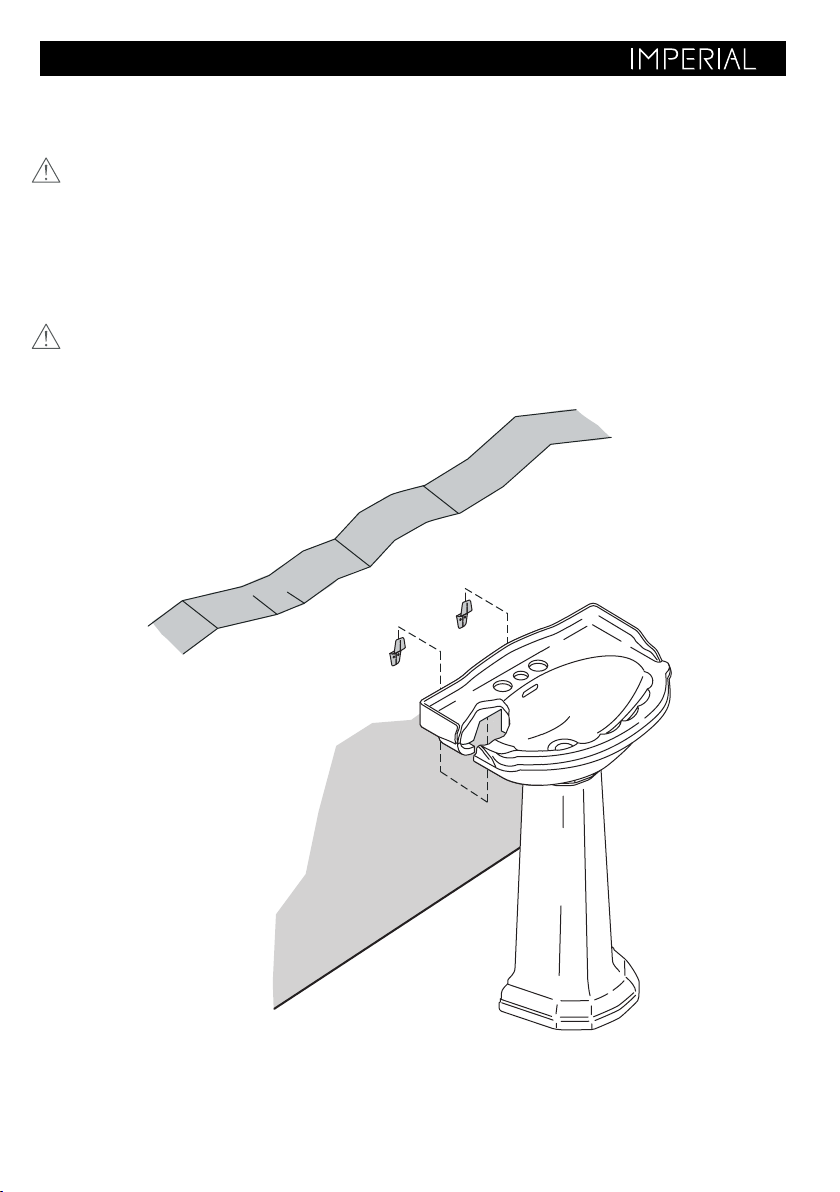
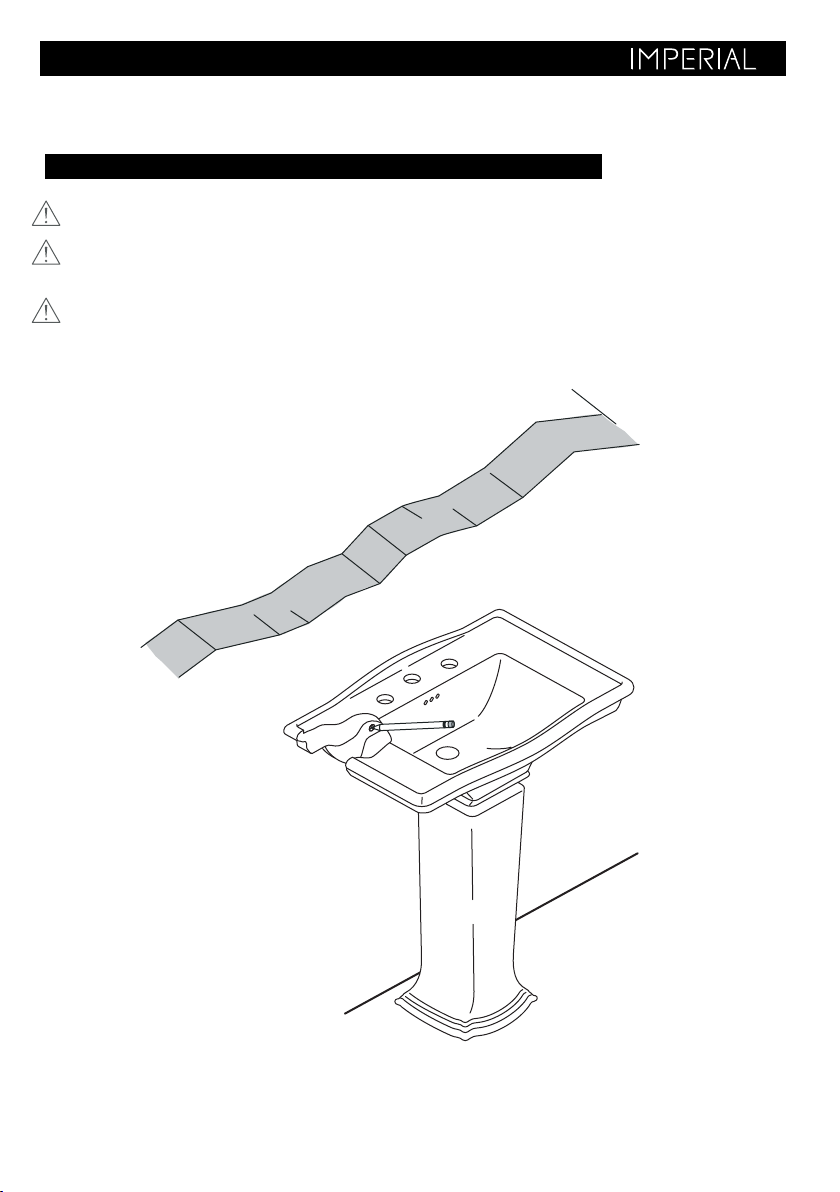
Care should also be taken when fitting brassware to tap platforms in order to prevent
similar stress related failures. All products should be inspected before installation.
Looking after your Bathroom:
The glazed finish of your sanitaryware should be cleaned after use by applying a little
cream-type cleaner.
Apply using a sponge or damp cloth and rinse thoroughly with clean water.
Cleaners containing abrasive materials should be avoided.
Gold plated brassware and taps should be cleaned with warm soapy water and dried with
a soft cloth. Under no circumstances should bleach or abrasive cleaning products, polishes,
or detergent be used on plated surfaces and in particular should these materials be used on
gold plated items it is possible that the surface will be damaged.
Guarantees (UK & Ireland)
Vitreous china carries a lifetime guarantee against failure caused by manufacturing defect.
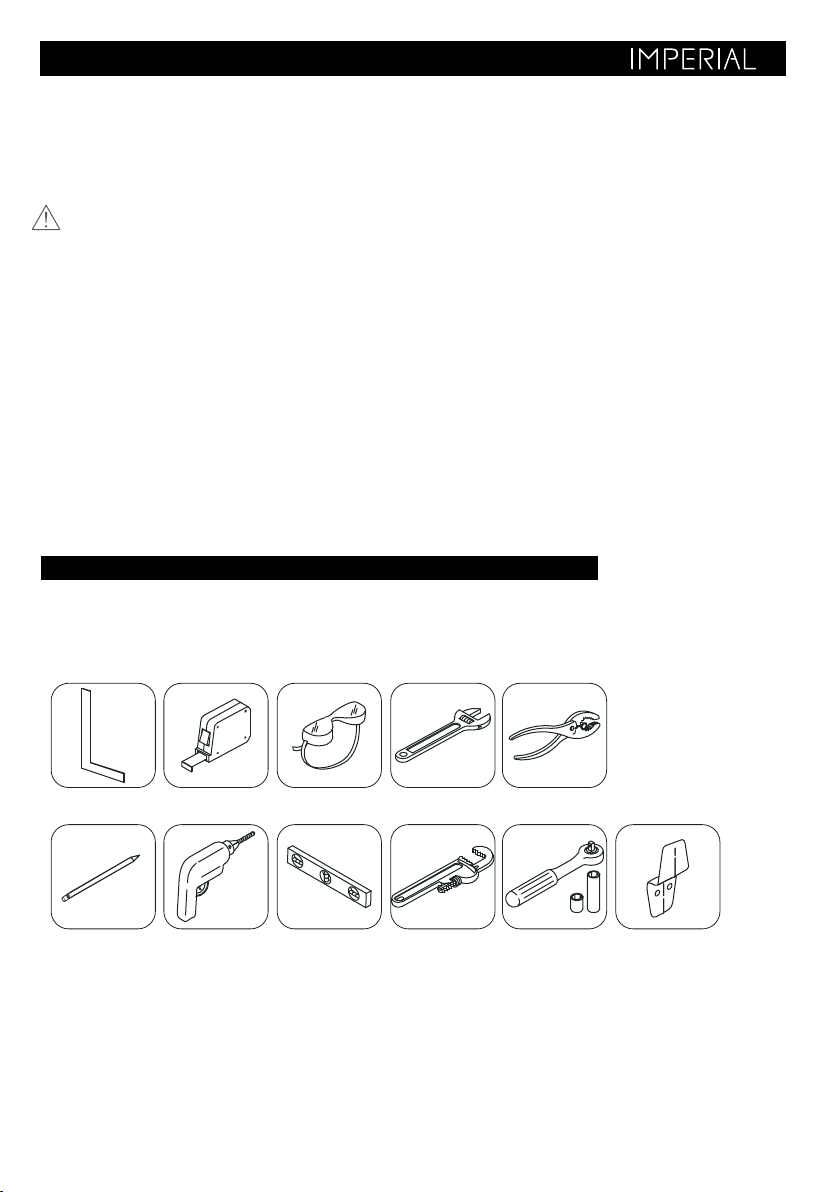
Installation Guide
Pedestal and Semi-Pedestal Guidelines