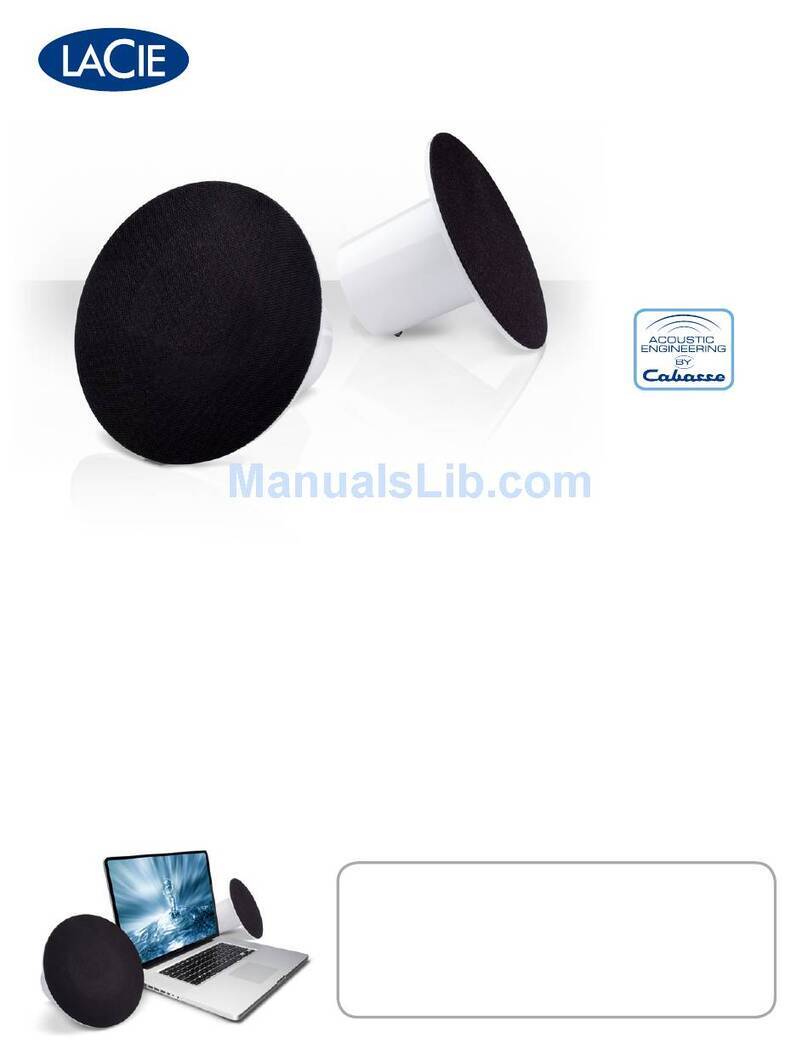
IN2UIT Collage User manual

IN2UITCOLLAGE
OWNER’S MANUAL
1

Dear Audiophile,
Thank you for purchasing ‘Collage’ by IN2UIT. Filo features hi-end tweeters using the proprietary SBESL
(Self-Biased ElectroStatic Loudspeaker) acoustic technology that we refer to as ELECTROSTATZ®. The
acoustic performance and reproduction are of the highest quality and level, revitalizing your many familiar
sounding recordings into a new listening experience.
We wish you many years of enjoyment through Collage,
our ultra-high performance Bluetooth mobile speaker.
2

PACKAGE CONTENTS
OVERVIEW
PLACING YOUR SPEAKER
OPERATING
CARE & MAINTENANCE
CONTACTING CUSTOMER SERVICE
TROUBLESHOOTING
WARRANTY
TECHNICAL SPECIFICATIONS
4
5
7
11
18
19
20
20
21
3

Collage - Bluetooth mobile speaker device X1
15V / 4A DC power adaptor X1
stand X1
PE bag X1 (include:2 x screws )
measurement paper X1
warranty card X1
1
2
3
4
5
6
PACKAGE CONTENTS
1 2 3
4
5
4
Measurement Paper
15V / 4A DC power adaptor
6

Power / Bluetooth pairing button X1
Power / Bluetooth LED indicator X1
SBESL ELECTROSTATZ®tweeters X2
(LHS / RHS stereo sound)
1
2
3
FRONTVIEW
3
5
POWER
2
1
LED

3.5mm stereo input jack X1
DC-in socket X1
SBESL ELECTROSTATZ®tweeter X2
Wall mounting receptacle
Flip-out stand
1
2
3
4
5
REAR PANEL
1
2
33
4
5
6
DC-IN
3.5mm
JACK

For desktop usage, embedding operation is simple (see
the picture inset), just align the stand protrusion with the
rectangle stand receptacle in the bottom of the unit. Make
sure it is seated and engaged properly.
There are two screw holes of the bottom of the stand. They
should automatically align the screw holes of the bottom
of the unit.
Secure the stand to the unit using the screws (x2)
provided.
For best bass response, the speaker should be placed
near a wall.
To avoid adverse sound quality, do not place the speaker in
confined areas that are enclosed or block the sound wave
dynamics.
1
2
3
4
5
PLACING ON YOUR DESTOP
7

MOUNTING YOUR SPEAKER ON A WALL
Place the measurement paper provided in the desired location against the
wall and mark the screw locations (x2) with a pencil, using the measurement
paper as a template. Use a tape measure to measure the height from the
floor to the marked holes and make sure they are level and equidistant. If
you plan to feed wires through the wall, mark the pilot hole position first.
Choose the screws to fit the hole of the wall-mounting bracket, however if
your wall surface is hard, like concrete, drill pilot holes to insert anchor
plugs for the screws to engage with. Remember always measure twice.
Secure the screws (x2) on the wall.
Mounting operation is simple (see the picture inset), just hanging the
wall-mounting bracket of the Collage speaker on the screws. The speaker
now is ready to use.
1
2
3
4
8

NOTICE!
Do not mount the speaker on surfaces that are not sturdy enough, or have
hazards, such as electrical wire or plumbing, concealed behind them. If
you are unsure about installing the speaker, contact a qualified professional.
The brackets were specifically designed to support the weight
of‘Collage’only.
NOTICE!
The ELECTROSTATZ™ tweeter panels, LHS & RHS, are dipole i.e. sound waves
travel in both directions. To maintain the highest quality acoustic
performance, never block the rear sound output area and always maintain at
least a 3cm distance between the tweeter panels and the wall. The mounting
bracket will automatically provided the clearance required.
9

CONNECTING THE AC POWER
NOTICE!
For safety purposes always turn off the main power switch when
plugging or unplugging in the device.
The universal power adaptor that comes with Collage accepts multiple
voltages (100-240V); however users are advised to check regional AC
voltage supply and plug type before connecting to the power supply.
Prior to connecting to the power supply, make sure the
speakers are switched off first. Engage the male DC-in plug and female
DC-in receptacle on the rear of the device. Turn on the speakers’ power
as indicated below.
10

power button
CONTROL BUTTON
PRESS 1.5 SECONDS FOR POWER ON PRESS 2SECONDS FOR POWER ON & PAIRING
PRESS LESS THAN 1SECOND FOR POWER OFF
PRESS 2SECONDS FOR RE-PAIRING
11
PRESS LESS THAN 1SECOND FOR POWER OFF

BLUETOOTH WIRELESS CONNECTION
If the device is already turned on, press and hold the power button on the speaker for two seconds
to pair both devices
If device power is off, press and hold the power button on the speaker for two seconds to both turn
on and pair the speaker.
Enable the Bluetooth function on your music players (Apple, Android, MP3 etc.) and start the
Bluetooth search for the device named as “IN2UIT Collage”.
Choose and confirm the connection to “IN2UIT Collage” from your music player.
After successful connection, you are ready to play music from your player. Adjust the required
volume on your music player for comfortable and non distorted playback. Maximum volume output
may cause clipping on some type of music.
1
2
3
4
5
12

BLUETOOTH WIRELESS CONNECTION
NOTICE!
Pairing occurs when the two Bluetooth devices communicate with each other and establish a connection.
A record of information about this connection is then stored in the memory of each device. Once you pair
a device with the Collage speaker, you should not have to pair it again.
NOTICE!
You may have to enter the password “0000” in order to connect Bluetooth device.
NOTICE!
Collage support Bluetooth 2.1 with apt-X , but the device connected to Collage must support Bluetooth
apt-X to enable Bluetooth apt-X.
13

INPUT FROM 3.5MM STEREO JACK
You can connect non Bluetooth enabled audio devices, such as a portable digital MP3 player, with
Filo. This requires using an audio cable with a 3.5 mm stereo plug and cable to connect with the
3.5mm jack input on the Filo system.
Make sure the speakers are switched off.
Connect the 3.5mm plug to audio source (e.g. MP3 player)
Connect the other 3.5mm plug end to Filo
Disconnect any Bluetooth connections
Play music from a player connected via the 3.5mm stereo cable.
Note: Using higher quality cables will improve the sound quality and help Filo speakers realize
their full potential.
Automatic Power shutdown. If there is no Bluetooth connection or Line-in connection for over 10
minutes, the system shall automatically shutdown. User needs to power on the system for usage
after automatic shutdown.
1
2
3
4
5
NOTICE!
14

OPTIMIZATION OF AUDIO PERFORMANCE
IN2UIT systems feature proprietary, leading edge Electrostatic Loudspeaker (ESL) technology that we call our
ELECTROSTATZ®tweeter technology. The ethereal acoustic characteristics provide the user with the highest
class of audio playback. In order to maximize this performance, it is advised to read the following instructions:
1. ELECTROSTATZ® tweeters are dipole transducers. This means the sound waves are transmitted
from both sides of the diaphragm in opposite polarity. A dipole transducer produces one sound wave
to the front and another sound wave to the rear.
2. When mounted on the wall brackets, the distance and clearance from the ELECTROSTATZ® back
plane to the wall is optimal. In other possible placement criteria, users are advised to keep a
clearance of at least 3cm from any object that may cause blockage of the front and rear sound waves.
A blockage less than 3cm to the rear of ESL speakers may result in the loss of sound pressure and
less volume output.
3. When correctly positioned, for example, closer to the wall, the reflected ESL back sound wave can
be amplified and help create a wider, deeper sound stage for more realistic acoustic performance.
15

CARE AND MAINTENANCE
Components of the highest quality are used in Collage. This assures years of trouble free operation. The
following precautions should still be strictly adhered to.
Cleaning
Use a specialized cleaning brush or vacuum cleaner (low setting) with nozzle attachment to clean speaker
cloth and device. If you wish to use a cleaning agent, apply it onto the cleaning cloth, not directly onto the
product. Test a small area first, as some cleaning products may damage the surfaces and materials. Avoid
products that are abrasive, contain acid, alkali or anti-bacterial agents.
Recycling used products
This product is subjected to the European Union Waste Electrical and Electronic Equipment directive
(WEEE), 2002/96/EC. This product must not be disposed of as unsorted municipal waste and must be
collected separately and disposed according to your national regulations.
16

For questions concerning the Collage, contact your local IN2UIT dealer. To contact IN2UIT directly, consult
the contact information included with your Collage speaker or visit www.IN2UIT.com
CONTACTING CUSTOMER SERVICE
TROBLESHOOTING
Our hearts and souls are in your Collage. However, if it’s acting up and you can’t find your answer here,
please visit our support page at:http://www.in2uit.com/support-collage4.asp
17

WARRANTY
The warranty only covers faults or defects in material and production.
Damage caused as a result of abuse, misuse or tampering is not covered by the warranty.
All warranty claims must be accompanied by a copy of the original filled out warranty document and
certified by your dealer.
Purchasing invoice and warranties are only valid in the country or market of original origin and
distribution. Should warranty service be required, it must be arranged for in the country of purchase by
an authorized dealer.
18

TECHNICAL SPECIFICATIONS
System Two-way active speaker
Bluetooth wireless speaker with apt-x
Frequency Response (+/- 3 dB) 100Hz – 30kHz
Amplifier power Tweeter: 2x2.5W / Woofer: 2x10W
Bluetooth Specification Version2.1+EDR
Supported Bluetooth Profiles A2DP
Bluetooth Operating Range Up to 10 meters
Tweeter ELECTROSTATZ®ESL x 2
Woofer 52 mm PP conex2
Weight (kg) 1.2
Dimensions (W x H x D) ( mm ) 530 X 260 X 60
19
Other manuals for Collage
1
Table of contents
Other IN2UIT Speakers manuals
