Influence Sauna Influence Series User manual

InuenceSauna.com | 1
© Inuence Sauna
Operating instructions for your
Inuence Infrared Sauna
Congratulations on your purchase of your Inuence Sauna Infrared Sauna.
We are condent that you will enjoy the many benets for years to come.
Carefully read this manual before using your Inuence Sauna for the rst
time. We recommend keeping this manual for review and future reference.
Guidelines and helpful tips
Inuence Sauna
Owner’s Manual

InuenceSauna.com | 2
© Inuence Sauna
Welcome to the Inuence Sauna family!
By owning an Inuence Sauna, you’re taking a powerful step for your health–and you can
enjoy the ultimate relaxation in your home whenever you want.
The manufacturer of our high-quality infrared saunas has been creating saunas for 45 years
and continues to provide excellent craftsmanship and innovative technology.
Each sauna is made with the highest-grade materials–including 100% hand-selected
Western Red Canadian Cedar–and is built to be easy to use, with low radiation for the
whole sauna and the highest safety standards in the industry.
With your Inuence Sauna, you also enjoy such excellent features as our patented
Spectrum Plus heaters (which are backed by a lifetime warranty), responsibly and
sustainably certied wood, LED color lighting, Bluetooth®compatible audio components,
as well as additional features designed to enhance your lifestyle and wellness.
We are happy to have you join us and look forward to sharing in your experience as you
take control of your health and support your relaxation with your Inuence Sauna.
By making infrared sauna use a regular part of your routine, you’ll enjoy anti-aging, disease-
preventing, and longevity benets–all without leaving the comfort of your home.
Enjoy!
Your Inuence Sauna Family
Inuence Sauna
Empower yourself for better health

InuenceSauna.com | 3
© Inuence Sauna
Table of contents
Installation and Maintenance: 1. Location, Cleaning, & Maintenance
2. Assembly Guide
Getting Started
Helpful Tips for Enjoying Your Sauna Sessions
Safety Precautions for Your Inuence Infrared Sauna
Troubleshooting Guide
Optional Accessories: a. Outdoor Cover
Limited Warranty
The information contained in this manual is subject to change without notice.
4
5
11
17
20
22
25
26
A
B
C
D
E
F
G

InuenceSauna.com | 4
© Inuence Sauna
A. Installation & Maintenance
1) How to choose a location
When choosing a location for your Inuence Sauna, keep these
two things in mind: One, your sauna should be placed on a solid
surface. Two, your sauna must be placed in a dry area.
Here are the installation requirements for your Inuence
Infrared Sauna:
1. Your sauna should not be built into any structure. It is a self-
contained and freestanding unit.
2. To allow easy access to the main power cord, ensure there’s
a minimum of 3-inches of clearance from the top wall and all
sides of the unit.
Moisture may cause damages to the interior and exterior of your
sauna. Your basement, attic, garage, playroom, spare bedroom,
new extension, and garden chalet are a few possible locations
for your sauna. Inuence Sauna’s beautiful cedar wooden
exterior should complement your house beautifully.
If you choose to place your sauna outdoors, you must use
a cover (see page 25) to protect your sauna. Don’t place the
sauna on a surface that easily gets wet. Placing your sauna
outside without a cover will void your warranty.
2) Cleaning & maintenance
1. Before using your Inuence Infrared Sauna for the rst time,
use a damp cloth to clean the inside of the sauna. You can use
a natural furniture polish or bees wax to clean the exterior.
2. To burn o any factory dust before using your sauna for
the rst time, turn the sauna on for the maximum time and
temperature. For maximum performance of the heaters, cycle
your Inuence Sauna (turn on to max temperature and run for
one hour) 2-3 times.
3. Remove any scratches and stains on the inside of the sauna
using a ne grade sandpaper over the damaged area.
4. A customized Inuence Sauna cover is available as an
accessory for all models. Use of this protective storage cover
will not only preserve the natural beauty of the sauna but will
also help in maintaining it for years of continuous enjoyment.
5. We recommend applying a heavy furniture polish or bees
wax to the outside of the sauna before putting the (optional)
cover on. The polish will create a barrier for better protection.

InuenceSauna.com | 5
© Inuence Sauna
A. Installation & Maintenance
Step 1: Bottom and back panels
1. Find the bottom panel.
Turn the bottom panel upside-down and install the feet.
Turn the bottom panel back over and place it in position
where the sauna will be assembled.
2. The back of the sauna will have the wire coming up from
the oor.
3. Place the back-right panel onto the bottom panel. Have
someone hold the back panel upright so it does not fall over.
4. Place the left panel onto the bottom panel.

InuenceSauna.com | 6
© Inuence Sauna
Step 2: Bench support and right panel.
1. Set the right panel in place and secure the panel with the (4) additional screws.
2. Place the bench support. Plug in the heater cable from the bench support to the back wall. Plug the
oor cable into the back wall.
3. Slide the bench top on the bench support.
A. Installation & Maintenance
5. Using a screwdriver, secure the back panel to the left side panel with the (4) provided screws.

InuenceSauna.com | 7
© Inuence Sauna
Step 3: Front Panel and Top Panel
1. Fold the glass door against the sauna. Lift the right side of the
panel onto the sauna frame. Do not lift the top left bar of the sauna.
2. The middle clip is to make a tight seal. You will need to line up
the notch with the hole and slide the panel into place.
You may need to wiggle the door or use a rubber mallet to seat the
door into place.
3. The middle notch is to create a tighter seal in outdoor climates.
User can remove this notch by removing the (4) screws and pulling
out the notch.
A. Installation & Maintenance
4. Use (4) small screws to secure the front panel. Two screws on
the front right and two screws on the left side panel.
5. With two people, place the top panel over the sauna
and feed the wires on the left side into the provided hole.
2
6. With the lid in place remove the (4) screws to access
the power supply unit.

InuenceSauna.com | 8
© Inuence Sauna
Step 4: Power supply connections
1. Plug in the front panel heater into the power supply.
2. Screw in the data link cable to the power supply.
3. Connect the (2) pin temperature sensors.
A. Installation & Maintenance
4. Plug the power cable into the power supply. 5. Replace the top panel screws and feed the power cable through the hole.
1
2
3
4
5

InuenceSauna.com | 9
© Inuence Sauna
A. Installation & Maintenance
3. Place the wood covers over all three connections.
Step 5: Interior heater connections
1. Plug red and white connectors into top panel. (Left Rear Top)
2. Plug red and white connectors into top panel. (Right Rear Top)
3. Connect white connector to top panel. (Left Front Top)
1
23

InuenceSauna.com | 10
© Inuence Sauna
Step 6: Door Handle
1. Use the provided screws (2) to mount the door handle to the door.
A. Installation & Maintenance
Step 7: Plug In the Power Cable
Your installation is complete!
The installation of your new Inuence Sauna is now complete! Use a damp cloth to wipe out the sauna to remove any excess
sawdust that may have settled on the wall, heaters, or oor.

InuenceSauna.com | 11
© Inuence Sauna
1) Preparing for your rst infrared sauna home experience
The cedar is aromatic and adds to the enjoyment of your sauna session. If the fragrance of the fresh wood is too strong during the
rst few months, rst wipe the wood with a damp cloth to minimize the aroma.
1. Review all health and safety instructions. If you’re in doubt
about using your infrared sauna, rst consult with your
physician.
2. The interior and exterior of the Inuence Infrared Sauna is
made of the nest Western Canadian Red Cedar.
B. Getting Started
2) Digital control panel
Temperature Display
Current sauna session temperature indicator °F/°C
Time Display
Sauna session time: 0-60 minutes
USB Connection
Plug in USB device or USB stick
Audio Connection
Bluetooth audio: on / o
Light Button
Turn light on and o, functional when powered on or o
Lock Button
Lock sauna controller
Power Button
Turn sauna on and o

InuenceSauna.com | 12
© Inuence Sauna
The controller is touch sensitive, so you must hold down the
power button for 2-3 seconds.
3) Powering on your sauna
1. Plug in the power cord to the electrical outlet. All lights on the LED Control Panel will ash once.
2. During O mode, nothing will display.
3. We recommend turning the sauna on for the maximum time and temperature in order to burn o any factory dust before using
your sauna for the rst time. For maximum performance of the heaters, cycle your sauna (turn on to max temperature and run for
one hour) 2-3 times.
B. Getting started
4) Starting up your sauna
1. Tap and hold the Power button for approximately 5 seconds
to start up your sauna.
2. The temperature display will indicate the current cabin
temperature. If the ambient temperature within the cabin is
below 90ºF/30Cº, the display will read “LO.”
3. The time display will indicate the sauna session time. When
the time button is tapped, it will change the time in ve-
minute increments. The maximum session time is 60
minutes.
4. The Light button will illuminate to indicate that the interior
LED panel is turned on. To turn O, simply tap Light again.

InuenceSauna.com | 13
© Inuence Sauna
B. Getting Started
5) Setting the sauna session time and temperature
Session Time
1. Tap the Time+ or Time- buttons to adjust the
sauna session time.
2. The session time will change in 5-minute
increments and can be set between 5 and
60 minutes per session.
Session Temperature
1. Tap the Temp+ or Temp- button to adjust the
sauna session temperature.
2. In Fahrenheit mode (ºF), the temperature can
be adjusted 5 degrees at a time.
Min. Temp: 90ºF, Max Temp: 170ºF
3. In Celsius mode (ºC), the temperature can
be adjusted 1 degree at a time.
Min. Temp: 30ºC, Max Temp: 75ºC
6) Changing between Fahrenheit and Celsius
Reduce Session Time
Shorten Session Time by 5 Minutes
Extending Session Time
Lengthen Session Time by 5 Minutes
Decrease Session Temperature
Lower Session Temp by 5ºF or 1ºC
Increase Session Temperature
Raise Session Temp by 5ºF or 1ºC
1. Tap and hold the Power button for approximately 5 seconds
to start up your sauna.
2. Tap the Temp- and Temp+ buttons at the same time and
hold for approx. 5 seconds until the display reads “F-C”.
3. Tap the Temp- and Temp+ buttons at the same time to
change to the desired mode (ºF or ºC).
4. Tap the Temp- and Temp+ buttons at the same time and
the display will read “OST”.
5. Tap the Temp- and Temp+ buttons at the same time and
the display will read “S-L”.
6. Tap the Temp- and Temp+ buttons at the same time once
more and the display will show the current temperature.
Note:
If the display shows “S” and the controller is beeping, simply repeat
steps 2-5 and tap the Temp- and Temp+ buttons at the same time
until the display reads “L”. Then tap the Temp- and Temp+ buttons
one last time.

InuenceSauna.com | 14
© Inuence Sauna
B. Getting Started
7) Using Bluetooth & USB
8) Locking your sauna’s control panel
1. When the sauna is on, tap the audio button so the light is
illuminated.
2. Open your Bluetooth settings on your device.
3. Select BT-SAUNA from the list of available connections.
4. Once connected press Temp + and Temp - to adjust the
audio level. You can also use your device to adjust audio
levels.
1. When the sauna is on, tap the audio button so the light is
illuminated.
2. Place a high-quality USB audio device into the USB slot.
3. Once connected, the screen will display USB.
4. Press the Temp + and Temp - to adjust the audio level. You
can also use your device to adjust audio levels.
Audio button
Connect to Bluetooth audio
1. Tap both the Lock and Temp- buttons at the same time and
hold for approximately 5 seconds.
2. You will hear a beep and “LOCK” will appear on the upper
right corner of the time display.
3. During Lock mode, all buttons will not be responsive in
either On or O modes and the Lock button will illuminate.
4. To release the Lock function, tap both the Lock and Temp-
buttons at the same time and hold for approximately 5 seconds.
To Lock and Unlock Your Sauna
Tap and Hold Both the Temp- and
Lock Buttons for Approx. 5 Seconds
USB
Connect to USB

InuenceSauna.com | 15
© Inuence Sauna
B. Getting started
9) Changing your sauna’s settings during a session
10) Controlling the multi-color LED light
Touch the Light key at any time to turn the inside light on or o, regardless of whether the sauna is turned on.
Multi-color LED-light remote controller operating
instructions
1. Press the On button to turn on your color light. The starting light color is
White.
2. Press the O button to turn o your color light.
3. When the color light is on, press one of the lighting modes to begin
your session.
4. Pick up to 16 dierent lighting choices.
5. Press the light buttons to change the brightness of your color light.
6. Near infrared is labeled as R.
6. Do not place your remote near heating elements.
1. If you want to adjust the temperature during a session, tap
the Temp+ or Temp- buttons.
2. If you want to adjust the session time, simply tap the Time+
or Time- buttons.
3. If you want to turn O the sauna in the middle of a session,
tap and hold the Power button until your sauna turns O.
• When your sauna session has 5 minutes left, the sauna will
beep letting you know your session is almost over.

InuenceSauna.com | 16
© Inuence Sauna
11) Error codes
EO: Temperature Sensor Disconnected. Reset sauna. Unplug and plug back in. Call customer support if needed.
E1: Short circuit. Check all connections.
IN CASHH: Inside Sauna Temperature is over the limit (170°F/76°C).
HH error will be resolved automatically. During HH error, your sauna will automatically
shut down and go into a cool-down period.
Contact Information for Customer Service:
• Telephone No. :
• Email :
EO
E1
HH
B. Getting started
702-660-0360
info@inuenceeducators.com
12) Customer service

InuenceSauna.com | 17
© Inuence Sauna
Your Inuence Sauna is equipped with special infrared heaters. Infrared heat waves reach the body directly without having to
heat the air inside the sauna.
With this system, breathing is more comfortable and the atmosphere inside the sauna is more enjoyable than in conventional
saunas. Because the infrared heat energy is warming the body directly (and not the air, walls, and xtures within the sauna), lower
temperature settings can be used to achieve results in short sessions starting from 20 to 30 minutes.
C. Helpful tips for enjoying your sauna sessions
1) Preparing for your infrared session
1. Review all health and safety instructions. If in
doubt as to the advisability of using your infrared sauna,
consult with your physician.
2. The interior of the Inuence Infrared Sauna is made of
the nest Western Canadian Red Cedar. It is aromatic
and adds to the enjoyment of your sauna session. If the
fragrance of the fresh wood is too strong during the rst
few months of use, rst wipe the wood with a damp cloth
to minimize the aroma.
3. Always drink plenty of water before, during and after
a session. Doing so will replenish uids lost during
perspiration.
4. Do not eat anything at least an hour before your sauna
session. It is better to go in the sauna on an empty stomach.
You are more likely to feel uncomfortable sitting in a sauna
with a full stomach.
5. Choosing to take a hot shower or bath prior to the sauna
session will further promote perspiration. However, dry o
thoroughly before going into the sauna because excessive
water will leave stains and might warp the wood.
6. Provide at least 2-3 towels. One towel folded over several
times for added cushioning on the bench. Another towel on
the oor to absorb extra sweat. And a third towel to wipe o
sweat.
7. Start up your sauna and select the desired session
temperature and time using the control panel (see page 6
and next page).
8. Allow approximately 15 to 20 minutes for the sauna to
warm up to a comfortable temperature before beginning a
session (warm up time is subject to the air temperature and
is dierent for each model).
Max Temperature (170ºF) Time
Inuence Hybrid 40-45 Min
Inuence 2-3 40-45 Min
Inuence 3-4 40-50 Min
Please Note:
Your sauna’s maximum temperature setting
may not be achieved based on variations in ambient room
temperature, air ow, placement of sauna, etc. If you are
experiencing unusual warm-up times or if you have recently
moved your sauna from one location to another, please call
our technical support team for thermostat calibration help.

InuenceSauna.com | 18
© Inuence Sauna
2) Setting session time and temperature
Your body will probably need a few weeks to fully adapt to
regular use of your Inuence Sauna.
Here are some average guidelines to set the time and
temperature once you are used to the sessions:
1.
2.
C. Helpful tips for enjoying your sauna sessions
Time:
Noticeable results are usually obtained
with sessions of at least 30 minutes. For
therapeutic use, sessions of 45 minutes are
advised.
Temperature:
Many beginners need to start with a lower
temperature and work their way up to a
higher temperature. Some studies show
therapeutic benets at 163°. Inuence
Saunas get to 170°. If perspiration does not
start after 10 to 15 minutes, this usually
indicates that the temperature is set too
low to obtain good results.
When using your Inuence Sauna for the rst time:
• Do not do more than three sessions a week during the
rst four weeks. You can do daily sessions after six weeks,
if desired.
• If you do not feel comfortable or relaxed during a
session, lower the temperature and/or open the door of
the cabin.

InuenceSauna.com | 19
© Inuence Sauna
C. Helpful tips for enjoying your sauna sessions
3) Useful information and tips for during your sauna session
1. Make sure you have a towel on the oor and on the bench
of the sauna to absorb perspiration.
In order to maintain a clean and pleasant atmosphere inside
your sauna, do not leave damp towels on the bench or
oor. Remove them immediately after the session is over.
2. Be sure to towel o excess sweat during your session to
help the body perspire more freely.
3. When the temperature reaches the level set on the control
panel, the heaters will turn o and on periodically in order to
maintain the desired temperature level inside of the sauna.
4. The ceiling vent on the top panel can be opened at any
time to introduce fresh air into the sauna.
5. If you feel the need for more cooling, simply leave the door
open until the air around you feels comfortable enough.
6. Do not put any lotions or oils on the body or face
prior to using the sauna. This may block the pores and
hinder perspiration.
7. Essential oils can help you to nd more tranquility during
your session.
8. To make the most out of your sauna session, work your
muscles while in the sauna. Stretch your arms, legs etc. to
help relieve sore and tense muscles and massage the
aected areas while in the sauna. If you wish to achieve a
deep heating eect to a specic area, move it closer to a
heater.
9. To relieve your ankles and feet more eectively, you must
elevate them while inside the sauna.
10. Shaving your face or legs with a razor while profusely
sweating in a sauna yields an incredibly smooth result
without the use of gels or foams.
11. Do not forget to drink plenty of water before, during and
after sessions to replenish lost uids through perspiration.
12. After the session is over, do not immediately jump into the
shower. Since your body was heated up during the session,
it will continue to sweat even after the heaters are o. Sit in
the sauna with the door open and let your body cool o.
Once you feel comfortable enough, take a warm (or cool)
shower to rinse the perspiration o your body.

InuenceSauna.com | 20
© Inuence Sauna
D. Safety precautions
1) General safety precautions
1. Read Instructions
Carefully read all safety and operating instructions before
operating your sauna.
2. Retain these safety and operating instructions for future
reference.
3. Do not smoke or light any re inside your sauna.
4. To reduce the risk of injury, do not allow small children to
use the sauna unless they are closely supervised at all
times.
5. Do not use the sauna immediately after hard exercise.
Wait at least 30 minutes to allow your body to cool down
completely.
6. Exercise care when entering or leaving the sauna.
7. Never sleep inside the sauna while the unit is in full
operation.
8. Unplug the sauna from the wall outlet before cleaning.
Use a damp cloth for cleaning. Do not use liquid cleaners or
aerosol cleansers inside the sauna.
9. Do not use this product near water. For example, near a
bathtub, in a wet basement, or near a swimming pool.
10. Do not use attachments that are not recommended by the
manufacturer, as they may cause a hazard.
11. The sauna must be placed under an awning or overhang
to prevent heavy rain falling directly onto the roof or
outdoor cover.
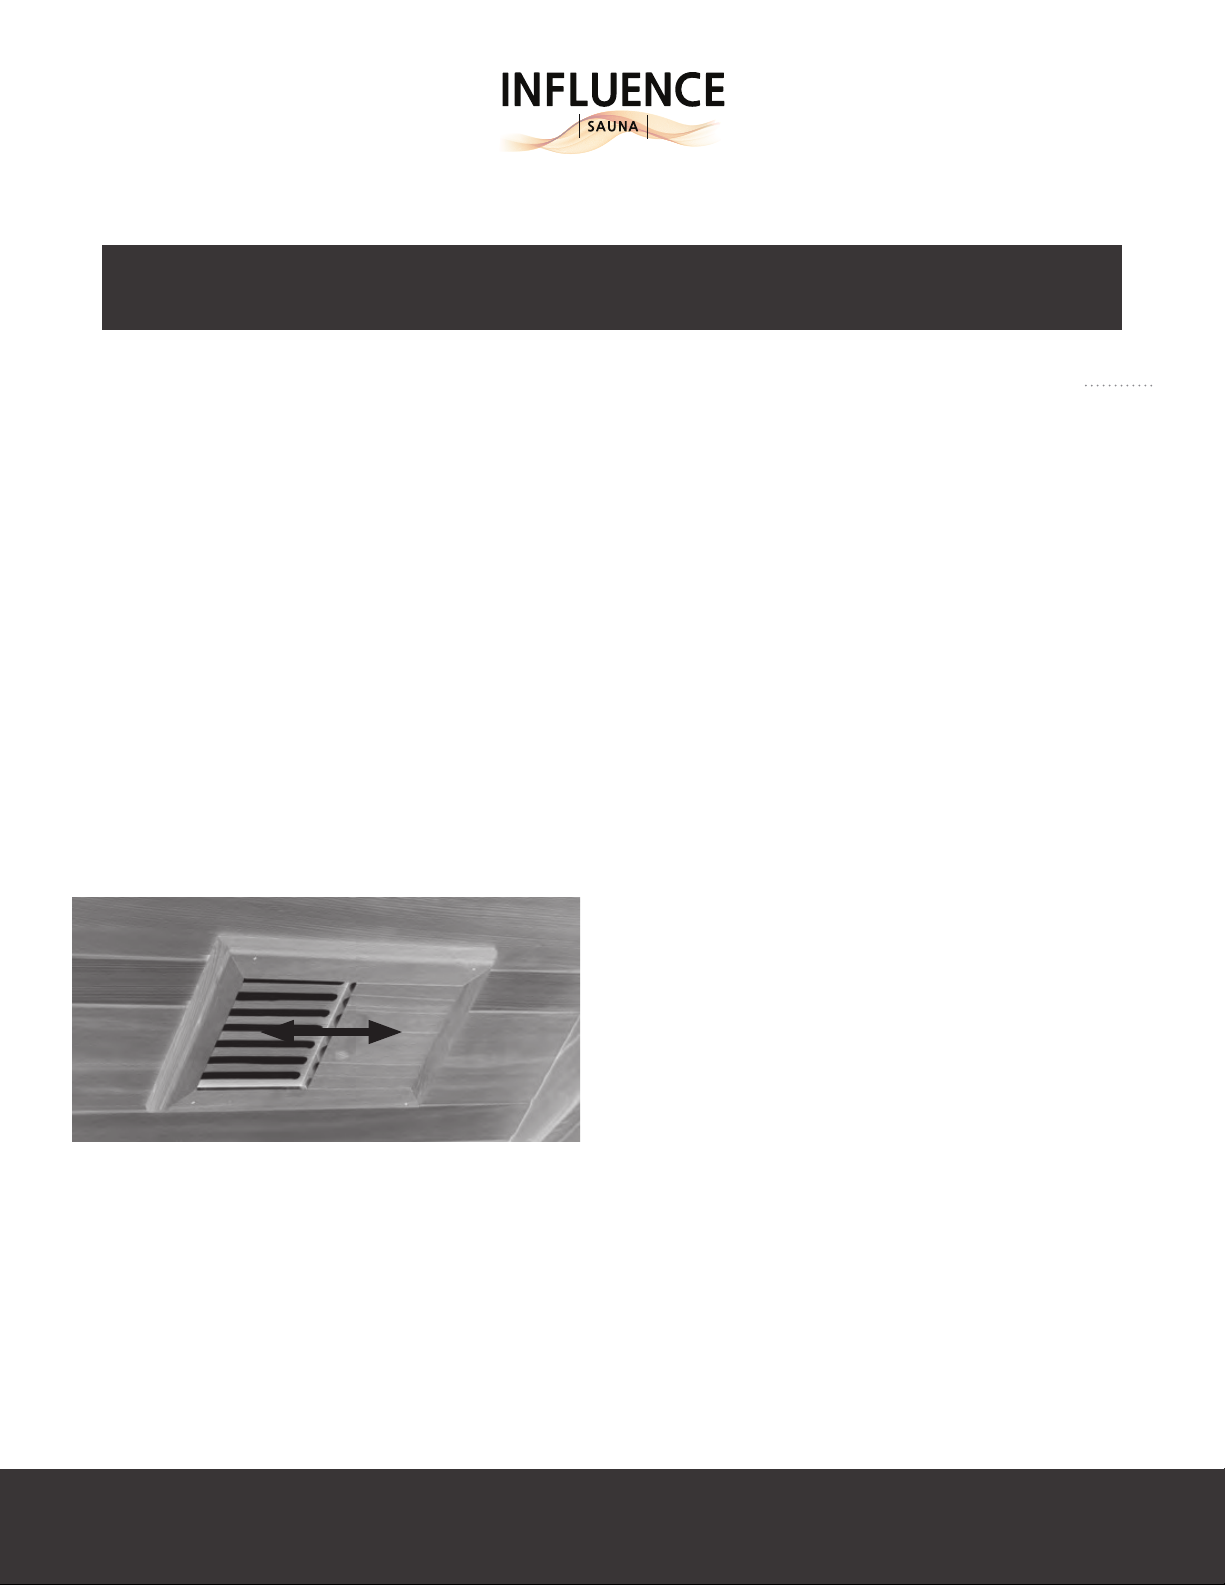
12. Do not stack or store any objects on top of or inside the
sauna.
13. Use precaution when using electronic devices.
14. Do not install aftermarket devices.
2) Medical and health related precautions
1. If you intend to use far infrared therapy for medical reasons,
please consult your physician prior to using the sauna.
2. Excessive temperatures have a high potential for causing
fetal damage during the early months of pregnancy.
Pregnant or possibly pregnant women should consult their
physician prior to using the sauna.
3. The use of alcohol, drugs, or medications prior to or during
the sauna session may lead to unconsciousness.
4. Persons suering from obesity or with a medical history of
heart disease, low or high blood pressure, circulatory
system problems, or diabetes should consult a physician
prior to using the sauna.
5. Persons using medications should consult a physician
before using the sauna since some medications may induce
drowsiness while others may aect heart rate, blood
pressure, and circulation.
6. At the rst sign of a cold or u, increasing your sauna
sessions may be benecial in boosting your immune system
and decreasing the reproductive rate of the viruses. Consult
your physician for the proper treatment and care for this,
before you start using your sauna.
7. Hyperthermia Danger
Prolonged exposure to hot air will induce hyperthermia.
Hyperthermia occurs when the internal temperature of the
body reaches a level several degrees above the normal
body temperature of 98.6°F/37°C.
While hyperthermia has many health benets, it is important
not to allow your body’s core temperature to rise above
103°F/39,4°C. Symptoms of excessive hyperthermia include
dizziness, lethargy, drowsiness, and fainting . The eects
of excessive hyperthermia may include failure to perceive
heat, failure to recognize the need to exit, unawareness of
impending hazard, fetal damage in pregnant women,
physical inability to exit the sauna, and unconsciousness.
*These statements have not been evaluated by the Food and Drug Administration. These statements are for informational purposes only and are not intended as a
substitute for medical counseling. This information is not intended to diagnose, treat, cure, or prevent any disease. The author and publisher shall have neither liability
nor responsibility to any person or entity with respect to any loss, damage, or injury caused directly or indirectly by the information contained herein.
Popular Plumbing Product manuals by other brands

KWC
KWC Designo K.28.H3.80.000.99 Specification sheet

Pfister
Pfister 015-2WD Quick installation guide

Grohe
Grohe F-digital 36 309 Operating conditions

American Standard
American Standard Standard 4271S Specification sheet

Hansa
Hansa HANSAMURANO-E Mounting and operating instructions

American Standard
American Standard 730236-100 installation instructions

flamco
flamco Logotherm LogoThermic G2 Installation and servicing instruction

Atlantic
Atlantic AF1000 product manual

Kraus
Kraus KBU11 installation manual

Hans Grohe
Hans Grohe Talis Select M51 300 2jet sBox 73867 0... Instructions for use/assembly instructions

Teuco
Teuco RC24 Assembly instructions

IB RUBINETTI
IB RUBINETTI MARMO 396 Fitting instructions