manuals.online logo
Brands
  1. Home
  2. •
  3. Brands
  4. •
  5. Axor
  6. •
  7. Plumbing Product
  8. •
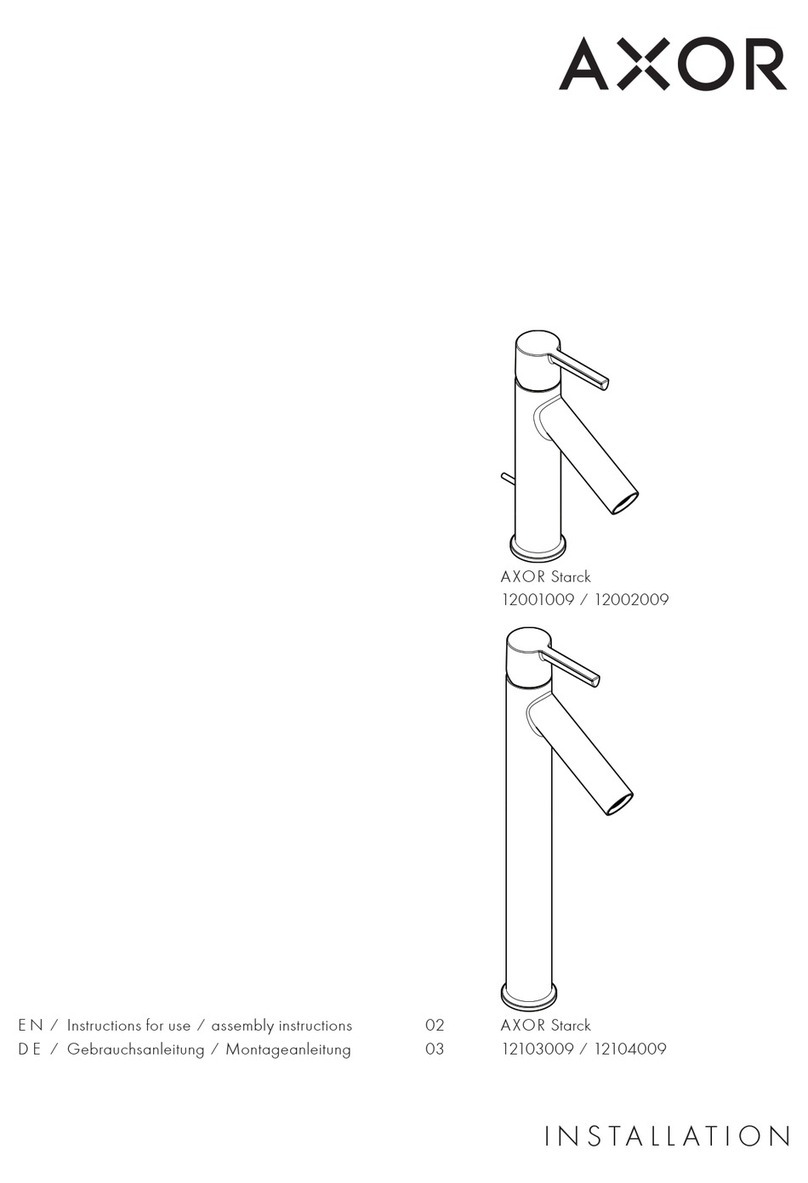
  9. Axor Starck V 12112003 Manual

Axor Starck V 12112003 Manual

INSTALLATION
EN ⁄ Instructions for use ⁄ assembly instructions 02
DE ⁄ Gebrauchsanleitung ⁄ Montageanleitung 03
AXOR Starck V
12112003
02
ASSEMBLY (see page 04)
SPECIAL ACCESSORIES (order as an extra)
spray body #92341000 (recommended at operating pressure < 0,15 MPa)
SPARE PARTS (see page 11)
MAINTENANCE (see page 10)
The check valves must be checked regularly according to DIN EN 1717 in
accordance with national or regional regulations (at least once a year).
OPERATION (see page 10)
⁄ As with all other fittings, do not use the first half liter as drinking water in
the mornings or after standstill of > 4 h. In subtropical and tropical coun-
tries, the first half liter of water must generally be discarded. (For more
information, contact your local environmental or health authorities.)
⁄ After the fitting has been out of use for more than three days (for example
during vacation), discard the residual water from the outlet to prevent
moscitoe breeding.
⁄ When the water is stagnant over a prolonged period of time, dirt particles
from the environment will get into the water. For this reason, the entire
glass spout must be cleaned in regular intervals (at least once per week),
and daily in subtropical and tropical countries.
⁄ The glass spout must be treated with care.
CLEANING (see page 07)
FLOW DIAGRAM (see page 06)
DIMENSIONS (see page 06)
Do not use silicone containing acetic acid!
SYMBOL DESCRIPTION
SAFETY NOTES
Gloves should be worn during installation to prevent crushing and cutting injuries.
The product may only be used for bathing, hygienic and body cleaning purposes.
There may be hot water in the glass spout. Risk of scalding.
Dust and other solid particles may deposit in the open spout on or in the water.
Detergents or other harmful liquids may mix with the stagnant water.
The water may go bad due to other external influences.
Because of the open design of the water spout, contamination from outside may
enter the unit.
A damaged glass spout must be replaced. Risk of injury.
The hot and cold supplies must be of equal pressures.
INSTALLATION INSTRUCTIONS
⁄ Prior to installation, inspect the product for transport damages. After it has been
installed, no transport or surface damage will be honoured.
⁄ The product is only suitable for private use. It is unsuitable for use in semi-public
and public areas.
⁄ The pipes and the fixture must be installed, flushed and tested as per the applicable
standards.
⁄ The plumbing codes applicable in the respective countries must be observed.
⁄ Please pay attention to the fact that the mixer is equipped with a laminar spray. This
enhances the natural aspects of water as element of life.
As this laminar spray does not contain any air, we recommend the use of very deep
washbasins to reduce splashing.
For further recommendations please consult the Axor Mixer⁄ Wash Basin Matrix.
To reduce splashing, you can also change the point where the water jet hits the
washbasin. To do so, swivel the spout or loosen the spray former to disable the
vortex. (see page 05 Fig. A - C)
⁄ The drain valve must only be used as intended. It is not allowed to attach other
objects to the drain valve, for example a semi-pedestal.
TECHNICAL DATA
This mixer series-produced with EcoSmart® (flow limiter)
Operating pressure: max. 1 MPa
Recommended operating pressure: 0,15 - 0,5 MPa
Test pressure: 1,6 MPa
(1 MPa = 10 bar = 147 PSI)
Hot water temperature: max. 70°C
Recommended hot water temp.: 65°C
Thermal disinfection: max. 70°C ⁄ 4 min
The product is exclusively designed for drinking water!
The glass outlet contains lead oxide.
EN
03
MONTAGE (siehe Seite 04)
SONDERZUBEHÖR (nicht im Lieferumfang enthalten)
Strahlkörper #92341000 (empfohlen bei Betriebsdruck < 0,15 MPa)
SERVICETEILE (siehe Seite 11)
WARTUNG (siehe Seite 10)
Rückflussverhinderer müssen gemäß DIN EN 1717 regelmäßig in Überein-
stimmung mit nationalen oder regionalen Bestimmungen auf ihre Funktion
geprüft werden (mindestens einmal jährlich).
BEDIENUNG (siehe Seite 10)
⁄ Wie bei allen Armaturen darf morgens oder nach Stagnationszeiten > 4 h
der erste halbe Liter nicht als Trinkwasser verwendet werden. In subtro-
pischen und tropischen Ländern darf generell der erste halbe Liter nicht
verwendet werden. (Weitere Informationen sind bei den örtlichen Umwelt-
und Gesundheitsämtern erhältlich.)
⁄ Sollte die Armatur für mehr als drei Tage (z. B. während des Urlaubs)
nicht in Gebrauch sein, muss das Restwasser aus dem Auslauf gegossen
werden damit keine Moskitobrutstätte entsteht.
⁄ Wenn das Wasser über einen längeren Zeitraum steht, gelangen durch
die Umwelt Verschmutzungen ins Wasser. Der Glasaufsatz ist daher in re-
gelmäßigen Abständen (mindestens 1 x wöchentlich) komplett zu reinigen,
in subtropischen und tropischen Ländern sogar täglich.
⁄ Der Glasauslauf erfordert einen sorgfältigen Umgang.
REINIGUNG (siehe Seite 07)
DURCHFLUSSDIAGRAMM (siehe Seite 06)
MASSE (siehe Seite 06)
Kein essigsäurehaltiges Silikon verwenden!
SYMBOLERKLÄRUNG
SICHERHEITSHINWEISE
Bei der Montage müssen zur Vermeidung von Quetsch- und Schnittverletzungen
Handschuhe getragen werden.
Das Produkt darf nur zu Bade-, Hygiene- und Körperreinigungszwecken eingesetzt
werden.
Der Glasauslauf kann heißes Wasser beinhalten. Dies kann zu Verbrühungen
führen.
Staub oder sonstige Feststoffe können sich im offenen Auslauf auf oder im Wasser
ablagern.
Reinigungsmittel oder sonstige gesundheitsschädliche Flüssigkeiten können sich mit
dem stehenden Wasser vermischen.
Das Wasser kann durch sonstige äußere Einflüsse verderben.
Durch den offenen Wasserlauf besteht die Gefahr, dass Verschmutzungen von
außen eintreten können.
Ein beschädigter Glasauslauf muss ausgetauscht werden, ansonsten besteht
Verletzungsgefahr.
Große Druckunterschiede zwischen den Kalt- und Warmwasseranschlüssen müssen
ausgeglichen werden.
MONTAGEHINWEISE
⁄ Vor der Montage muss das Produkt auf Transportschäden untersucht werden. Nach
dem Einbau werden keine Transport- oder Oberflächenschäden anerkannt.
⁄ Das Produkt ist nur für den privaten Bereich geeignet, nicht für den halböffentlichen
und öffentlichen Bereich.
⁄ Die Leitungen und die Armatur müssen nach den gültigen Normen montiert, gespült
und geprüft werden.
⁄ Die in den Ländern jeweils gültigen Installationsrichtlinien sind einzuhalten.
⁄ Die Armatur ist mit einem Laminarstrahl ausgerüstet, der die natürliche Seite des
Lebenselements Wasser unterstreicht.
Da es sich bei einem Laminarstrahl um einen Strahl ohne Luftbeimischung handelt,
empfehlen wir zur Vermeidung von Spritzwasser die Verwendung von extra tiefen
Waschbecken.
Weitere Informationen können Sie der Axor Armaturen-Waschtisch-Matrix entneh-
men.
Weitere Möglichkeiten zur Vermeidung von Spritzwasser sind die Veränderung des
Auftreffpunktes vom Wasserstrahl im Waschbecken durch Schwenken des Auslaufs
oder das Deaktivieren des Wirbels durch Lösen des Strahlformers. (siehe Seite 05
Abb. A - C)
⁄ Das Ablaufventil darf nur zum bestimmungsgemäßen Gebrauch verwendet
werden. Das Befestigen von anderen Gegenständen z. B. einer Halbsäule an dem
Ablaufventil ist nicht zulässig.
TECHNISCHE DATEN
Armatur serienmäßig mit EcoSmart® (Durchflussbegrenzer)
Betriebsdruck: max. 1 MPa
Empfohlener Betriebsdruck: 0,15 - 0,5 MPa
Prüfdruck: 1,6 MPa
(1 MPa = 10 bar = 147 PSI)
Heißwassertemperatur: max. 70°C
Empfohlene Heißwassertemperatur: 65°C
Thermische Desinfektion: max. 70°C ⁄ 4 min
Das Produkt ist ausschließlich für Trinkwasser konzipiert!
Der Glasauslauf enthält Bleioxid.
DE
04
120°
123
65
3 Nm
1.
2.
min. 60 mm
95°
7a
7b
7a
60°
60°
80°
40°
40°
80°
360°
120°
4
SW 10 mm
SW 19 mm
4 Nm
SW 24 mm
4 Nm
1.
2.
Montage Strahlformer Deaktivieren
05
7b
47°
47°
27°
67°
67°
27°
360°
95°
SW 4 mm
A
8
B C
MontageMontage Strahlformer Deaktivieren
06
AXOR Starck V
12112003
AXOR Starck V
12112003
max. 40
Ø 32
12546
141
500 251
Ø 50
110
3834
G3/8
G3/8
G1/2
Maße / Durchflussdiagramm Maße ⁄ Durchflussdiagramm
07
EN ⁄ Cleaning recommendation ⁄ Warranty ⁄ Contact
DE ⁄ Reinigungsempfehlung ⁄ Garantie ⁄ Kontakt
1.
A B C
2.
1.
C
r
e
m
e
2.
1.
3.
2.
C
r
e
m
e
2.
1. > 2 min
123
4 5
ReinigungReinigung
www.axor-design.com/
cleaning-recommendation
www.axor-design.com/
cleaning-recommendation
www.axor-design.com/
cleaning-recommendation
www
.axor-design.com/
cleaning-recommendation
www
.axor-design.com
/
cleaning-recommendation
www.axor-design.com/
cleaning-recommendation
www.axor-design.com/
cleaning-recommendation
www.axor-design.com/
cleaning-recommendation
www.axor-design.com/
cleaning-recommendation
www.axor-design.com/
cleaning-recommendation
www
.axor-design.com/
cleaning-recommendation
www.axor-design.com/
cleaning-recommendation
www.axor-design.com/
cleaning-recommendation
www
.axor-design.com/
cleaning-recommendation
www.axor-design.com/
cleaning-recommendation
www.axor-design.com/
cleaning-recommendation
08
12
3.
2.
1.
SW 2 mm
3
3.
1.
2.
4SW 2 mm 5 6
1.
2.
7 8
SW 2 mm
910
1.
3.
2.
11 12 13
SW 2 mm
2 Nm
C
r
e
m
e
120°
95°
14a
14b
92491000
Reinigung
09
14a
60°
60°
80°
40°
40°
80°
360°
120°
14b
47°
47°
27°
67°
67°
27°
360°
95°
Reinigung
10
2
close ⁄ schließenopen ⁄ öffnen
hot ⁄ warmcold ⁄ kalt
3
SW 10 mm SW 19 mm
(4 Nm)
1
SW 10 mm SW 19 mm
Bedienung/Wartung Bedienung⁄ Wartung
11
AXOR Starck V
12112003
92486000
98749000
97548000
95291000
96456000
92491000
92492000
98147000
(26x2)
92114000
(35x1,5)
98433000
(30x1,5)
98119000
(9x2)
95169000
(21,95x1,78)
92490000
M3x8
M3x8
M6x14
92489000
9 5 6 6 7 0 0 0
96339000
13961000
98809000
(450 mm)
92488000
92487000
ServiceteileServiceteile
AXOR ⁄ Hansgrohe SE
Auestraße 5–9
77761 Schiltach
Deutschland
info@axor-design.com
axor-design.com
08⁄ 2018
9.02751.31
Prüfzeichen

Other Axor Plumbing Product manuals

Axor Montreux 210 16506003 Manual

Axor

Axor Montreux 210 16506003 Manual

Axor Montreux Wall-Mount Shower Mixer 16560XX1 User manual

Axor

Axor Montreux Wall-Mount Shower Mixer 16560XX1 User manual

Axor Starck 10651007 Manual

Axor

Axor Starck 10651007 Manual

Axor 10650181 User manual

Axor

Axor 10650181 User manual

Axor 41838800 User manual

Axor

Axor 41838800 User manual

Axor Flowstar S 51305 Series User manual

Axor

Axor Flowstar S 51305 Series User manual

Axor Terrano Tumbler 41334XX0 User manual

Axor

Axor Terrano Tumbler 41334XX0 User manual

Axor Accessories C 06090XX0 User manual

Axor

Axor Accessories C 06090XX0 User manual

Axor 4544318 Series User manual

Axor

Axor 4544318 Series User manual

Axor ShowerHeaven 1200/300 4jet User manual

Axor

Axor ShowerHeaven 1200/300 4jet User manual

Axor Axor Terrano 37200XX1 User manual

Axor

Axor Axor Terrano 37200XX1 User manual

Axor Steel Small Handshower 28531800 User manual

Axor

Axor Steel Small Handshower 28531800 User manual

Axor Starck 10616003 Manual

Axor

Axor Starck 10616003 Manual

Axor Uno 45113 1 Series Instruction Manual

Axor

Axor Uno 45113 1 Series Instruction Manual

Axor My Edition 47089 Series User manual

Axor

Axor My Edition 47089 Series User manual

Axor Citterio 39840001 User manual

Axor

Axor Citterio 39840001 User manual

Axor Starck 26414 1 Series Instruction Manual

Axor

Axor Starck 26414 1 Series Instruction Manual

Axor Citterio Eco 39832 Series Manual

Axor

Axor Citterio Eco 39832 Series Manual

Axor Citterio E 36455000 User manual

Axor

Axor Citterio E 36455000 User manual

Axor Starck 10455 Series Manual

Axor

Axor Starck 10455 Series Manual

Axor Citterio 39451 7 Series User manual

Axor

Axor Citterio 39451 7 Series User manual

Axor Brushed Nickel 37030821 User manual

Axor

Axor Brushed Nickel 37030821 User manual

Axor Citterio E Series Manual

Axor

Axor Citterio E Series Manual

Axor 34111181 User manual

Axor

Axor 34111181 User manual

Popular Plumbing Product manuals by other brands

TECE solid operating instructions

TECE

TECE solid operating instructions

Hans Grohe Talis Classic 14127 Series Instructions for use/assembly instructions

Hans Grohe

Hans Grohe Talis Classic 14127 Series Instructions for use/assembly instructions

Helvex Nimbus TV-190 installation guide

Helvex

Helvex Nimbus TV-190 installation guide

Hansgrohe Axor Montreux 16540 Instructions for use/assembly instructions

Hansgrohe Axor

Hansgrohe Axor Montreux 16540 Instructions for use/assembly instructions

Lefroy Brooks X1-2040 Installation, operating,  & maintenance instructions

Lefroy Brooks

Lefroy Brooks X1-2040 Installation, operating, & maintenance instructions

LIXIL SFV-802S Installation Guide and Manual

LIXIL

LIXIL SFV-802S Installation Guide and Manual

Hans Grohe Rainfinity Digital 500 1jet 25033000 Instructions for use/assembly instructions

Hans Grohe

Hans Grohe Rainfinity Digital 500 1jet 25033000 Instructions for use/assembly instructions

Mira Vision Dual Owner's installation guide

Mira

Mira Vision Dual Owner's installation guide

Hans Grohe Focus 240 31815000 Instructions for use/assembly instructions

Hans Grohe

Hans Grohe Focus 240 31815000 Instructions for use/assembly instructions

baliv DU-5760 instruction manual

baliv

baliv DU-5760 instruction manual

Glacier bay 67099-0A01 Installation and care guide

Glacier bay

Glacier bay 67099-0A01 Installation and care guide

WESTBRASS D206PS Installation

WESTBRASS

WESTBRASS D206PS Installation

Graff BALI 2100-LM20 installation instructions

Graff

Graff BALI 2100-LM20 installation instructions

IKEA EDSVIK Assembly instructions

IKEA

IKEA EDSVIK Assembly instructions

Kraus FVS-1007 manual

Kraus

Kraus FVS-1007 manual

Ecolab Inspexx S quick start guide

Ecolab

Ecolab Inspexx S quick start guide

Kohler STATEMENT K-26325T-CP installation instructions

Kohler

Kohler STATEMENT K-26325T-CP installation instructions

Toshiba LF404 instruction manual

Toshiba

Toshiba LF404 instruction manual

manuals.online logo
manuals.online logoBrands
  • About & Mission
  • Contact us
  • Privacy Policy
  • Terms and Conditions

Copyright 2025 Manuals.Online. All Rights Reserved.