SECTION 3: PHONE MOUNT
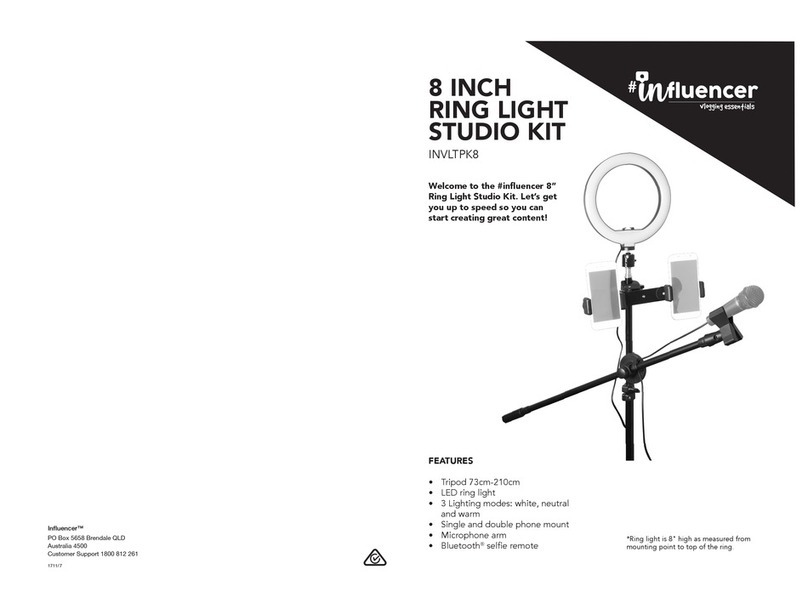
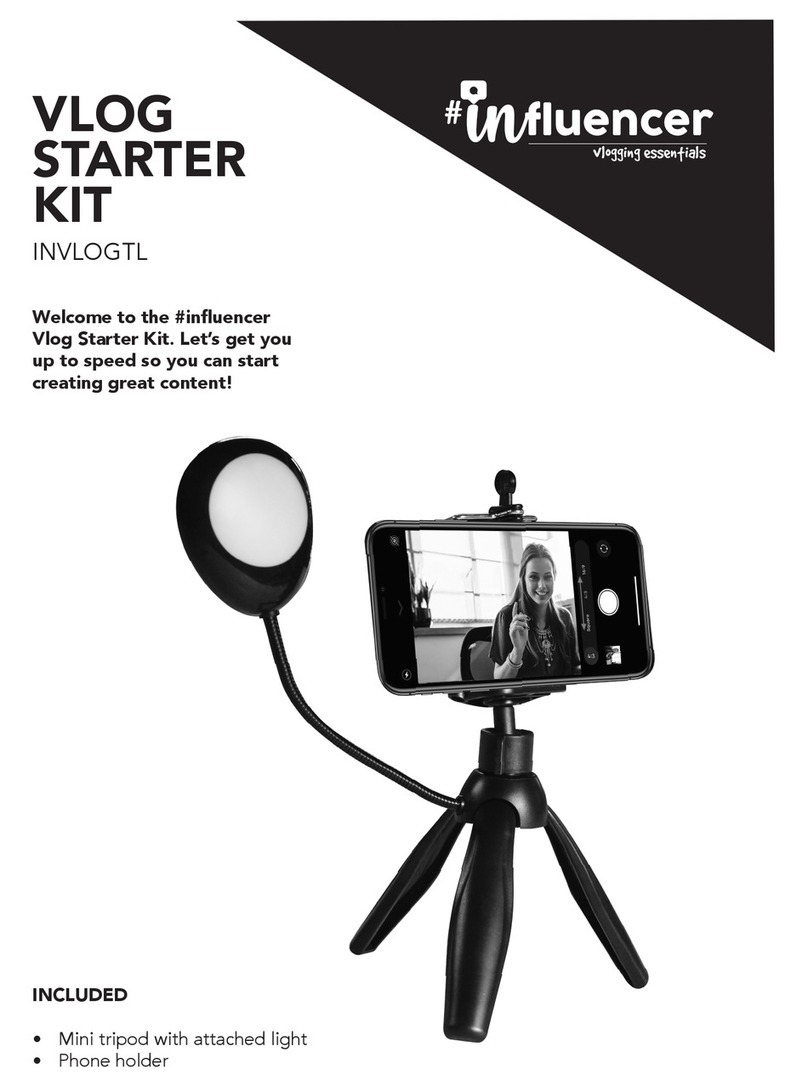
There are multiple phone mounting options in this kit.
A. Centre ring mounting:
1. Insert the phone metal mount onto the ring light and tighten the base adjustment
ring clockwise to secure (Fig. 1).
2. Screw the phone bracket onto the mount either in portrait or landscape position.
Pull spring-loaded side of phone mount and insert your smart phone (Fig. 2).
You may need to remove your phone case for secure insertion into phone mount.
SECTION 4: MICROPHONE MOUNT
1. Unscrew the end cap of the microphone arm (Fig. 1A & 1B).
2. Loosen the adjustment bolt on microphone arm joint connector (Fig. 2).
3. Insert microphone arm into joint connector (Fig. 3A).
4. Re-attach the end cap (Fig. 3B).
5. Attach the microphone arm to the thinnest part of the tripod (Fig. 4 & 5).
6. The microphone arm can be moved up and down by loosening and tightening this
screw (Fig. 6).
7. The microphone arm can be adjusted on the tripod by loosening and tightening this
bolt (Fig. 7).
8. To attach the microphone mount to the microphone arm remove cap from end of
microphone arm, then attach microphone mount and screw clockwise until secure
(Fig. 8A & 8B).
9. Squeeze the microphone mount clamp to open and then attach your microphone
(Fig. 9). A cable management clip is included for your microphone if required.
1 2
B. Dual phone mounting:
1. Attach the plastic clamp to the tripod by loosening the adjustment screw (rotate
anti-clockwise) and place around the tripod pole. Once in place, tighten the clamp
by rotating the adjustment screw clockwise, then push down the tab to lock
in place.
2. Attach the dual phone bracket to the clamp by rotating the bracket onto the
mounting thread.
3. Attach the phone mounts to the
bracket by screwing the two
adjustment screws into the phone
mounts.
4. To insert your smart phones into the
mounts, pull the spring-loaded side on
each mount. You may need to remove
your phone case for secure insertion
into the phone mount.
1A 1B 2
3A 3B
4 5
Microphone
mounts to
skinniest part
of tripod


