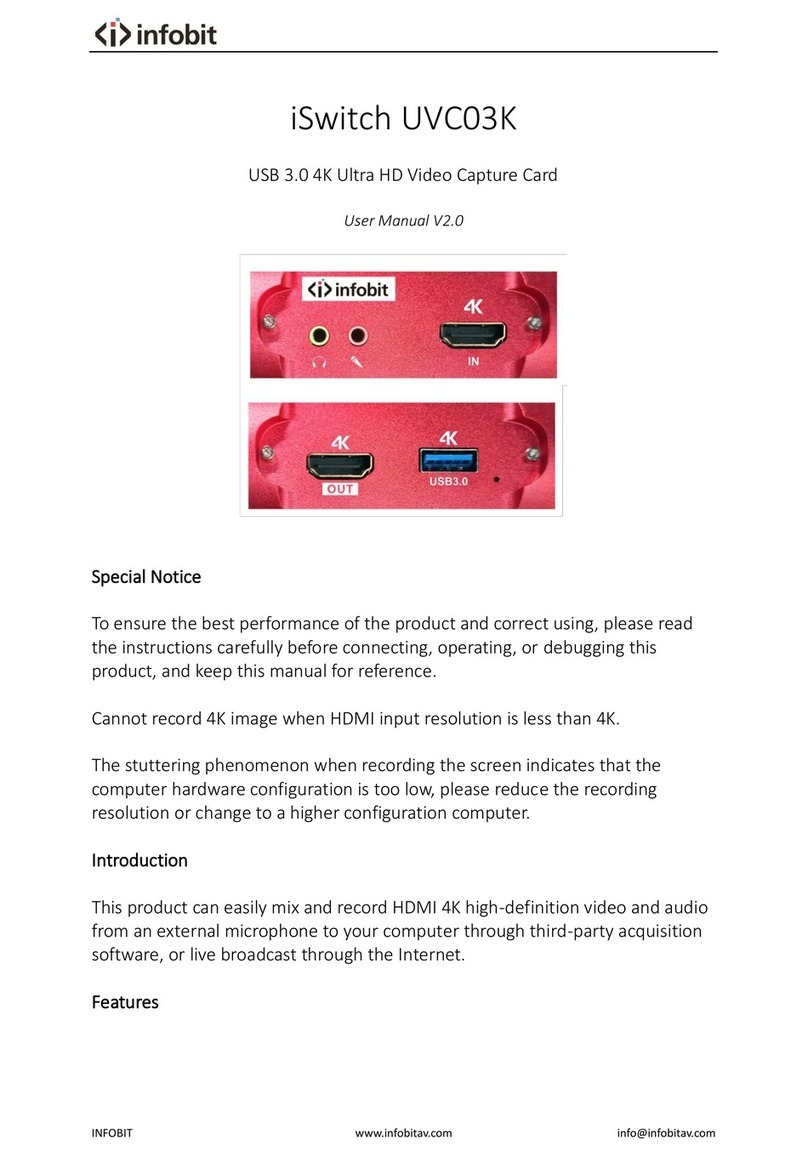
infobit iSwitch UVC03K User manual

INFOBIT www.infobitav.com info@infobitav.com
iSwitch UVC03K
USB 3.0 4K Ultra HD Video Capture Card
User Manual V1.0
In order to ensure the best performance of the product and correct
using, please read the instructions carefully before connecting,
operating, or debugging this product, and keep this manual for
reference.
Special Notice:
Cannot record 4K image when HDMI input resolution is less than 4K.
The stuttering phenomenon when recording the screen indicates that
the computer hardware configuration is too low, please reduce the
recording resolution or change to a higher configuration computer.
Introduction:
This product can easily mix and record HDMI 4K high-definition video
and audio from an external microphone to your computer through third-
party acquisition software, or live broadcast through the Internet.
Features
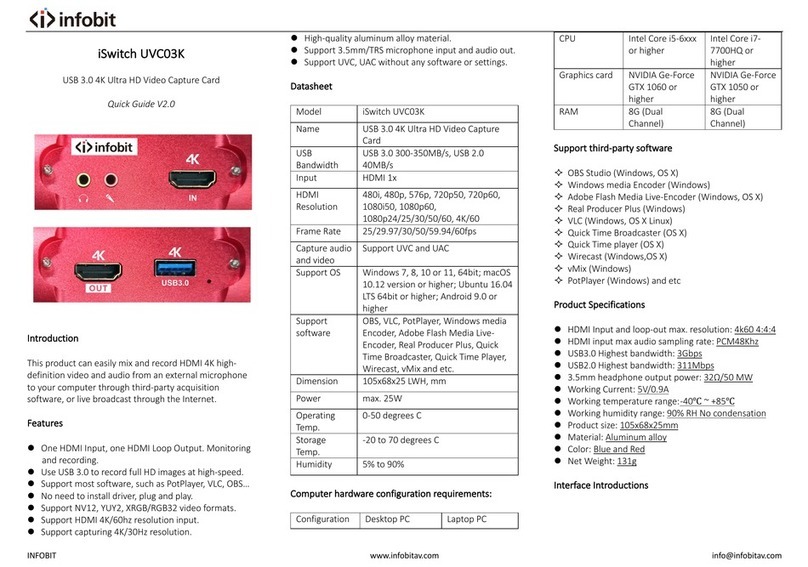
⚫One HDMI Input, one HDMI Loop Output. Monitoring and recording.
⚫Use USB 3.0 to record full HD images at high speed
⚫Support most acquisition software, such as VLC, OBS, etc
⚫No need to install the driver, plug and play.
⚫Support record NV12, YUY2, XRGB/RGB32 video formats.
⚫Support HDMI 4K/60hz resolution input.

- 1 -
⚫Support Capturing 4K/30Hz resolution.
⚫High-quality aluminum alloy material
⚫Support 3.5mm/TRS microphone input
⚫Support 3.5mm/TRS headphone output
Support Resolution:
Support Operating System:

- 2 -
Computer hardware configuration requirements:
Support third-party software:
OBS Studio (Windows, OS X)
Windows media Encoder (Windows)
Adobe Flash Media Live-Encoder (Windows, OS X)
Real Producer Plus (Windows)
VLC (Windows, OS X Linux)
Quick Time Broadcaster (OS X)
Quick Time player (OS X)
Wirecast (Windows,OS X)
vMix (Windows)
PotPlayer (Windows) and etc
Product Specifications:
⚫HDMI Input and loop output maximum resolution: 4k60 4:4:4
⚫HDMI input max audio sampling rate: PCM48Khz
⚫USB3.0 Highest bandwidth: 3Gbps
⚫USB2.0 Highest bandwidth: 311Mbps
⚫3.5mm headphone output power: 32Ω/50 MW
⚫Working Current: 5V/0.9A
⚫Working temperature range: -40℃ ~ +85℃

- 3 -
⚫Working humidity range: 90% RH No condensation
⚫Product size: 102.5x63.2x16.6mm
⚫Material: Aluminum alloy
⚫Color: Space Gray
⚫Net Weight: 131g
Interface Introductions:
① USB3.0 TYPE-A port, connect to USB3.0 port of Computer.
② Power indicator light.
③ 3.5mm microphone input port, connect to microphone
④ 3.5mm headset output port, connect to headset or stereo system.
⑤ HDMI Input, connect to HDMI signal via HDMI cable, such as
Computer, Game console, DVD.
⑥ HDMI Input indicator light, light on when connect correctly.
⑦ Recording indicator light, light on when not recording, flashing in
recording status.
⑧ HDMI Output, connect to HDMI signal via HDMI cable, such as TV,
Monitor, Projector, etc.
Connection Diagram:

- 4 -
1. Connect input of capture card to HDMI signal via HDMI cable, such as
Computer, Game Console, DVD.
2. Connect Output port of capture card to display devices, such as TV,
Monitor, Projector, etc.
3. Use the USB3.0 cable to connect the USB3.0 interface of the capture
card to the USB3.0 interface of the computer to complete the
preliminary connection.
4. If you need to use headphones, microphones, and headsets, please
follow the 3.5mm interface icon to connect accordingly.
Instructions for the use of video capture software
For example: OBS Studio
1. Open the “obsproject.com/download” link and download the
corresponding “OBS Studio” installer based on your computer
operating system. And install according to setup program prompt.
2. According to the above connection, connecting the capture to the
source device and your computer correctly.
3. Open the OBS Studio software, click the "+" icon of the "Source"
module and select "Video Capture Device:

- 5 -
A new window appears, select "4K Video Capture" in the "Device". Set it
to "Custom" in the "Resolution/Frame Rate Type" option. The resolution
is 3840X2160. Select 30 in the "FPS" option. Select NV12 in the "Video
Format"
Note: When a computer that does not meet the configuration
requirements, there will be video freezes, and the recording resolution
needs to be reduced.
4. In “Audio Output Mode” select “Output desktop audio
(DirectSound)”, “Audio device” select (HDMI 4K Video Capture) and
click “OK”.
Note: Incorrect selection of audio equipment will result in no sound in
the recorded video
5. Click “setting” and click “Video”. In “Base (Canvas) Resolution”
select/ input 3840x2160. In “Output (Scaled) Resolution” select/
output 3840x2160. In “Common FPS Values” select 30. Click “OK” to
confirm.

- 6 -
After the above settings are completed, you can start recording and
streaming your HD video.
6. After recording, you can click "Output" in the "Settings" window to
view the save path of the recorded video.
If you want to use it with other third-party software (such as VLC, Media
encoder, Protplayer...), you only need to select the capture device of the
software as "4K Video Capture".
MAC System Operating Instruction
Use with OBS Studio the same as Windows.
Instructions for use with the Quick Time player software that comes with
the MAC system:
1. Use Quick Time player, Click “file” icon to select “New Movie
Recording”.
2. Click the right side and button,camera select“4K Video
Capture”.Microphone select “4K Audio Capture”

- 7 -
Click “ ” button to record after finished.
Packing Contents
4K USB Capture ……..………..………………………………………………………...……1pcs
USB3.0 Data Cable…….……………....………………………………………………….…1pcs
User Manual..........………………....…………………………………………………….…1pcs
NOTE
⚫Does not use HUB or USB extend cable.
⚫Low computer configuration will cause irregular flickering or black
screen in the recording screen.
⚫For signal processing reasons, you will find that the recorded picture is
out of sync with the original picture, which is normal.
⚫Cannot record 4K resolution when HDMI input resolution is less than
4K.
⚫Cannot record 4K resolution while connect to USB 2.0 port of
computer.
Other manuals for iSwitch UVC03K
2
Table of contents
Other infobit PCI Card manuals
