Ingersoll-Rand 4TXK2309A1 User manual

Installation Manual
Mini-Split Inverter System
23 SEER (R-410A) High Wall Unit
9,000 - 36,000 Btu/h - 60 Hz
Outdoor Unit Heat Pump: AC Outdoor Unit:
4TXK2309A1 4TYK2309A1/9
4TXK2312A1 4TYK2312A1/9
4TXK2318A1 4TYK2318A1
4TXK2324A1 4TYK2324A1
4TXK2330A1 4TYK2330A1
4TXK2336A1 4TYK2336A1
Indoor Unit Heat Pump: AC Indoor Unit:
4MXW2309A1 4MYW2309A1
4MXW2312A1 4MYW2312A1
4MXW2318A1 4MYW2318A1
4MXW2324A1 4MYW2324A1
4MXW2330A1 4MYW2330A1
4MXW2336A1 4MYW2336A1
April, 2019 MS-SVN066B-EN
©2019 Trane All rights reserved
The manufacturer follows a policy of continued improvement of their products and product data and reserve
the right to change designs and specications without prior notice. Only qualied technicians should install and
service the equipment mentioned within the present manual.
Catalogue number: MS-SVN066B-EN
Date: April 9, 2019
Replace: MS-SVN066A-EN

WARNING
This equipment is to be serviced by professionally trained personnel
ONLY. Under NO circumstances should unqualified personnel service this
equipment.This equipment contains refrigerant under PRESSURE and
it operates at HIGH VOLTAGE. Improperly installed, adjusted or altered
equipment by unqualified personnel poses safety hazards including FIRE,
ELECTROCUTION or EXPLOSION which could lead to death or serious
injury.
Warnings and cautions
Warnings and cautions. Warnings are provided to alert installing contractors
about potential hazards that could result in personal injury or death, while
cautions are designed to alert personnel about conditions that could
result in minor injury and equipment damage.Your personal safety and
the proper operation of this machine depend upon the strict observance
of these precautions.
Attention: Warnings and cautions appear at appropriate sections
throughout this manual. Read these carefully.
WARNING: Indicates a potentially hazardous situation which, if not
avoided, could lead to death or serious injury.
CAUTION: Indicates a potentially hazardous situation which, if not
avoided, could result in minor or moderate injuries. It may also be
used to alert against unsafe practices.
NOTICE:Indicates a situation that could result in equipment or
property-damage only.
WARNING
Electrocution and Fire Hazards with improperly installed and grounded
field wiring!
Improperly installed and grounded field wiring poses FIRE AND
ELECTROCUTION hazards.To avoid these hazards, you MUST follow
requirements for field wiring installation and grounding as described in
the National Electrical Codes (NEC) and your local/state electrical codes.
All field wiring MUST be performed by qualified personnel. Failure to
follow these requirements could lead to death or serious injury.

Warnings and cautions
WARNING
R410A Refrigerant under higher pressure than R-22 Refrigerant!
Units described in this manual use R410-A refrigerant which operates at 50 to 70% higher pressures
than R-22. Use only R-410A approved service equipment. Refrigerant cylinders are painted with
"pink" color to indicate the type of refrigerant and may contain a "dip" tube to allow for charging
of liquid refrigerant into the system. For specific handling concerns with R-410A, contact your local
Trane representative.
Failure to use R-410A approved service equipment could lead to standard equipment exploding
under R410A higher pressure and as a consequence could result in death or serious injury.
NOTICE
Use PVE Oil with R-410-A mini-split units!
All R-410A mini-split units use a PVE oil (polyvinyl ether oil) that readily absorbs moisture from the
atmosphere. To limit this "hygroscopic" action, the system should remain sealed whenever possible.
If a system has been open to the atmosphere for more than 4 hours, the compressor oil must be
replaced. Never break a vacuum with air and always change the driers when opening the system
for component replacement. For specific handling concerns with PVE oil, contact your localTrane
representative.
USE ONLY FACTORY RECOMMENDED - DAFNE HERMETIC OIL FV50S - for servicing these units.
*NOTICE: Models 16 SEER 4TX1618A, 4TYK1618A and 4TXK1624A, 4TYK1624A (18K y 24K)
use RB68EB POE Oil as indicated in page 9 graphic.
Important!
Environmental concerns
Scientific research has shown that certain man-made chemicals can affect earth's naturally occurring
stratospheric ozone layer when released to the atmosphere. In particular, several of the identified chemicals
that may affect the ozone layer are refrigerants that contain chlorofluorocarbons (CFC) and those containing
hydrochlorofluorocarbons (HCFC). Not all refrigerants containing theses compounds have the same potential
impact on the environment.The company advocates the responsible handling of all refrigerants, including
industrial replacements for CFCs such as HCFC and HFC.
Responsible refrigerant practices
Trane believes that responsible refrigerant practices are important to the environment, our customers, and
the aire conditioning industry. All technicians who handle refrigerants must be certified.The Federal Clean
Act (Section 608) sets forth the requirements for handling, reclaiming, recovering and recycling of certain
refrigerants and the equipment that is used in these service procedures. Furthermore, some states or
municipalities may have additional requirements that must also be adhered to for responsible management of
refrigerants. Know the applicable laws and follow them.

Content
Security cautions ....................................................................................................................... 5
Pre-installation list ..................................................................................................................... 6
Typical installation...................................................................................................................... 7
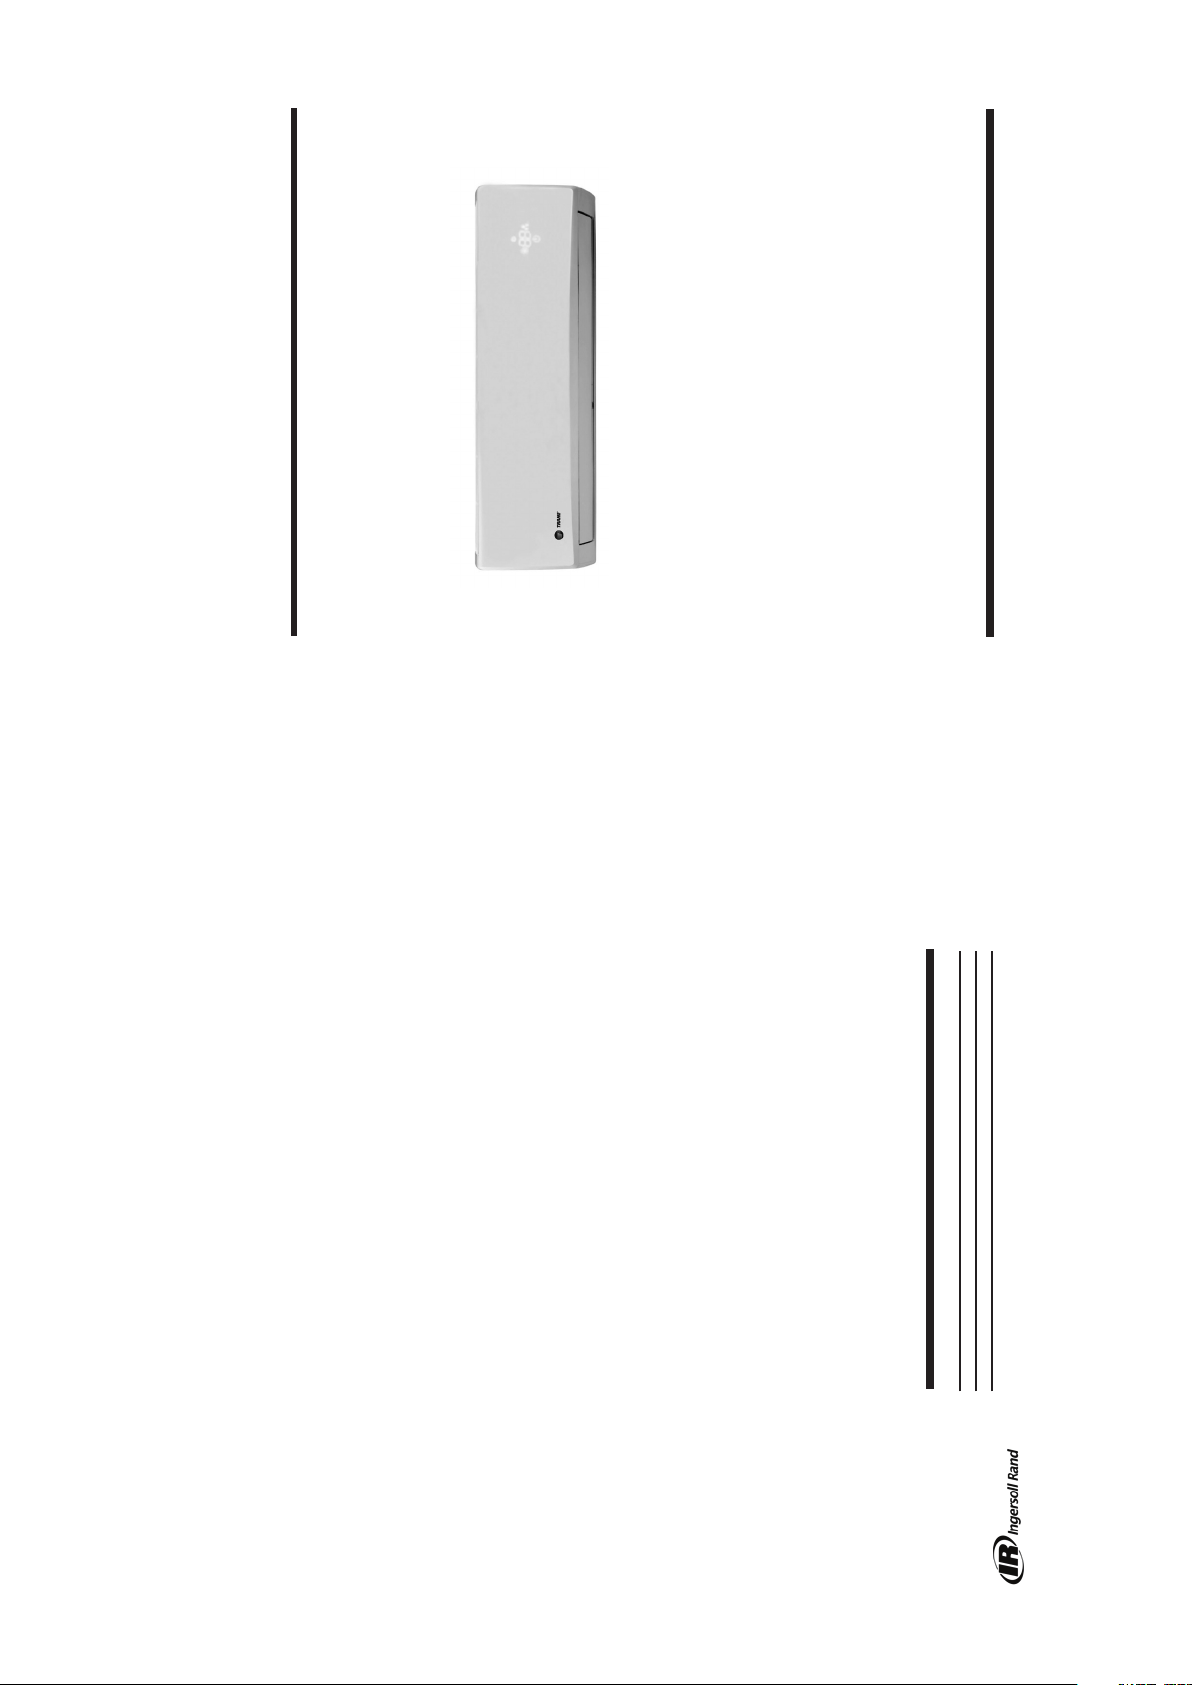
Names and functionality of each part ........................................................................................ 7
Required clearances.................................................................................................................. 8
Requirements for connecting lines ............................................................................................ 9
Warnings for refrigerant lines .................................................................................................. 10
Nitrogen purge during brazing................................................................................................. 10
Installation location.................................................................................................................. 11
Indoor unit installation.............................................................................................................. 12
Mounting location .................................................................................................................... 12
Hole boring for piping installation ............................................................................................ 13
Indoor unit refrigerant piping ................................................................................................... 13
Condensate piping installation................................................................................................. 15
Indoor unit wiring ..................................................................................................................... 15
Piping and wiring bundling....................................................................................................... 17
Indoor unit hanging.................................................................................................................. 17
Outdoor unit installation........................................................................................................... 18
Condensate draining ............................................................................................................... 18
Refrigerant piping installation .................................................................................................. 19
Piping flaring and bending procedure...................................................................................... 19
Outdoor unit refrigerant piping................................................................................................. 20
Piping joints insulation............................................................................................................. 20
Piping requirements................................................................................................................. 21
Vacuum and refrigerant leak detection ................................................................................... 22
Wiring warnings....................................................................................................................... 23
Outdoor wiring connections..................................................................................................... 23
Stranded wiring connections ................................................................................................... 24
Electrical connections.............................................................................................................. 25
Wiring specifications................................................................................................................ 26
Grounding................................................................................................................................ 26
Controller installation............................................................................................................... 26
Lista verificadora de la instalación.......................................................................................... 27
Prueba de operación ............................................................................................................... 27
Refrigerant system diagrams................................................................................................... 28
Wiring diagrams....................................................................................................................... 29
Unit dimensions....................................................................................................................... 32
Common error codes............................................................................................................... 36
Emergency operation .............................................................................................................. 36
Trouble shooting ...................................................................................................................... 37
Indoor unit maintenance.......................................................................................................... 38
General maintenance .............................................................................................................. 39

5
Wall Unit
Instructive Annex
The divice must not be used by people (including children) with physical, sensory or mentally
impaired, or lacking experience or knowledge, unless they receive supervision or training.
Children should be supervised so they do not play with the device. A circuit breaker or switch
must be installed that disconnects all power poles with a separation of the poles of 3 mm. The
appliance must be installed in accordance with national regulations for electrical installations.
The device is accesible to the general public. If you connect the applience to a xed power
supply wiring, also install a surge protector of voltage and use a main switch and/ or a TYPE G
power fuse that has a capacity of 1.5 times the maximum current of the unit.

6
Wall Unit
WARNING Indicates a potentially hazardous situation which, if not avoided,
could lead to death or serious injury.
CAUTION
Indicates a potentially hazardous situation which, if not avoided,
could result in minor or moderate injuries. It may also be used to alert
against unsafe practices.
NOTICE Indicates a situation that could result in equipment or property-damage
only.
Security cautions
Warnings and cautions
Warnings are provided to alert installing contractors about potential hazards that could result in personal
injury or death, while cautions are designed to alert personnel about conditions that could result in
minor injury and equipment damage.
Your personal safety and the proper operation of this machine depend upon the strict observance of
these precautions.
WARNING
1. The installation should correspond to the distributor or to another authorized professional. Inappropriate
installation could provoke water leaks, electric shock or fire.
2. Install the unit following instrucctions contained in this manual. An incomplete installation could provoke
water leaks, electric shock or fire.
3. Verify that parts used in the installation are those provided or specified. The use of other parts could
perhaps not adjust appropriately and lead to water leaks, electric shock or fire.
4. Install the unit on a solid base capable of supporting the weight of same. Should the unit fall due to
inadequate supporting base or incomplete installation, it could lead to personal injury or property damage.
5. Electrical installation should conform to the installation manual and the appropriate NEC codes and local/
state codes. Insufficient capacity or incomplete electrical installation could lead to electric shock or fire.
6. Ascertain the use of an independent power source. Never use a power source that is shared with another
piece of equipment or device.
7. For wiring, use wiring of sufficient length to reach the required distance withouth the need of splicing. Do
not use extension cables. Do not add additional charges to the power supply. Employ an independent power
circuit. (If these instructions are not followed, it could cause abnormal overheating, electric shock or fire.)
8. Use the specified types of wiring for electrical connectrions between the indoor and outdoor units. Properly
adjust the interconnecting cables in order to avoid external stress upon their terminal box. Incomplete
connection or adjustment jobs could cause overheating of the junction box and provoke fire.
9. When ending the tasks of interconnection and power supply wiring, place the wiring appropriately to avoid
unwanted pressure over the electric panels and covers. Install all corresponding panels over the wiring.
Incomplete installation could cause overheating of the junction box, electric shock or fire.
10. Once the installation has ended, verify the absence of refrigerant leaks.
11. If a refrigerant leak has been detected during the installaton process, ventilate the room. (Refrigerant
produces a toxic gas if it were to be exposed to flames).
12. During the pumpdown process, stop the compressor before removing the refrigerant lines. If the
compressor continues to run and the stop valve is in open position during pumpdown, air will be
suctioned during the removal of the refrigerant lines, producing abnormal pressure on the refrigerant
cycle, which in turn could lead to breakage and personal injury.

7
Wall Unit
14. During installation, tighten the refrigerant piping before starting the compressor. If the compressor is not
connected and the stop valve is open during pumpdown, air will be suctioned while removing the refrigerant
piping, producing abnormal pressure on the refrigerant cycle, which in turn could lead to breakage and
personal injury.
15. Be sure to establish proper wire grounding. Do not ground the unit to any supply tube, arrestor or telephone
grounding. An incomplete grounding could lead to electric shock or fire. Incomplete grounding could lead
to electric shock or fire. An overcurrent condition due to thunder or other sources could damage the air
conditioning unit.
16. If the electric supply cable is damaged, it must be replaced by the manufacturer, the service technician, or
by qualified personnel in order to avoid risks of electric shock or fire during said replacement.
Pre-installation list
1. Inspect each unit after removing all packing material.
2. Verify that no damage is visible on the unit(s).
3. Verify that model numbers comply with those appearing in the order.
4. Verify data on the identification plate to ensure electric requirements are applicable.
5. Review base foundations to ensure that same will be able to support the weight of the unit.
6. Review and confirm that diameters of the interconnecting tubing will comply with recommendations found in
the installation manual.
7. Before their connection, review electric line requirements to ensure that the appropriate wiring has been
selected.
8. Verify that the indoor unit shows the proper nitrogen pressure reading (these always ship from the factory with
a nitrogen charge to ensure waterproofing). Therefore, when removing "closing" valves from the liquid and gas
lines, you should be able to hear nitrogen escaping from the unit, which will confirm that pre-charge has been
maintained.
CAUTION
1. Do not install the air conditioning unit in a place where it could be exposed to flammable gas leaks. Gas
leakage and its accummulation around the unit could lead to fire.
2. Once the installation has been completed, verify the absence of refrigerant leaks.
3. This equipment should not be handled by inexperienced and unknowledgeable persons, unless they are
duly supervised and instructed regarding the use of the equipment by a person responsible for their safety.
4. Children should be supervised to ensure they cannot play around or with the air conditioning unit.
NOTICE
1. Configure the drain piping following instructions found in this manual. Inadequate drain piping could bring on
flooding and damages by water.
2. With the use of a torque wrench, tighten the flare nut according to the method specified in this manual.
Overtightening the flare nut could provoke breakage that would lead to refrigerant leaks.

8
Wall Unit
Clearances required
NOTE:
Maximum height recommended from the floor to the lower part of the indoor unit is of 11.5 ft. (3.5 m)
Valve cover
Space towards wall l
Space towards ceiling
Space towards wall
Space towards
wall
Leaving air side
Space towards floor
or more or more
6 in. or more 6 in. or more
12 in. or more
20 in. or more
20 in. or more
12 in. or more
or more.ni
97
or more
Space towards the obstruction
Leaving air side
Space towards wall
Entering air side
Dimensions of required spacing to correct the unit
placement as well as the minimum allowable distances
towards adjacent structures.
6 in.
66
in.
118 in.

Operating ranges
Operating range cooling only Outdoor temperature 0 - 115°F (-18.0 - 46°C)
Operating range heat pump Outdoor temperature 5°F - 75°F (-15.0 - 24°C)
Connection piping requirements
9
Wall Unit
NOTICE
Maximum length of connecting piping is shown in the following table. While placing the units confirm that
the distance in between them exceeds the maximum length of connection piping.
NOTES:
1. Connecting piping must be covered with waterproof insulating material.
2. Tubing thickness 0.5-1.0 mm (0.02-0.04 in): bearing pressure 3.0 MPa
3. Shorter lengths of connecting tubing produce higher thermal efficiency and therefore it is preferable to reduce connection tubing
lengths whenever possible.
4. See oil trap instructions on page 21 for specific requirements when there exists a height difference superior to 20 feet between
the indoor unit and the outdoor unit.
Heat Pump 4TXK2309 4TXK2312 4TXK2318 4TXK2324 4TXK2330 4TXK2336
4MXW2309 4MXW2312 4MXW2318 4MXW2324 4MXW2330 4MXW2336
Refrigerant charge (oz.) 45.9 47.6 56.44 77.6 84.66 91.71
Standard length m (ft) 7.5 (25) 7.5 (25) 7.5 (25) 7.5 (25) 7.5 (25) 7.5 (25)
Additional refrigerant charge (oz/
ft) for larger length of piping as
compared to standard piping
0.2 0.2 0.2 0.5 0.5 0.5
Outside diameter
Liquid pipe
mm (in) Φ 6.0 (1/4") Φ6.0 (1/4") Φ6.0 (1/4") Φ6.0 (1/4") Φ 6.0 (1/4") Φ 6.0 (1/4")
Gas pipe
mm (in) Φ 9.52 (3/8") Φ12 (1/2") Φ16 (5/8") Φ16 (5/8") Φ16 (5/8") Φ16 (5/8")
Maximum distance
Height m
(ft) 10 (33) 10 (33) 10 (33) 10 (33) 10 (33) 10 (33)
Length m
(ft) 15 (49) 20 (66) 25 (82) 25 (82) 30 (98) 30 (98)
Pipe minimum length m (ft) 3 (10) 3 (10) 3 (10) 3 (10) 3 (10) 3 (10)
Cooling only
4TYK2309 4TYK2312 4TYK2318 4TYK2324 4TYK2330 4TYK2336
4MYW2309 4MYW2312 4MYW2318 4MYW2324 4MYW2330 4MYW2336
Refrigerant charge (oz.) 45.9 47.6 56.44 81.1 84.66 84.66
Standard length m (ft) 7.5 (25) 7.5 (25) 7.5 (25) 7.5 (25) 7.5 (25) 7.5 (25)
Additional refrigerant charge (oz/
ft) for larger length of piping as
compared to standard piping
0.2 0.2 0.2 0.2 0.2 0.2
Outside diameter
Liquid pipe
mm (in) Φ 6.0 (1/4") Φ6.0 (1/4") Φ6.0 (1/4") Φ6.0 (1/4") Φ6.0 (1/4") Φ6.0 (1/4")
Gas pipe
mm (in) Φ 9.52 (3/8") Φ12 (1/2") Φ16 (5/8") Φ16 (5/8") Φ16 (5/8") Φ16 (5/8")
Maximum distance
Height m
(ft) 10 (33) 10 (33) 10 (33) 10 (33) 10 (33) 10 (33)
Length m
(ft) 15 (49) 20 (66) 25 (82) 25 (82) 30 (98) 30 (98)
Pipe minimum length m (ft) 3 (10) 3 (10) 3 (10) 3 (10) 3 (10) 3 (10)
Compressor oil used DAPHNE FVC50K FVC68D/RB68EP RB68EP RB68EP PVE FV50S
Compressor oil used DAPHNE FVC50K DAPHNE FVC50K RB68EP RB68EP PVE FV50S

Warnings for refrigerant piping
Nitrogen purge during soldering
10
Wall Unit
WARNING
Danger of explosion and lethal gases!
Failure to follow safety measures in the handling of refrigerant, could lead to death or to serious injury.
Never braze or solder on refrigerant lines or on unit components which are found above atmospheric
pressure or in the presence of refrigerant. Always remove refrigerant following guidelines established by
EPA (Federal Clear Air Act) or by other appropriate state or local codes. After removing refrigerant, use
dry nitrogen to return the system to atmospheric pressure before opening the system for repairs. The
mixture of refrigerants and air under pressure may convert into fuel element in the presence of an
ignition source which could lead to explosion. Excessive heat due to brazing with tin alloy, lead alloy or
brazing in the presence of refrigerant vapors, could form highly toxic gases and extremely corrosive acid
NOTICE
Damage to system components!
Do not remove sealing caps to refrigerant connections and do not open service valves until you are ready to braze
refrigerant lines to the connections. Excessive exposure to the atmosphere (>5 min.) could contaminate the system
through entering humidity or dirt and consequently damage valve seals and promote icing on system components
during the operation.
Nitrogen purging while brazing refrigerant pipes
Flow meter
Pressure regulator
Stop valve
Nitrogen
Nitrogen
NOTICE
Avoid damages to the unit!
Never solder connections to piping without having performed a nitrogen purge. Failure to
follow this procedure could damage the unit and lead to loss of capacity and as a result
reduce the degree of confidence on the unit in the long run.
While brazing refrigerant piping, perform a flush with dry nitrogen gas. Use a pressure
regulator to maintain a flow of 0.03 CFM (0.05 m³/h) o more.

WARNING
Proper support required!
The wall should have the appropriate structure to support the weight of the unit. Failure to do so could cause
the unit to fall and could lead to death, serious injury, or damage to the equipment or on the property.
11
Wall Unit
1. Avoid placing the indoor unit in a location which could obstruct the return or the supply of air.
2. Select a place that allows easy draining of water condensates and allows proper connection with
the outdoor unit.
3. Install the indoor unit away from sources of heat, vapor, and flammable gas.
4. Verify that the installation of the unit complies with dimensions as shown on the installation
diagram.
5. Ensure the availability of sufficient space to allow routine maintenance; the clearance between the
lower part of the indoor unit and the floor should not be less than 66 inches.
6. The place of installment of the unit should be more than 3 feet away from other electronic
appliances which may cause interference such as television sets, audio devices, etc.
7. Select a place that allows easy removal and replacement of air filters.
Location of installation
Indoor unit
Outdoor unit
1. Select a place in which noise and discharge air of the unit does not bother the neighbors.
2. Select a place with sufficient ventilation.
3. Ensure that incoming air and outgoing air are not blocked by some type of obstacle.
4. Select a place capable of supporting the weight and the vibration of the outdoor unit and where
maintenance tasks can be performed with safety.
5. Select a place away from flammable gas and gas leaks.
6. Ensure that the outdoor unit installation complies with the recommended clearances shown in the
corresponding diagram.
7. Place the outdoor unit away from bedroom windows.
NOTICE
The installation of the unit in one of the following locations could cause the malfunction of
the equipment:
1. Places where oil is utilized (machine oil).
2. Coastal locations with high levels of salty air.
3. Places with high levels of sulphuric gas such as areas with thermal sources.
4. Places where high frequency waves are generated by radiocommunication equipment, soldering
and medical equipment.
5. Other unusual places where unit operation could suffer alterations.
WARNING
1. Install the unit in a place that does not allow it to be pitched in excess of 5°.
2. If the location is subject to strong winds, said additional force should be considered to secure the unit
firmly to the base.

Installation of the indoor unit
12
Wall Unit
WARNING
Dangerous service procedures!
Maintenance and troubleshooting recommended in this section of the manual could expose persons
to electrical, mechanical and other potential safety dangers. Always refer to Warnings and Cautions
provided in this manual. When possible and before servicing this unit, disconnect all electric power,
including remote disconnects and discharge all energy storage devices such as capacitors. Follow
proper lockout/tagout procedures to ensure that power cannot be inadvertently energized. When
required to work on energized electrical components, make sure that the work is performed by an
authorized and qualified technician or by a qualified person in the handling of energized electrical
components. Failure to follow these safety recommendations could lead to death or serious injury.
Mounting location
1. Confirm the mounting location with the customer. For a safe installation, consider all security
indications found on Page 11.
2. Place mounting frame on the wall and verify the appropriate levelling. Mark the spots to drill
holes for the screws and ensure their placement will have the capacity to support the weight
of the unit.
3. Drill holes on the marked spots. For additional safety, insert rawl plugs to provide for
additional support.
4. Install the mounting frame using the concealed screws provided and verify their location. If
a screw or rawl plug seems loose, select another spot on the frame to drill a hole in order to
install safely.
5. Make sure the mounting frame is firmly installed and able to support 4 times the weight of
the unit. Weight should be divided equally at each clamping spot.

13
Wall Unit
18K
30K, 36K

14
Wall Unit
1. Once the position of the drain pipe has been selected, remove the corresponding perforation
indication from the unit housing.
2. Select the position of the piping hole/orifice to be drilled in accordance with the position of the drain
pipe selected for the application. The position of this pipe hole should be slightly smaller than that of
the mounting frame on the wall.
3. Drill a hole of 2 3/16 inch or 2 3/4 inch (24K unit) diameter for the insertion of the selected outgoing
pipe. In order to obtain efficient draining, the outgoing hole should be slightly pitched during drilling at
a gradient of 5-10° (shown below).
4. Insert an insulating sleeve inside de hole/orifice in the wall to prevent damages to the connection
piping and to the wiring that will pass through this drilled orifice.
Piping can be connected in right direction, right/rear direction, left direction, left/rear
direction.
Refrigerant piping in the indoor unit
Remove covers and caps from the piping.
NOTICE
1. Be sure to connect piping appropriately to the port in the indoor unit. If it is not centered
correctly, the flare nut will not be able to be tightened as it should. If tightening of the nut is
forzed, the fitting threads will be damaged.
2. Do not remove the flare nut until ready to connect the connection piping and avoid the entry
of pollutants into the piping system.
NOTICE
1. When an insulating sleeve is not utilized, it will then be necessary to drill a completely straight hole in
the wall. If this hole is not straight and uniform, it could initiate water leaking through condensation as
well as damages to the property.
2. If an insulating sleeve is not mounted in the orifice, the wiring between the indoor unit and the outdoor
unit could suffer damage as a result of the loss of electric current to the grounding cables.
Indoor
5-10
outdoor
Φ55(2 3/16)
Φ70(2 3/4)
mm(inch)
Derecha
Derecha posterior
Remover
Perforación
Izquierda Derecha
Izquierda
Izquierda
posterior

In. (mm) Torque force
1/4 (6.35) 15 ~ 30 N•m / 20.3-40.7 (ft-lbf)
3/8 (9.52) 35 ~ 40 N•m / 40.7-54.2 (ft-lbf)
1/2 (12.7) 45 ~ 50 N•m / 61.0-67.8 (ft-lbf)
5/8 (15.9) 60 ~ 65 N•m / 81.3-88.1 (ft-lbf)
3/4 (19.05) 60 ~ 65 N•m / 94.9-101.7 (ft-lbf)
15
Wall Unit
1. To connect or remove pipes from the unit, always use a spanner wrench and a torque wrench.
2. For connecting, apply refrigerant oil to both sides - inner and outer - of the flare nut and proceed to
tighten first with your fingers, and then with the use the torque wrench.
3. Refer to the table below before adjusting the nut to determine the appropriate torque. Overtightening
could damage the nut and lead to leaking.
4. Examine the connecting tube to confirm the absence of leaking. Apply heat insulation to the liquid and
gas lines.
5. Use sponge coating of medium size to insulate the gas tube joint.
Esponja
Sujetador roscado (x4)
Material aislante p/calor
(del tubo de líquido)
Material aislante p/calor
(del tubo de gas)
Tubería entrada gas
Tubería de líquido
Torquímetro
Tuerca abocinada
Llave de horquilla
Unión de tubería
Tuerca
abocinada
Aplicación de aceite refrigerante
(mejora estanqueidad del aire)
Aplicar aceite (reduce fricción con la tuerca)
Tubería de cobre

16
Wall Unit
Installation of condensate piping
NOTICE
Do not force or bend the drain hose and verify that the end of it is not placed in water. Otherwise
it will cause leaking.
1. Connect the drain hose to the indoor unit's outgoing pipe (see Fig. A below).
2. Wrap the joint with tape (see Fig. B below).
3. Wrap the piping with insulation tape to avoid condensation (see Fig. C below).
Fig. A Fig. B Fig. C
Indoor unit wiring
1. Open the front panel of the indoor unit, remove the screw of the wiring cover and remove cover
(see Fig. D below).
2. Insert power connecting cable through the orifice for wiring at the rear of the indoor unit until it
leaves through the front side of the unit (see Fig. E below).
wiring cover
screw
panel
power connection
wire
cable-cross
hole
Fig. D Fig. E
Tubería
de salida
Manguera
drenado
Tubería de salida
Manguera drenado
Cinta
Manguera
drenado
Tubo
aislante

17
Wall Unit
3. Remove the cable clamp and connect the power connection cable to the terminal strip following
correct color coding. Tighten the screw; adjust the power cable using a cable fastener.
4. Place wiring cover back in its place on the unit and tighten the screw.
5. Close the front panel.
NOTE: Wiring diagrams in this catalogue are included only as reference. The
manufacturer follows a continuous policy of product and data improvement and
reserves the right to change designs and specifications without prior notice. Always
consult unit's identification nameplate to verify actual requirements of the unit.
NOTE: When indoor unit is energized from the outdoor unit and, following local coding, it will be
required to install a disconnect switch to an independent power supply circuit.
1. A primary disconnect switch for both indoor and outdoor units should be mounted on the
outdoor unit. If local coding requires an independent disconnect switch on the indoor unit, then
this primary disconnect switch should serve to break only those wires connected to terminals 1
and 3.
2. Before initiating any service and maintenance tasks, and in order to avoid electric shock or
equipment damage, disconnect the sytem at the idoor unit.
3. Terminal strip 2, as a carrier of communication signals, should not be cut nor spliced.
4. Grounding cable must be connected directly from the outdoor unit to the idoor unit. In order to
avoid communication errors, do not connect grounding cable to the terminal block from no other
location point.
Outdoor unit connection
3
2
N(1)
green
green)
red
black
(yellow-
(brown)
white
(blue)
9K 12K 18K 24K 30K 36K

18
Wall Unit
Pipe and cable bundling
1. With the use of a band, wrap individually refrigerant piping with its insulation, the power cable,
and the drain hose. See diagram below.
2. When preparing the bundle, reserve a portion of the drain hose and of the power cable to
perform the installation. Reserve additional space to allow the drain hose to be separated from
the power connections and from the outdoor unit piping.
3. Tie these wrappings together to form a tube bundle. See diagram.
4. Liquid and gas tubes must be wrapped separately at the end.
5. Whenever possible, maintain a separation between the power cable and the communication
lines.
Suspensión de la unidad interior
1. Inserte el haz de tubos y cables dentro del casquillo de pared y dejar que pase hacia el
exterior.
2. Suspenda la unidad interior sobre el marco de montaje en la pared.
3. Con el uso de material sellador, rellene los huecos entre la tubería y el orificio de pared o
casquillo protector.
4. Asegure el haz de tubos con abrazaderas de montura.
5. Verifique que la unidad interior se encuentra fijada segura y correctamente en la pared.
indoor unit gas
pipe
indoor and
outdoor power cord
liquid pipe
drain hose
band
drain hose
band
connection pipe
indoor power cord
sleeve
upper hook
lower hook of
wall-mounting fram
e

When the outdoor unit is surrounded by walls and other obstructions, the installation space for the
unit should not be less than the clearances indicated below. For efficient operation of the unit and,
whenever possible, leave open spacing in three or four directions of peripheral construction.
WARNING
1. Install the unit in a place that does not allow it to be pitched in excess of 5°.
2. If the location is subject to strong winds, said additional force should be considered to secure
the unit firmly to the base.
>20(500)
>39(1000)
>79(2000) >20 (500)
>20(500)
>20(500)
>79(2000)
mm(inch)
Outdoor unit installation
Select an installation area that provides easy access to the unit.
1. Verify that the place can support at least four times the weight of the unit.
2. Using expansion bolts, install the outdoor unit over the base of the selected area.
3. The unit should be installed at least 1 1/16 inches above the base to enable the installment of a
connection for the drain line. (See image below).
At least 1 1/6 inch clearance
Outdoor unit condensate handling
1. Installation of tubing for condensate draining is required for the outdoor unit's heating operation.
2. During the installation of the drain line, aside from the opening for the drain tube, all other openings
must be sealed to prevent water leaks.
3. Insert the drain tube fitting inside the opening for the insertion of the drain tube located at the base of
the unit; following, connect the drain tube to the coupling just performed.
19
Wall Unit

1. Place the outdoor unit on the supporting base.
2. Install the unit's support foot holes using bolts/screws as seen below.
Foot holes
Foot holes
Tube bending
1. Tubes must be bent with the hands or with a tube bender for tighter flexion. Take care to avoid
collapsing the tubes.
2. Do not flex tubes at an angle higher than 90°.
3. Repeated bending and straightening of tubes could damage the material and lead to
refrigerant leaks. Do not bend or straighten tubes more than three times.
Cara inferior Tapón drenado
Oricio de montaje para tubo de drenado Conexión del tubo de drenado
Refrigerant piping installation
Tube flaring
1. Hold the tube downwards to prevent debris from entering into the piping.
2. Cut the refrigerant tube using a tube cutter and remove all chips/burr.
3. Remove flare nuts from the outdoor unit shutoff valve, as well as those found inside the indoor unit's
accesories bag and place the latter over the connecting tube as shown in the following diagram.
Next, flare the refrigerant tube using a flare tool.
4. Verify that the flared part is equally distributed and that no fracturing is visible.
Para extenderlo, desenrolle el tubo
20
Wall Unit
This manual suits for next models
39
Table of contents
Other Ingersoll-Rand Inverter manuals
Popular Inverter manuals by other brands

Accorroni
Accorroni PACK DUE 7 Technical manual

Riello
Riello AARIA ONE INVERTER 25 Installation and technical service instructions

Seeley
Seeley Braemar Invertair SACV10D1S owner's manual

PrimeVOLT
PrimeVOLT PV 5KTL-D3/G2 user manual

Atlas Copco
Atlas Copco QAS108 Pd(S) Mk II instruction manual

INVT
INVT iMars BG10KTR Operation manual