Inmarsat Wideye iSavi Assembly instructions

www.explorersatellite.com +1-954-763-8650
iSavi Quick Connect Guide
IMPORTANT! Please download and install the 2 Apps: “IsatHub
Control” and “IsatHub Voice” from the App Store or Play Store
using your broadband internet connection prior to using this device.
Step 1
Set the iSavi on a stable surface and unfold the unit so that the
larger flat surface points up and towards the equator. Press and hold the
power button for 5 seconds until the 4 arrow lights on top turn green.
The iSavi requires a recent GPS fix to operate so do not place it on a
metal surface or near any electrical interference.
Step 2
Connect your phone/tablet to the iSavi Wi-Fi network. The Wi-Fi
network name appears on a label on the bottom of the iSavi as “Default SSID:
iSavi-XXXXXXX”. The Wi-Fi password also appears there as “SSID PW:”. Note
that the password is case-sensitive and must be entered exactly as it appears
on the label. Only after you connect to the Wi-Fi network should you start
the IsatHub Control App and or IsatHub Voice App on your phone/tablet and
log in. Be sure to use lower case:
App username: admin App password: 1234
Connect to the Wi-Fi network and launch the App
Connecting to the Internet/Setting data limits
Step 3
Refine your aim and register the iSavi with
the Inmarsat network. The 3 Inmarsat satellites are
located in the center of the 3 colored circles on the
map below. The elevation angle gets higher the
closer to the center you get. A signal of 40dB or
better is required. For exact pointing (Elevation and
Direction) tap “Pointing Assist”.
Next tap “Connect to network”. This will register the
iSavi with the Network. Voice calls are now possible
using the IsatHub Voice App (see reverse).
To connect to the Internet, proceed to step 4.
To place a voice call from your terminal, launch the IsatHub Voice App and dial
00 followed by the country code and phone number you are dialing, then tap
the receiver button to start the call.
The country code for the US, Canada and Bahamas is 1.
Therefore, to dial Explorer’s number in Florida, you would dial
00 1 954 763 8650
To dial the terminal from a landline phone (from the US or Canada) dial 011 870
and the rest of your iSavi number. International access codes vary by the
country the caller is calling from. Incoming calls are billed to the party calling.
Point and register your iSavi
Step 4
The IsatHub Control app screen shot on the left
shows that the iSavi is registered with the network (isatHub
connected) but is not connected to the internet (Connect
data is showing). Voice calls are still possible in this state,
but you must launch the IsatHub Voice app to do so.
The IsatHub Control app screen shot on the right shows an
active data connection (Disconnect data is showing).
Power on and position the iSavi
Important: You are responsible for all data used. Disable all automatic application updates,
close running programs and carefully manage and monitor your data usage to prevent
runaway billing.
Select “Connect data” from within the IsatHub Control app to start a data connection. When
connected, the app will display “Data On” and billing will commence. When connected, the app
will display a data meter to help you keep track of your usage. To stop the data connection, go
back into the IsatHub Control App and tap “Disconnect data”.
Make sure to disconnect when an internet connection is not being used.
IsatHub Control App Icon
Making an Internet / Data Connection
IsatHub Voice App Icon
Antenna
(Larger flat surface)
Power Button
Battery
Arrow Icons
Pointing Mode
Exit Pointing Mode Button
You must tap
“Connect data”
to begin a
Data session
You must tap
“Disconnect data”
when done!

IMPORTANT! Please download and install the 2 Apps: “IsatHub
Control” and “IsatHub Voice” from the App Store or Play Store
using your broadband internet connection prior to using this device.
Step 1
Set the iSavi on a stable surface and unfold the unit so that the
larger flat surface points up and towards the equator. Press and hold the
power button for 5 seconds until the 4 arrow lights on top turn green.
The iSavi requires a recent GPS fix to operate so do not place it on a
metal surface or near any electrical interference.
Step 2
Connect your phone/tablet to the iSavi Wi-Fi network. The Wi-Fi
network name appears on a label on the bottom of the iSavi as “Default SSID:
iSavi-XXXXXXX”. The Wi-Fi password also appears there as “SSID PW:”. Note
that the password is case-sensitive and must be entered exactly as it appears
on the label. Only after you connect to the Wi-Fi network should you start
the IsatHub Control App and or IsatHub Voice App on your phone/tablet and
log in. Be sure to use lower case:
App username: admin App password: 1234
Dialing FROM your iSavi Terminal (00 + Country Code + Number)
Step 3
Refine your aim and register the iSavi with
the Inmarsat network. The 3 Inmarsat satellites are
located in the center of the 3 colored circles on the
map below. The elevation angle gets higher the
closer to the center you get. A signal of 40dB or
better is required. For exact pointing (Elevation and
Direction) tap “Pointing Assist”.
Next tap “Connect to network”. This will register the
iSavi with the Network. Voice calls are now possible
using the IsatHub Voice App (see reverse).
To connect to the Internet, proceed to step 4.
To place a voice call from your terminal, launch the IsatHub Voice App and dial
00 followed by the country code and phone number you are dialing, then tap
the receiver button to start the call.
The country code for the US, Canada and Bahamas is 1.
Therefore, to dial Explorer’s number in Florida, you would dial
00 1 954 763 8650
To dial the terminal from a landline phone (from the US or Canada) dial 011 870
and the rest of your iSavi number. International access codes vary by the
country the caller is calling from. Incoming calls are billed to the party calling.
Your iSavi Voice Number is a 12 digit number
beginning with 870 and has 9 more digits:
870-xxx-xxx-xxx
Dialing TO your iSavi Terminal
(Int’l Dialing Code + 12 Digit iSavi Number)
+1-954-763-8650
04/16 - Copyright 2016 Explorer Satellite Communication All Rights Reserved
iSavi Key
Power Button Antenna Pointing LEDs Exit Pointing Mode Button
No State Power
Button
Antenna Pointing LEDs Exit Pointing
Mode Button
Actions / Remarks
1
2
3
4
5
6
7
8
9
OFF
Power On
Firmware
Loading
GPS
Acquiring
LED Visual
Antenna
Pointing
Exiting
Point
Network
Registration
Ready for
Service
Data
Activated
LED Status Quick Reference Guide
Terminal is OFF
Turn ON by pressing the Power Button for 5 sec. The Antenna Pointed LEDs will turn
on in Red / Amber for about 4 sec., followed by all in Green for about 30 sec before
going into the next state
Powering up in progress _ this may last up to 30 seconds.
This LED state is appliable for first time fresh terminal setup. The GPS acquistion will
take 30 sec. to 5 min. depending on each setup location.
Tilt your iSavi
TM
in upward direction
(follow “up” LED flashing green lights) in upward
direction. Stop when both “UP ” and “Down” LEDs are solid green.
Tilt your iSavi
TM
in downward direction (follow “down” LED flashing green lights) in
downward direction. Stop when both “UP ” and “Down” LEDs are solid green.
Turn your iSavi
TM
in clockwise direction (follow “Left” LED flashing green light). Stop
when both “Up” and “Down” LEDs are solid green.
Turn your iSavi
TM
in counterclockwise direction (follow “Right” LED flashing green
light). Stop when both “Up” and “Down” LEDs are solid green.
All LEDs are solid green, Azimuth and Elevation are in correct position. Press the
flashing Exit Button once to exit Antenna Pointing mode & register to the Network.
Note: Pressing the Exit Button for 3 sec. will put your iSavi
TM
into alternative Audio
Pointing mode.is OFF
Satellite network registration. The process will take around 30 seconds.
Network registration successful and ready for service. All LEDs will turn off after
about 1 minute. Nore: When all LEDs are off.*
Data activated successfully through web consule/ Controll app. You can noe connect
your smart devices to your iSavi
TM
terminal and start accessing the internet.*
* You can always check the LED state by pressing the Exit Button once.
◊ LED ashing
† LED ashing in sequence
†
†
◊
◊
◊
◊
†
†
Please note that the Isathub Control app included “Pointing Assist”.
You can use the Control app for ease of pointing your iSaviTM terminal to the Inmarsat Satellite.Once your iSaviTM
reaches state 4, you can follow the on screen instructions and skip the actions required from state 5 to state 9.
iSatHub Voice App SMS Screen (Text)
REMEMBER
1.You must be connected on wi-fi to iSavi-XXXXXXX prior to
launching Apps
2. You must point the unit and maximize signal
3. You must register with the Inmarsat network
4. You must manually make a data connection and manually end it
Making Voice Calls with your iSavi
For technical or customer support, please call Explorer Satellite Communications:+1 954-763-8650
Correct way to use iSavi
Table of contents
Other Inmarsat Antenna manuals
Popular Antenna manuals by other brands

Harris
Harris NEO GPS-3903 Safety instructions and regulator compliance manual
Feig Electronic
Feig Electronic OBID i-scan ID ISC.ANTU250/250 Montage, installation

PRO.SIS.TEL.
PRO.SIS.TEL. PST-152TV Assembly instructions
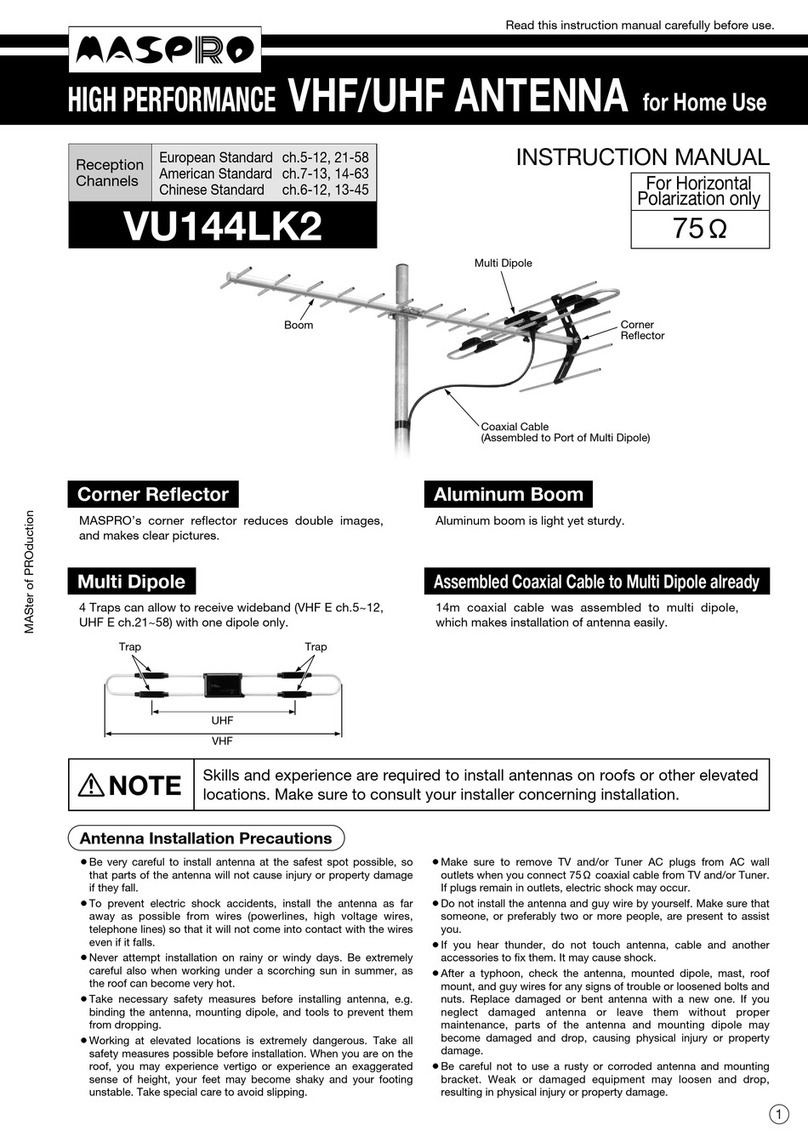
Maspro
Maspro VU144LK2 instruction manual
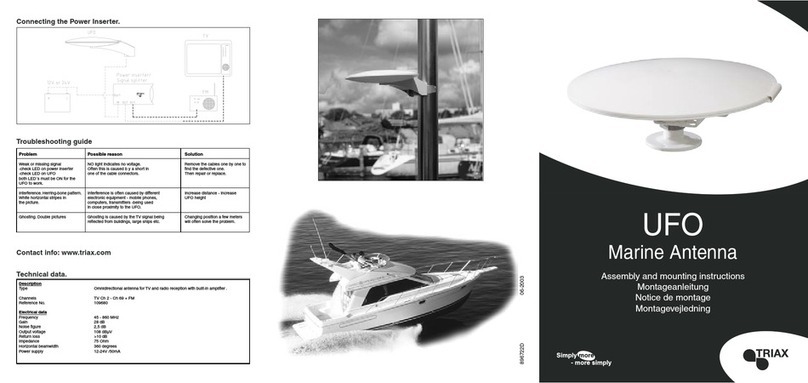
Triax
Triax UFO Marine Antenna Assembly and mounting instructions

WADE Antenna, Inc.
WADE Antenna, Inc. J55-2 instruction sheet


