manuals.online logo
Brands
  1. Home
  2. •
  3. Brands
  4. •
  5. Innovators International
  6. •
  7. Outdoor Furnishing
  8. •
  9. Innovators International Tandil Gazebo Operator's manual

Innovators International Tandil Gazebo Operator's manual

Congratulations on purchasing your new Tandil Gazebo.
Attached are the instructions to building this gazebo.
Please study the instructions carefully before starting.
We hope you enjoy using this gazebo.
Page 1of 7
Tandil Gazebo
30
2
6m2
Parts
Page 2of 7
Tandil Gazebo
6. Do not use any power tools
gazebo
Page 3of 7
Take out all the components
and place them onto a soft
and clean surface. Put the
table top (1) upside down.
Add the 2 feet with (2) and
use the Allen key (5) to
fasten the parts (1 and 2)
together with the washer
(7) and screw (6)
Add the other sides (3)
of the table and use
the Allen key (5) to
fasten the parts (2 and
3) together with the
washer (7) and screw
(6)
STEP 1
Tandil Gazebo
Slide the cross beams, C
and D into the hole at the
top of each leg (A),
ensuring it catches. Take
the wing nuts (M) and
screw into the hole on the
bracket. Tighten fully to
secure. Repeat this step
for each leg of the
gazebo.
STEP 2
Take two leg assemblies from the
previous step and connect the two
together by sliding part C into D.
Page 4of 7
STEP 3
Tandil Gazebo
Repeat the previous step
until the entire frame is
one assembly as shown
in the image.
STEP 4
Slide part E into F (x4)
and G into F (x4).
Page 5of 7
STEP 5
STEP 6
Take the G/F assembly,
the longer of the two
rods and attach to each
of the gazebo legs by
pushing in the spring pin
and guiding into the
hole. Connect all four
rods together using
component I. Attach part
F to the longer of the
four brackets of part I.
Attach the E/F assembly
to the frame by rotating
the bracket at the end of
part E to line up with
frame C/D. Place rods J
on top of the bracket at
the end of part E and
secure everything in
place by screwing in
wingnut L. Attach all four
E/F assemblies with the
central bracket I.
Tandil Gazebo
Page 6of 7
STEP 7
STEP 8
Part H clips onto each of
the four corners. Press in
the spring button and
place onto its shortest
setting.
Place the canopy over
the assembled frame
ensuring it is taut. The
corner parts can be
adjusted to different
lengths to tighten or
loosen the fabric stretch.
Tandil Gazebo
Page 7of 7
STEP 9
STEP 10
Screw in the lower half of
the legs (B) to each
upper half (A). Pin the
feet into the ground
using the pegs to secure
in place.
Hook the clips through
the side walls hoops and
over the rods at the top
of the base of the
canopy. Ensure the clips
are attached to the inner
side of the two rods. The
gazebo is now ready for
use.
Tandil Gazebo

Popular Outdoor Furnishing manuals by other brands

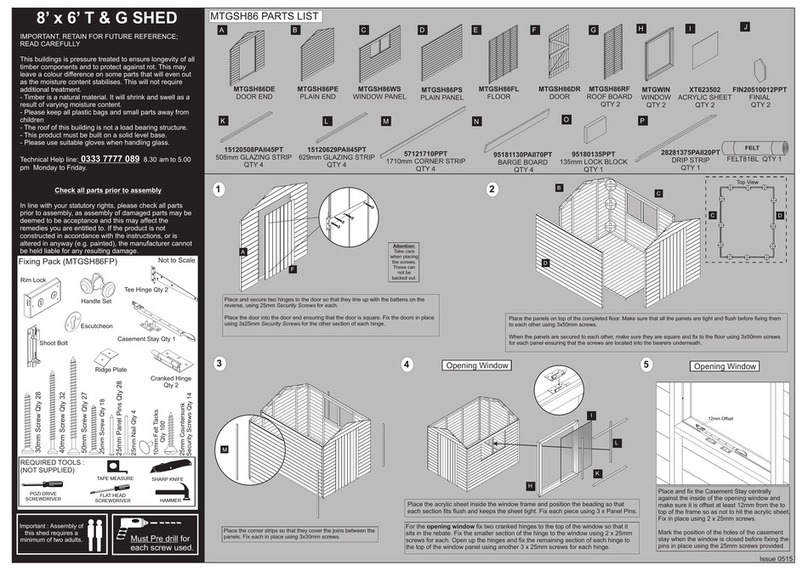
Forest garden MTGSH86 manual

Forest garden

Forest garden MTGSH86 manual

Harol PHOENIX FREE installation manual

Harol

Harol PHOENIX FREE installation manual

Garden Gear G0999 instruction manual

Garden Gear

Garden Gear G0999 instruction manual

PHI VILLA THD-PV-096-B Use and care guide

PHI VILLA

PHI VILLA THD-PV-096-B Use and care guide

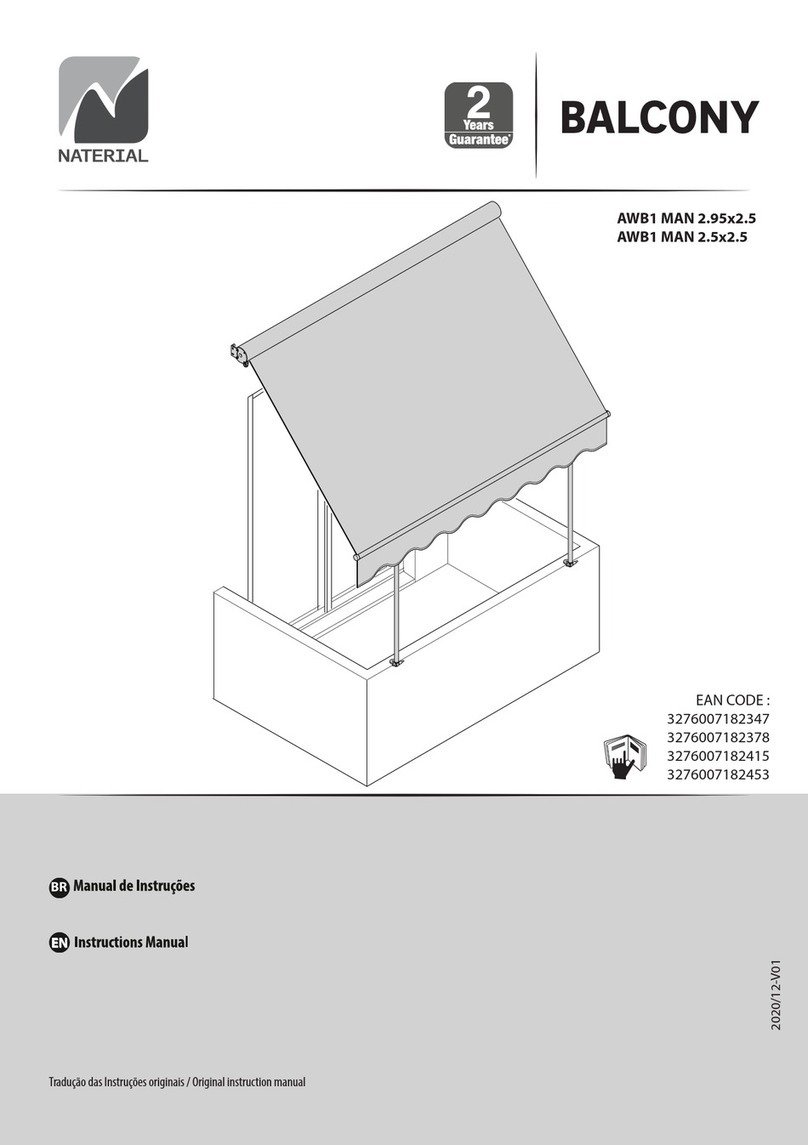
Naterial AWB1 MAN instruction manual

Naterial

Naterial AWB1 MAN instruction manual

TREEPOD STAND instruction manual

TREEPOD

TREEPOD STAND instruction manual

John Lewis 82011810 manual

John Lewis

John Lewis 82011810 manual

Mercia Garden Products 0628LOG171-V4 General instructions
Mercia Garden Products

Mercia Garden Products 0628LOG171-V4 General instructions

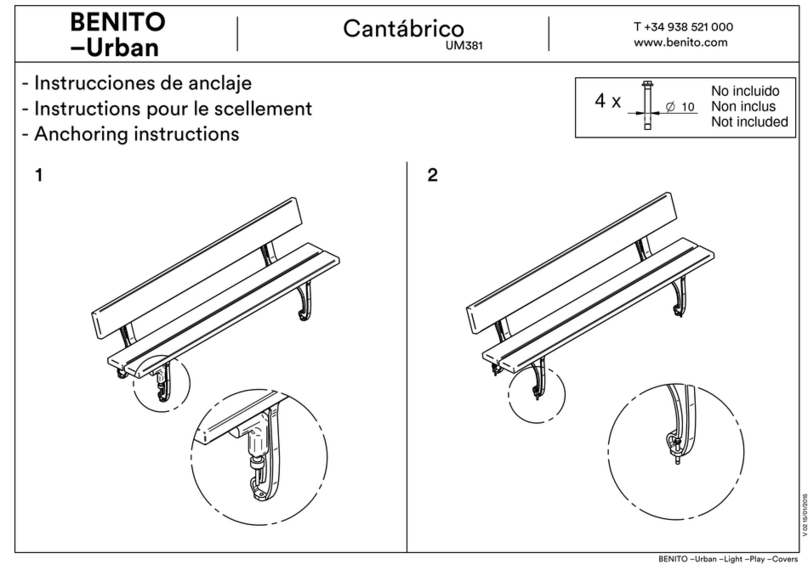
BENITO Cantabrico UM381 Anchoring instructions

BENITO

BENITO Cantabrico UM381 Anchoring instructions

BASI SWL 60 operating instructions

BASI

BASI SWL 60 operating instructions
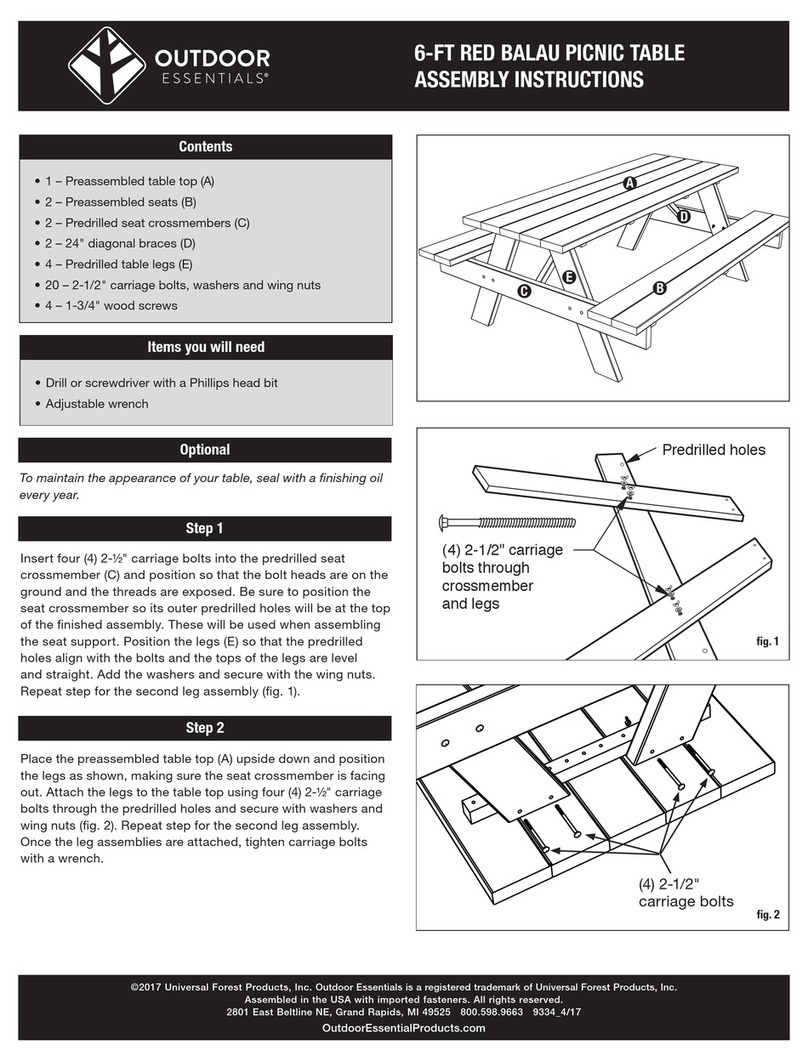
Outdoor Essentials Picnic Table 9334 Assembly instructions

Outdoor Essentials

Outdoor Essentials Picnic Table 9334 Assembly instructions

Sunjoy D-CM092PST-1A Assembly instructions

Sunjoy

Sunjoy D-CM092PST-1A Assembly instructions

Leishev BaSukkah Sukkah 4'x6' instruction manual

Leishev BaSukkah

Leishev BaSukkah Sukkah 4'x6' instruction manual

Hanover Fontana FNTDN7PCSW6RDTN manual

Hanover

Hanover Fontana FNTDN7PCSW6RDTN manual

Broyhill Legacy SC-K-454PGS1 Assembly instruction
Broyhill

Broyhill Legacy SC-K-454PGS1 Assembly instruction

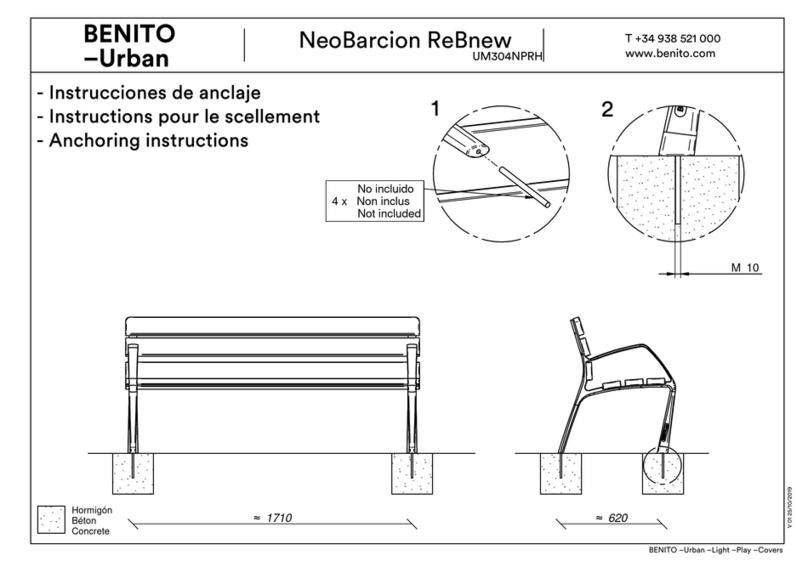
BENITO Urban NeoBarcion ReBnew UM304NPRH Anchoring instructions

BENITO

BENITO Urban NeoBarcion ReBnew UM304NPRH Anchoring instructions

EAST OAK PCSLC23005 owner's manual

EAST OAK

EAST OAK PCSLC23005 owner's manual
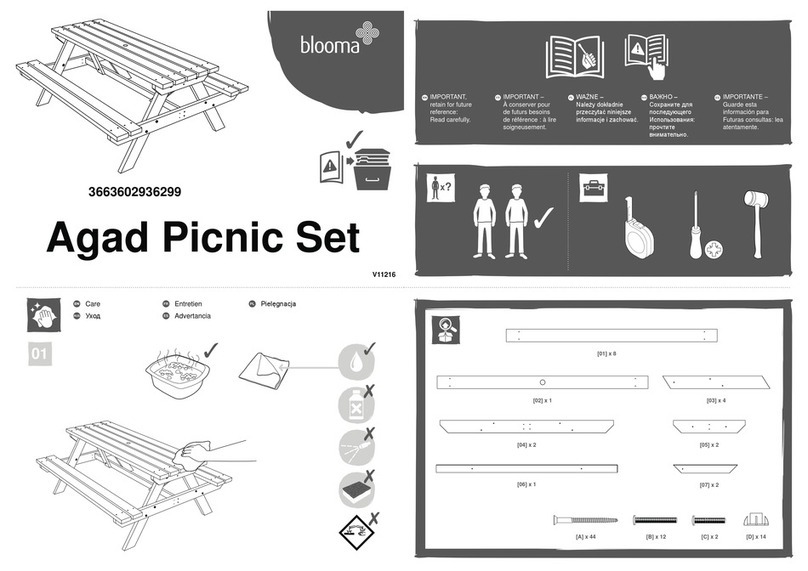
Blooma Agad 3663602936299 quick start guide

Blooma

Blooma Agad 3663602936299 quick start guide

manuals.online logo
manuals.online logoBrands
  • About & Mission
  • Contact us
  • Privacy Policy
  • Terms and Conditions

Copyright 2025 Manuals.Online. All Rights Reserved.