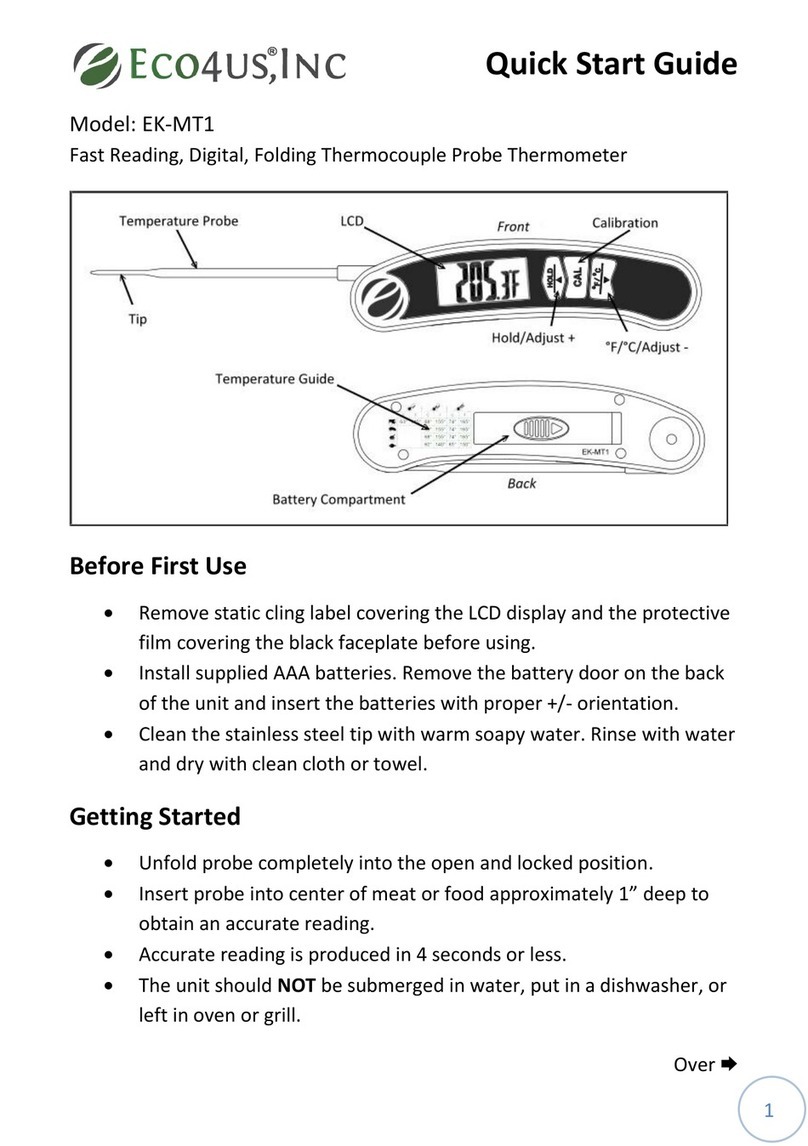
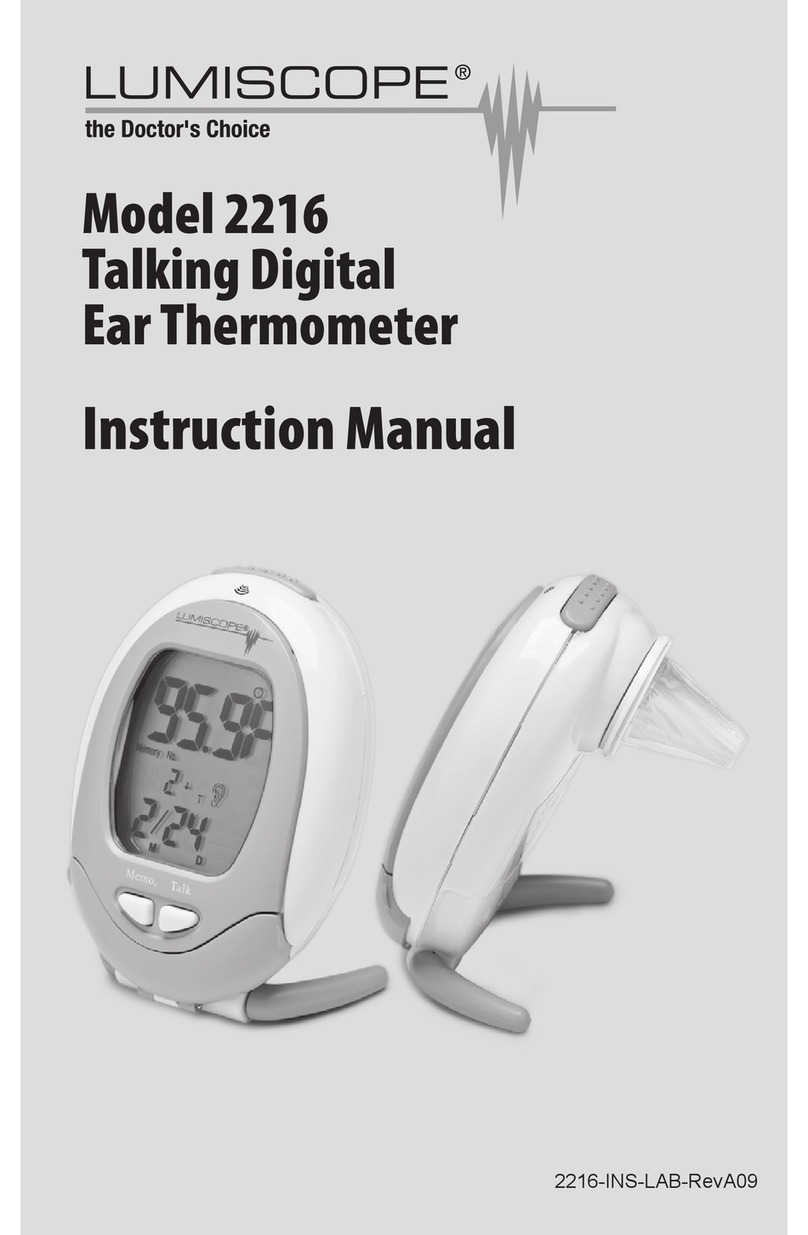
Inovalley WIRELESS POOL THERMOMETER User manual

Version1.4 Page1
WIRELESSPOOLTHERMOMETER
Ref.SP03
‐User’smanual‐

Version1.4 Page2
TABLEOFCONTENTS
1.INTRODUCTION.........................................................................................................................3
2.GETTINGSTARTED......................................................................................................................3
2.1PartsList............................................................................................................................3
2.2RemotePoolThermometerSensorSetUp........................................................................3
2.3DisplayConsoleSetUp......................................................................................................5
2.4DisplayConsoleLayout......................................................................................................6
2.5SensorOperationVerification............................................................................................7
3.REMOTESENSORINSTALLATION................................................................................................7
4.CONSOLEOPERATION................................................................................................................7
4.1Buttons..............................................................................................................................7
4.2Set(Program)Mode..........................................................................................................7
4.2.1SetTime........................................................................................................................7
4.2.2SetAlarmTime..............................................................................................................8
4.2.3SetDate.........................................................................................................................8
4.3AlarmMode......................................................................................................................8
4.3.1Activating/DeactivatingtheAlarm...............................................................................8
4.3.2CancellingtheAlarm.....................................................................................................8
4.3.3SnoozeAlarm................................................................................................................8
4.4Min/MaxMode.................................................................................................................8
4.5°C/°FUnitsofMeasure.......................................................................................................9
4.6Multi‐ChannelOperation...................................................................................................9
4.6.1Multi‐channelSensorInitialization................................................................................9
4.6.2Multi‐channelSensorAccuracyNote.............................................................................9
4.7Maintenance.....................................................................................................................9
5.GLOSSARYOFTERMS.................................................................................................................9
6.SPECIFICATIONS.......................................................................................................................10
6.1WirelessSpecifications....................................................................................................10
6.2MeasurementSpecifications...........................................................................................10
6.3PowerConsumption........................................................................................................10
7.TROUBLESHOOTINGGUIDE......................................................................................................10
8.LIABILITYDISCLAIMER.............................................................................................................11
9.DETAILSANDPRECAUTIONSONTHEUSEOFBATTERIES..........................................................11

Version1.4 Page3
1. INTRODUCTION
ThankyouforyourpurchaseoftheWirelessPoolThermometerwithtime,date,andindoor
temperature.Thefollowinguserguideprovidesstepbystepinstructionsforinstallation,operation
andtroubleshooting.
IMPORTANTNOTES:
‐ONLYINSTALLINFRESHWATER.DONOTINSTALLINSALTWATER.
‐DONOTEXCEEDTHEOPERATIONALRANGE(‐40°FTO140°F)
2. GETTINGSTARTED
TheWirelessPooThermometerconsistsofadisplaystation(receiver),andawirelessthermometer
(remotetransmitter).
2.1 PartsList
QTYItem
1Displaystation/Dimensions:119x74x21mm
1PoolThermometertransmitter /Dimensions:ø80mmx160mm
1UserManual
2.2 RemotePoolThermometerSensorSetUp
Note:Toavoidpermanentdamage,pleasetakenoteofthebatterypolaritybeforeinsertingthe
batteries.
1. Twistoffthetransmittercover(counterclockwise),asshowninFigure1.Becarefulnotto
stressthesensorwire.
Figure1
2. InserttwoAAbatteriesandclosethebatterydoor,asshowninFigure2.

Version1.4 Page4
Figure2
3. Locatethedipswitchesontheinsidecoverofthelidofthetransmitter.
Figure3displaysallthreeswitchesintheOFFposition(down).
Figure3
Note:Thedefaultsettingisasfollow:DipSwitches1and2aredown,thistransmitterisasChannel1;
DipSwitch3isup,thetemperatureunitofthistransmitteris°C.
4. ChannelNumber:Thedisplayconsolesupportsupto3transmitters.Toseteachchannel
number,changeDipSwitches1and2,asreferencedinTable1.
5. Temperatu re UnitsofMeasure:To choosethetransmitterdisplayunitsofmeasure(°F/°C),
changeDipSwitch3,asreferencedinTable1.
DIPSWITCH FUNCTION
123
DOWNDOWN‐‐‐ Channel1(factorydefaultsetting)
UPDOWN‐‐‐ Channel2
DOWNUP‐‐‐Channel3
‐‐‐ ‐‐‐ DOWN
°
F
‐‐‐ ‐‐‐ UP
°
C(factorydefaultsetting)
Table1
6. Verifythecorrectchannelnumber(CH)andtemperatureunitsofmeasure(°F/° C ) areother
display,asshowninFigure4andFigure5.
Figure4Figure5
Note:ThefollowingillustrationshowsthefullsegmentsofthetransmitterLCDfordescription
purposesonlyandwillnotappearlikethisduringnormaloperation.

Version1.4 Page5
Figure6
1.Transmitterchannelnumber,total3channels
2.Watertemperature
3.Watertemperatureunits(°F/°C)
4.Transmitterindication(flasheswhensent)
Verifythegasketisproperlyseatedintheguideontransmittercover.Twistonthetransmittercover
(clockwise),asshowninFigure.
Figure7
2.3 DisplayConsoleSetUp
Note:Toavoidpermanentdamage,pleasetakenoteofthebatterypolaritybeforeinsertingthe
batteries.
Removethebatterydooronthebackofthedisplay.Insert2AAA1.5V(alkalineorlithium,avoid
rechargeable)batteriesinthebackofthedisplayconsole.
AlloftheLCDsegmentswilllightupforafewsecondstoverifyallsegmentsareoperatingproperly,
andtheunitwillbeep.
Replacethebatterydoor,andfoldoutthedeskstandandplacetheconsoleintheuprightposition.
Theconsolewillinstantlydisplayindoortemperature,andthedefaultdateandtime.The
thermometertransmitterwilldisplay‐‐,thenupdateremotetemperatureonthedisplaywithinafew
minutes.Donottouchanybuttonsuntiltheremotesensorreportsin,otherwisetheremotesensor
searchmodewillbeterminated,andyoumustpowerdownandpoweruptheconsoleagainby
removingbatteries.

Version1.4 Page6
Whentheremotesensordatahasbeenreceived,theconsolewillautomaticallyswitchtothenormal
mode,andallfurthersettingscanbeperformed.
Iftheremotedoesnotupdate,pleasereferencethetroubleshootingguideinSection7.
2.4 DisplayConsoleLayout
Note:ThefollowingillustrationshowsthefullsegmentsofthereceiverLCDfordescriptionpurposes
onlyandwillnotappearlikethisduringnormaloperation.
Figure8
1.Transmitterchannelnumber
2.Watertemperatureunits(°F/°C)
3.Watertemperature
4.Indoortemperatureunits(°F/° C )
5.Indoortemperature
6. Timeandsnoozealarm
7.Timeofday
8.Date
9.Dayofweek
10.Min/maxicon
11.Transmitterreception(flasheswhenreceived)
Thenormaldisplaymode,asshowninFigure9.

Version1.4 Page7
Figure9
2.5 SensorOperationVerification
Verifytheindoorandremote(water)temperaturematchescloselywhileinthesamelocation.The
sensorsshouldbewithin4°F(theaccuracyis±2°F).Allowabout30minutesforbothsensorsto
stabilize.
3. REMOTESENSORINSTALLATION
Placetheremotesensorintothewater(pool,spa,etc).Thetemperaturewilltakeafewhoursto
stabilize.Thereisbracketonthethermometertooptionallytetherthefloat.
4. CONSOLEOPERATION
4.1 Buttons
Thedisplayconsoleincludesthefollowingbuttons(andlocation)
1. MODE:onthebackofthedisplay
2. C/F:onthebackofthedisplay
3. MAX/MIN:onthebackofthedisplay
4. SET:onthebackofthedisplay
5. CHANNEL:onthetopofthedisplay
6. CLEAR:onthetopofthedisplay
4.2 Set(Program)Mode
PresstheMODEbuttontoswitchbetweenTIME‐>ALARM‐>DATE
Thefollowingsectiondefineshowtosetthetime,alarmanddate.
Notes:
‐ After60secondsofinactivity,thedisplaywillautomaticallyreverttothenormaldisplaymode
(automatictimeout).
‐PressandholdtheC/Fbuttonfortwosecondstoadvancerapidly.
4.2.1 SetTime
1. WhileintheTIMEmode,presstheSETbutton,andthehourwillbeginflashing.Pressthe
C/Fbuttontoadvancethehour.MakespecialnoteoftheAM/PMicon.

Version1.4 Page8
2. PresstheSETbuttonagain,andtheminutewillbeginflashing.PresstheC/Fbuttonto
advancetheminute.
3. PresstheSETbuttonagain,andthesecondwillbeginflashing.PresstheC/Fbuttontotoggle
between12hourand24hourdisplaymode.
4. PresstheSETbuttonagaintoreturntonormalmode.
4.2.2 SetAlarmTime
1. WhileintheALARMmode,presstheSETbutton,andthealarmhourwillbeginflashing.
PresstheC/Fbuttontoadvancethealarmhour.MakespecialnoteoftheAM/PMicon.
2. PresstheSETbuttonagain,andthealarmminutewillbeginflashing.PresstheC/Fbuttonto
advancethealarmminute.
3. PresstheSETbuttonagaintoreturntonormalmode.
4.2.3 SetDate
1. WhileintheDATEmode,presstheSETbutton,andtheyearwillbeginflashing.Pressthe
C/Fbuttontoadvancetheyear.
2. PresstheSETbuttonagain,andthemonthwillbeginflashing.PresstheC/Fbuttonto
advancethemonth.
3. PresstheSETbuttonagain,andthedaywillbeginflashing.PresstheC/Fbuttontoadvance
theday.
4. PresstheSETbuttonagaintoreturntonormalmode.
4.3 AlarmMode
4.3.1 Activating/DeactivatingtheAlarm
1. WhileintheALARMmode,presstheC/Fbuttontoactivatethealarm.Thealarmiconwill
appear .
2. PresstheC/Fbuttonagaintodeactivatethealarm.Thealarmiconwilldisappear.
4.3.2 CancellingtheAlarm
Whenanalarmhasbeentriggered,thealarmwillsoundandthealarmicon willflashfor60
seconds.Pressanybuttononthebackofthedisplaytosilencethealarm.
4.3.3 SnoozeAlarm
Whenanalarmhasbeentriggered,thealarmwillsoundandthealarmicon willflashfor60
seconds.PresstheCHANNELbuttononthetopofthedisplayorallowthealarmtotimeouttoenter
thesnoozemode.Thesnoozeiconwillflash(ZZ).Afterfiveminutes,thealarmwillsoundagain.
Afterfiveconsecutivesnoozealarms,thesnoozealarmmodewillbedeactivated.
4.4 Min/MaxMode
Notes:
‐Ifyouhavemultipleremotetemperaturesensors,selecttheChannelyouwishtoviewthemin/max
databeforeyouenterthemin/maxmode.
‐ Resettingtheminimumandmaximumvaluesresetsallthreechannelsatthesametimefor
multi‐channeloperation.
1. MinimumValues.WhileinNormalMode,presstheMIN/MAXbuttontoenterthe

Version1.4 Page9
min/maxmode.Theminimumwatertemperatureandindoortemperaturewillbedisplayed.
PresstheCLEARbutton(onthetopofthedisplay)tocleartheminimumvaluestothe
currentmeasuredvalues.
2. MaximumValues.PresstheMIN/MAXbuttonagain,andthemaximumwatertemperature
andindoortemperaturewillbedisplayed.PresstheCLEARbutton(onthetopofthedisplay)
toclearthemaximumvaluestothecurrentmeasuredvalues.
3. PresstheMIN/MAXbuttonagaintoexitthemin/maxmode.
4.5 °C/°FUnitsofMeasure
Totogglebetween°C/°Ftemperatureunitsofmeasureonthedisplay,presstheC/Fbuttononthe
backofthedisplay.
4.6 Multi‐ChannelOperation
Thestationsupportsupto3remotethermometers(oneisincluded).Theoptionalsensorscanbe
purchasedatInovalley.
4.6.1 Multi‐channelSensorInitialization
Placethemultipleremotesensorsabout10feetfromtheconsole.Powerupthesensorsandconsole
inthefollowingorder:
1. Powerupthefirstremotethermometerandsetthechannelnumberdipswitches,as
describedinSection2.3.VerifythedisplayreadsChannel1.
2. Powerupthesecondremotethermometerandsetthechannelnumberdipswitches,as
describedinSection2.3.VerifythedisplayreadsChannel2.
3. Powerupthethirdremotethermometer(ifavailable)andsetthechannelnumberdip
switches,asdescribedinSection2.3.VerifythedisplayreadsChannel3.
4. Poweruptheconsolelastandwaitabout3minutes.PresstheCHANNELbuttononthetop
ofthedisplaytoverifyallthreesensorsarecommunicatingtotheconsole.
5. Onceverified,youarereadytoinstalltheremotethermometers.
4.6.2 Multi‐channelSensorAccuracyNote
Verifythetemperaturevaluesmatchcloselywiththeconsoleandsensorarrayinthesamelocation.
Thesensorsshouldbewithin4°F(theaccuracyis±2°F).
Allowabout30minutesforallsensorstostabilize.
4.7 Maintenance
Werecommendinspectingthegasketinsidethelidofthefloatingthermometerwitheachbattery
change.Moistenwithpoolgasketlubricantavailablefrommostpoolstores.Inspectforanymoisture
insidethefloatingthermometer.Replacethegasketevery1year.
Toreplacethegasket,slidethegasketoverthefloatpotionofthefloatingthermometerandinsert
intothegasketguideonthelid.
5. GLOSSARYOFTERMS
TermDefinition
AccuracyAccuracyisdefinedastheabilityofameasurementtomatchtheactual

Version1.4 Page10
v
alueofthequantitybeingmeasured.
RangeRangeisdefinedastheamountorextentavaluecanbemeasured.
6. SPECIFICATIONS
6.1 WirelessSpecifications
WirelessTransitionRangewithoutobstacle(intheopenair):300feet(91,44meters)under
idealconditions;100feet(30meters)inthemajorityoftheconditions.
Frequency:433MHz
UpdateRate:10secondsontheremote,90secondsonthedisplayconsole.
6.2 MeasurementSpecifications
Thefollowingtableprovidesspecificationsforthemeasuredparameters.
MeasurementRangeAccuracyResolution
IndoorTempe ratu re‐40to140°F±2°F0.1°F
WaterTem perature‐58to140°F±2°F0.1°F
6.3 PowerConsumption
Station:2xAAA1.5VAlkalinebatteries
Poolthermometer(Remotesensor):2xAA1.5VAlkalinebatteries
Batterylife:Minimum12monthsforbasestation
Minimum12monthsforremotethermometersensor(uselithiumbatteriesincoldwater
climates)
7. TROUBLESHOOTINGGUIDE
ProblemSolution
Wirelessremotenotreportinginto
station.
‐Themaximumlineofsightcommunicationrangeis
100m.Movethedisplayconsoleclosertotheremote
sensor.
‐Cyclepoweronthestationbyremovingand
re‐insertingthebatteries.Thestationmayhaveexited
thesearchmode.
‐Installafreshsetofbatteriesintheremote
thermo‐hygrometer.Forcoldweatherenvironments,
installlithiumbatteries.
‐Makesuretheremotesensorsarenottransmitting
throughsolidmetal(actsasanRFshield),orearth
barrier(downahill).
‐Movethestationawayfromelectricalnoiseemitting
devices,suchascomputers,TVsandotherwireless
transmittersorreceivers.
‐RadioFrequency(RF)Sensorscannottransmitthrough
metalbarriers(example,aluminumsiding)ormultiple,
thickwalls.
DisplaystationcontrastisweakReplacestationbatterieswithafreshsetofbatteries.

Version1.4 Page11
Tempe ratu reonremotesensorand
stationdisagree
‐Theremotesensorupdatesevery10seconds.
‐Thedisplayreadsthesensorevery90seconds.
‐Iftransmissionisintermittentlylost,thesensorand
stationtemperaturevalueswilldisagree.
8. LIABILITYDISCLAIMER
Pleasehelpinthepreservationoftheenvironmentandreturnusedbatteriestoan
authorizeddepot.
Theelectricalandelectronicwastescontainhazardoussubstances.Disposalofelectronic
wasteinwildcountryand/orinunauthorizedgroundsstronglydamagestheenvironment.
Readingthe“Usermanual”ishighlyrecommended.Themanufacturerandsuppliercannot
acceptanyresponsibilityforanyincorrectreadingsandanyconsequencesthatoccurshould
aninaccuratereadingtakeplace.
Thisproductisdesignedforuseinthehomeonlyasindicationofweatherconditions.This
productisnottobeusedformedicalpurposesorforpublicinformation.
Thisproductisnotatoy.Keepoutofthereachofchildren.
9. DETAILSANDPRECAUTIONSONTHEUSEOFBATTERIES
‐ Discardausedbatteryinnatureorgarbagepollutesandpreventstherecoveryofrecyclable
materials.
Itisthereforeimportanttolimitconsumptionofbatteriesandfollowtheseguidelines:
focusonalkalinebatteries(thatlastlongerthanthesalinebatteries)andwhenpossible,
rechargeablebatteries
depositbatteriesandaccumulatorsinspecificcontainersarrangedamongtraders.
Forexample,metalswillbevaluedandpollutedtheenvironmentbecausetheycontainheavymetals
hazardoustohealthandtheenvironmentprimarily(cadmiumandnickel)
‐Thepilesmustinstallationbyrespectingthepolarityindicatedontheapparatusandthepile.
Anincorrectpositioningcanistodamagetheapparatus,istocauseescapesonthelevelofthepile,is
totheextremetocauseafireortheexplosionofthepile.
‐To ensureproperoperation,thebatteriesmustbeingoodcondition.Incaseofabnormalityinthe
functioningofthedevice,putfreshbatteries
‐Neverattempttorechargenon‐rechargeablebatteries.Theycouldrun,warmup,causingafireor
explosion.
‐Replaceallbatteriesatthesametime.Nevermixzincbatterieswithalkalinebatteriesor
rechargeablebatteries
‐Thebatteriesmustberemovedfromthedevice
‐Also,removethebatteriesfromyourdeviceifyoudonotuseitforalongtime,ifthebatteriesmay
leakandcausedamage.
‐Nevertrytoshort‐circuitthebatteryterminals
‐Neverdisposeofbatteriesinfire,theymightexplode
‐Chargingofbatteriesistobeperformedbyanadult.
‐Removebatteriesfromthedevicebeforereloading.
‐Werecommendanadulttosupervisechildrenwhentheychangethebatteriessothatthese

Version1.4 Page12
instructionsarecompliedwithortomakehimselfthereplacementofbatteries.
‐Ifabatteryisswallowed,immediatelyconsultadoctororpoisoncontrolcenternearestyou.
Donotforgettocarrytheproductwithyou.
This manual suits for next models
1
Table of contents


