Insidevision insideONE User manual

insidevision
insidevision | 8-12 avenue Emile Aillaud | 91350 Grigny | France | Phone +33 (1) 83 53 51 00 | www.insidevision.fr /index_UK.html | [email protected]
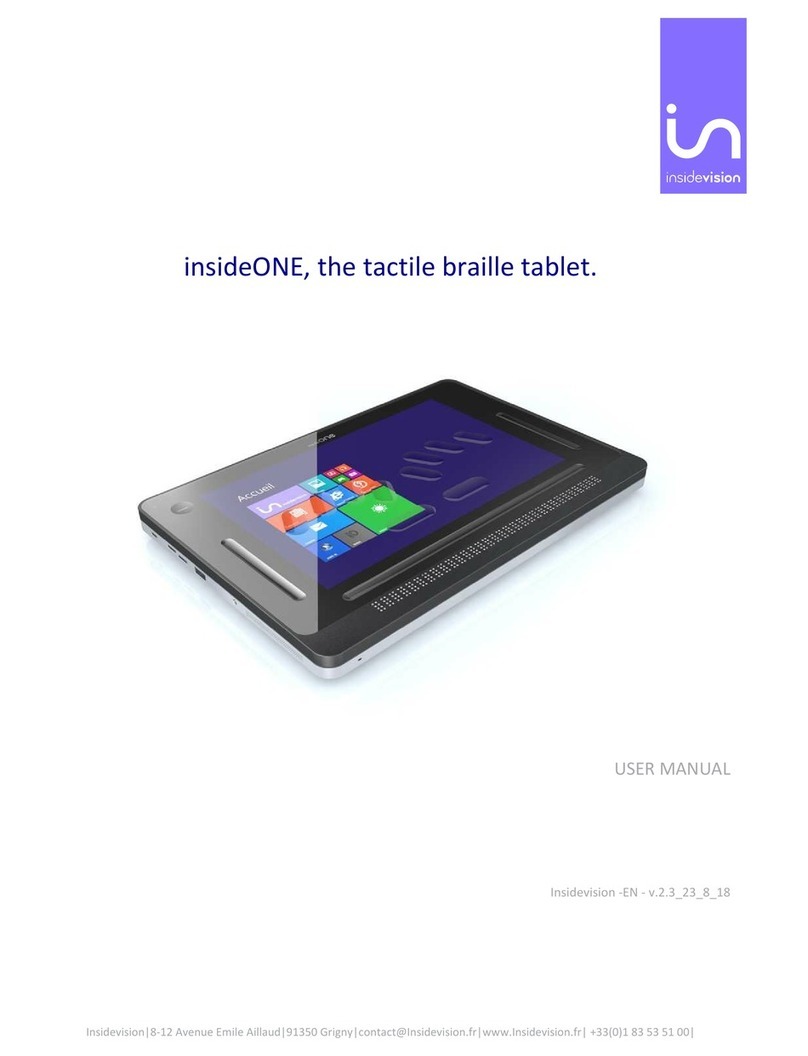
insideONE, the tactile braille tablet.
insidevision - April 2017 edition
Getting started with insideONE.

insidevision
insidevision | 8-12 avenue Emile Aillaud | 91350 Grigny | France | Phone +33 (1) 83 53 51 00 | www.insidevision.fr /index_UK.html | [email protected]
CONTENTS
1. Getting started with insideONE.
1.1Start. 01
1.1.1 Package contents. 01
1.1.2 What is insideONE ? 02
1.1.3 What to do with insideONE ? 03
1.1.4 Physical presentation of insideONE. 03
1.1.4.1 Top. 03
1.1.4.2 Bottom. 03
1.1.4.3 Right side. 03
1.1.4.4 Left side. 03
1.1.4.5 Back. 04
1.1.4.6 Front. 04
2. Gesture data sheet of the insideONE tablet.
2.1
Gestures. 06
2.1.1 Different areas. 06
2.1.2 The different gestures. 06
3. Braille shortcuts. 07

01
1. Getting started with insideONE.
1.1 Start.
1.1.1 Package contents.
. Unpack carefully insideONE.
. Keep the original packing, you will need it for transport.
Contents of the box:
. insideONE tablet.
. A mains adapter.
Packaging strengthened
with sleeve.
Power supply adapter box.
insideONE tablet.

02
1.1.2 What is insideONE ?
. insideONE is a hybrid device integrating various components.
. It includes a computer tablet PC (with a motherboard, a powerful processor designed to insure
a quick turn on and optimise energy consumption of the RAM memory, a hard disk, a soundboard, Wifi,
Bluetooth, a battery, 2 cameras, a display, speakers and various connectors) as well as a top quality 32
character braille display.
. Everything is integrated inside a frame to which we added a specific tactile matrix to act on the
display and also on external zones. Above the matrix a high resistance glass through which the display
can be seen. This glass is hollowed out to visualize a braille keyboard but also other interactive areas.
. The braille keyboard can thus be used to control insideONE, and also to make gestures on
the screen as one does with a smartphone. And since we wish for sighted non apprised of braille to be
able to use insideONE to interact with visually impaired users, we also provide them with a standard
virtual keyboard. Keyboards are in fact softwares shown on the screen but with physical marks for the
braille one. Shifting instantaneously from Braille to standard keyboard or closing the keyboards are
other possibilities, in this case the whole surface can be used for gestures.
1.1.3 What to do with insideONE ?
. insideONE is all together a computer, a data processing terminal and a note taker, if you ‘ve
purchased Home our ecosystem when starting insideONE.
insideONE, a computer.
. Windows 10 is the OS. In order to work in that environment we install by default the NVDA
screen reader which runs automatically when the product starts.
.That enables you to benefit from all of Windows power and to select the software you wish to use.
. You are free to choose any software.
insideONE is a note taker.
. If you’ve purchased Home, it will run automatically when starting insideONE.
. Several possible uses.
. Home is a self-sufficient ecosystem. It is not necessary to work in the Windows environment
you can stay working in Home and its adapted interface. This way of working is quite suitable for
schools or inexperienced users.
. But you can also work in Home and in the same time have full access to Windows and all its
power.

03
Microphone
Venting grid
Grid for the speaker
and ventilation
Grid for the speaker
and ventilation
LED USB3 Jack
Micro
USB Mini
HDMI
Micro
SD
Mini-USB Volume +/- On / Off
1.1.4 Presentation of insideONE.
. Put insideONE on a flat surface.
. On the top, you will see the braille keyboard and the braille display. The braille display must
be positioned towards you.
1.1.4.1 Top.
. On the left, is the built-in microphone.
1.1.4.2 Bottom.
. There’s a venting grid alongside the lower part of the housing.
1.1.4.3 Right side.
. From bottom to top, you can find a grid for the speaker and ventilation. Then in the
middle, are located a mini-USB port, the volume (-) button to decrease the volume level, the volume
(+) button to increase the volume and the Start / Standby / Sleep mode button.
1.1.4.4 Left side.
. From top to bottom there is a grid for the speakers and ventilation, then a 3.5mm
jack to connect a micro / headset / speaker, then a USB 3 port, then a slot for micro SDcard ( to put it
in, hold the micro SDcard, contacts pointing downward and arrow towards the slot, press gently till the
click in place to remove the card, press then release, it will pop out), plus a mini HDMI port for screen
connection, then a micro USB type B port to recharge insideONE, and a battery-charge indicator LED.
Red light for charging, green light once the tablet is charged.
Start / Standby /
Sleep mode button
Volume -/+
Grid for speaker

04
Rubber feet
x4 Camera
Normative label
1.1.4.5 Back.
. If you turn over insideONE, you’ll find near the bottom and the top ends, rubber feet
to provide stability. At the bottom between the two feet is a label bearing the serial number, electric data
and the standards met by insideONE.
. On the top, 5cm left from right foot, is located the rear-view camera. Using the
product under the proper orientation, the camera is 9cm from the upper left edge.
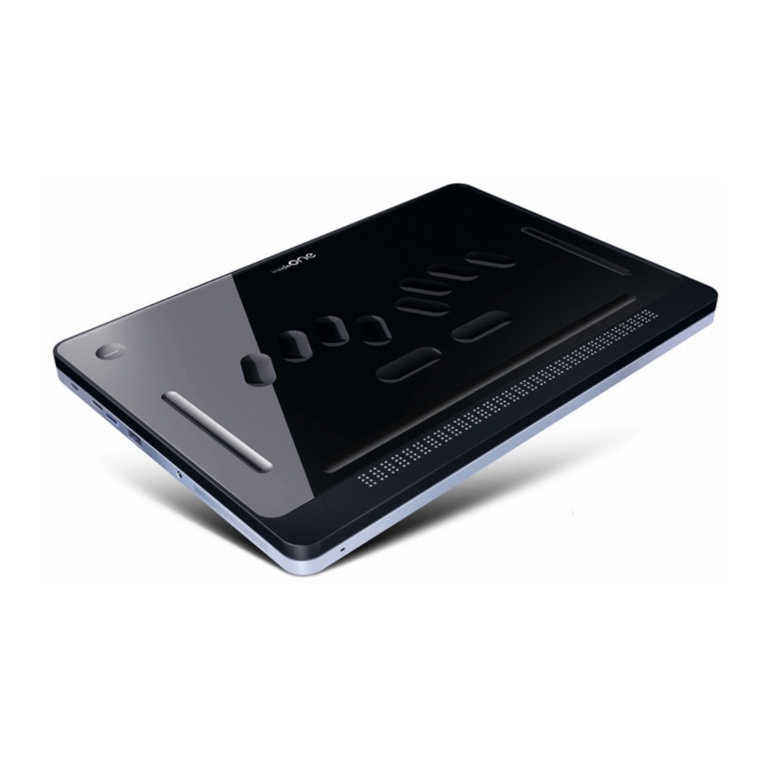
1.1.4.6 Front.
. Starting from the bottom you find the 32 character braille display.
. Moving up your hands reach the tablet glass, the glass is hollowed out in place to
materialize the braille keyboard and specific functions areas.
. Under the glass 2cm from the top edge, 4cm from left and right edges and 4.5cm
from the bottom edge, is the tablet screen. Sighted people can view actions of the user, however the
screen can be deactivated to save battery power and work in privacy.
. Above the braille display runs a horizontal groove 8mm high on a width slightly
exceeding that of the braille display. That groove will be called bottom slider.

05
Camera
Left Slider, LS Bottom Slider, BS Oblong keys Braille display Glass
Oblong keys Right Slider, RS
Button, Bt
2
3
768
1
9 0
4
5
. Moving up whilst keeping your hands towards the center you will come across 2
horizontal keys, keep on moving up your fingers will fit in with other long keys.
. If your fingers are correctly placed your left hand index should be on key 1 of the
braille keyboard, your middle finger on key 2, your ringfinger on key 3, your little finger on key 7. As
to your right hand key 4 will lie under your index, key 5 under your middle finger, key 6 under your
ringfinger, key 8 under your little finger.
Should you put your thumbs on the horizontal keys, then your left thumb will be upon key 9 and your
right one on key 0.
. On the same height on the right, runs a vertical groove 8mm width and 8cm high
called right slider.
On the left there is the same groove called left slider. Going up from left slider, you can find a hollowed
round called button or Bt (engraved round of 1.5cm in diameter).
. The front facing camera is located in the upper left corner.

06
Left Slider, LS
Button area, Bt Display area Right Slider, RS
Bottom Slider, BS
2. Gesture data sheet of the insideONE tablet.
2.1 Gestures.
2.1.1 Different areas.
. Gestures can be done from various locations on the screen of the tablet.
. The screen is divided in 2 areas. The one to be favoured is the one located above the
keyboard, because if the keyboard is up, it won’t be possible to make any gesture between the bottom
of the screen and the top of the keyboard. This area above the keyboard will be the task zone for sight
people.
. The screen border with the button (Bt) and the 3 sliders (left, down and right) will be
used mainly by visually impaired people.
2.1.2 The different gestures.
. Activate the keyboards:
Braille keyboard: hold your fingers simultaneously for 1 second on keys 1 2 3 4 5 6
then release; You will hear a sound indicating the keyboard is active.
Windows virtual keyboard (for the sighted only): hold 1 finger for 5 seconds in the left
slider. The keyboard will appear on the screen.
. 1 Tap: A simple and quick contact on the screen with one finger.
. 2 Taps: Two quick contacts one after another with one finger on the screen.
. 3 Taps: Three quick contacts one after another with one finger on the screen.
Taps can be done with one, two or three fingers
. Slide: quick swipe up, down, left or right of the finger.
. Sliding can be done with one, two or three fingers.
. Sliding in the sliders:
For vertical sliders Left and Right, slide vertically with 1 finger in the slider. For horizontal bottom slider,
make horizontal sliding with the finger in the slider. For every slider, if your gesture is perpendicular to
the slider, you must cross through.
. For example, if you want to slide downward with 2 fingers in bottom slider, you must
put 2 fingers just above bottom slider, in contact with the glass, and make them sliding down crossing
down slider. Once the slider passed, you can remove your fingers.

07
Braille shortcuts
Function keys Braille shortcuts
Alt
Ctrl
Shift
CapsLock Toogle
NumLock Toogle
Escape
Tab
Shift tab
F1
F2
F3
F4
F5
F6
F7
F8
F9
F10
F11
F12
Home
End
Right
Left
up
Down
Enter
Break
Delete
Pause
Space
Backspace
Print screen
Insert toogle
Contextual Menu
Previous Page
Next Page
Volume Mute
Volume Down
Volume Up
Windows
1 0
1 4 0
2 3 4 0
twice quickly 7 9
80
1 5 0
2 3 4 5 0
2 3 4 5 9
1 9
1 2 9
1 4 9
1 4 5 9
1 5 9
1 2 4 9
1 2 4 5 9
1 2 5 9
2 4 9
2 4 5 9
1 3 9
1 2 3 9
1 2 3 0
4 5 6 0
5 9 0
2 9 0
1 9 0
4 9 0
8 or 9 0
1 2 0
1 4 5 0
1 2 3 4 9
9 or 0
7
1 2 3 4 0
2 4 0
1 3 4 0
1 3 0
4 6 0
1 2 3 6 9 0
1 2 3 6 9
1 2 3 6 0
2 4 5 6 0
3. Braille shortcuts.
Other manuals for insideONE
3
Table of contents
Other Insidevision Tablet manuals
