manuals.online logo
Brands
  1. Home
  2. •
  3. Brands
  4. •
  5. Insignia
  6. •
  7. TV DVD Combo
  8. •
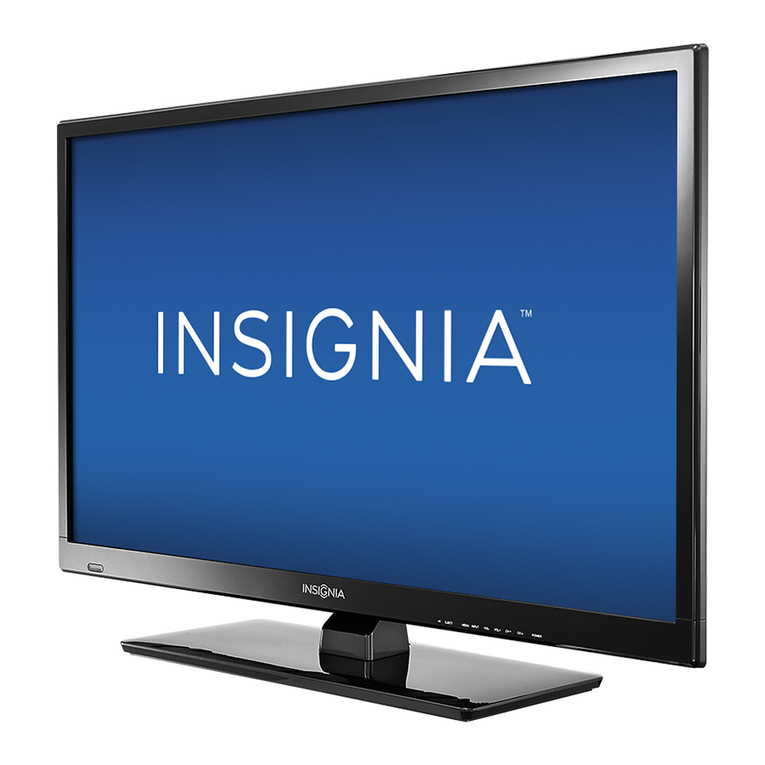
  9. Insignia NS-LTDVD19-09CA User manual

Insignia NS-LTDVD19-09CA User manual

POWER
VOL
VOL
INPUT
MENU
CH
CH
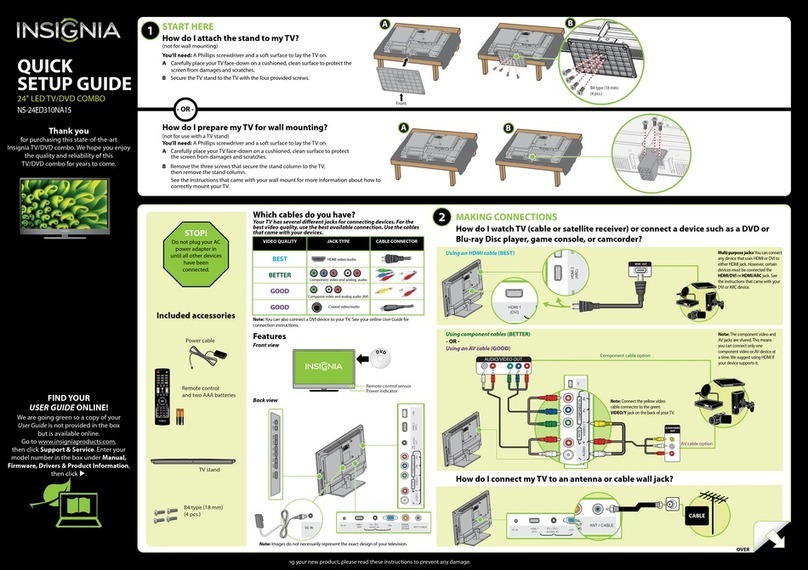
Setup Guide NS-LTDVD19-09CA
08-1155 NS-LTDVD19-09CA QSG
Tools Required/ Outilsnécessaires
Screwdriver / Tournevis
Step 1
Gettingtoknowyour19”LTDVDTV
Check out the front, side, and back panels to familiarize yourself with
button controls and connection options. Refer to the User Guide for
more information about how to get the most out of your 19” LTDVD TV.
Step 2 Installremotecontrol batteries
Remove the cover from the back of the remote control. Insert the batteries as
indicated, then replace the cover.
Étape 2Installationdespilesdelatélécommande
Retirer le couvercle du compartiment des piles au dos de la télécommande.
Insérer les piles tel qu’illustré, puis replacer le couvercle.
Menu
Menu
Input
Entrée
Power
Marche/Arrêt
TM
CH+/-
CH +/-
Volume+/-
Volume +/-
OPEN/
CLOSE
PREV
NEXT
PLAY/
PAUSE
STOP
1
2
c
m
D
i
s
c
O
n
l
y
DISC IN
Headphone jack
Prise de casque d'écoute
Disc label towards front
Congratulations on your purchase of a
high-quality Insignia product. Your 19”
LCD TV/DVD is designed for reliable
and trouble-free performance. Use this
guide for initial setup of your TV. If you
have questions, see your User Guide for
more information.
Félicitations d’avoir acheté ce produit
Insignia de haute qualité. Ce téléviseur
ACL de 19 po avec lecteur DVD a été
conçu pour des performances et une
abilité exceptionnelles. Utiliser ce
guide pour la première mise en service
du téléviseur. Pour toutes questions ou
informations, consulter le Guide de
l’utilisateur.
PackageContents/Contenudelaboîte
Remote control/Télécommande
AAA batteries(2) /Piles AAA(2)
ACpowercord /Cordond’alimentationCA
Pedestal stand with screws / Socle avec vis
User Guide/Guidedel’utilisateur
QuickSetupGuide/Guided’installationrapide
DiscSlot
Logementpourdisques
Prev Button
Touche Précédent
Next Button
Touche Suivant
Stop Button
Touche Arrêt
Play/Pause Button
Touche Lecture/Pause
Disc Indicator
Témoin de disque
Open / Close
Ouvrir/Fermer
Power/Standby Indicator
Témoin Marche-Arrêt/Attente
IR sensor / Capteur infrarouge
Étape 1
Identicationdes fonctionnalités decetéléviseurLTDVDde19po
Identier tout d'abord les touches de commande et les options de connexions situées à l'avant, sur les côtés
et à l'arrière du téléviseur. Voir le Guide de l’utilisateur pour plus d’informations sur la façon d’utiliser toutes
les possibilités de ce téléviseur LTDVD de 19 po.
Note:You must connect an antenna or cable before proceeding with this step.
Press TV MENU on the remote control, then press to highlight the Tuning icon.
The Tuning menu opens on the right. Press or ENTER to enter the Tuning menu.
Press to select Auto Scan, then press or ENTER to start the auto scan.
Remarque: Il est nécessaire de connecter une antenne ou le câble avant d’eectuer
cette étape. Appuyer sur TV MENU (Menu TV) de la télécommande, puis sur pour mettre en
surbrillance l'icône Tuning (Syntonisation).Le menu syntonisation (Tuning menu) s’ache sur la
droite. Appuyer sur ou sur ENTER (Entrée) pour accéder au menu syntonisation (Tuning).
Appuyer sur pour sélectionner Auto Scan (Recherche automatique), puis sur ou sur ENTER
(Entrée) pour commencer la recherche automatique.
C PBC PR
L
L
FOR
SERVICE
ONLY
Step 4 Connectpower
Connect the AC power cord to the power jack
on the TV and to a wall outlet. Press the power
button on the side of your TV or POWER
on your remote control to start the TV.
Étape 4
Connexiondel’alimentation
Connecter le cordon CA à la prise d'alimentation
du téléviseur et à la prise secteur. Mettre le téléviseur
en marche en appuyant sur la touche marche sur le
côté du téléviseur ou POWER de la télécommande.
08- 1155
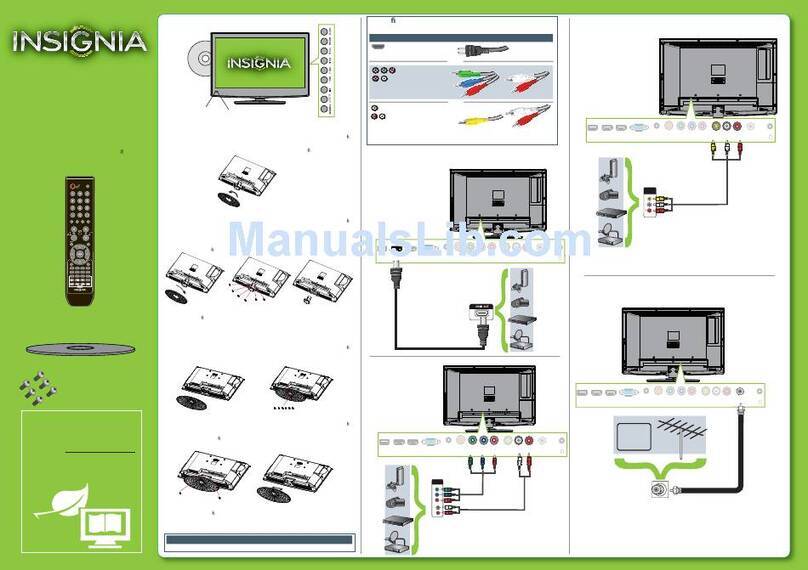
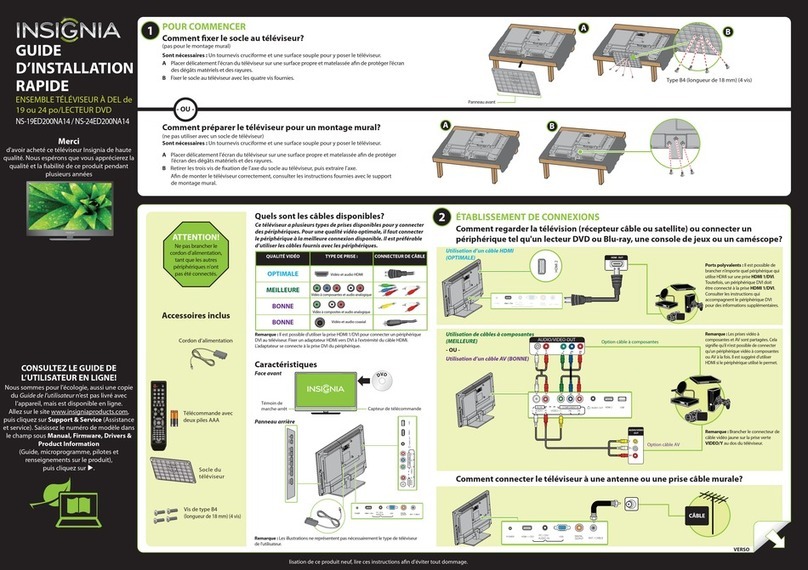
Step 3 Connecting your components/ Étape 3Connexiondecomposants
Connect your components using the diagram below as a guide. Press the INPUT button on your remote control to switch between components.
Connecter les composants en se référant au schéma ci-dessous. Utiliser la touche INPUT (Entrée) de la télécommande pour alterner entre les périphériques.
PC/VGA input / Entrée PC/VGA
Connect to a computer's VGA and audio ports.
Connecter aux ports VGA et audio d’un ordinateur.
S-Video input / Entrée S-Vidéo
Connect a DVD player, VCR, or othercomponent with S-video and L/R analog audio.
Connecter un lecteur DVD, un magnétoscope ou un autre composant avec S-Vidéo
et audio analogique G/D (L/R).
HDMI input / Entrée HDMI
Connect a DVD player or set-top box with an HDMI port
(audio cable not required). If using an HDMI-DVI cable,
you must also connect an audio cable.
Connecter un lecteur DVD ou un décodeur avec port
HDMI (un câble audio n’est pas nécessaire). En cas
d’utilisation d’un câble HDMI-DVI, il est nécessaire de
connecter également un câble audio.
Distributed by/ Distribué par Best Buy Purchasing, LLC 7601 Penn Avenue South, Richfield,MN USA 55423-3645 www.insignia-products.com 877-467-4289
Component input
Entrée à composantes
Connect a DVD player, VCR, or other
device with component video
and L/R analog audio.
Connecter un lecteur DVD, un magnétoscope
ou un autre périphérique avec vidéo
à composantes et audio
analogique G/D (L/R).
Video1 input / Entrée Vidéo 1
Connect a DVD player, VCR, or other
component with Video and L/R analog
audio.
Connecter un lecteur DVD, un magnétoscope ou
un autre composant avec vidéo et audio
analogique G/D (L/R).
RF input / Entrée RF
Connect an o-air (VHF/UHF) antenna or
cable to watch standard TV programming.
Connecter une antenne (VHF/UHF) ou le
câble pour visualiser des émissions télévisées
standard.
Video2 input / Entrée Vidéo 2
Connect a DVD player, VCR, or other component
with Video and L/R analog audio. Connecter un lecteur DVD,
un magnétoscope ou un autre composant avec vidéo
et audio analogique G/D (L/R).
Tuning
TV Source
Auto Scan
Skip
DNR
Channel Label
CATV
_ _ _ _ _ _
Off
On
AdjustSelect Exit
Step 6
Play a DVD /
Étape 6
Lecture d’un DVD
Press POWER to turn on your TV. Press DVD on the remote control. Insert a DVD into the disc slot, with the label facing
forward. The DVD player begins playing the DVD. Appuyer sur POWER (Marche/Arrêt) pour mettre le téléviseur sous tension.
Appuyer sur DVD de la télécommande. Insérer un DVD dans le logement des disques, avec l’étiquette tournée vers l'avant.
Le lecteur DVD commence à lire le DVD.
Step 5
Scan for channels /
Étape 5
Recherche des canaux
A C I N P U T
~ 100-240V 50/60Hz

Other manuals for NS-LTDVD19-09CA

1

Other Insignia TV DVD Combo manuals

Insignia NS-32DD220NA16 User manual

Insignia

Insignia NS-32DD220NA16 User manual

Insignia NS-20CLTV User manual

Insignia

Insignia NS-20CLTV User manual

Insignia NS-LDVD26Q-10A - 26" LCD TV Quick start guide

Insignia

Insignia NS-LDVD26Q-10A - 26" LCD TV Quick start guide

Insignia NS-29LD120A13 Quick start guide

Insignia

Insignia NS-29LD120A13 Quick start guide

Insignia NS-LBD32X-10A User manual

Insignia

Insignia NS-LBD32X-10A User manual

Insignia NS-28ED200NA14 User manual

Insignia

Insignia NS-28ED200NA14 User manual

Insignia NS-28DD310NA15 User manual

Insignia

Insignia NS-28DD310NA15 User manual

Insignia NS-29LD120A13 Operating manual

Insignia

Insignia NS-29LD120A13 Operating manual

Insignia NS-19LD120A13 Quick start guide

Insignia

Insignia NS-19LD120A13 Quick start guide

Insignia NS-24LD100A13 Operating manual

Insignia

Insignia NS-24LD100A13 Operating manual

Insignia IS-TV040921 User manual

Insignia

Insignia IS-TV040921 User manual

Insignia NS-19LD120A13 Operating manual

Insignia

Insignia NS-19LD120A13 Operating manual

Insignia NS-24DD220NA16 User manual

Insignia

Insignia NS-24DD220NA16 User manual

Insignia NS-13CTV User manual

Insignia

Insignia NS-13CTV User manual

Insignia NS-32LB451A11 User manual

Insignia

Insignia NS-32LB451A11 User manual

Insignia NS-7UTCTV User manual

Insignia

Insignia NS-7UTCTV User manual

Insignia NS-32DD200NA14 User manual

Insignia

Insignia NS-32DD200NA14 User manual

Insignia NS-29LD120A13 Quick start guide

Insignia

Insignia NS-29LD120A13 Quick start guide

Insignia NS-19ED200NA14 Quick start guide

Insignia

Insignia NS-19ED200NA14 Quick start guide

Insignia NS-24ED310NA15 User manual

Insignia

Insignia NS-24ED310NA15 User manual

Insignia NS-19ED200NA14 Parts list manual

Insignia

Insignia NS-19ED200NA14 Parts list manual

Insignia NS-29LD120A13 Installation instructions

Insignia

Insignia NS-29LD120A13 Installation instructions

Insignia NS-19ED200NA14 User manual

Insignia

Insignia NS-19ED200NA14 User manual

Insignia IS-TVDVD20A User manual

Insignia

Insignia IS-TVDVD20A User manual

Popular TV DVD Combo manuals by other brands

Sansui HDLCDVD225 owner's manual

Sansui

Sansui HDLCDVD225 owner's manual

Memorex MVDT2002SM Service manual

Memorex

Memorex MVDT2002SM Service manual

Akai ALED2609TWE user manual

Akai

Akai ALED2609TWE user manual

Toshiba VTD1432 user guide

Toshiba

Toshiba VTD1432 user guide

Philips DVD 580M Directions for use

Philips

Philips DVD 580M Directions for use

RCA RLEDV2238A-B instruction manual

RCA

RCA RLEDV2238A-B instruction manual

LENCO DVT-1933 user manual

LENCO

LENCO DVT-1933 user manual

LG KU-17WDVD Service manual

LG

LG KU-17WDVD Service manual

Sylvania SKCR2706BT instruction manual

Sylvania

Sylvania SKCR2706BT instruction manual

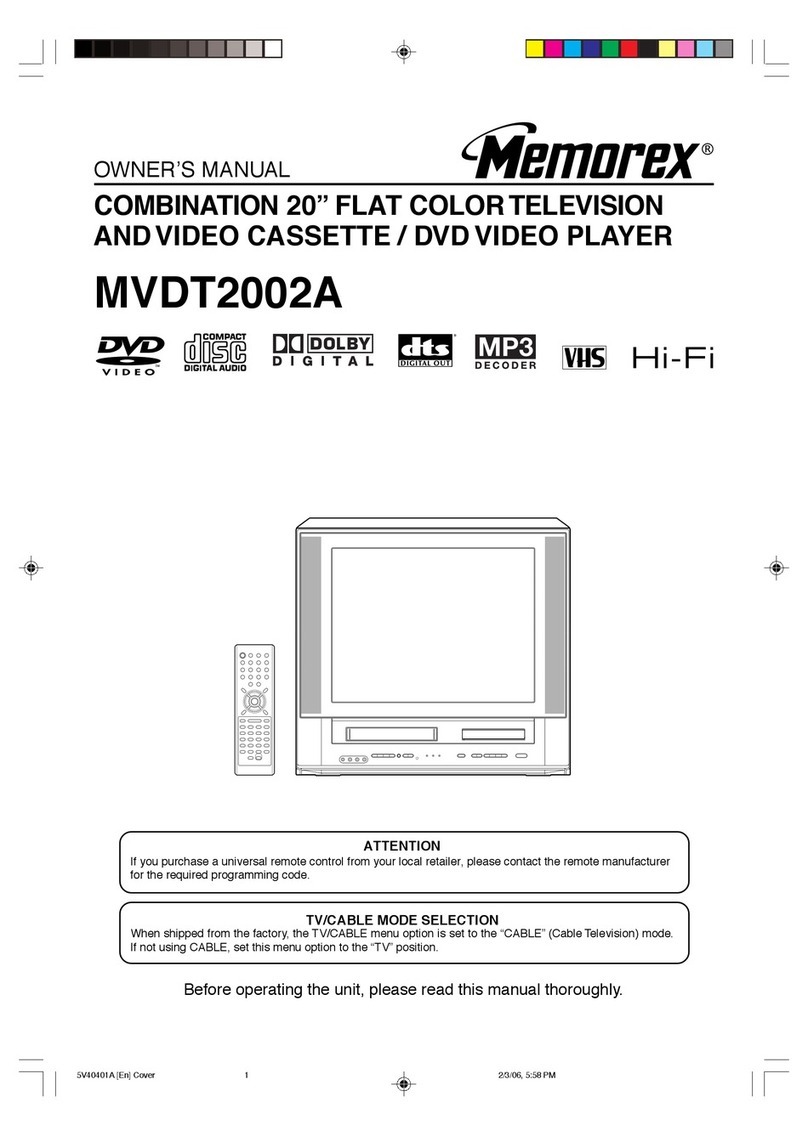
Memorex MVDT2002A owner's manual

Memorex

Memorex MVDT2002A owner's manual

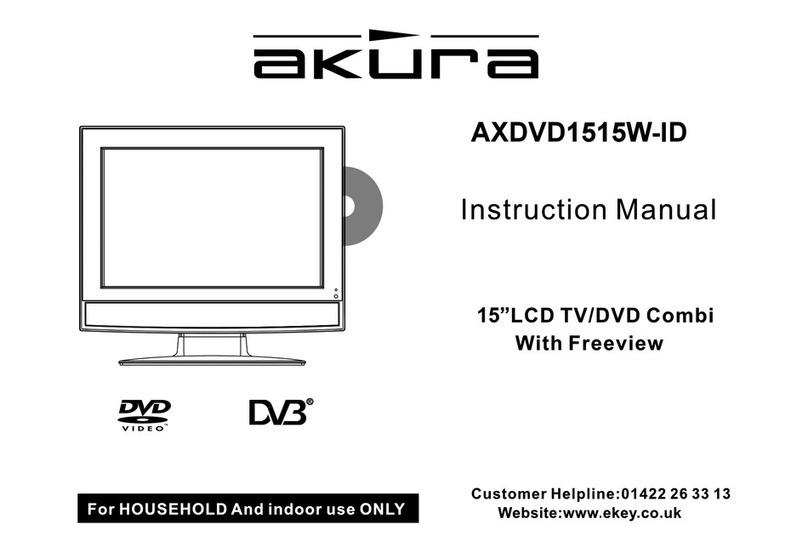
Akura AXDVD1515W-ID instruction manual

Akura

Akura AXDVD1515W-ID instruction manual

iLive ITDE2288 user guide

iLive

iLive ITDE2288 user guide

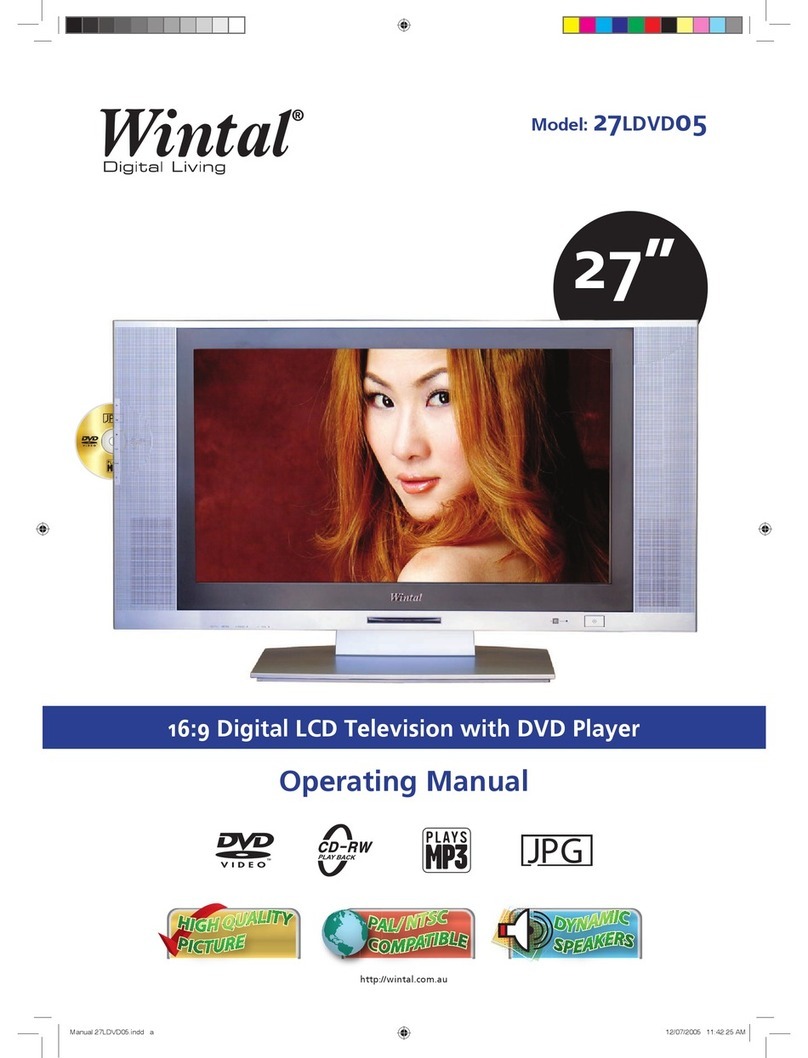
Wintal 27LDVD05 operating manual

Wintal

Wintal 27LDVD05 operating manual

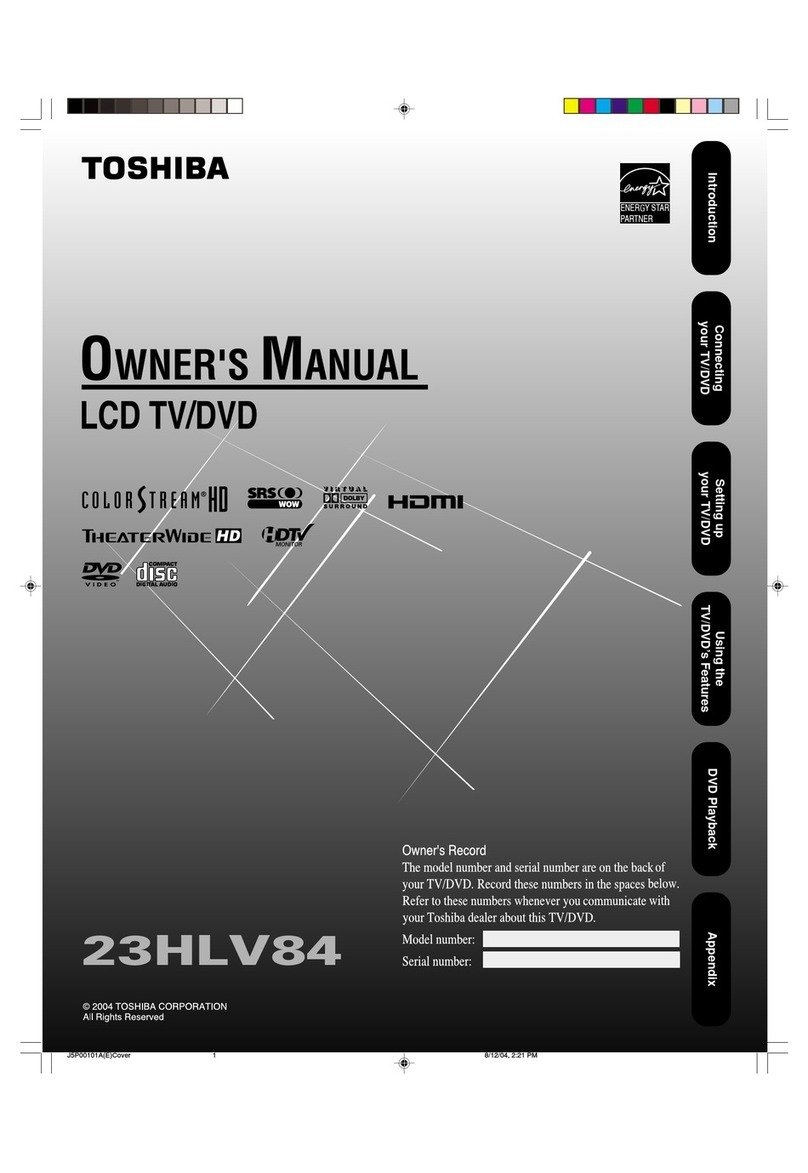
Toshiba 23HLV84 owner's manual

Toshiba

Toshiba 23HLV84 owner's manual

AOC LC19W060C user manual

AOC

AOC LC19W060C user manual

JVC LT-32DM20 user guide

JVC

JVC LT-32DM20 user guide

Sylvania LD320SSX Guide d'utilisation

Sylvania

Sylvania LD320SSX Guide d'utilisation

Haier L15C10B user manual

Haier

Haier L15C10B user manual

manuals.online logo
manuals.online logoBrands
  • About & Mission
  • Contact us
  • Privacy Policy
  • Terms and Conditions

Copyright 2025 Manuals.Online. All Rights Reserved.