Inspired LED’s new 2-Zone Independence Dimmer
System combines the convenience of a plug-in power
supply with the finished look of a hardwired system
into one remarkable product. This unique product
incorporates a radio frequency receiver module and a
wireless energy-harvesting wall switch to control a
variety of different lighting zones.
3.5 x 1.3mm input/outputs for use with plug-in cables
Compatible with 12V or 24V DC power supplies
(not compatible with hardwire transformers)
Max Load- 5 Amps per zone
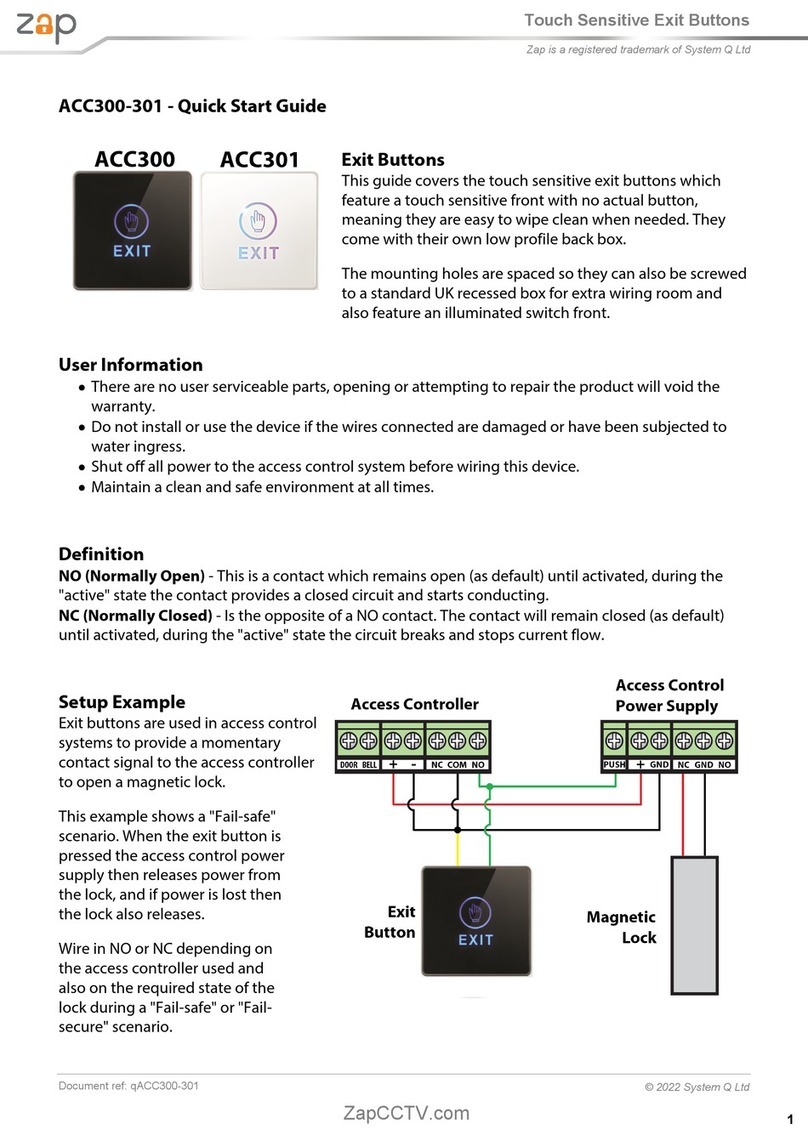
Remote range up to 30 meters (16ft during pairing)
Compatible with Independence Dimmer 2.0 switches
and receivers (sold separately)
(1) 3.5mm input, (2) 3.5 mm outputs for plug-in cables
Syncs with multiple switches and other dimmable
receivers for versatile system design
Smart memory function retains most recent settings
WT- White
BL- Black
AL- Light Almond
IV- Ivory
PI –Plug in –3.5 x 1.3mm DC
ST –Detachable Screw Terminal
WT- White
BL- Black
AL- Light Almond
IV- Ivory
inspiredled.com orders@inspiredled.com (480) 941-4286
To Clear Programming-
1. Ensure power supply is properly connected to 110-120V AC
and all LEDs are connected to the receiver.
2. Press and hold the “PROGRAM” button which corresponds
to the zone you’d like to clear.
3. After 5 seconds, connected LEDs will turn off to indicate
successful clearing of switches.
To Use Switch-
1. Click On: If LEDs are currently off, they will return to the
most recent brightness level. If already on, LEDs will increase
to maximum brightness.
2. Click Off: If LEDs are currently on, they will quickly fade off.
3. Hold Up: LEDs will increase to maximum brightness.
4. Hold Down: LEDs will fade to minimum brightness.
Independence Dimmer System 2.0
Pairing Switches & Receivers (Cont’d)-
5. Repeat steps 3-5 to program additional switches to ZONE 1.
6. Next, connect cable from second set of LEDs to receiver input
marked “ZONE 2”. Set receiver to learning mode by pressing
the “PROGRAM 2” button once.
7. Connected lights will dim and brighten to indicate active
learning mode. Press desired switch up once to pair.
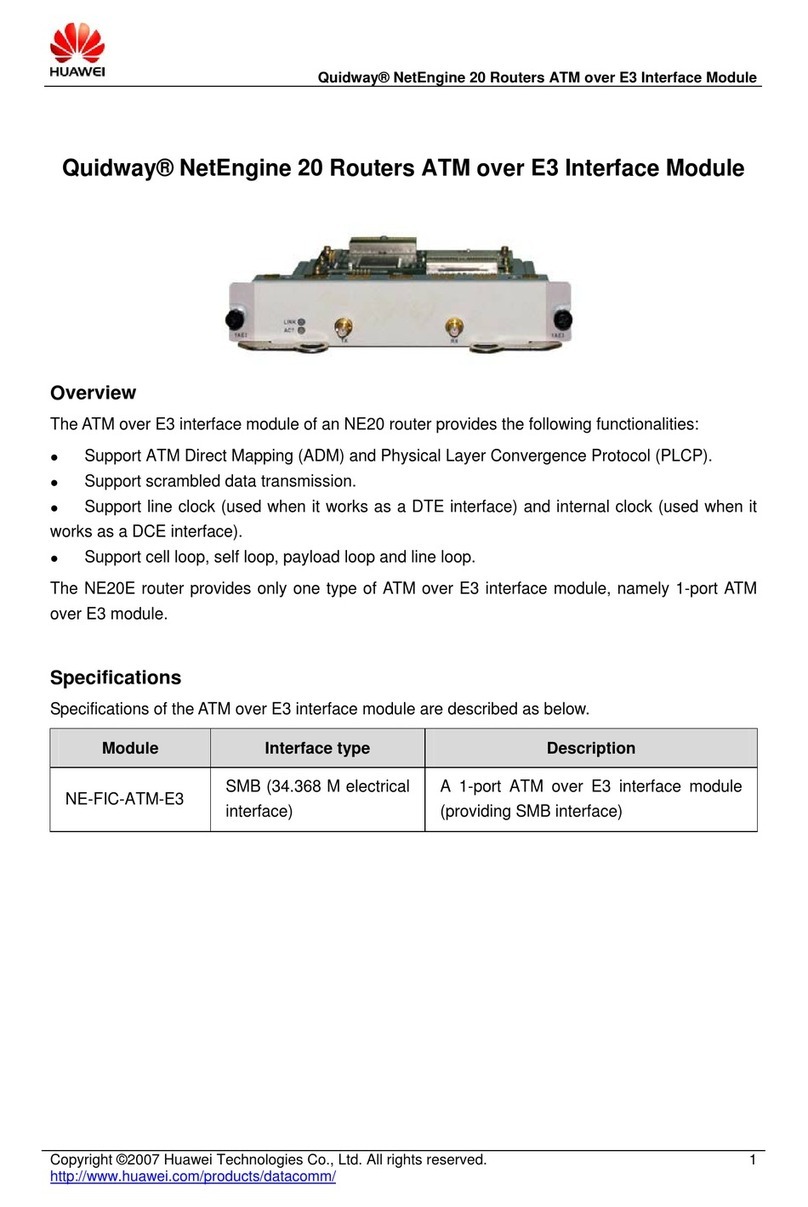
SKU# 3883 (For use with SKU# 3882, 3884, 3885)
3.5mm Plug-in Receiver Unit
Supply
AC
Module
Single
Dual
Pairing Switches & Receivers-
1. Terminate power supply to 110-120V AC and connect
directly to receiver input marked “POWER IN”.
2. Connect cable from first set of LEDs to receiver input “ZONE 1”.
3. Set receiver to learning mode by pressing the small
“PROGRAM 1” button once.
4. Connected lights will dim and brighten to indicate active
learning mode. Press the desired wireless switch up once to
pair, LEDs will hold full brightness when successfully paired
(must be within 16ft of receiver for programming).

