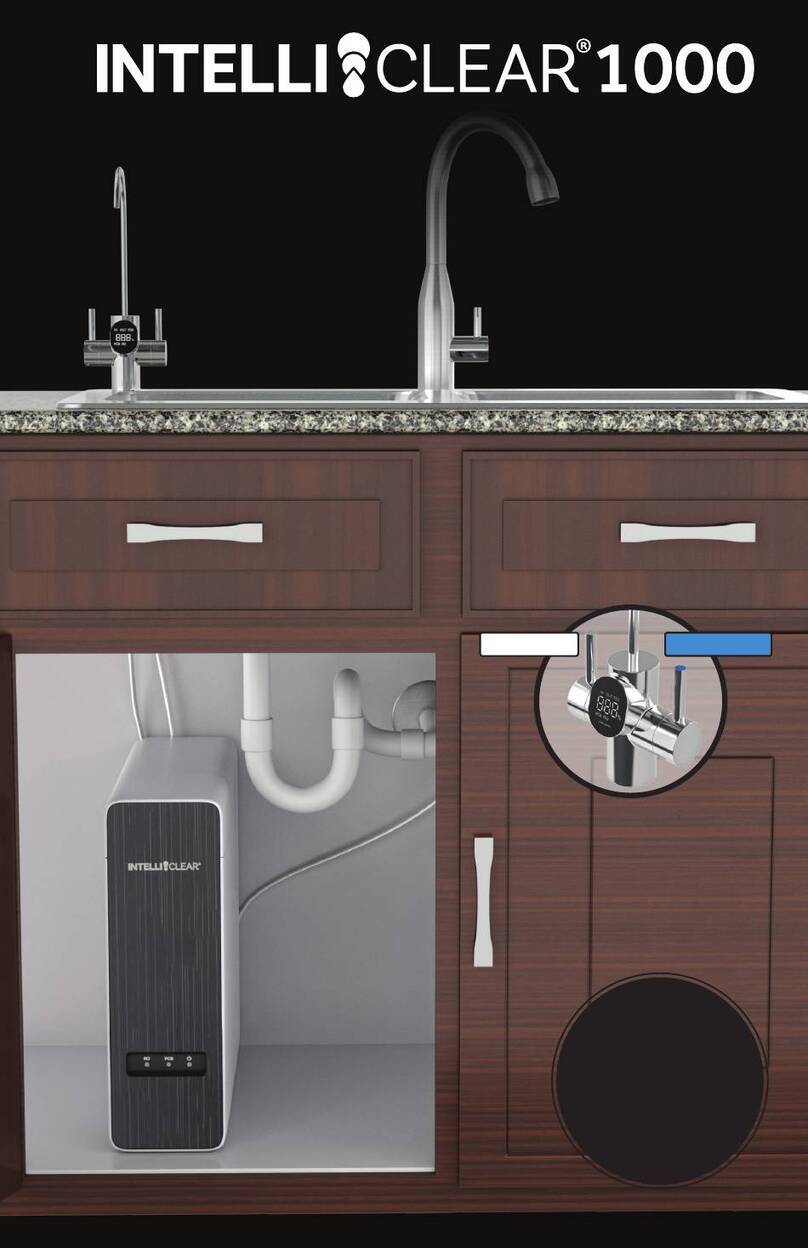
INTELLICLEAR 800 User manual

Digital Smart Faucet
USER MANUAL
800 GPD Under-sink Tankles Reverse Osmosis Water Purifier
with Digital Dual Faucet.
Please register your
new system for
warranty support
and discounted filter
replacement cartridges.
★★★★★
★★★★★
Rated voltage: 100-240V AC
Rated frequency: 50/60Hz
The IntelliClear®800 is
Tested and Certified by NSF
against NSF/ANSI Standard
58 for TDS reduction.

The packaging materials are recyclable, we recommend that you
separate plas c, paper and cardboard and place into proper recycling
containers.
Safety instructions ............................................................................................................................................................1
Important Safeguards......................................................................................................................................................5
Intended use.......................................................................................................................................................................5
Product overview..............................................................................................................................................................6
Before rst use....................................................................................................................................................................9
Preparation..........................................................................................................................................................................9
Connection diagram ........................................................................................................................................................9
How to use the quick-connect ttings ................................................................................................................... 10
Installation ........................................................................................................................................................................ 11
Installing the 3-way valve.......................................................................................................................... 11
Installing the faucet ..................................................................................................................................... 12
Installing the drain saddle......................................................................................................................... 13
Connecting the PE-tubes to the main unit.......................................................................................... 14
Using the product.......................................................................................................................................................... 14
Maintenance (Filter replacement)............................................................................................................................ 17
Troubleshooting ............................................................................................................................................................. 18
Cleaning............................................................................................................................................................................. 19
Specications................................................................................................................................................................... 19
Disposal ............................................................................................................................................................................. 19
1 Year limited warranty................................................................................................................................................. 20
About this User Manual
This manual serves the following purpose:
• To familiarize the operator with the equipment.
• To explain the installation and setup procedures.
• To give specications and troubleshooting information.
• To provide basic programming information.
• To explain the various modes of operation.
Read this Manual Before Operating Your System
This high quality unit has been designed to t under most kitchen
and wet-bar sinks as well as feed multiple dispensers and ice
machines. We suggest that you carefully review the following
information booklet before you attempt to install the reverse
osmosis system.
Your Reverse Osmosis system is a highly sophisticated machine. We
strongly recommend using only licensed & experienced technicians
for installation and troubleshooting. To locate the closest authorized
service technician contact your dealer or visit us at
www.waterworldusa.com.
If you decide to install the unit yourself, please follow these
installation instructions, which have been simplied with color coded
tubing. All your local plumbing codes and regulations must be
followed while installing your IntelliClear® RO system. For installation
assistance, contact your local dealer.

The packaging materials are recyclable, we recommend that you
separate plas c, paper and cardboard and place into proper recycling
containers.
Safety instructions ............................................................................................................................................................1
Important Safeguards......................................................................................................................................................5
Intended use.......................................................................................................................................................................5
Product overview..............................................................................................................................................................6
Before rst use....................................................................................................................................................................9
Preparation..........................................................................................................................................................................9
Connection diagram ........................................................................................................................................................9
How to use the quick-connect ttings ................................................................................................................... 10
Installation ........................................................................................................................................................................ 11
Installing the 3-way valve.......................................................................................................................... 11
Installing the faucet ..................................................................................................................................... 12
Installing the drain saddle......................................................................................................................... 13
Connecting the PE-tubes to the main unit.......................................................................................... 14
Using the product.......................................................................................................................................................... 14
Maintenance (Filter replacement)............................................................................................................................ 17
Troubleshooting ............................................................................................................................................................. 18
Cleaning............................................................................................................................................................................. 19
Specications................................................................................................................................................................... 19
Disposal ............................................................................................................................................................................. 19
1 Year limited warranty................................................................................................................................................. 20

Keep away from
amable materials
DANGER
WARNING
CAUTION Indicates a situation which, when not avoided, results or has the
potential to result in minor injury;
Indicates a situation which, when not avoided, results in death
or severe injury.
Explosion Hazard Keep ammable materials and vapors, away from
appliance. Use nonammable cleaner.
This product should be installed and maintained only by an experienced adult
following Uniform Plumbing Code (UPC) or other applicable state or local codes. If in
doubt, consult a professional.
The electrical installaon must comply with all applicable local or naonal codes:
ANSI/NFPA70, Naonal Electrical Code (NEC). This includes installaon of a GFCI
outlet that is required in all wet or damp locaons.
Indicates a situation which, when not avoided, has the potential to
result in death or severe injury;
The product is not intended for use by children or individuals
with physical, sensory, or mental limitations unless supervised.
Young children should be supervised to ensure the proper use
of the water purier.
Place the water purier on a solid level surface.
At low temperature, it is necessary to drain water to avoid damage
caused by ice.
Do not immerse cord, plug, or any other part of the water purifier
in water or other liquids.
Do not place the water purifier close to highly corrosive environment.
A 110-240V, 50/60 Hz, AC only, 15 A or 20 A fused, grounded electrical supply is
required. It is recommended that a separate circuit serving only your water purier
be provided. Use an outlet that cannot be turned o by a switch. Do not use an
extension cord.
Insert the power plug securely to the base.
If the cord is incompletely inserted it may cause re due to electric
spark or heat generation.
Electrical Shock Hazard
Plug into a grounded 3 prong outlet.
Do not remove ground prong. Do not use an adapter.
Do not use an extension cord.
Failure to follow these instructions can result in death, or electrical shock.
Wipe o dust or dirt accumulated on the plug of power line.
The accumulated dust or dirt may cause re, electric shock, or short circuit.
Do not disassemble, remodel, modify and repair the water purier.
This may cause re, electric shock or fault, and cause injuries. If repair is
required, please contact with the vendor of the water purier.
Do not place anything on the water purier.
It may cause re, electric shock or injuries.
Do not use abrasive or harsh cleaners such as window sprays, scouring cleanser,
ammable uids, cleaning waxes, concentrated detergents, bleaches, or
cleansers containing petroleum products on plastic parts. Do not use paper
towels, scouring pads, or other harsh cleaning tools. These can scratch or
damage the nish on your system.
No disassembly
and repair
without permission
Insert plug
Do not tilt or shake the system while is it connected to a water
source, since it can cause the unite to leak.

Do not use outdoors. Keep the water purier in a dry place and
away from direct sunlight.
Unplug the power cord by pulling straight out. Do not pull on
the cord.
For household use only. This appliance is intended to be used in a household
and similar applications.
The water purier usage temperature range is between 40 F – 100 F. Lower
temperatures will aect ow rate. The water purier should also not be
installed in a location susceptible to freezing.
Do not reset the lters prematurely. Filters must be replaced to avoid
contamination of germs inside the water purier.
Do not freeze. It may cause leakage or other malfunctions. Reverse osmosis
membrane lters will be damaged below 0°C.
Do not use this product with micro-biologically unsafe water or water
from unknown sources or quality.
Do not connect the product to water inlets with water temperature
below 40 °F (4 °C) or exceeding 100 °F (38 °C).
The required working pressure of the product is 14-100 psi. If the
water pressure is lower or higher than this, install a pressure boosting
device or pressure reducing device accordingly.
Do not place anything on top of the water purier. Do not lean, shake or
push the water purier.
Do not install water purier or any parts of the water purier close to a gas
range or other combustion sources.
Do not place the water purier close to re.
It may damage to the water purier and cause re.
Do not install the water purier close to were water may splash. It may
cause electric shock or re due to an insulation deterioration.
After installing, check all water connections for leaks.
Do not connect hot water supply inlet to the water purier, hot water will
damage the RO membrane.
If water is leaking from the water purier, immediately unplug the power cord
and turn o the water valve.
Replace all the lters regularly. The lter life LED will ash when the
lter need to be changed. Please see page 5 for “General Filter
Replacement Intervals.”
Do not install close to strong magnetic elds.
Installation and removal of water purier should be done by a
plumbing professional.
If the water purier’s power cord is damaged, it must be replaced by the
manufacturer, a service agent or similarly qualied persons.
Do not clean the water purier with high water pressure equipment. It
may cause electric shock or re due to an insulation deterioration.
Before cleaning the water purier, disconnect the power cord from the outlet.
Unplug the power cord immediately and call for service if you smell
anything or hear any abnormal sounds coming from the water purier.
Service should be performed only by a certied technician.
Do not use outdoors. Keep the water purier in a dry place and away from
direct sunlight.
This system utilizes an internal water pressure pump. During a power outage, the
system will not operate. If you are aware of a scheduled power outage, or bad
weather event that might cut the power, we recommend storing water in advance.
It is normal that hear a slight noise and vibration when the water purier
is producing water. Normal sounds: vibration, water running to ll tank.
No disassembly and
repair without
permission

General Filter Replacement Intervals
To ensure safety, avoid injuries or property loss, be sure to follow all safety recommendaons.
Ignoring them may result in damage to the product and void the warranty.
button

General Filter Replacement Intervals
To ensure safety, avoid injuries or property loss, be sure to follow all safety recommendaons.
Ignoring them may result in damage to the product and void the warranty.
button


NOTICE It is normal for the water puri er to emit some noise and slightly vibrate when
in use, this is normal.
To avoid danger of suocation, keep plastic bags away from
children and pets. Do not use plastic bags in cribs, beds, carriages or playpens.
Push the PE-tube into the fing. There
is an exis ng mark at the end of the
tube for you to confirm if the tube
is fully inserted into the fing.
Mark for
Full Insert
Locking Clip

Step 1: Installing the 3-way valve
Wrap the thread seal tape in thedirec on
of the thread counterclockwise.
When wrapping the thread seal tape, start
from the 2nd tooth of the thread head with
slight force and leave the 1s ooth unwound,
wrap 8-10 turns.
Aer wrapping thread seal tape,
once ghtened, do not allow to withdraw
the thread (screw back), otherwise you
have to re-wrap it .
Step 2: Installing the faucet
1. Use a preexisting hole if available. If no preexisting hole is available, consider hiring a
professional. Stone counter tops should only be drilled by a professional. If there is no hole
in your kitchen sink or counter-top, you have to drill one, 1 inch in diameter.
2. Place the large rubber gasket over the hole and place the stem of the faucet through the
hole Insert the faucet stem and power cord into mounting washer 1 (Fig.6).
3. Under the sink, place the plastic washer and then the tooth lock washer onto the stem of the
faucet and secure them using the locking nut on the threaded stem Slip on the nut and
tighten it (Fig.7).
Power Cord

Gaster
Step 3: Installing the drain saddle
Place the square gasket through the
PE- tube and it to the inner wall of the
drain saddle .
the tubing in the hole. Tighten both sides
equally to secure the drain saddle and
remove the drill bit from the quick-
connect fitting
while leaving
NOTICE: If you are installing
the drain saddle on the
horizontal pipe B, please
install so the PE tube is
located on the top of the
horizontal drain pipe.
(See Fig 11)
NOTICE: If you are installing the drain
saddle on the horizontal pipe B, please
install so the PE tube is located on the
top of the horizontal drain pipe.
(See Fig 11.)
(Fig. 10)
Step 4: Connec ng the PE-tubes to the main unit
Step 5: Checking for leaks
DRAIN WATER
14

15
1. The system is powered on: All indicators ash 5 times (Fig. 1).
2. The faucet is turned o: When the RO system is powered on, the screen will show the lter's
status. If there is no operation for 1 minute, the screen will switch to standby mode (Fig. 2).
3. Filter life reminder (when the faucet is turned on)
• If the lter’s life has not expired, every segment of the ring light will be on. As the lter is
used, the indicators will turn o one by one, and the remaining segments indicate the
approximately life of the lter.
Note: When there are two segments of the ring light on the screen, the life of the lter remains
about 4%-15% (40-150 gallons), which may vary based on your water conditions. It is recommend-
ed that you prepare a replacement lter in advance.
• If the lter has expired, the ring light will be o. Also, the lter replacement indicator will
turn red and the screen will display "Filter" after ashing 3 times (Figure 3).
4. Malfunction display:
E9: If the faucet is powered on and does not receive the correct data for 5 seconds, the screen will
display "E9" and then switch to standby mode after 1 minute.
Note: Check the power cord of the faucet to see whether it is plugged in. If not, plug it in. Check to
see if the power cord is damaged. If damaged, please contact IntelliClear customer service.
E6: When the system continuously works for over 40 minutes, it will enter timeout protection mode.
The screen will display "E6".
Note: Press the power button for 3 seconds. The lter indicator light will turn o. Then press the
power button for 3 seconds to power on the system. It will automatically ush for 25 seconds. If you
turn on the faucet during ushing, the outlet water ow will be slow, which is normal.
EA: When the TDS display is abnormal, the screen will display "EA". Note: You will need to unplug the
power and plug it in again. If the problem has not been resolved, please contact IntelliClear
customer service.
Connect the adapter and faucet to the unit cable connector then connect the
plug to a 110-240V GFCI power outlet.
on the front panel
16

The filter removal
tool will aid in the removal of the filter
Grasp handle of expired filter and rotate counterclockwise to
unlock filter from compartment . Remove expired filter
.
Insert new filter , ro ng clockwise to lock it into place.
Snap filter cover back onto unit .
17
18
Table of contents
Other INTELLICLEAR Water Filtration System manuals
Popular Water Filtration System manuals by other brands

SteriPEN
SteriPEN Emergency user manual
ControlOMatic
ControlOMatic MegaChlor Installation & operation manual

Teesa
Teesa TSA0102 owner's manual
Novy
Novy 6830060 installation instructions

BWT
BWT AQA drink TC200 Installation and operating instructions

Eureka Forbes
Eureka Forbes Dr. Aquaguard MAGNA UV user manual
