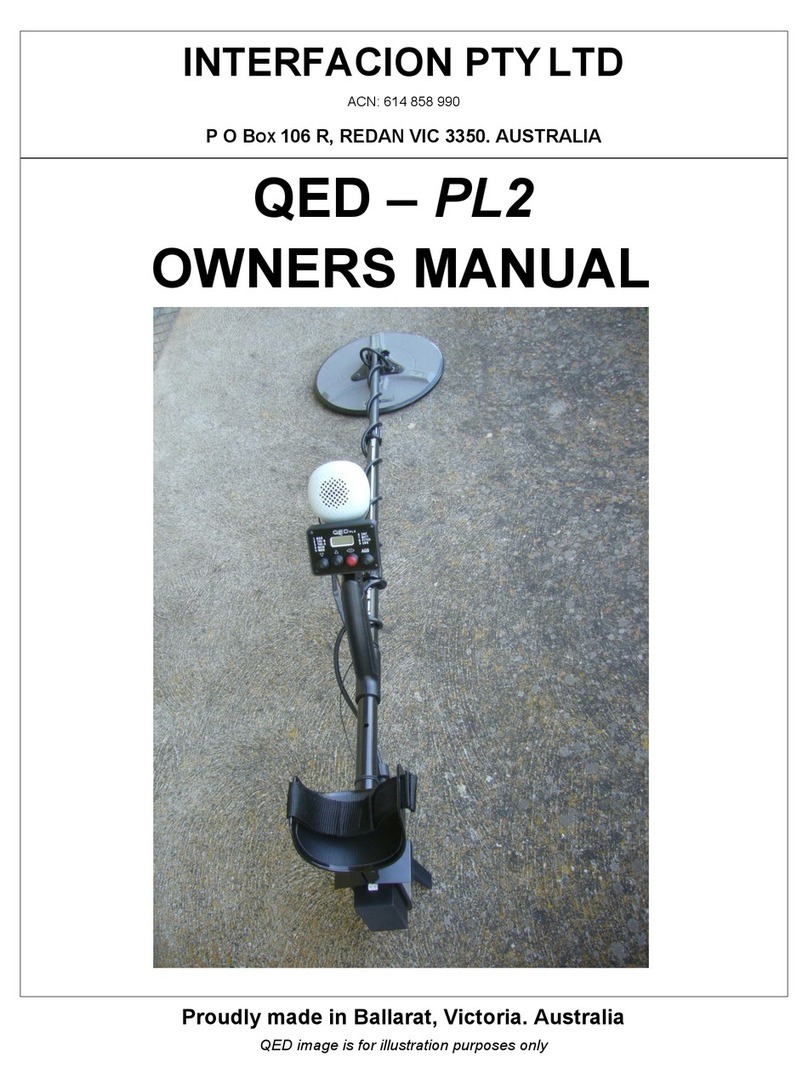
Interfacion QED User manual

INTERFACION Pty Ltd
ACN 614 858 990
QED
OWNERS MANUAL

NAVIGATION & OVERVIEW OF THE FACEPLATE
The button above the up triangle image decal on the control box is
reference in this manual as the up arrow key.
The button above the down triangle image decal on the control box is
reference in this manual as the down arrow key.
The button above the diamond image decal on the control box is
reference in this manual as the confirm key.
Display shows what is currently displayed on screen.
Headphone socket.
Power socket for charging the detector.
Menu decal options.

CONTROLS
POWER THE DETECTOR ON
PRESS & HOLD the UP arrow for approximately 2 seconds and then release.
CYCLE THROUGH MENU OPTIONS
PRESS either the UP arrow key or the DOWN arrow key.
INCREASE OR DECREASE VARIABLE NUMBERS (i.e. Delay)
PRESS either the UP arrow key or the DOWN arrow key.
PRESS & HOLD either the UP arrow key or the DOWN arrow key in a variable
option (i.e. delay) will cycle through that variable much faster.
ENTER A MENU OPTION OR RETURN TO THE MAIN MENU FROM A VARIABLE
PRESS the DIAMOND key.
FACTORY RESET
PRESS & HOLD the DOWN arrow key then PRESS the UP arrow key for
approximately 1 second then release UP arrow key.
POWER OFF THE DETECTOR
PRESS & HOLD the Diamond key for approximately 3 seconds.

MENU OPTIONS IN DEPTH
1: DELAY
Delay controls the Ground Balance for either mineralised ground or wet salt when beach detecting.
Ground balance, whether it be over mineralised ground or wet sand is achieved by altering the
amount of energy presented to a circuit that is akin to an old fashioned balance beam or scales.
An early portion of the decaying target or ground signal is presented to one side of the balance beam
and a later portion to the other side. When both sides of the balance beam are equal the signal is
cancelled.
ADJUSTING DELAY:
Slowly raise and lower the coil to the ground from approximately 6" down to
1" above the ground/sand, make sure the coil does not touch the ground.
Take note of the audio PITCH as the coil is in the "DOWNWARD MOTION"
If the audio PITCH RISES then decrease delay with the DOWN arrow key.
If the audio PITCH FALLS then increase delay with the UP arrow key.
2: BIAS
When the "Balance Beam" is balanced a target can cause an imbalance that will cause a change in
audio pitch and volume.
When the detector is Ground Balanced the audio signal will be very low.
Lowering the bias will accentuate short TC (small targets) and raising it will accentuate long TC
(larger targets).
3: VOLUME
In conjunction with BIAS controls the detector's audio signal. With VOLUME low e.g. the default value
of 30, the dead band of BIAS will be broad, perhaps + / - 5.
As the VOLUME is raised the Dead Band will decrease. If the volume is raised to say 90 the dead
band will be very narrow.
If using a medium size coil then minimising the dead band can be advantageous. However, best
results can be achieved by using a coil size and MODE to suit either large or small targets, setting
volume low and using an appropriate BIAS to set the audio threshold.

4: GAIN
Controls the GAIN of the detector run as high as possible depending on prevailing ground conditions.
If the detector appears noisy due to ground mineral or EMI interferences lower the gain until stable.
Note: GAIN does not increase depth, but rather amplifies target response, ground noise and EMI.
5: MODE
Select a MODE 1 - 5.
The mode selection allows matching the detector to the coil.
Ground Balance the detector. Use a very small target sitting on the ground go through the modes
1 - 5 taking note which MODE number produces the best result.
6: SMF
As a coil is swung through the Earth’s Magnetic Field (Static Magnetic Fields) an undesirable signal is
generated in the coil. A factory setting is used to minimise this signal. If as a result of component
aging the SMF cancellation alters then SMF can be adjusted. Range is 1 - 100 with a default of 50.
7: BATTERY
Shows the battery voltage, the detector uses a specific battery in-house in the control box and was
designed to run on a battery voltage of 10 volts maximum and 6 volts minimum, to protect the
rechargeable batteries the detector will automatically turn off when the battery voltage is slightly
below 6 volts. If the detector shuts off due to low battery then current settings will NOT be
automatically saved.
8: PITCH
Increase for a higher pitch and decrease for a lower pitch. This usually only need to be done once the
operator is happy with the setting. Take note of the number as a “load factory defaults” will reset the
value. If PITCH is an ODD (factory default) number i.e. 25, 27 etc then small targets will produce a
rising pitch. If PITCH is adjusted to an even number then large targets will produce a rising pitch.
Please note that the Ground Balance and BIAS adjustment directions will be reversed.
SEARCH COIL TYPES
The QED was built upon the mono search coil platform, DD searchcoils will not work properly.

SEARCHING THE GROUND
First Turn the detector on; follow the delay ground balancing procedure to get the quietest response
from the areas ground conditions. Adjust any other settings to your preference.
Keep the search coil parallel and as close to the grounds surface as possible, raising the search coil
too far from the grounds surface will reduce depth and can eliminate target sensitivity.
Sweep the search coil in a slow pattern as illustrated below (with the green tick) will maintain a more
parallel relationship between the ground surface and the search coil; furthermore ensure the
Searchcoil flows with the ground structure and make sure the search coil overlaps some of the swing
area from the previous sweep over that ground.
Note: If swinging a small search coil past a distance wider than each of your bodies left and right
arms can result in a missed area due to poor overlapping, broader footsteps can also have the same
result.

SOUND TEST
First ensure the ground is free from metal, by swinging the detectors search coil over the ground.
If no audio response is heard and the ground appears to be quiet you are ready to begin this test.
Use a metallic object of relevant size (pea size object). Place the metallic object on the ground where
it is clearly visible. Slowly move the Searchcoil parallel with the ground and close as possible over the
metallic object. It is important to hear the objects closest/loudest audio response. If no audio response
is heard, check settings.
Once the closest/loudest audio response has been heard. For the purpose of this test only, raise the
search coil about 2” inches above the metallic object and re-swing the search coil over it. Continue to
raise the search coil 1” – 2” inches above the metallic object and repeat swinging over it until the test
object gives off a faint audio response.
With each increase in height a slower swing speed may need to be preformed to hear the faintest
response from the metallic object. Listen carefully to the faintest audio response; audio settings can
be adjusted to help boost the faintest audio response from the test object.
This test is to give new operators a better understanding of how fast to swing a search coil over the
ground and what a deeper or smaller metallic object may sound like.
MANUFACTURER WARRANTY
If within one year (12 months) from the original date of purchase, if the QED detector PCB fails or the
internal battery due to a genuine fault, INTERFACION Pty Ltd will repair or replace parts at its option.
Manufacturer Warranty Claim:
Simply return the control box to the Dealer where you purchased it.
The unit must be accompanied by a detailed explanation of the symptoms of the failure.
You must provide proof of date-of-purchase before the unit can be serviced.
Note: Manufacturer Warranty is transferable, which covers one year from the original purchase date,
regardless of the owner. Software updates are cost-free to units within the warranty period.
Manufacturer Warranty excludes:
Any accessory items such as external batteries, search coils, straps, cords, shafts, nuts / bolts,
external speaker and arm rest, or third-party accessories, shipping/handling costs are not covered by
the Manufacturer’s Warranty.
Manufacturer Warranty is voided if damage has been caused by accident, misuse, neglect, abuse,
alterations, modifications, unauthorized service, or prolonged exposure to heat, corrosive compounds,
water, including salt water.
This manual will be updated overtime.
Table of contents
Other Interfacion Metal Detector manuals
Popular Metal Detector manuals by other brands

Schonstedt Instrument
Schonstedt Instrument GA-52Cx instruction manual

Bounty Hunter
Bounty Hunter Prospector owner's manual
XP Metal Detectors
XP Metal Detectors Adventis 2 instruction manual

DetectorPro
DetectorPro Headhunter Owner's instruction manual
GOLDEN MASK
GOLDEN MASK Deep Hunter Pro user guide

Bounty Hunter
Bounty Hunter Lone Star owner's manual
