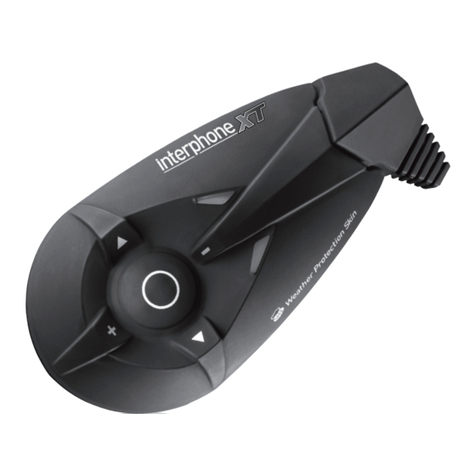
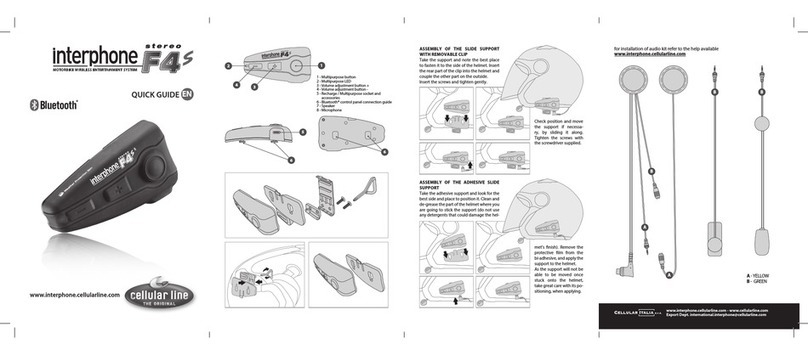
Interphone f2s User manual

Bluetooth Headset for Motorcycle
Features
VOX Technology
Intercom Technology
Multi-Point Connection
Auto-Volume Level Adjusting
F2S

6
A. BTMOTOF2S PACKAGE:
B. PRODUCT DESCRIPTION:
BTMOTOF2S is a Bluetooth Headset designed for motorcycle rider or
passenger who wishes to have reliable hands-free, wireless and clear
communications while driving. This headset is equipped with hi-tech features
such as: V X Technology, Rider to Passenger Intercom, Multi-point Connection,
and Auto-Volume Level Adjusting.
1. MFB or Multi-Function Button
(power on & off / pairing / answer /
hang-up / reject / voice dial / intercom
connect / etc.)
2. He dset Plug
3. Volume Up
4. Volume Down
5. St tus Indic tor
6. Left/Right (L/R) E r Spe ker
7. Microphone ( n the flexible boom)
8. Ch rger nd He dset Socket
9. Hook
C. CHARGING:
1. When the St tus Indic tor (5) turns Red, the battery is low. Charge the
unit using the provided charger.
2. Connect the charger’s plug to the Ch rger Socket (8) of the BTMOTOF2S.
Then, plug the charger to an external power source. (Note: Status Indicator
(5) turns ed when charging).
3. When the St tus Indic tor (5) turns Green,
charging is complete.
4. Disconnect the charger.
2
1
23
4
5
7
9
6
Charger and Headset Socket
8
BTMOTOF2S Headset
Headset Clip w/
Fastening Screws
Headset Clip w/
double sided
Adhesive Sticker
Spacer for Headset
Clip
Travel Charger Velcro Pad Screw Driver

D. POWER ON OR OFF:
Power On: Press the MFB (1) until St tus Indic tor (5) turns blue. r press for
approximately 3 seconds, a beep will be heard.
Power Off: Press the MFB (1) until St tus Indic tor (5) turns red. r press for
approximately 5 seconds until 3rd tone will be heard.
E. PAIRING TO YOUR BLUETOOTH MOBILE PHONE:
1. From FF, press and hold the MFB (1) of the BTMOTOF2S until the
St tus Indic tor (5) turns blinking red/blue.
2. While the headset is in pairing mode, access the Bluetooth menu of your
phone. Turn on the Bluetooth function then execute a Bluetooth search.
(See your phone’s manual).
3. When the phone displays the list of Bluetooth devices, select
BTMOTOF2S then enter 0000 and press ok. Pairing is successful if the
alternating red/blue lights of the St tus Indic tor (5) changes to blinking
blue.
Note: Some phones do not connect automatically to the kit after pairing. You
need to press the MFB (1) (1st beep) to connect.
Or use the menu of your phone:
Go back to Bluetooth > Paired devices > highlight the name of this
headset (Interphone F2S) > press Options > then press Connect.
The INTERPHONE F2S is now ready to use.
F. INSTALLATION:
) Inst lling the Clip Mount
IMPORTANT: There are 2 types of Headset Clips included
in this package. A He dset Clip with f stening screws
and a He dset Clip with double-sided-Adhesive Sticker.
Use what suits best for your helmet.
1. Using the Headset Clip with Fastening Screws
Take the He dset Clip with
f stening screws and find the best
location to fix it to the shell of the
helmet.
Tighten the screws using the provided Screw Driver.
Note: A Spacer may be needed to put in between
the 2 parts of the Headset Clip (if the helmet’s shell
is thick).
3
Spacer

2. Using the Headset Clip with double-sided-Adhesive Sticker
Take the He dset Clip with double-sided- Adhesive
Sticker and remove the film covering the other side. Find
the best location and stick the clip to the outer shell of the
helmet.
b) Mounting the BTMOTOF2S
1. Take your BTMOTOF2S and slide it
down into the slots in the He dset Clip.
Make sure that it’s perfectly fitted and
locked into place.
2. Stick the Velcro p d to the helmet’s left and right ear pocket. Attach the L/R
E r Spe ker(6) to it. Secure the cord of the L/R E r Spe ker(6) inside the
helmet.
3. Connect the He dset Plug(2) to the
He dset Socket(8).
4. Secure the cord of the He dset Plug(2)
inside the helmet. Ensure that only few
centimeters of the cord come out.
You have successfully mounted the BTMOTOF2S.
G. Removing the BTMOTOF2S from your helmet
Remove the BTMOTOF2S by pushing down the lock as shown
and then take out the BTMOTOF2S in an upward motion.
4

H. BASIC OPERATION:
M in MFB Functions:
Short Press MFB (1): Phone Related Commands
Long Press MFB (1): Intercom Related Commands
IMPORTANT:
The BTMOTOF2S needs to be ‘paired’ with your Bluetooth mobile phone before you can
use the following functions. (See Pairing to your Bluetooth Mo ile Phone on section
E.)
To M ke C ll:
Dial the number using your phone. Audio will automatically be on the headset.
Note: With some phones like Siemens S55 and Panasonic X70, audio is always
on the phone during an outgoing call. You will need to press the MFB (1)
to transfer the audio to your headset.
To Answer C ll:
-Assuming the VOX is activated: Accept a call by loudly saying a word within
10 seconds. (Example: When you receive the ring tone, Say loudly ”Ok!”)
The call will be answered. Audio will be on the headset. (See VOX
Activation / Deactivation on section I.)
-You also have the option to answer the call normally by pressing the MFB
(1) for 1 second (1st beep).
To End C ll:
-Press the MFB (1) for 1 second to end the call (1st beep).
To ctiv te Voice Di l:
IMPORTANT: Some phones needs training to activate voice dial function. Record at
least one voice tag. (Kindly refer to the procedure in your phone’s manual.)
1. Press the MFB (1) for 1 second (1st beep) to make a voice dial. A voice dial
tone/ beep will be heard on the headset prompting the user to say the
voice tag of the contact to call.
2. Say the voice tag. The voice will be played back to you, and then the phone
will dial the number automatically.
To Reject C ll (For Handsfree Profile Phones only):
-Assuming the VOX is activated: Reject a call by being silent for 10 seconds.
The call will automatically be rejected. (See VOX Activation / Deactivation
on section I.)
To Set the Volume:
-Press the Volume Up (3) or Down (4) button repeatedly until the desired
level is reached.
5

I. ADVANCED FUNCTIONS:
. VOX Activ tion / De ctiv tion:
- When activated, the user can accept a call by saying any word within 10
seconds. The user can also reject a call by being silent for 10 seconds.
-When deactivated, use the MFB (1) to answer a call.
The Voice Answer Mode can be enable or disable when the kit is in standby
mode (no ongoing call and no intercom communication).
Activ tion:
From Connected or standby, press and hold the Volume Up (3) button
until 3rd tone. Then release.
De ctiv tion:
From Connected or standby, press and hold the Volume Down (4) button
until 3rd tone. Then release.
b. Driver to P ssenger INTERCOM:
The INTERPHONE F2S has a motorcycle intercom system that allows driver to
passenger conversations. This intercom features full-duplex communication so
driver and passenger may enjoy simultaneous conversations just like on the
telephone.
INTERCOM P iring Procedure:
1. Prepare two BTMOTOF2S. Note: Make sure to switch off the phones paired
to these two headsets.
2. Set the two units to pairing mode (from off, press and hold the MFB (1) of
the BTMOTOF2S until the St tus Indic tor (5) turns blinking red/blue).
3. When the two are set to pairing, short press the MFB (1) of one of the two
units (this unit blinks red/blue fast). Pairing is successful if both St tus
indic tor (5) of the two units are steady blue. Both headsets are now
connected. Full duplex conversations can be made.
Using INTERCOM:
To St rt n Intercom Convers tion:
-Long press the MFB (1) for about 3 seconds until 2nd beep will be heard.
BTMOTOF2S will connect to Intercom. Both headsets are now connected.
Full duplex conversations can be made.
To End n Intercom Convers tion:
- Short press the MFB (1) of the unit, the Intercom call will be ended.
To Set the Volume:
-Press the Volume Up (3) or Down (4) button repeatedly until the desired
level is reached.
To Answer Phone c ll:
-Answer using VOX by loudly saying a word within 10 seconds or short
press MFB (1) button of the unit.
6

c. MULTI-POINT FUNCTION:
The BTMOTOF2S can simultaneously connect as Handsfree for phone for calls
and Intercom. The BTMOTOF2Sis active on both Handsfree and Intercom and
will automatically connect to the selected one after the key press actions.
Key Press Actions:
Short Press MFB (1): Phone Connect
Long Press MFB (1): Intercom Connect
Using MULTI-POINT:
efer to “Using INTERCOM” on section I, “Phone BASIC OPERATION on
section H.
Receive Intercom c ll while in Phone c ll:
If you receive an intercom call when you already have an ongoing phone
call, you will hear a special ring tone once (to indicate that your passenger
wants to call you) and ongoing phone call will continue.
-If you want to answer the intercom call, press MFB (1) for 3 seconds
(beep heard). BTMOTOF2S will connect to Intercom. Now full duplex
conversations can be made.
Receiving phone c ll while in Intercom:
If you receive a phone call when you are in Intercom conversation, Intercom
connection will automatically disconnect during ringing and the other
Intercom party will have a busy tone.
-If you want to answer the phone call, answer using VOX by loudly saying
a word within 10 seconds or short press MFB (1) button of the unit. The
phone call is now accepted; full duplex conversations can be made.
Note: After the phone call ended or rejected the Intercom connection will
automatically reconnects. Now Intercom full duplex conversations continue.
d. Multi-P iring / Switching Connections between Bluetooth devices
The BTMOTOF2S can be paired to 8 Bluetooth devices. An additional pairing will
automatically delete the Bluetooth device that is paired the longest time. Thus,
maintaining 8 Bluetooth devices in its memory.
You can easily switch to any of the paired Bluetooth devices by:
1. Disconnecting the currently used device by using its Bluetooth menu.
2. Connect to the wanted Bluetooth device by using its Bluetooth menu too.
Note: Reconnection to a paired Bluetooth device can also be done by pressing
the MFB(1). But when you press the MFB(1), the BTMOTOF2S will attempt to
connect to the last used Bluetooth device only. So it is recommended to
connect to another paired Bluetooth device using the Bluetooth device’s menu.
7

J. BTMOTOF2S SPECIFICATIONS:
Bluetooth Compli nce:
Bluetooth Version 2.0
Oper ting R nge:
Up to 10 meters
Frequency:
2.4GHz
T lk Time:
Up to 8 hours Mobile Phone
Up to 8 hours Intercom
St ndby Time:
Up to 700 hours / 1 month
Ch rging Time:
4 hours
B ttery type:
Rechargeable Lithium Polymer
Speci l Fe tures:
•Paired devices maximum of 8
•Multipoint / intercom
•Incoming alert from other device when connected
•Full Duplex
•Full DSP noise cancellation / Echo cancellation
•Automatic Volume Adjustment depending on ambient noise and speed level
•Easy to find Volume / Multi-Point Functions
•Digital Volume Control
•Voice Recognition Dialing (If phone supports)
•V X Command: Receive or reject incoming calls by voice control
•Water Proof
•Aerodynamic and Compact Shape
•Easy to install, compatible with most common helmets available on the market
•Main unit detachable from helmet mounting clip
Accessories:
•High Power ultra slim speaker with integrated microphone boom
•Two helmet mounting clips (clamp type and permanent type)
•Wall Charger
Dimensions (mm):
90mm x 46mmx 20mm
Weight:
35g excluding accessories
8

English
English
Correct Dispos l of This Product
(Waste Electrical & Electronic Equipment)
English
DECLARATION OF COMPLIANCE
Hereby, EUR C MMUNICATI N EQUIPEMENTS, represented by Xavier MARCHANT, CE , declares that the
INTERPH NE F2S M DEL BTM T F2S , is in compliance with the essential requirements and other relevant
provisions of Directive 1999/5/EC of the European Parliament and of the Council of 9 March 1999 on radio equipment and
telecommunications terminal equipment and the mutual recognition of their conformity.
Nébias, april 26 2012
Xavier MARCHANT
CEO
For the whole declaration please visit :
http://www.supertooth.fr/download
Euro Communication Equipements Sas
Route de Foix D117
11 500 NEBIAS
FRANCE
Feder l Communic tions Commission (FCC) St tement
Industry C n d (IC) St tement
15.21
You are cautioned that changes or modifications not expressly approved by the part responsible for compliance could void the
user’s authority to operate the equipment.
15.105(b)
This equipment has been tested and found to comply with the limits for a Class B digital device, pursuant to part 15 of the FCC/IC
rules. These limits are designed to provide reasonable protection against harmful interference in a residential installation. This
equipment generates, uses and can radiate radio frequency energy and, if not installed and used in accordance with the
instructions, may cause harmful interference to radio communications. However, there is no guarantee that interference will not
occur in a particular installation. If this equipment does cause harmful interference to radio or television reception, which can be
determined by turning the equipment off and on, the user is encouraged to try to correct the interference by one or more of the
following measures:
- Reorient or relocate the receiving antenna.
- Increase the separation between the equipment and receiver.
- Connect the equipment into an outlet on a circuit different from that to which the receiver is connected.
- Consult the dealer or an experienced radio/TV technician for help.
Oper tion is subject to the following two conditions:
1) This device may not cause interference and
2) This device must accept any interference, including interference that may cause undesired operation of the device.
FCC/IC RF R di tion Exposure St tement:
This equipment complies with FCC/IC radiation exposure limits set forth for an uncontrolled environment. End users must follow the
specific operating instructions for satisfying RF exposure compliance. This transmitter must not be co-located or operating in
conjunction with any other antenna or transmitter.
9
(Applic ble in the Europe n Union nd other Europe n countries with sep r te collection
systems)
This m rking shown on the product or its liter ture, indic tes th t it should not be disposed with
other household w stes t the end of its working life. To prevent possible h rm to the
environment or hum n he lth from uncontrolled w ste dispos l, ple se sep r te this from other
types of w stes nd recycle it responsibly to promote the sust in ble reuse of m teri l resources.
Household users should cont ct either the ret iler where they purch sed this product, or their loc l
government office, for det ils of where nd how they c n t ke this item for environment lly s fe
recycling.
Business users should cont ct their supplier nd check the terms nd conditions of the purch se
contr ct.
This product should not be mixed with other commerci l w stes for dispos l.
This product h s n embedded, non-repl ce ble b ttery, do not ttempt to open the product or remove
the b ttery s this m y c use injury nd d m ge the product. Ple se cont ct the loc l recycling f cility
for remov l of the b ttery. The embedded, non-repl ce ble b ttery is designed to l st the life time of the
product
Table of contents
Other Interphone Motorcycle Accessories manuals
Popular Motorcycle Accessories manuals by other brands
HP
HP m550 user manual

hepco & becker
hepco & becker Sportrack quick start guide
hepco & becker
hepco & becker 6609516 01 01 quick start guide
KTM Power Parts
KTM Power Parts TOP-CASE 46 Mounting instructions
Federal Signal Corporation
Federal Signal Corporation Unitrol 280 Series Installation & operation
DYNATEK
DYNATEK DDK2-14 Installation and user guide
ClearWater Lights
ClearWater Lights Glenda installation manual
R&G
R&G LP0308BK Fitting instructions
kellermann
kellermann KH 1000 Mounting instructions
Suzuki
Suzuki 93100-2181 Series installation instructions

HAUL MASTER
HAUL MASTER 99900 Set up and operating instructions
Mongoose
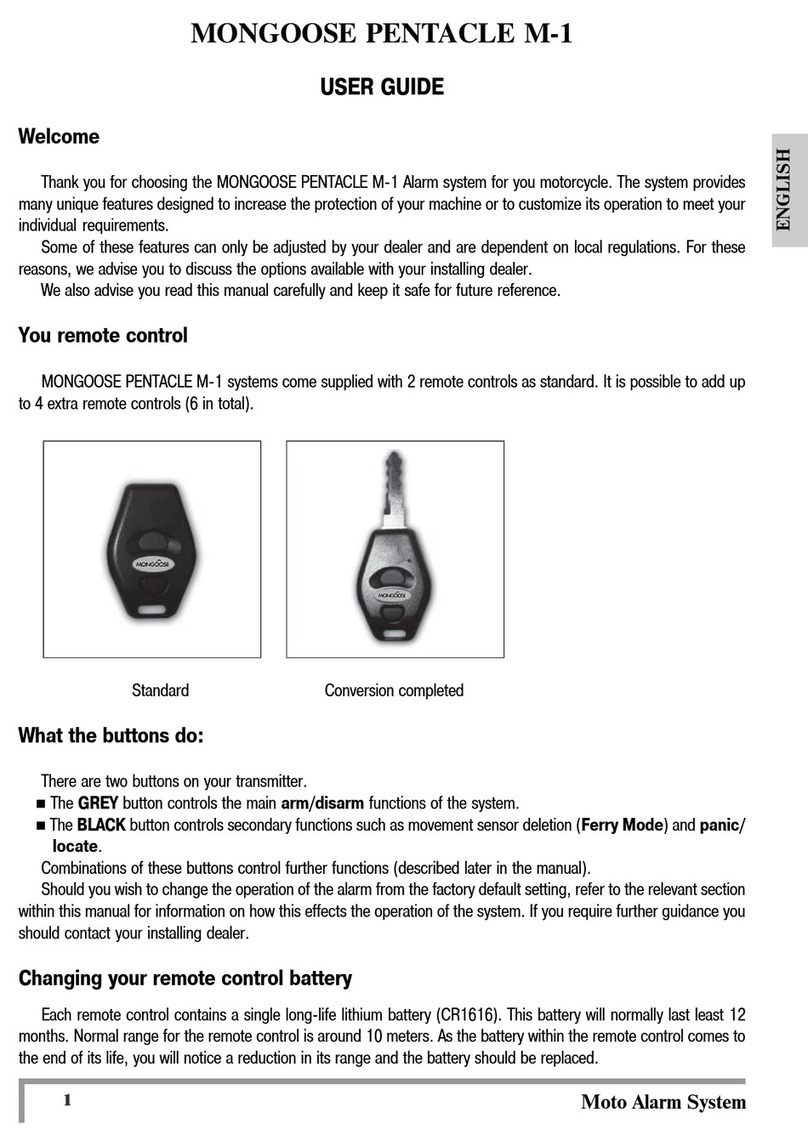
Mongoose PENTACLE M-1 user guide
